Origami materials
The classic, familiar material for folding is paper. However, any sheet is suitable for origami, for example, foil, parchment, starched fabric. Special paper can be bought at the store; it is square in shape, with one white side and one colored side. It feels thinner than the one we buy for the printer, making it easier to fold several times.
But in Japan, classic figures are folded from washi paper. This is a handmade material, dense, heterogeneous, compared to ordinary sheets.
Paper folding for kids
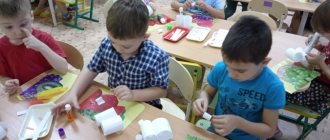
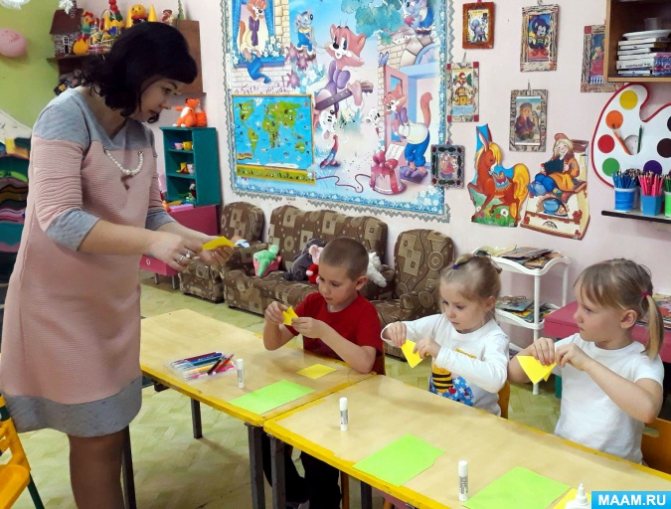
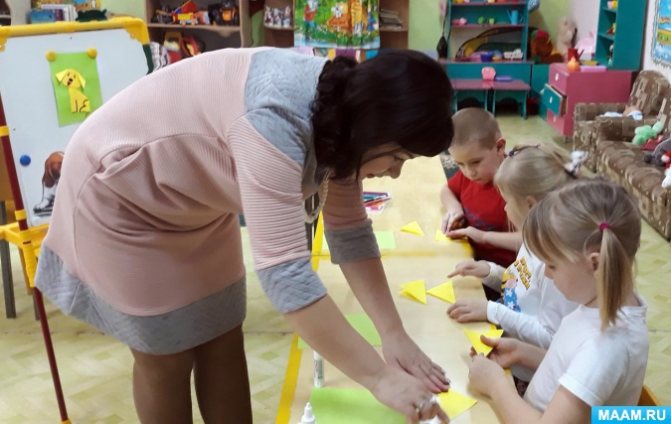
Modern origami for children carries multiple features of classical art, since the simplest, initial models are taken as the basis. Kids happily do folding; for them it is real magic when a crane, boat or frog suddenly appears from a square sheet of paper. Paper origami for children is an excellent option for a quiet activity that develops fine motor skills and abstract thinking, because when making the next fold, the child must understand how it will look when finished.
Origami classes are suitable for both creative groups in kindergarten and for studying at home. Folding figures with parents is a fun, interesting activity that will appeal to all family members.
Go to the children's crafts section
Simple diagrams on how to make origami:
Required materials for origami:
- Good paper, maybe even colored.
- Scissors.
- Ruler.
- Pencil.
Herringbone
Herringbone refers to simple paper folding patterns. All you need is paper, desire and skillful hands. The diagram below is simplified so that children can put together simple toys for themselves.
- Take a square sheet and bend it along the floors so that you get 4 outlined identical parts.
- Place the sheet in front of you so that it forms a diamond, and fold the right and left ends towards the middle.
- Make a fold from the bottom of the craft.
- Turn the craft over with the back side facing you.
- Fold the edges at the top of the fold.
- Fold the sides of the bottom to the middle, taking into account point 5.
- Lift the edges of the corners on the fold and lay them up.
- Bend the corner of the base up.
- Turn the craft over.
- Bend the craft forward slightly in the middle.
Your Christmas tree is ready, it can be decorated, dressed up or used for games or theater.
The best origami pattern for children - Herringbone
Birds
It will be easy to make a bird from a leaf. We suggest you make not a banal swan or a crane, but a real pelican. At the same time, it will be simple and fun, the main thing is to follow the instructions.
- Fold the square sheet in half.
- Turn it over and fold it in half again, dividing it into 4 parts.
- Fold the sheet in half and leave it there, folding the top half in half.
- Fold the right corner up.
- Lift the bent part and straighten it.
- Fold the top corner.
- Fold in the bottom left corner.
- Turn the craft over.
- Fold the corner at the bottom.
All that remains is to finish drawing the pelican’s wing, and you can play with it.
Origami paper bird
Tulip
A tulip is the simplest flower that can be made using origami patterns. A tulip will always work, the main thing is to choose a pattern so that a 6-year-old child can easily handle it. We offer you a tulip that folds in a short time and children like. So, instructions on how to fold a tulip.
- Place a square sheet of paper in front of you so that it forms a diamond and fold it in half.
- Fold each corner up towards the middle.
- Fold the right corner first.
- Fold the left corner.
- Here your tulip is ready.
Origami video diagram for children - Tulip
Frog
The frog is an interesting toy for children 6-7 years old, as it can jump. If a child tries and collects a frog, it will delight him with its jumps.
- Fold a square sheet of paper in half.
- Turn it over and bend it again.
- Bend the top part in half.
- Fold the top diagonally in both directions.
- Place the folded part so that a corner is formed at the top.
- Now fold the bottom part up in the middle.
- Fold the side parts to the middle.
- Fold the bottom.
- Fold the bottom corners.
- Bend the paws out from the bottom corners.
- Fold all visible corners up.
- Turn the craft over.
- Form a fold from the bottom.
- Turn the frog over and press it with your finger. She will jump like a real frog that lives in a pond.
How to make a jumping frog from origami paper with your own hands
MAGAZINE Preschooler.RF
Project "Origami in kindergarten"MBDOU No. 20 Tomsk Educator I qualification category Bereza Tatyana Ivanovna
Project applicant: children of the preparatory group “Smile”
Project manager: Tatyana Ivanovna Bereza, teacher of the “Smile”
PROJECT OBJECTIVES:
- Development of such cognitive processes as perception, attention, memory, logical thinking.
- Improving hand motor skills and fine finger movements, which has a beneficial effect on overall development and successful learning at school.
- Improving the child’s labor skills, creating a work culture.
- Formation of the principles of collectivism in a child in the process of joint activities.
PROJECT OBJECTIVES:
a) development of creative abilities, imagination, artistic taste as a result of making crafts using the origami technique;
b) development of confidence in one’s strengths and abilities;
c) development of creative imagination through the use of additional details;
d) help acquire knowledge, skills and abilities in folding basic origami shapes;
e) teach the skills of self-folding the most common and easy-to-make origami models;
f) familiarity with basic geometric concepts;
g) development of memory, attention, activation of thought processes;
h) work according to schemes.
THE NECESSARY CONDITIONS:
- frames for collective panels, also used for interior decoration
- paper (squares), scissors, glue, paper for additional parts
- literary works with colorful illustrations
- diagrams, operation cards, literature on origami
EXPECTED RESULT:
a) children must learn various techniques for working with paper;
b) be able to show creativity in the artistic design of works, be able to use other artistic materials and techniques (appliqué, collage, graphics) in an origami composition;
c) apply the knowledge gained in class when creating compositions;
d) learn to follow oral instructions and read product diagrams; create origami products using instruction cards and diagrams.
Diagnostic methods:
a) the works are distinguished by a pronounced individuality;
b) analysis of finished compositions.
Implementation timeframe: within a year
PREPARATORY STAGE:
Interaction with parents
- Questionnaire on the topic
- Involve parents in collecting materials for crafts
- Consultation with practical demonstration.
- Involvement in joint creative activities
- Joint celebrations with making masks using origami
- Visual propaganda, photo newspapers, mobile folders, albums
Interaction with children
D/i “Dress up the nesting doll” , “Guess what the craft is made of” , “Dress up Mashenka”
Conversation about the life of children in the past, activities, games.
Looking at illustrations about children's lives
Writing creative stories
Reading fairy tales, memorizing nursery rhymes, fables
Conversation about the work of adults creating objects from paper
do-it-yourself activity corner
Tour of the mini-museum “History of Origami”
Literature, visual material
- Methodological literature
- Children's literature
- Visual material
- Illustrations for Russian folk tales
- Show slides and films from the history of origami
- A set of cards, souvenirs, masks, crafts.
| Next > |
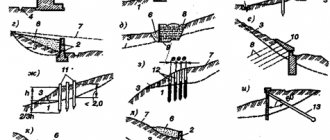
Variety of origami types
Experts distinguish several types of folding art:
- classic. For it, take one square sheet, and the figures are folded without scissors and glue;
- modular. Several sheets of different shapes and sizes are used, from which modules are assembled according to the origami scheme. Then the individual figures are connected using the nesting method;
- kusudama. A type of modular assembly, as a result of which a large figure in the form of a ball appears. You can put souvenirs or aromatic herbs inside it, using the ball as a sachet;
- Kirigami. This version of origami allows the use of scissors and glue.
Master class on origami “Dog made of paper” in the senior group
Anna Firsova
Master class on origami “Dog made of paper” in the senior group
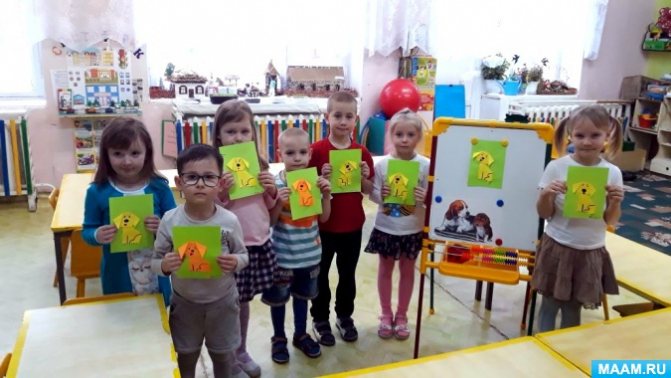
Origami Paper Dog . Senior group Goal :
- Children continue to fold the paper in different directions, smooth out the folds;
- practice orientation on a sheet of paper ;
- activate the vocabulary: fold, origami , farmstead, pets;
- cultivate perseverance, patience, and the ability to work together
- yellow square-shaped double-sided paper ;
1. Take a square of colored paper
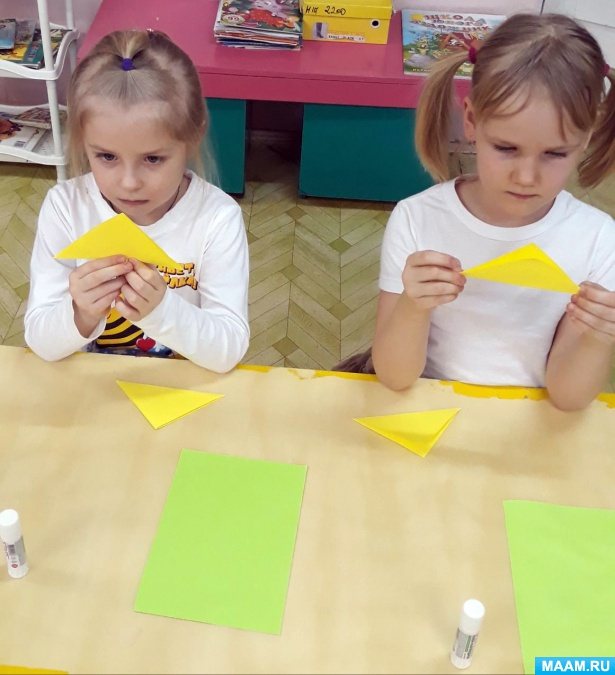
2. Connect opposite corners by folding the square in half.
3. Fold the corners down to form ears.
4. Form a chin by bending the central corner in the opposite direction. The puppy's head is ready.
5. Take a square of colored paper for the body .
6. Connect opposite corners by folding the square in half.
7. Expand the triangle so that it becomes rectangular.
8. Fold the corner to form a ponytail.
9. Draw eyes, nose, tongue on the puppy’s face.
11. Glue the head to the body.
puppy is ready !

Children's master class on paper construction using the origami technique “Snow Maiden” Material: blue or light blue (one-sided) rectangular paper 20 cm x 10 cm, printed Snow Maiden’s face, white oval paper. Master class on constructing a “Magic Winter Tree” from paper in the senior group Good day to everyone who took a moment and stopped by for a visit. Today I present to your attention a photo report on the construction of a winter one.
Fairytale "golden fish"
A child of four years old can make his own paper craft in the shape of a goldfish. What do you need? Round plastic plate - once. Thick cardboard - two.
Then everything is on the list: scissors, multi-colored paper sheets, stationery glue, pencils, decorated elements for the fish. Subsequence:
- turn the plastic plate over onto cardboard and trace it with a simple pencil;
- the resulting circle is cut out;
- draw a triangle inside another circle;
- cut it out. This is the tail of the fish;
- glue the cardboard circle and triangle together;
- stick yellow paper and decorations on top;
- cut out a blue circle and a smaller black one for the eye and stick it on.
Simple and fast. You can play with it or just admire it as a decoration.