Pencil drawing
The autumn theme is very broad and involves not only a bright landscape with golden leaves, but also the sad time of late autumn. A simple pencil is perfect for depicting this time of year. A step-by-step drawing lesson will help even those who do not have artistic talent cope with the task.
For drawing you will need:
- album sheet,
- eraser,
- simple pencil.
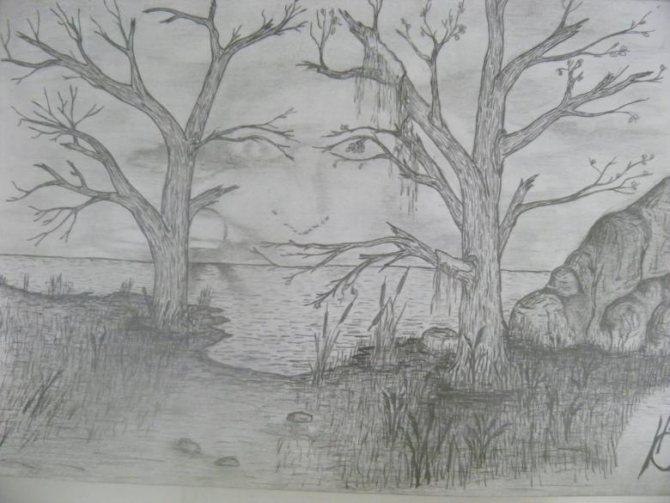
Autumn landscape in pencil
The order of drawing.
- The first step is to mark the horizon line on the landscape sheet and set the perspective in the form of a conditional diagonal line.
- In the foreground, tree trunks should be marked with confident lines. It is important that the trunks are of different sizes and have a slight slope. Just like in living nature.
- To make the drawing more realistic, you should mark the bank of the river going into the distance. Another option would be a trail or road. This technique allows you to create perspective.
- The next step will be the image of the second bank of the river or the edge of the road.
- In a drawing, the smallest details are important. The base of the trunks should be marked with wavy lines. These mounds will help visually tie the trees to the ground in the drawing.
- The image is complemented by small branches on trees and bushes of grass near the river bank.
- Fallen leaves are drawn in detail.
- Shading marks the shadows at the base of the trees.
- When depicting late autumn, special attention should be paid to shading. The drawing should have a blurred background, since late autumn is very damp and cloudy. And the details in the distance are not visible, but are shrouded in a light haze of fog.
- Heavy gray clouds should be indicated in the sky.
- Use checkboxes to mark a flock of birds flying low above the ground.
- Additionally, hatching indicates the river bank, shadows on the ground from mounds and grass bushes.
- Tree trunks are made dark; they should stand out a little from the main background, as in nature. In late autumn, the bark is saturated with moisture and this causes it to become dark in color.
A simple pencil sketch on an autumn theme does not have to depict an autumn landscape. A thematic sketch may contain a drawing of a bouquet of autumn leaves, a still life of vegetables or fruits, mushrooms in a basket. A sketch of an umbrella on a bench in an autumn park looks original.
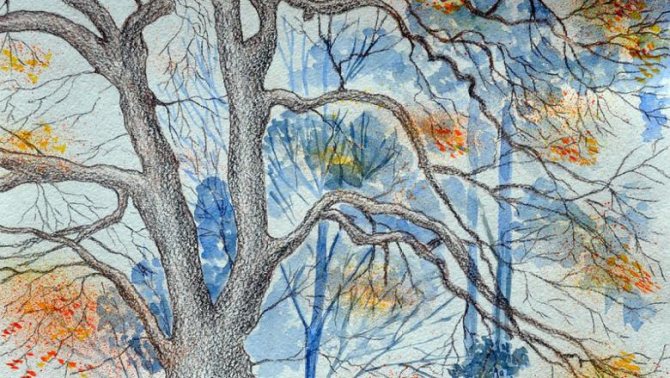
Sketch on an autumn theme
Based on the step-by-step description of the work, it is not difficult to draw an umbrella on a bench.
- The first step is to draw the bench with straight lines, located slightly at an angle to create perspective.
- After this, an oval marks the dome of the open umbrella lying on the bench.
- The umbrella is complemented by drawing the handle and knitting needles.
- The bench is “installed” on its legs.
- The spokes should also be drawn on top, indicating that they stretch the dome material.
- In the background you need to draw trees and a lantern.
- Mark puddles on the ground with strokes and depict fallen leaves.
- Then you need to perform detailed shading of the drawing.
- What is in the foreground should be clearly indicated. The background is made more blurry.
- Additional sharp strokes can depict rain.
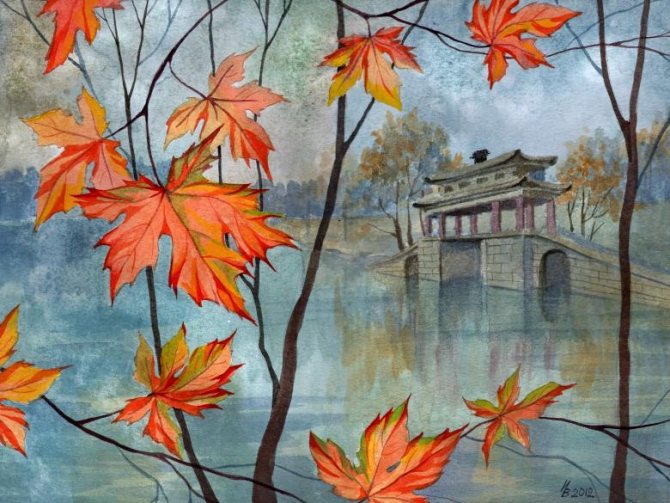
Progress of the lesson.
Guys, listen to A. Pleshcheev’s poem and think about what autumn season the author is talking about :
The rain keeps pouring down
Gets wet under the window
Are you happy from this picture painted by the poet ?
-That’s how different autumn ! Either bright, elegant, or quiet, sad, grey. Today we will draw such an autumn . What colors will you need for this - warm, bright or cold, gray?
-Look at the picture depicting late autumn . what color is the sky? - What are the trees like?
Now I will tell you how to get these soft colors. You have palettes on your tables; artists use these palettes to compose paints. And you will do it. To get gray paint you need to add a little black paint to white. If you paint clouds , then take blue paint and add a little black and white paint to it, stir them on the palette. The color of the grass in late autumn also lost its brightness - it is brown. Take green paint and add a little yellow and brown to it - you get a brown color.
- so, first you need to put the right paint on the palette, and then draw it on a sheet . Think about your painting and get to work.
After finishing the drawing, the works are displayed for viewing.
Work plan for the non-traditional drawing circle “Magic Pencil” Name and goals of the lesson:[/u] 1. Let’s get to know each other! – I am Queen Brush Goals: Journey to the land of colors To instill a love of creative activity.
The program of the circle for artistic activities in non-traditional techniques “Gnome Workshop” Perspective-thematic plan Lesson topic Objectives Material Month October “Parents meeting” To acquaint parents with the specifics of the work of the circle about the types of fine arts.
Source
How to draw autumn with gouache
It’s hard to imagine children’s creativity without gouache drawings. The advantage of gouache is that it allows you to highlight additional details on top of the main background.

To work you need to prepare
- album sheet,
- gouache,
- brushes,
- a glass of clean water.
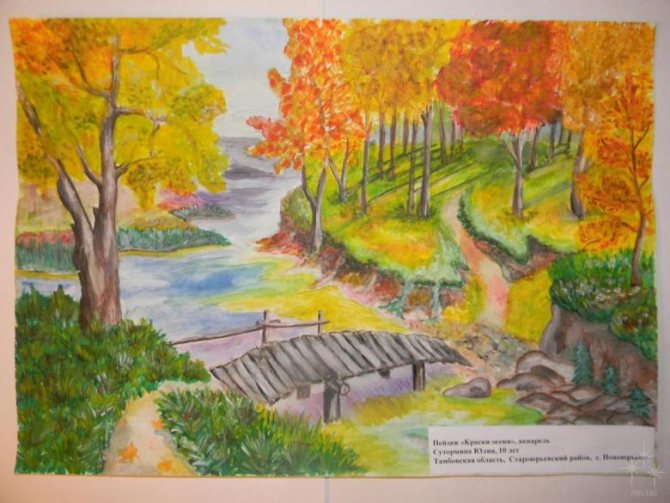
This master class will help you master the art of displaying the beauty of autumn nature on paper.
- The first step is to draw a horizon line using blue paint. Paint the sky blue too: make the upper part a darker shade.
- The rest of the background should be painted in a soft blue color. This will be a river.
- In the upper part of the sheet, use round strokes to mark white clouds.
- At the bottom and in the middle, paint the ground with brown and yellow, leaving a blue stripe of the river in the middle.
- Draw the trees in dark brown.
- Draw the reflection of the trees on the surface of the river.
- Draw autumn leaves on the trees. Apply paint in dotted strokes.
- Gouache makes it possible to create a bright multi-layered drawing. Therefore, the crowns of autumn trees can be made in two shades, combining yellow with red, orange or brown.
- Trees can also be drawn in the foreground. A bright green spot can indicate a Christmas tree.
- Against the background of the river, mark the ripples with thin white strokes.

Autumn in watercolor
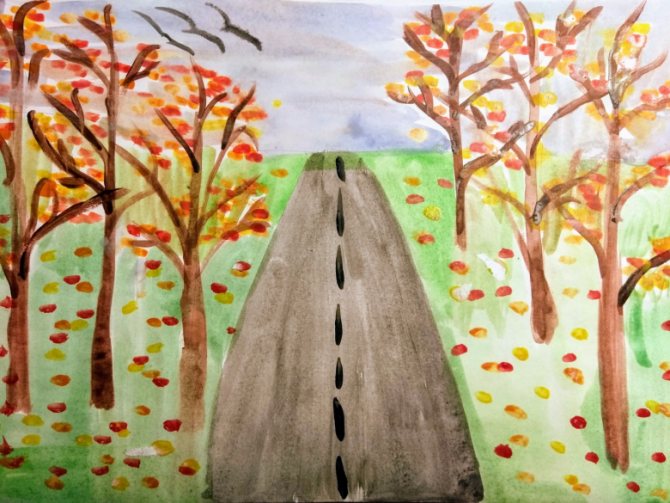
In order to paint an autumn picture in watercolor, you can start the creative process with a pencil sketch. With light lines you can outline the perspective, the horizon line and the alley framed by trees and stretching into the distance.

To work you need to prepare:
- landscape sheet or watercolor paper,
- paints,
- pencil,
- brush,
- a glass of water.
Operating procedure.
- Outline the main lines of the future drawing with a simple pencil. For convenience, you can draw the details in more detail.
- Below the horizon line, paint the background gray, applying the helmet with uneven strokes. The middle of the picture should be lighter.
- Draw the distant plan in a dark color, indicating the forest area. There is no need to draw details, simulating a limited view due to autumn fog.
- Use black paint to paint the tree trunks framing the alley stretching into the distance.
- The further the trees are from the observer, the lower and less clearly drawn they are.
- Apply strokes of yellow paint to outline the tree crown.
- After the drawing has dried, use light strokes to indicate the reflection of the trees on the wet asphalt of the alley.

The autumn theme for drawings is very diverse and is an inexhaustible source of inspiration. You can embody an artistic idea using paints, colored or simple pencils. Basic drawing techniques will help bring creative ideas to life.
