Making pictures from parts
There is a lot of literature on this topic, I use these manuals:
- Children's health kit;
- A set of pictures on social development
- Illustrations on children's speech activity.
I also use homemade materials in my work, download pictures from the Internet and make games. So, that was a small digression, let's get back to the topic of conversation.
A drawing that is divided along straight lines into several parts is split. A preschooler should not think about the shape of a detail in a drawing; he concentrates on the full image.
When a child collects a drawing, he must imagine what he is collecting, what image he will get. In this case, he must correlate the pieces with the image so that the correct place is allocated to it. Otherwise the illustration will not work. This requires concentration, seriousness, and attentiveness from children.
When folding cut images, the baby begins to realize the objective integrity and compose an illustration from parts. He trains his memory, develops thinking, and spatial orientation. Drawings are great for improving fine motor skills. By consolidating knowledge about objects and phenomena, assembling a whole from pieces, the goal of the cut-out pictures game is formed.
From simple to complex
At first it is better to use the simplest designs with a small number of individual pieces. The image should be familiar to the baby. A good option is two similar pictures, one of which is divided into 2 parts. In this case, one can be a sample.
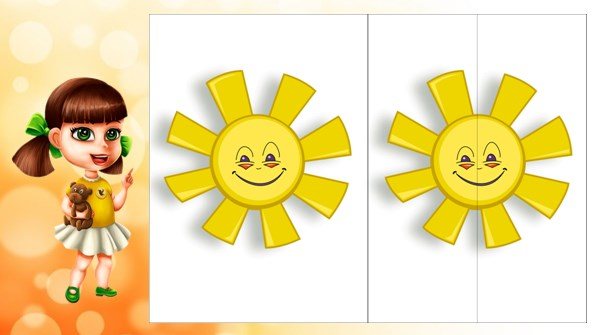
After the child masters this fun, he will not need an example picture. For this game, drawings from coloring books or old books will be useful. It will be much more interesting if you draw them yourself. Use bright, but not irritating colors.
First, cut the images into two, then into three parts. Then increase the number of pieces gradually when the child folds the previous drawing on his own. You should know that the number of elements collected increases, and their size decreases. There are times when a baby puts together pictures with large pieces easier.
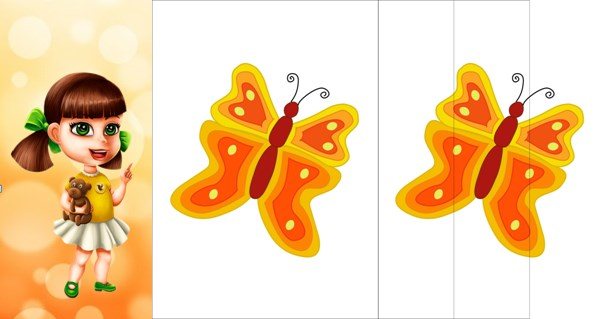
The number of items should be selected in accordance with the age and special qualities of your child.
Cutting pictures for kindergarten
Very often in kindergarten I involve older children in making such games for younger children, and preschoolers are happy to help me. But at the same time, I am pursuing my goals, my task is not only to attract a child to artistic work, but also to teach how to cut paper, while developing children’s hands and fingers.
Pay attention to the “Games” section, where you will find a lot of useful material.
The game of cut pictures is widely used in speech therapy activities with preschool children of the middle and senior groups. A speech therapist works with them and uses these games in his work.

At every age, starting from 1.5 - 3 and continuing up to 7 years, the child is very interested in this fun, because with the help of it he learns the alphabet, toys, professions, transport, etc.
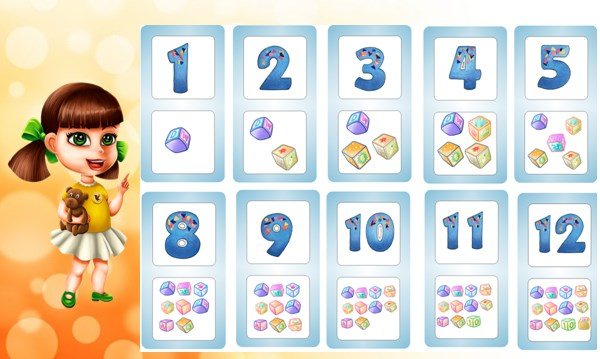
For preschoolers in the preparatory group, it is interesting to conduct such fun activities in mathematics. When compiling examples, I use the following pictures: in the upper part, for example, animals, toys or any objects, and in the lower part there is a number with the number of objects depicted in the picture. Such cut-out pictures for preschoolers can also be used to compose problems. An important indicator for assessing intellectual development in children is the success of putting together pictures from parts.
Consultation for parents. Games with children “Cut-out pictures of the house and in the garden”
MUNICIPAL AUTONOMOUS EDUCATIONAL INSTITUTION
"Kindergarten No. 396", Perm
Consultation for parents of children of the second junior group
topic: “Cut pictures - at home and kindergarten”
Developed by teacher Yulia Vitalievna Fedeneva
Dear parents! An interesting option for didactic games are cut-out pictures, we’ll talk about this today. But first I want to ask you, do you use this game with your children and grandchildren? Where do you get the pictures? How do children behave in the game?
Cut picture
is a picture
cut
along straight lines into a different number of parts. The child does not have to think about the shape of the parts and can focus only on the image.
The purpose of cut pictures:
Teach your child to make a whole from several parts. In the process of playing with pictures, the child gets acquainted with the world around him, expands his vocabulary, activates speech, develops logical thinking and fine motor skills.
When a child collects a drawing, he must imagine what he is collecting, what image he will get. In this case, he must correlate the pieces with the image so that the correct place is allocated to it. Otherwise the illustration will not work. This requires concentration, seriousness, and attentiveness from children.
When folding cut images, the baby begins to realize the objective integrity and compose an illustration from parts. He trains his memory, develops thinking, and spatial orientation. Drawings are great for improving fine motor skills. By consolidating knowledge about objects and phenomena, assembling a whole from pieces, the goal of the cut-out pictures game is formed.
From simple to complex
At first it is better to use the simplest designs with a small number of individual pieces. The image should be familiar to the baby. A good option is two similar pictures, one of which is divided into 2 parts. In this case, one can be a sample.
After the child masters this fun, he will not need an example picture. For this game, drawings from coloring books or old books will be useful. It will be much more interesting if you draw them yourself. Use bright, but not irritating colors.
First, cut the images into two, then into three parts. Then increase the number of pieces gradually when the child folds the previous drawing on his own. You should know that the number of elements collected increases, and their size decreases. There are times when a baby puts together pictures with large pieces easier.
Very often in kindergarten I involve older children in making such games for younger children, and preschoolers are happy to help me. But at the same time, I am pursuing my goals, my task is not only to attract a child to artistic work, but also to teach how to cut paper, while developing children’s hands and fingers. The game of cut pictures is widely used in speech therapy activities with preschool children of the middle and senior groups. A speech therapist works with them and uses these games in his work. At every age, starting from 1.5 - 3 and continuing up to 7 years, the child is very interested in this fun, because with the help of it he learns the alphabet, toys, professions, transport, etc.
Method of playing the game
Having carried out the technique with cut-out drawings, for example, according to the seasons, you must first select pictures on this topic. The purpose of this method is to identify the skills of composing a whole image from parts. The task is to orientate by shape, color, size, identify visual figurative thinking, coordinate hand movements, as well as fine motor skills. How to do this fun?
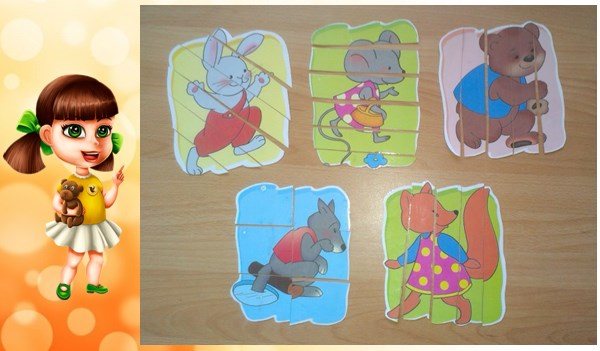
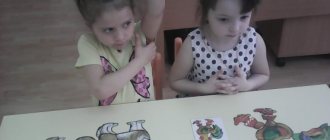
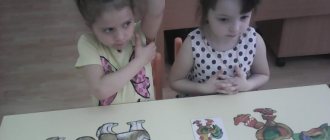
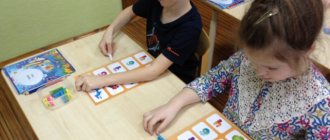
Before playing the game, the speech therapist lays out parts of the illustration, which consist of 4 parts, on tables for children. Then he invites the children to assemble the object, asks them to put the parts on the sample, remember the location of the parts in order to assemble the illustration themselves. After which the drawings are scattered, the sample is removed, inviting the children to collect them again. The child must name the object that is cut.
If a child puts the images together correctly on the first try, this means that his visual and figurative effective thinking is well formed. If a small child completed the task on the second attempt, then we can assume that his attention and imagination are poorly formed.
In a word, this technique helps the baby develop logic, memory, attention, imagination, thinking, activates speech and sensory perception.
Didactic game “Make a picture”
Didactic game “Make a picture”
Goal: to develop perception in children 3–5 years of age.
Equipment: simple pictures depicting apples, cucumbers, matryoshka dolls. One picture is whole, the other is cut into 3 parts.
Progress of the game:
Invite the child to assemble the cut picture according to the pattern.
For children 5–6 years old, you can offer the following task:
a) collect more complex pictures;
b) take two identical postcards, leave one of them as a standard, and cut the other into 4 - 5 parts, then, after mixing them, assemble them according to the sample;
c) you can complicate the task for the child by asking him to add pictures from memory, without a standard.
Didactic game “White Sheet”
Goal: to develop the perception of the shape of objects in children 3–5 years of age, as well as to develop fine motor skills of the hands.
Equipment: a sheet of paper with drawn figures, some painted in green, a set of white figures identical to the figures on the sheet of paper.
Progress of the game:
Invite the children to cover the green figures on a sheet of paper with white figures. If the shapes are positioned correctly, the result should be a white sheet of paper.
For children 5 years old, you can make it somewhat more complicated by placing figures glued to a piece of cardboard in a linen bag. And then we ask the child to find by touch the necessary “patch” to cover this or that green figure.
Didactic game “Find out the subject”
Goal: to develop the perception of color, shape and size in children 4 - 6 years old.
Equipment: cards with images of geometric shapes.
Progress of the game:
The child is given tasks aimed at differentiating characteristics of color, size, shape:
a) Give the bear a circle, give the doll a triangle, give the bunny a square. Place the square on the window. Place the circle on the sofa. Put a red circle, a blue square, bring a green triangle.
b) Collect all the circles, put blue circles, green circles, yellow circles, red circles separately.
c) Show the triangles, then choose blue triangles, green triangles, yellow triangles, red triangles.
d) Collect all the squares, choose blue squares, yellow squares, green squares.
e) Show small circles (small triangles, small squares).
f) Collect large circles (squares, triangles).
g) Show large green squares, small blue circles, large red triangles, small green squares.
Didactic game “Find the same object”
Goal: to develop the perception of shape in children 4 – 6 years old.
Equipment: pictures depicting a standard lamp and several more drawings of lamps of various shapes.
Progress of the game:
The child is offered pictures, among which he must find the same one as the standard. The task is limited in time; only 30 seconds are given to study the pictures. After this, the child must give an answer.
For children 4 years old, you can leave the standard in front of your eyes; for older children, the standard should simply be covered with a sheet of white paper. This option will allow you to develop not only the child’s perception, but also memory and attention.
Invite the child to look carefully at the lamp. Find the same one among other lamps.
Didactic game "Colors"
Goal: to develop color perception in preschool children.
Progress of the game:
Invite the child to name 5 objects of a certain color (blue, red, yellow, brown, black, green, etc.) in 1 minute. Items may not be repeated.
The teacher can also organize a game with a group of children. The child who cannot name 5 objects of the named color in 1 minute leaves the game, and the winner is given the right to become the leader and suggest a color for searching for objects.
D/i “Find out who is drawn.”
Goal: to teach children to project a three-dimensional object onto a plane, to recognize the human body by contour and silhouette images, to consolidate the ability to name and show the main parts of the body and their spatial position.
Equipment: large sheet of whatman paper, black marker.
The child is placed on whatman paper, his body is outlined with a marker, then the child stands up. Next, the teacher and the children examine the contour image of the body. After this, you can invite them to look at the silhouette images of various people on the cards.
D/i “Draw from a stencil.”
Goal: to consolidate the ability to trace a person’s image using a stencil, trace a line, highlight the main parts of the body, their shape, size, spatial position, and improve motor memory.
Equipment: stencils with a picture of a person, sheets of paper, felt-tip pens.
D/i “Make a whole from parts.”
Goal: to teach children to compose a whole image from its parts, consolidate spatial position, and develop holistic perception.
Equipment: a sheet of Whatman paper with an already drawn outline image of the child’s body, cut into pieces (body parts).
D/i “Stick, stick, cucumber...”.
Goal: to learn to draw a schematic image of a person from counting sticks, to fix the names of body parts and their spatial position.
Equipment: set of counting sticks, sample.
D/i “Find it in the picture.”
Goal: to consolidate the ability to single out an image of a person from a variety of other objects, fix the gaze on the image, recognize and name it with a word.
Equipment: story picture.
D/i “Wonderful bag”.
Goal: consolidate knowledge about different types of toys, their shape, size; develop the ability to visually examine them, highlight the main parts, supplement visual information with representations obtained by various analyzers.
Equipment: fabric bag, toys (dog, doll, pyramid, car, spinning top, etc.).
D/i “Dress the doll”
Goal: to teach children to recognize and name items of clothing, to practically act with them, receiving additional information through a tactile analyzer, to identify parts of clothing (sleeve, pocket, button, collar, etc.), to determine the color, shape, size, spatial position of parts (right sleeve, left sleeve, top button, etc.).
Equipment: items of natural clothing and doll clothes (T-shirt, panties, dress, socks, coat, hat, scarf, etc.), doll.
Didactic game “Make a picture”
Goal: to develop perception in children 3–5 years of age.
Equipment: simple pictures depicting apples, cucumbers, matryoshka dolls. One picture is whole, the other is cut into 3 parts.
Progress of the game:
Invite the child to assemble the cut picture according to the pattern.
For children 5–6 years old, you can offer the following task:
a) collect more complex pictures;
b) take two identical postcards, leave one of them as a standard, and cut the other into 4 - 5 parts, then, after mixing them, assemble them according to the sample;
c) you can complicate the task for the child by asking him to add pictures from memory, without a standard.
Recommendations for parents
Cutting pictures for children develop their sensory abilities.
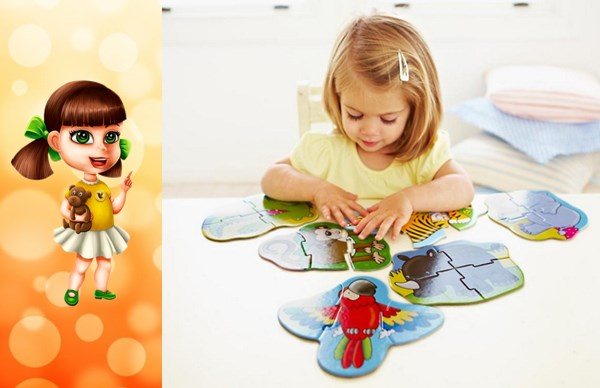
The tasks for adult groups are:
- development of the baby’s sensory abilities: restoration of the whole in parts;
- development of coordinated actions of hands and eyes through the ability to trace an image along a contour;
- knowledge of the object depicted in the illustration, its name and finding identical drawings;
- speech development, enrichment of the active vocabulary with the help of new words, as well as repetitions of familiar words.
The materials are object drawings from two sets. Two identical images are selected from each set. One picture is cut in half, and the other, as an example for selection, remains intact.
Tip #1
Use pictures that, when cut, form identical parts, connecting them, they will be like one whole, for example, a hare, a pyramid, a car, a chicken.
How to conduct classes? Use a surprise moment, let a fairy-tale character come to visit your son or daughter who does not know the names of the toys. For example: a clown drew toys and brought them to your baby so that he could tell what they are and how to play with them. Parents show entire illustrations and ask what is depicted on them. If the children answer correctly, you praise him. It will be good if you use a poem or beautiful figures of speech on the topic of the image.
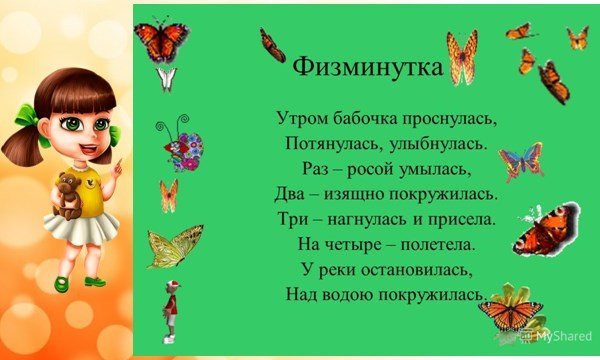
Don’t forget that children get tired quickly, spend some physical exercise in a playful way, fortunately there are a great many of them on the Internet.
When a preschooler looks at the drawings, an adult teaches him the ability to trace an object along the contour. Thus, sensory actions of the hands and eyes are developed, which help to recognize objects when examining their shape.
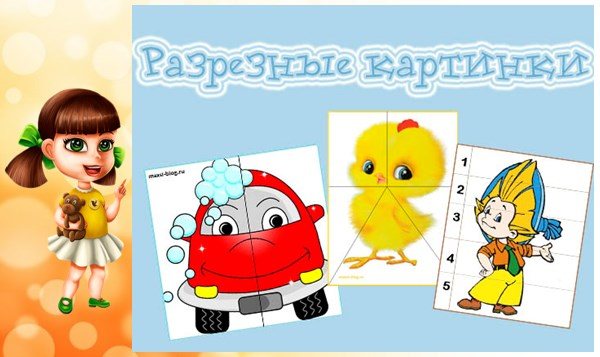
Next, the parent shows the same illustrations, which consist of two identical halves. Then he explains that the picture must be folded correctly, then you will get a whole pyramid, matryoshka or car. Then he shows how to add two identical halves, and also compares the created illustration with a similar image in the whole drawing that the clown brought them.
Then the task becomes a little more complicated, the parent gives the child 2 drawings, for example, a pyramid and a hare, a car and a chicken, a tomato and a cucumber. The child chooses images from two options that differ in color and shape. When classes are over, the adult praises the little one for the actions done.
Tip #2
Dear parents, to consolidate the material, you need to systematically repeat the lessons and further complicate them, i.e. cut illustrations into three, four, eight parts.
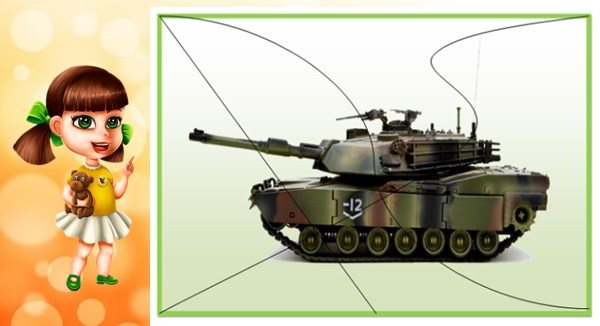
The game cut pictures for preschoolers allows them to get acquainted with their hometown, learn the names of domestic and wild animals, migratory birds and insects, indoor plants, flowers, trees, vegetables, fruits. It also helps to improve cognitive interests in fire safety and military equipment.
5/5 — (3 votes)
Methodology “Cut pictures”
The level of development of holistic perception of an object picture is investigated.
Stimulus material',
pictures cut into pieces with different cut configurations.
Standards.
cut-out picture of 2 fragments - 2.5-3 years;
cut-out picture of 3 fragments - 3-3.5 years;
cut picture of 3-5 fragments - 4-5 years;
cut picture of 5-8 fragments - 5-6 years
Progress of the study:
The child is asked to connect the disconnected parts of the picture to make a whole picture. Preview available.
Analysis of results:


9) connects parts without analyzing the resulting whole;
10) application with a turn;
11) visual relationship of parts without application. Task completion levels:
• High level - completing the task by visual correlation. 1-2 practical tests are acceptable in the case of a 6-fragment picture.
• Intermediate level - completing a task through errors, application (3-6 fragments).
• Low level - composition with numerous inadequate samples or the picture does not add up.
Sensory level of action -
folds uncertainly, trying to pick up parts without focusing on any sign.
Perceptual level
- focuses on some sign of size, color, shape, but collects with errors.
Operational (mental) level of perceptual actions -
fast visual correlation. Features of children's mastery of various types of perception, the reasons for perception impairment are given in Appendices 3.4.1., 3.4.2.
Designing their sticks
The task is aimed at identifying the level of development of holistic perception, analysis of a sample, and the child’s ability to perform a task of imitation (2.5-3 years), a sample (from 4 years old), and from memory.
Stimulus material:
2-6 flat sticks of the same color.
Carrying out the examination:
In front of the child, they build a figure out of sticks (“hammer”, “mushroom”, “house”) and ask them to do the same: “Build it like mine.” If a child cannot complete a task by demonstration, he is asked to complete it by imitation: “Look and do as I do.” Then they are again asked to complete the task according to the model.
Children 4 years old perform the task only according to a ready-made model (in this case, the arrangement of the figures behind the screen changes, and the child is asked to reproduce) and from memory “Build again the house that you saw”).
Analysis of results:
1) imitation of the external manipulations of an adult without taking into account shape, size, spatial relationships (for 3-year-old children this is inadequate);
2) imitation of an adult’s manipulations, taking into account shape, spatial location, size;
3) comparison and correction of errors;
4) accurate reproduction of figures without errors or corrections;
5) independent sample analysis and reproduction.
Spatial Gnosis
The ability to navigate in space and distinguish spatial directions is studied. a) 2.5-4 years - showing objects in front, behind, above, below;
Stimulus material:
small toys and pictures placed in a box.
Example instructions:
“Put the bear near the box”, “Put it in the box”, “Put it on the box”, “Hide the picture under the box”, “Take it out from under the box”, “Show where the top (bottom)” is, “Go forward (back) "
Standards:
2.5 - 3 years - understands prepositional-case constructions; makes mistakes in 1-2 tasks, is easily corrected;
3.5-4 years - completes all tasks.
b) 4-6 years old - show objects that are on the right, left, above, below, in front, behind.
c) Speech version of the Head test.
1) Simple orientation (4-6 years).
Instructions: “Raise your left hand (you need to start only with your left hand^ show your right eye, left leg.” If the task is completed, then move on to the next one, if not, stop.
2) Instructions: “Grip your right ear with your left hand; with your right hand - behind your left ear; show your right eye with your left hand” (6 years old). Conclusions:
both tasks were completed (Head's tests); Only simple orientation was completed; not a single task was completed.
Performing the test is difficult in children with left hemisphere impairment and in children suffering from dyslexia.
Features of children's mastery of various types of perception, the reasons for perception impairment are given in Appendix 3.4.1 (Diagrams 1 and 2).
