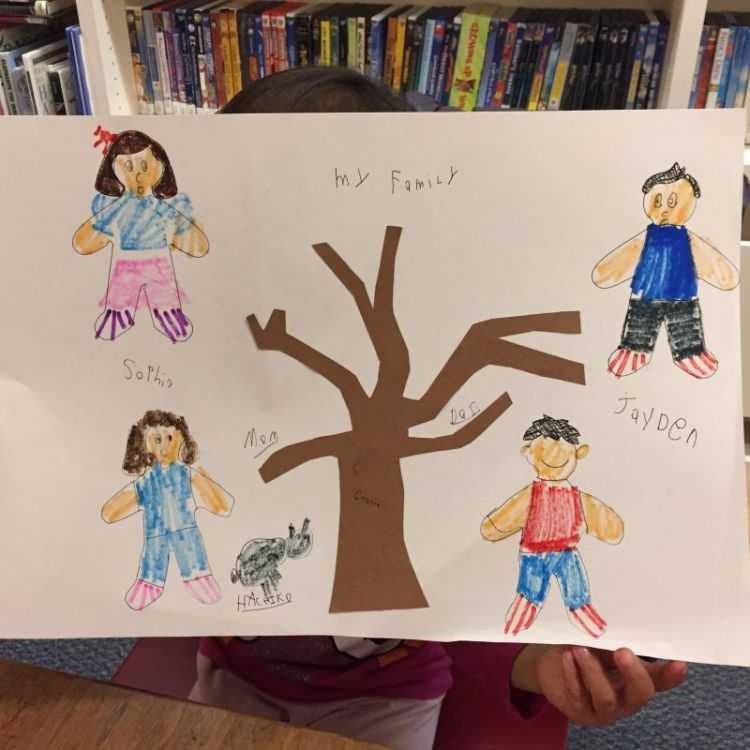
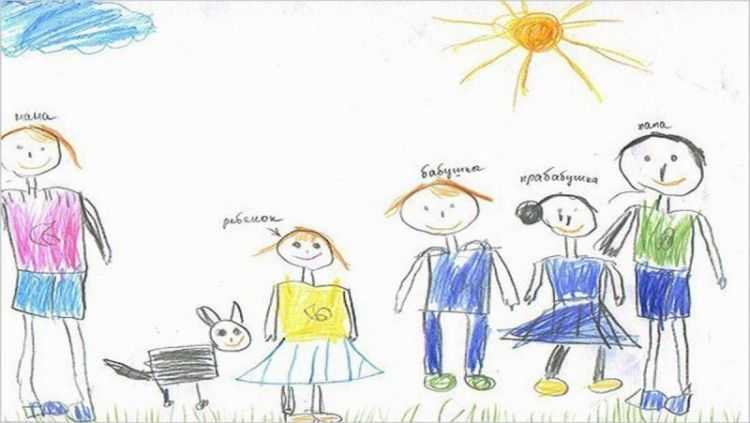
Family tree
Often children at school are given the task of drawing a family tree. And in the final part of the article, recommendations for its implementation will be given:
- First of all, you need to use a simple pencil to mark the roots of the tree and the trunk.
- Depending on the number of tribes of the family, it is necessary to designate the branches.
- For aesthetic design, you can conventionally depict photo frames on the branches. For example, in the form of flowers or fruits.
- Fill the frames with photographs or children's drawings.
Step-by-step instructions for children and beginners
First of all, you need to make a plan and figure out which family members will be in the picture. Then mark the location of each object.
Advice: do not place everyone in one line, because... it doesn't look very aesthetically pleasing.
Next, the process of drawing real and cartoon families will be described.
Pencil drawing of a happy family
The following shows the process of drawing a happy family using available materials. Then coloring with gouache. A good leisure option for small children.
We recommend reading:
- How to draw a girl - make a portrait and general drawing correctly and beautifully (150 photos and videos)
How to draw a child - stages of creating drawings and recommendations for their design (video + 125 photos)
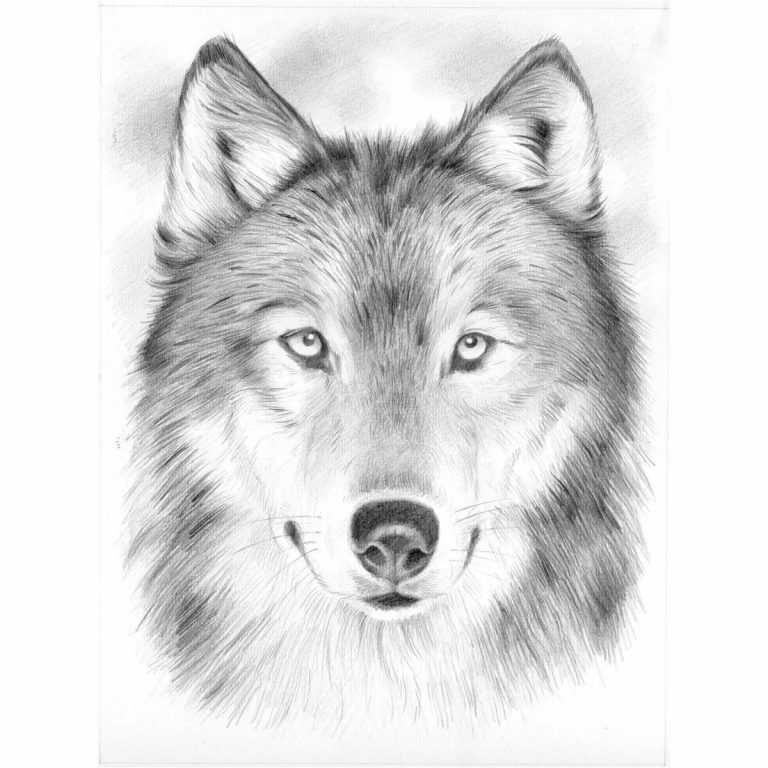
How to draw a wolf: 115 photos and videos on how to create a stylish and original drawing of a wolf
First you need to take additional “tools”: pencils, rulers, paints, bottles and bottles.
The sheet is placed vertically, and the bottle is placed on the right. On its left side is a smaller bottle. It is necessary to circle them with a gentle pressure of the pencil.
To draw a baby wearing a hat, you need to put one bottle on top of another.
The lids will be good helpers for drawing hats. Don't forget your arms and scarves.
After marking the small details, you need to decorate the creation and fill in the background.
Practice and final lesson
As you know, you can’t catch a fish from a pond without difficulty. To improve the quality of work, you need to constantly practice. Try drawing a picture of your family as a reinforcement. Good luck!
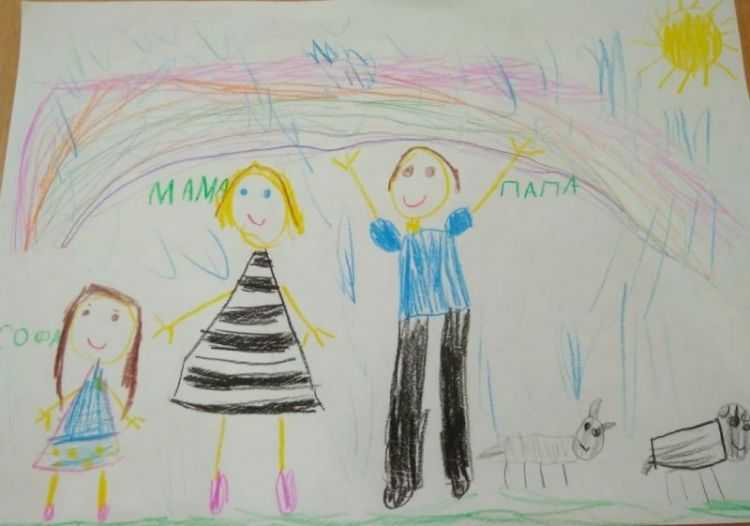
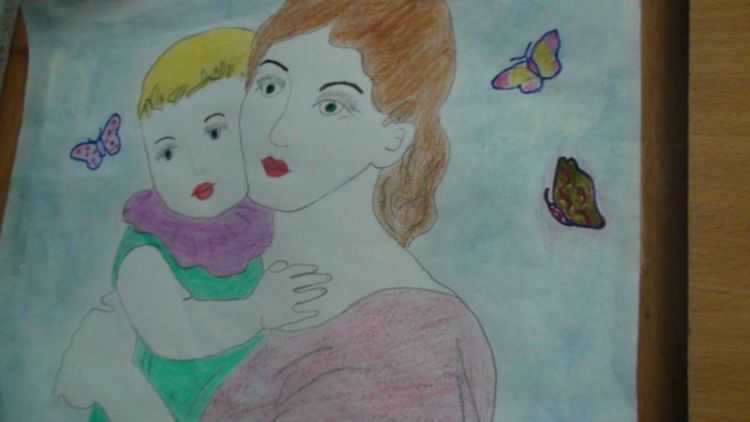
Stage two – mother and daughter
After successfully drawing the father and son, you should move on to the next part of the family. It consists of a mother and daughter running side by side.
- First you need to make markings for the correct location of the parts.
- After this, you should move on to the designation of parts. First - the oval of the face and the contour of the hair.
- Next you need to draw a face with all the details. Just as in the case of the son, the daughter’s face is more rounded and her features are soft.
- Drawing details of clothing. Don't forget about your mother's shape - bust. Now you need to draw dresses and shoes for both heroines.
- After removing the auxiliary lines, the coloring stage begins.
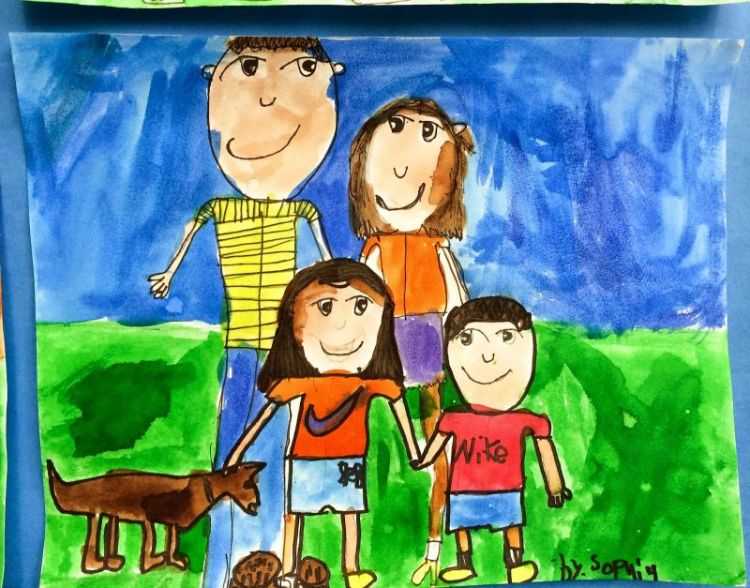
Family portrait
If you want to draw a beautiful family, then a portrait is a win-win option. This type of drawing has its own particular difficulties, but the result is worth it.
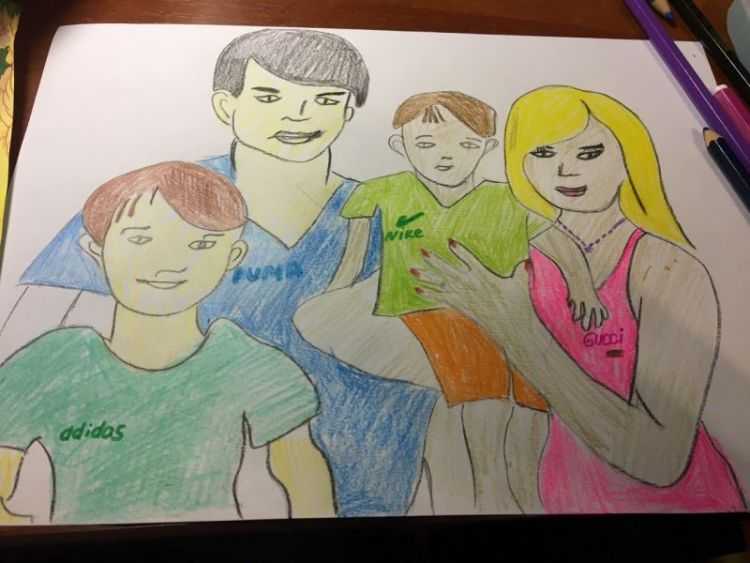
This part of the article describes the process of drawing Family Guy - the heroes of the American animated series of the same name.
- Draw ovals corresponding to the faces of family members. It is worth remembering proportionality. Next you need to draw ovals indicating body parts.
- Next, the outlines of bodies and faces are drawn.
- Designation of small elements of faces, bodies, appearance.
- The final step. If you decide to leave the portrait in black and white, then you should take care of the shadows.
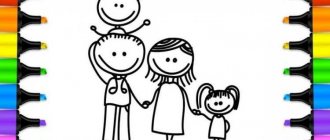
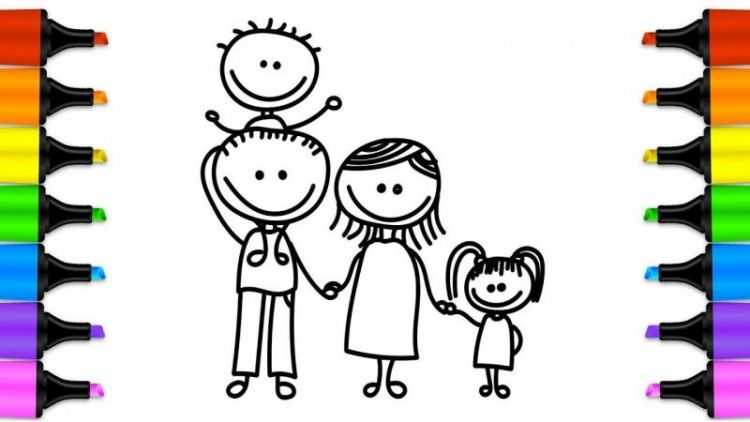
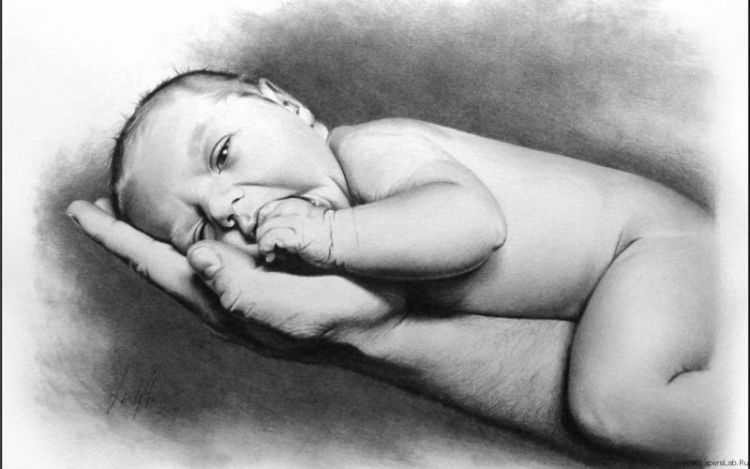
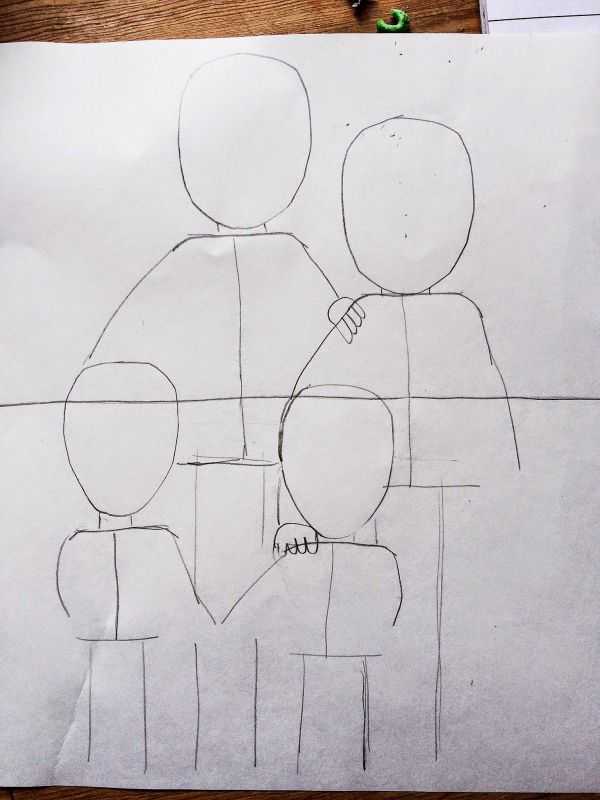
Mom and dad holding a baby
Now you will see that a family drawn in pencil is something that even a beginning artist can do.
- First you need to draw the outline of the parents. For example, you can make dad taller, so the outline of his head should also be taller. Do not forget about the distance between the bodies to accommodate the child.
- Using ovals and straight lines, it is necessary to make the contours more pronounced.
- Drawing large and small elements will allow the drawing to become more alive.
- Next you need to remove auxiliary lines that are no longer needed.
We recommend reading:
How to draw a star: 10 best options for drawing five-pointed and other stars with your own hands. Pictures of finished works with descriptions- How to draw a dragon with a pencil - the best step-by-step instructions for beginners. TOP pictures for quick visual learning
- How to draw a pony: TOP 10 best lessons for beginners. Detailed instructions for drawing My Little Pony step by step with a pencil