Penguin applique master class
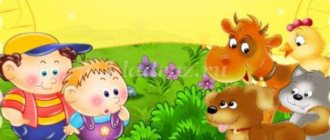
Children love not only animals from hot countries or pets, but also residents of the north. Children in the middle groups of kindergartens will enjoy the master class on making a paper penguin. Here are the step-by-step instructions:
- cut out a black oval for the body;
- cut out a smaller white oval for the tummy;
- cut out black triangular wings, brown triangular flippers and a yellow triangular beak;
- Glue all the parts onto the base.
The cheerful little penguin is ready.
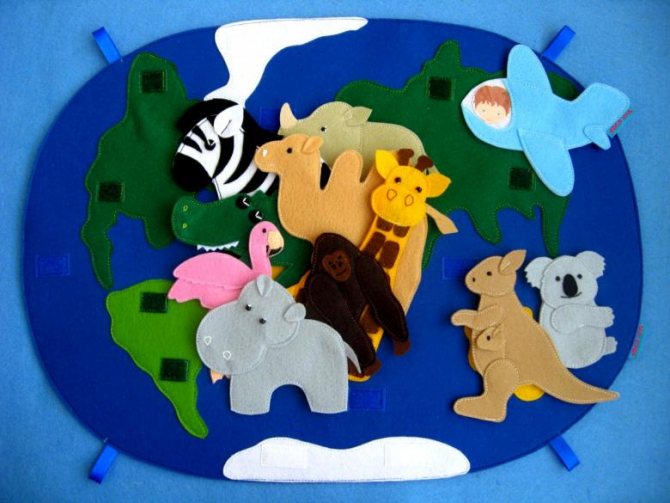
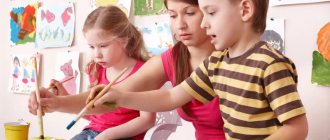
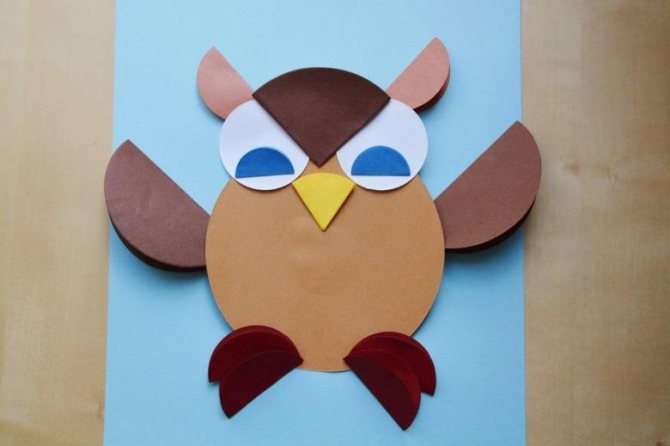
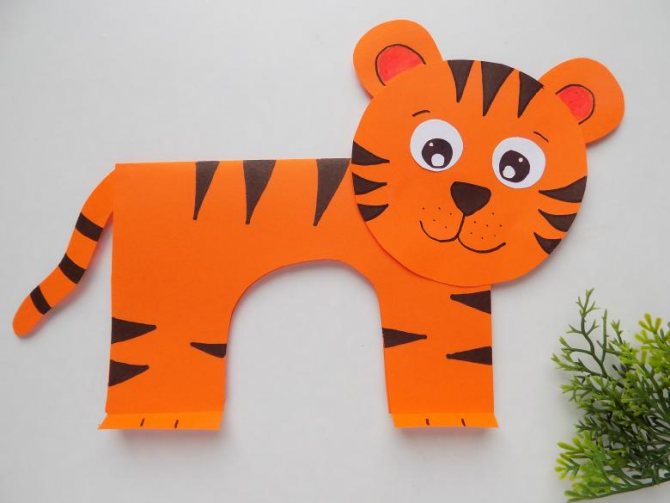
Animal appliqué develops children's creative abilities and perseverance. There are a lot of photos and templates on the Internet on the topic of children's applications with animals.
Paper animal applications
A colored picture of a domestic or wild animal should be cut into several parts and the kids should be asked to assemble it like a puzzle and stick it on a sheet of white paper.
An older child can be given a black and white drawing of an animal so that he can color it himself, cut it into pieces, and then assemble and paste it. The applique turns out even more interesting if the children are given cut out parts of the animal - the body, head, paws and tail. The child himself shows creativity and assembles his own unique applique.
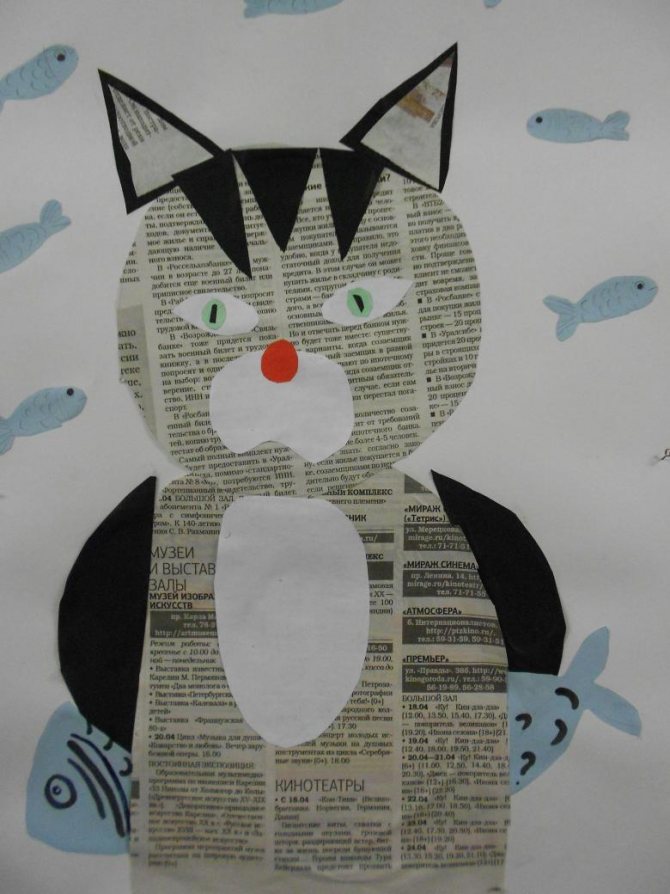
Cat
Cut out the details of the cat: round head, oval body and legs, long tail, ears from ¼ circle. Invite children to assemble a picture from a set of parts, and then color the cat.
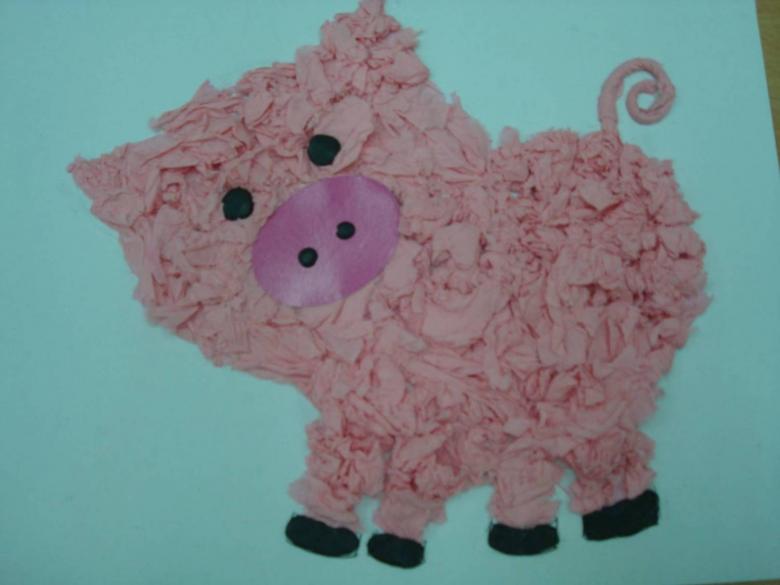
Piglet
The body, legs, head, tail, ears and details of the face are cut out of colored paper: nose, snout, eyes. The children themselves must collect the pig and stick it on a piece of paper. In the older group, you can complicate the task, for example, make the tail voluminous.
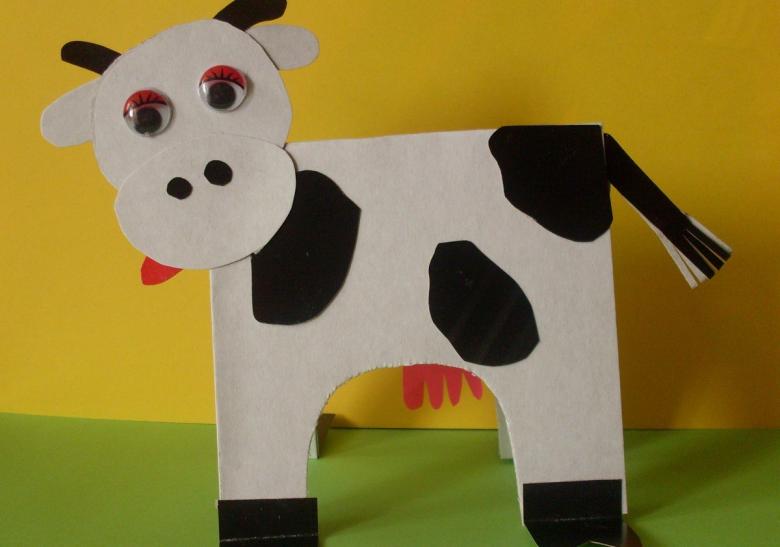
Cow
Young children are given animal parts to stick on. Older children can cut out a few cows themselves and stick them on a green piece of paper to create a grazing herd. You can draw part of the craft.
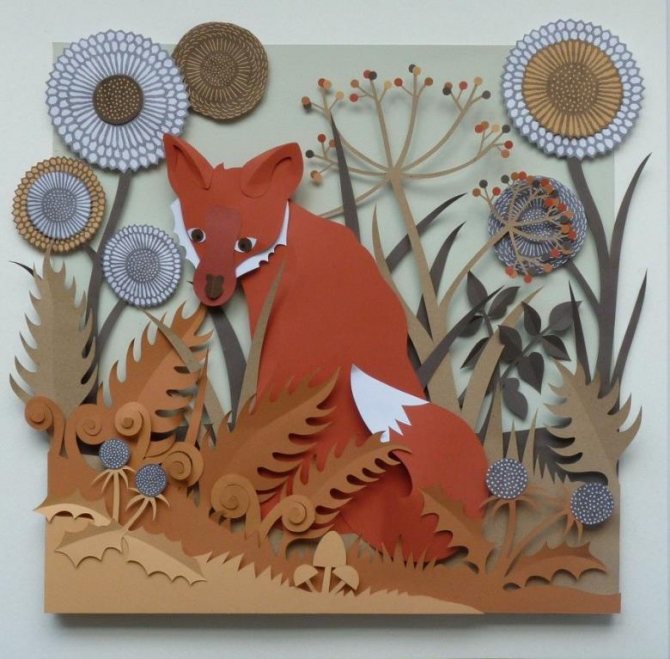
Chanterelle
It is interesting to assemble appliques of foxes and other wild animals from geometric shapes. The head and ears can be triangular, the tail, body and paws can be oval. The face can be drawn with a felt-tip pen.
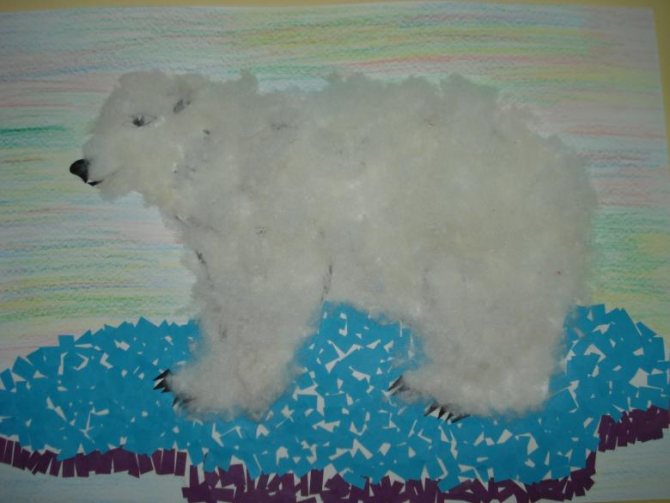
Cotton wool applications
Cotton wool is a very convenient material for application. First you need to give the children the base - the outline of the animal drawn on a piece of paper. Pieces of cotton wool need to be glued to the “shaggy” parts of the animal: the body, the head. And cut out the remaining parts from paper and glue them. The results are very cute and life-like animals.
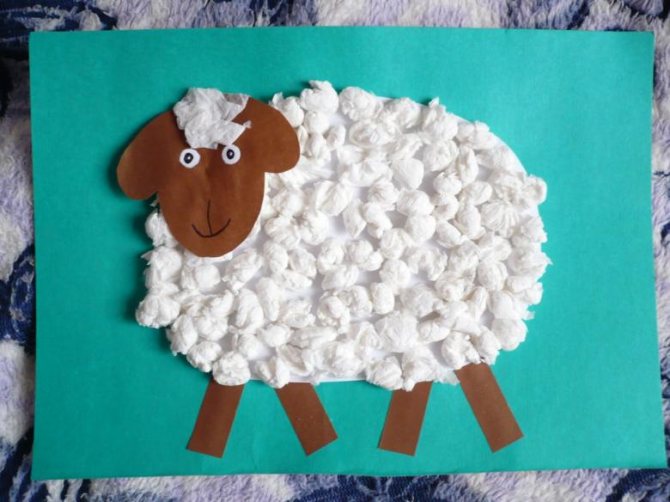
The cotton wool can be glued simply in pieces, or in rolled balls. For example, a lamb looks natural when the wool is glued on it with balls. The picture looks three-dimensional. You can even paint the cotton wool with paints, and then you will get a real children's masterpiece.
Applications from other available materials
Sometimes the most unexpected materials are suitable for applique animals. For example, to imitate the wool of a lamb, you can stick pasta “horns” on paper, and it will look like it’s alive. Rabbit skin can be made from white or gray threads. You just need to choose thicker threads, for example wool.
To make an applique of a hedgehog, it is appropriate to make its body from buckwheat glued to paper. And the body of a chicken or a bear is made of millet.
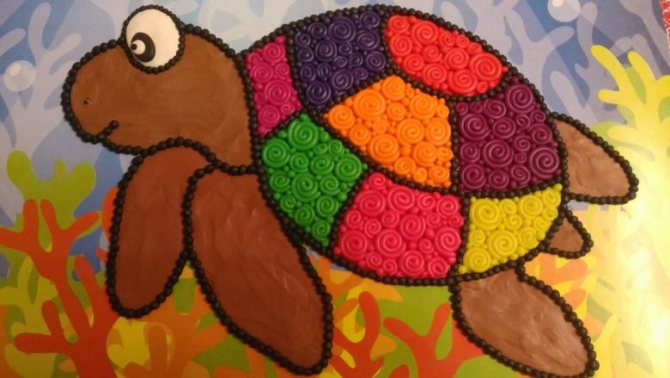
A very convenient material for applique animals is plasticine. It is easy to process, painted in different colors, and it is also a favorite material for children for various crafts. Small pieces of plasticine are simply kneaded in your hands and applied to the base drawing for applique until the entire picture of the animal is painted in the desired color. This results in a 3D effect.

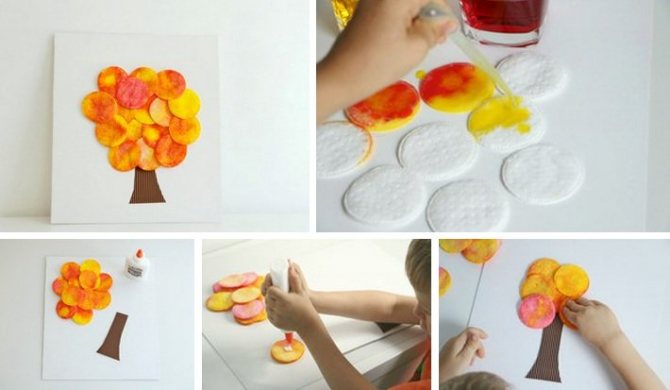
Autumn tree
Preschoolers of the younger group are interested in the use of various creative techniques. One of these involves the use of cotton pads.
Making a bright autumn tree is quite simple:
- Prepare your watercolors. Draw the trunk and branches of a tree on watercolor paper with brown paint.
- Provide children with cotton pads and pipettes. If necessary, teach how to use this medical device.
- Dilute the watercolor paint with water so that it becomes convenient for drawing into the pipette. Each color requires a separate glass. It is important that kids choose colors typical for autumn: red, yellow, orange, burgundy, light green.
- Show the students the image technique: they should dip a pipette into glasses with watercolor solutions, then pour it onto a cotton pad. One disc can be pigmented with different colors, resulting in beautiful color transitions.
- When the painted discs are dry, children glue them to the trunk and form the crown of the tree.
Application “Autumn” in the preparatory group of kindergarten
Preschoolers 6-7 years old can be taught to work with salt dough. It is more interesting for children to sculpt figures from it than from plasticine. The work is painstaking, teaches patience and perseverance, and develops imagination.
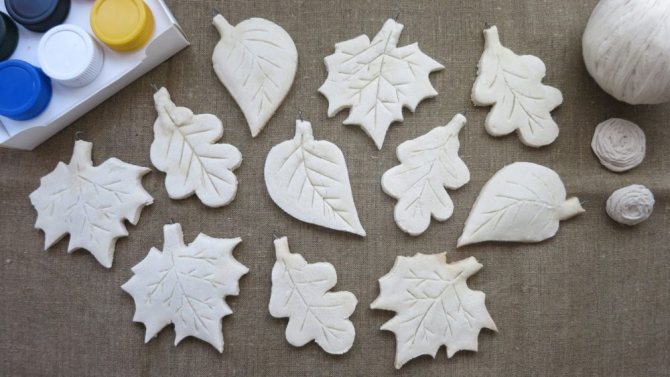
Step by step execution:
- Prepare a dough from white flour, fine salt and water. It should be dense enough for modeling.
- Place the finished dough in a cool place for 1.5-2 hours.
- Make out of it any two-dimensional, that is, flattened figures associated with autumn: fallen leaves, mushrooms, ripe fruits. Make a beautiful composition out of them. You can, for example, make a vase with leaves, you will get a wonderful still life.
- Place the composition in the oven. Heat for 30 minutes at 130°.
- Paint the frozen dough with gouache paint.
- Glue the finished autumn composition to decorative cardboard using a hot glue gun.
Napkin applications
This application is very useful for children, as it strengthens fine motor skills. The napkins are first torn into small pieces by hand, and then balls are rolled out of these pieces. The balls are glued to the base of the animal image. Today, napkins are available in a variety of colors and designs. Therefore, children's animal applications can turn out to be very interesting and colorful.

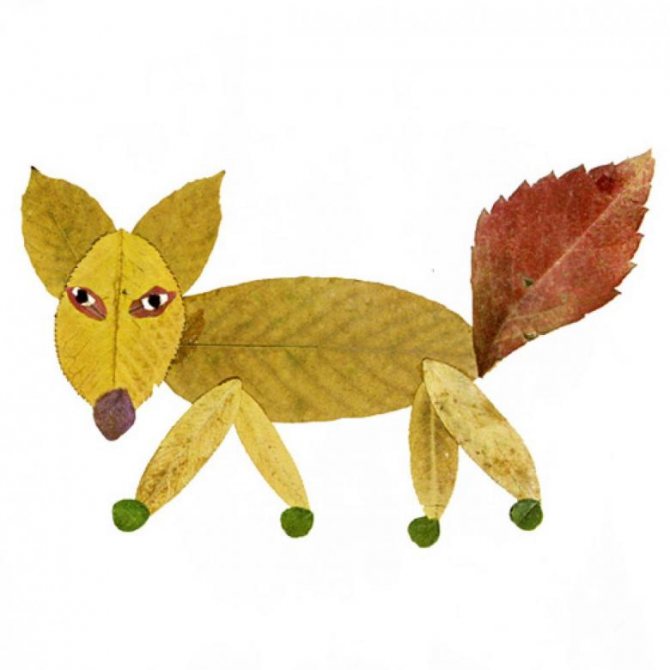
Autumn landscape
This leaf applique on the theme “Autumn” is intended for older preschoolers. The task greatly develops imagination; autumn leaves in the composition turn into bushes and trees: the leaf plate is the crown, the petiole is the trunk.
For work take:
- press-dried leaves of different types of trees;
- white cardboard for the base;
- PVA;
- watercolor.
Step-by-step work:
- Using watercolor paints, depict the main composition on cardboard, for example, the sky, a lake, and a strip of shore between them. Wait for the painting to dry.
- Select leaves in pairs. That is, the leaves in a pair should be as similar as possible.
- Create a forest on the shore. Glue the leaves one at a time from a pair. Glue at random, with one leaf partially overlapping another. The effect will be as if the trees are standing close to each other, the forest approaches the water itself.
- Don't forget about the reflection in the water. Glue the second pair of leaves upside down onto the image of the lake. Straight and inverted paired leaves should be joined by petioles.

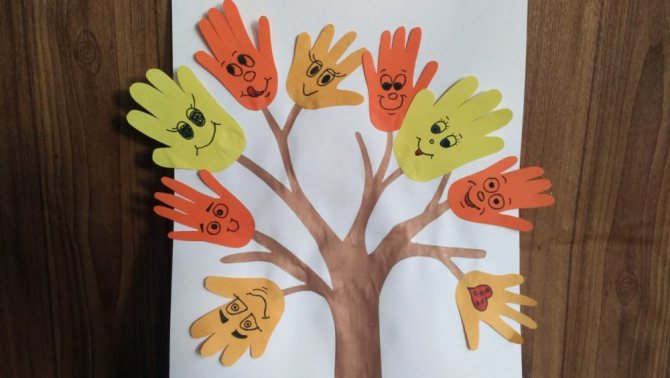
Application “Autumn” in the younger group
The tool for creating an applique can be the hands of children. For the lesson, prepare a set of colored paper, stationery glue, scissors and decorative cardboard for the base.
Instructions:
- Select brown, red, orange and yellow paper from the paper set.
- Cut out the trunk and branches of an autumn tree from brown paper and glue it to the cardboard.
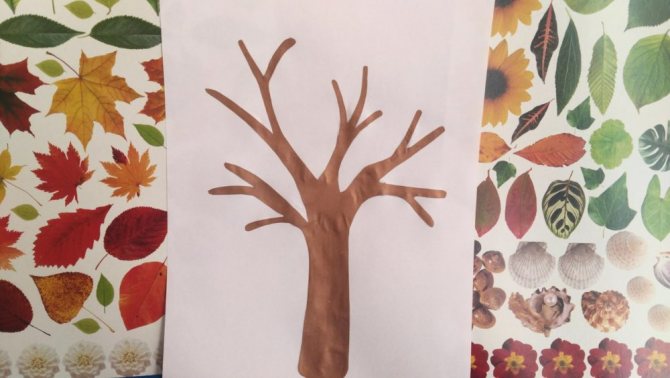
- Let the children place their hands on the other colors of paper and trace with a pencil.
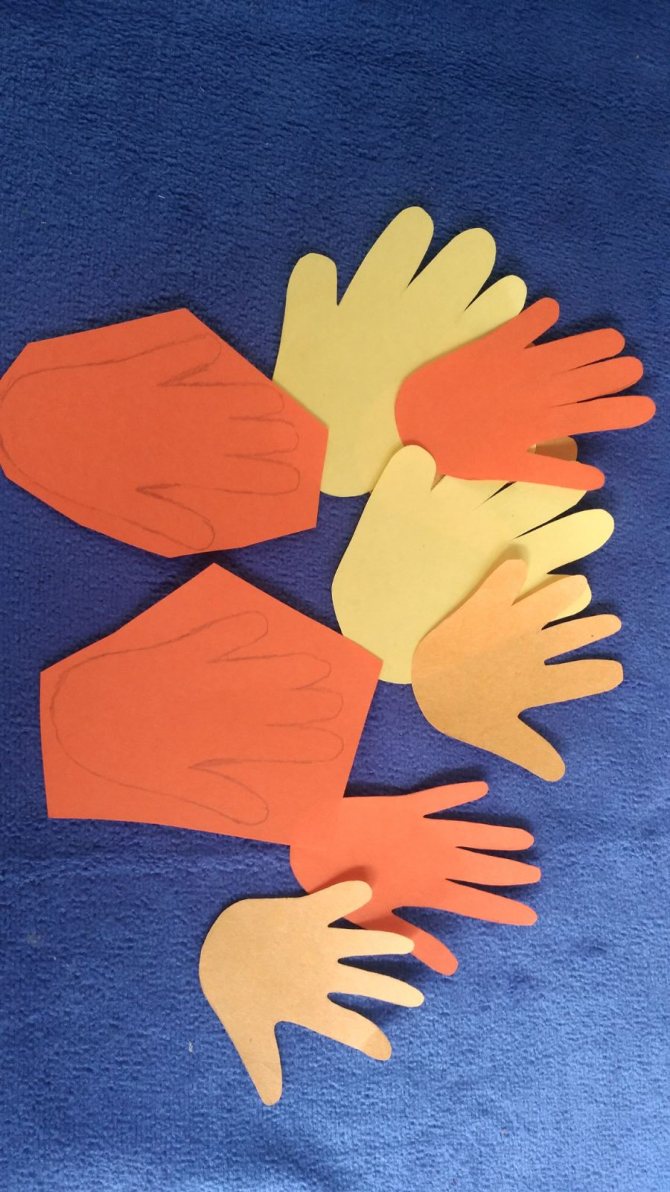
- Cut out the pencil sketches.
- Invite students to glue paper blanks to tree branches.