Composition options based on theme
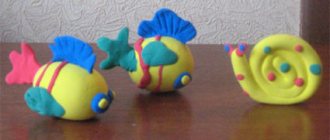
In the visual arts program for the middle group, mushroom sculpting is offered to children in October (after all, these are the same gifts of autumn as vegetables and fruits). The topic can be defined more specifically, for example, “Handsome Fly Agaric” or “Boletus”, focusing on the characteristics of a particular mushroom.
You can suggest a topic such as “Mushrooms for a hedgehog” (squirrels, forest animals). The teacher plays out a specific image of an animal in the motivational part of the lesson.
In addition, the children can sculpt mushrooms in the clearing. This can be individual (3-4 mushrooms on the grass) or a collective composition. In the second case, the teacher prepares a large base: it can be a sheet of A3 cardboard, painted green, artificial grass, moss, etc.
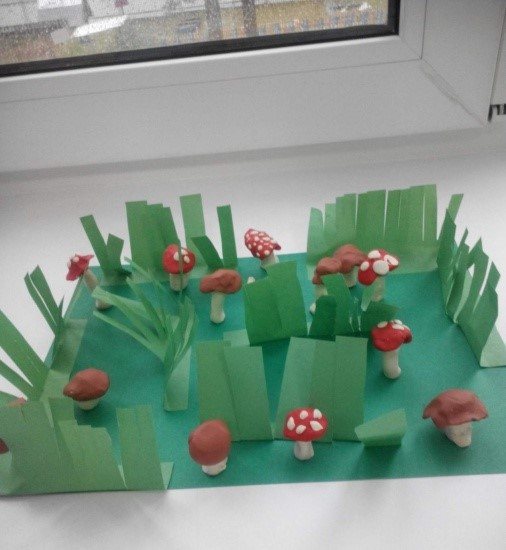
The clearing (the basis for collective modeling) is prepared by the teacher using cardboard, paper, artificial grass and other materials
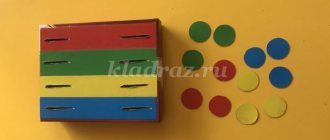
Another version of the theme is “Basket with mushrooms.” Again, it can be played out as individual and collective work. The children can make small baskets where they will place their mushrooms (several pieces), or the teacher prepares a basket in advance (for example, from cardboard strips), and the children put their mushrooms there.
Each child builds a basket in the most convenient way
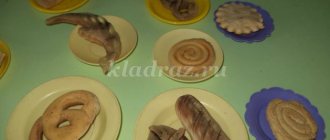
During the lesson you can also sculpt mushrooms and berries (fruits of the forest) at the same time. For example, on the cap of a large mushroom or next to it there may be a raspberry or a sprig of currant made of plasticine.
Modeling lesson: “Mushrooms”
Program content: Expand knowledge about mushrooms. Strengthen the ability to independently sculpt mushrooms using previously learned methods of working with plasticine. Develop the eye, fine motor skills, imaginative logical thinking, spatial imagination, memory, attention. Induce a joyful mood in children, satisfaction with the work done. Fosters interest and respect for nature. Material: artificial trees to create a “forest”, toys, mushrooms and a hedgehog. Handouts: modeling boards, plasticine, napkins.
Progress of the lesson
Educator: Guys, today we are going for a walk in the forest, would you like to go? Children: Yes! Educator:
Hello forest, beautiful forest, full of fairy tales and miracles! Who is hiding in your wilderness? What kind of animal is sleeping under the tree (hedgehog)
guys, look who's sitting under the tree? Children: Hedgehog! Educator: Look how happy the hedgehog was about our arrival! What do you think the hedgehog is doing in the forest?
Children's answers.
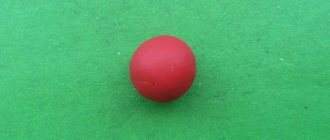
Educator: Correct! prepares mushrooms for the winter. Guys, the hedgehog asks for your help to prepare mushrooms, let's help the hedgehog? Children: Yes! Educator: Come on, let's take a walk through the forest and look at the mushrooms. Educator: What kind of mushroom is this? Riddle: But here is someone important on a little white leg, he has a red hat, on a little white leg (fly agaric) tell me, is fly agaric an edible mushroom or not? Children: No, it’s inedible, you can’t eat it. Educator: Let's take a close look at the mushroom so that when you go into a real forest, you will never pick it. What kind of leg does he have? (It’s long and thin, and the hat is round and thin, with white polka dots) Educator: Remember! That fly agaric is a poisonous and inedible mushroom. Let's look for edible mushrooms for our hedgehog. Look under the Christmas tree for another mushroom, listen to the riddle about it:
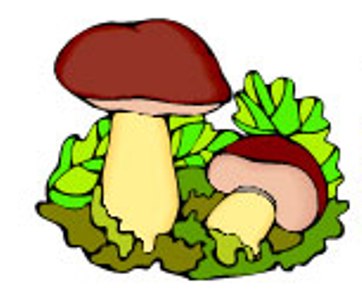
This mushroom is located under a pine tree, like the king of the forest. I am glad to find its mushroom picker, it is (white boletus).
This is an edible mushroom, the stem is thick as a column, short, it holds a large, round hat. A hedgehog will be happy with such a mushroom. Let's take a walk through the forest and look for more such mushrooms. Educator: Let's play a little: imagine that we are all mushroom pickers, let's go into the forest to pick mushrooms.
Physical education minute:
We walked and walked and walked (we walk in place) and found mushrooms (clap our hands) One mushroom (bent over) two mushrooms (bent over) Three mushrooms (bent over) put them in the box (stood up and tilted to the side)
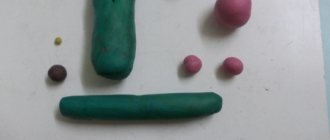
We rested a little, walked through the forest, but we hardly picked any mushrooms for the hedgehog. Let us make some mushrooms for the hedgehog. Educator: Sit down at the tables and see how you can make a mushroom. We will sculpt the stem of a mushroom from white plasticine by rolling it out, and roll the cap into a ball of brown plasticine and need to flatten it a little with our palms, this is how we get a hat for the mushroom. And now they themselves took a piece of plasticine, molded a mushroom stem, then a cap, and put it all together. We did everything, well done! Let's put mushrooms in the basket. The hedgehog is very happy and thanks you very much for your help, all the mushrooms are very brown.
Author: Mazur Marina Sergeevna, teacher of kindergarten No. 17, Alekseevka, Belgorod region, Russia
The article is posted in the auto edition
Implementation of an individual approach when sculpting mushrooms
Since the image of a mushroom in modeling can be embodied with varying degrees of complexity, this topic is very suitable for implementing an individual approach in class. Thus, children who have well-developed fine motor skills can work on the craft in more detail, marking the “skirt” of the mushroom and drawing notches-plates in a stack.
The same applies to the number of elements of the composition. As part of the theme “Mushrooms in the Meadow,” some will make just two mushrooms, while others will make a whole large family.
When sculpting mushrooms, you can successfully use an individual approach
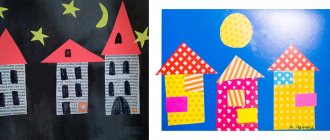
Application options for different ages
Mushroom applications are distinguished by the variety of materials used and the complexity of the work. The teacher chooses an option depending on the abilities and age of the children.
- Junior and nursery group. This category includes children aged 2 to 4 years. The works are characterized by simplicity and lack of details. Number of elements 2-3. All templates are prepared and cut out in advance. The children's task is to smear the parts with glue and glue them in the correct sequence.
- Middle group. This category includes children aged 4-5 years. The application becomes more complex, the number of details increases, and a plot is present. Work can be aimed at studying size and counting. The use of different techniques is allowed.
- Senior group. This category includes children over 5 years old. The works are offered with a variety of details; voluminous crafts and various compositions are of particular interest. For example, a hedgehog applique with mushrooms. The pieces invite children to draw and cut out themselves. At this age, they practice the skill of drawing from a template and cutting out.

To make the work interesting for children, experts recommend choosing bright colors of templates and a variety of subjects.
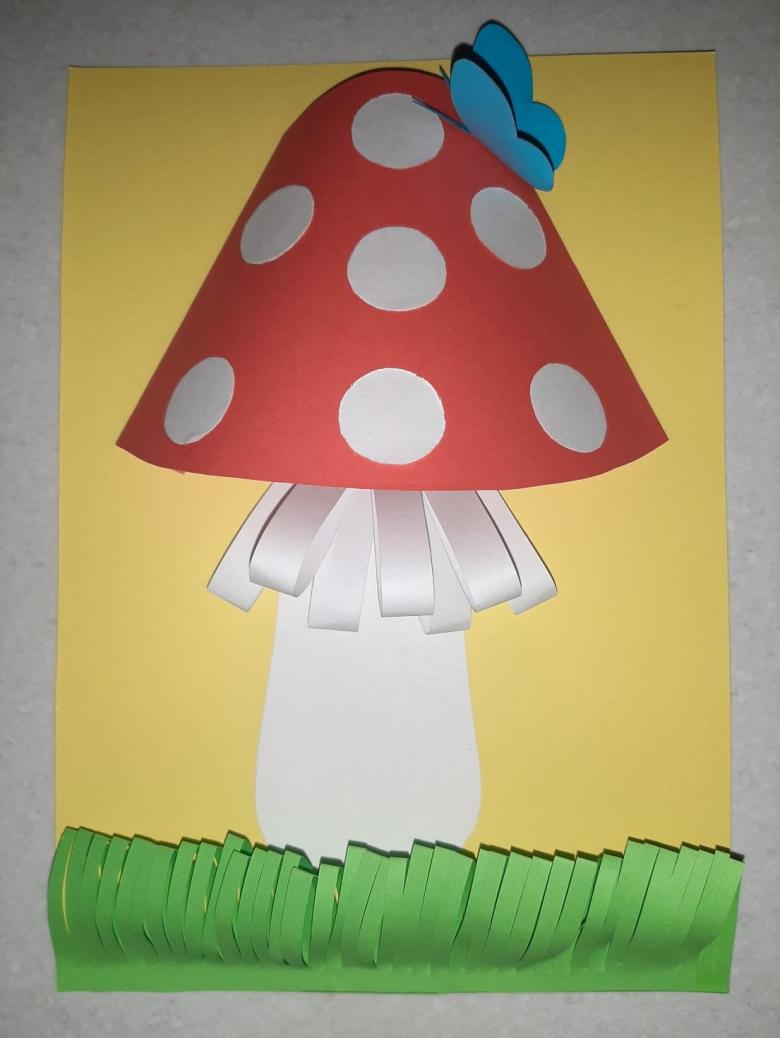
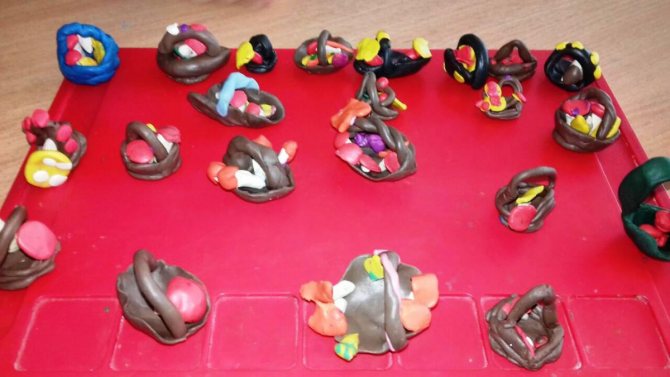
Photo gallery: works of secondary group students
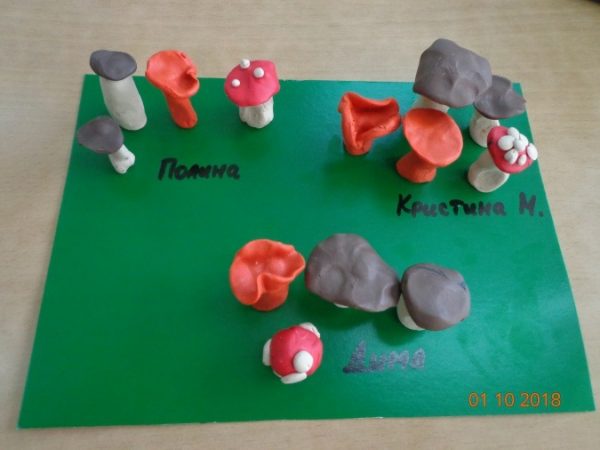
The teacher gives the children free-shaped green cardboard with wavy edges (clearing), leaves and blades of grass.
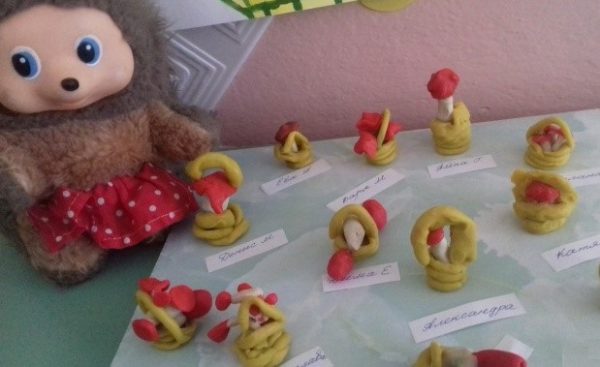
The children sculpted the basket from a long yellow rope of plasticine.
Each child can make any number of mushrooms
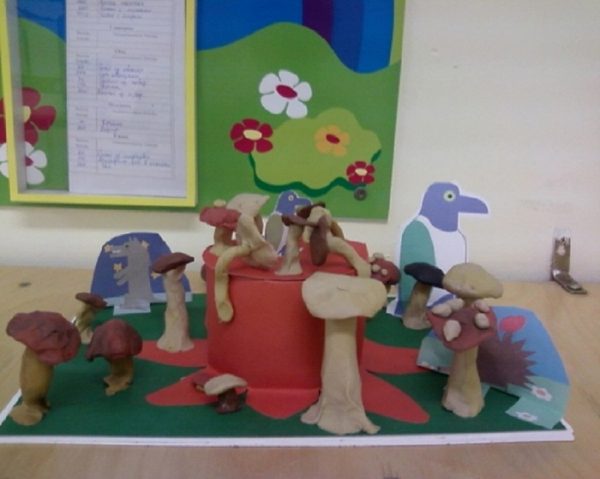
An original idea is to make a large stump out of cardboard on which children's plasticine mushrooms will grow
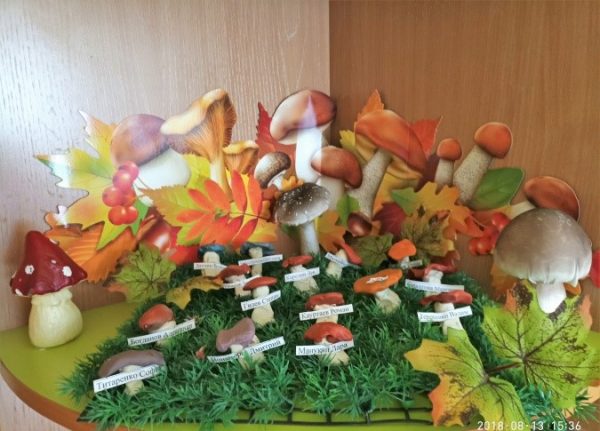
All mushrooms are arranged in a collective composition using artificial grass and appliqué
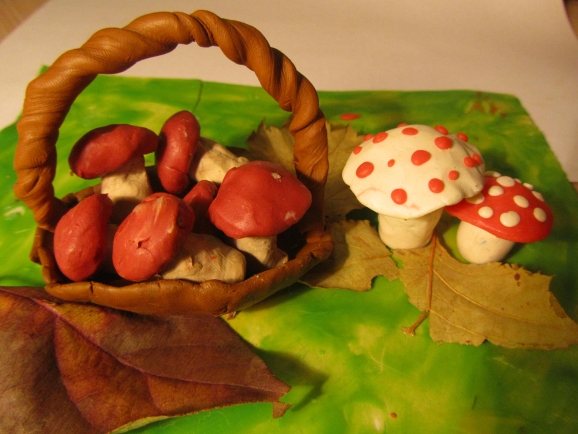
Mushrooms are supplemented with a plasticine basket and dry leaves

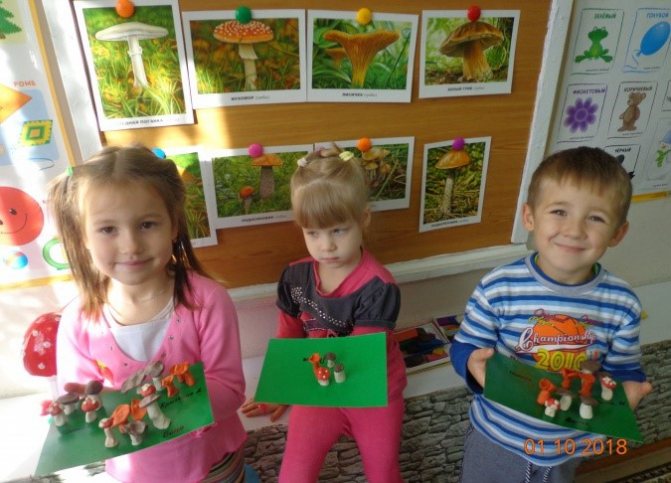
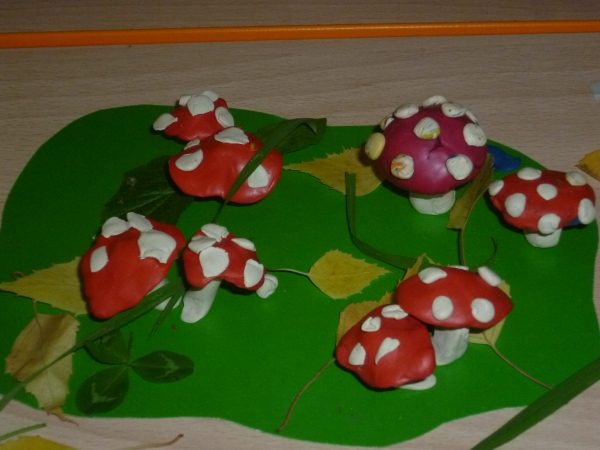
In the middle group, the guys can quite realistically depict a fly agaric, even sculpting its characteristic skirt
Fly agaric is a beautiful bright mushroom that children always like to sculpt
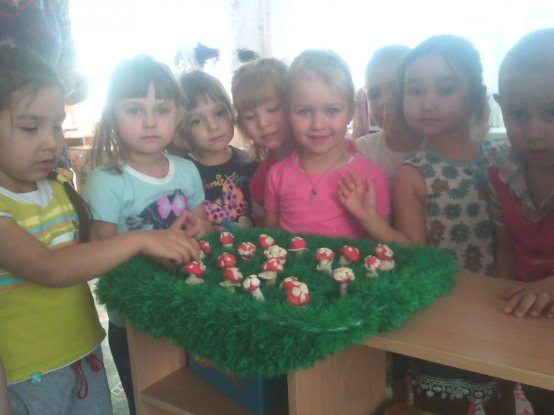
A shaggy green rug is ideal for creating the look of a clearing.
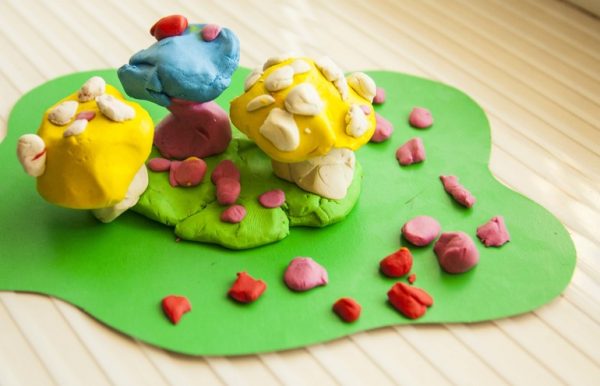
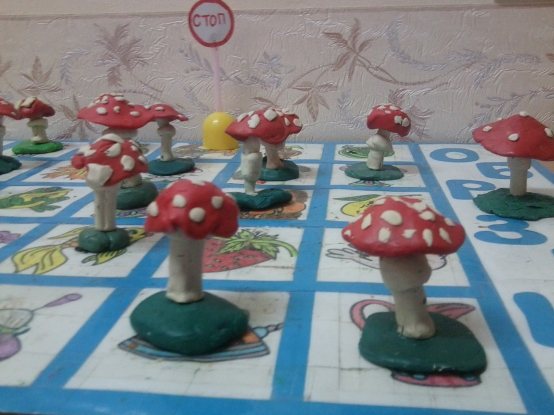
A bright fantasy composition is placed on a cardboard clearing stand
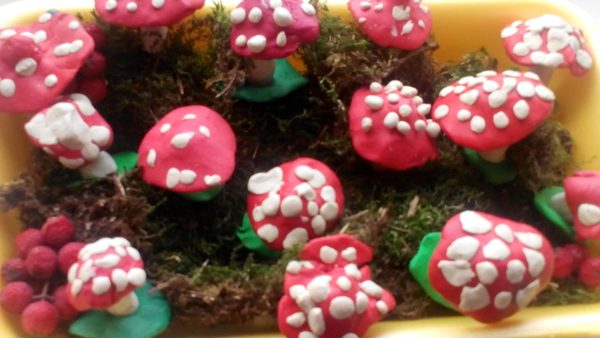
Plasticine fly agarics can be placed on real moss
Modeling classes always captivate preschoolers, especially when they make familiar objects that can be observed in nature or everyday life. Students in the middle group are already creating more realistic images of mushrooms, paying attention to the characteristic colors, shapes, and details. Children can organically complement the composition with suitable elements (grass, basket, berries). The main thing is to teach kids specific modeling techniques and inspire them to be creative.
MAGAZINE Preschooler.RF
GCD for modeling in the middle group “Mushrooms”Tasks:
- Strengthen the ability to sculpt familiar objects, use familiar techniques: rolling plasticine with straight and circular movements, flattening with palms.
- Learn to sculpt with your fingers to refine the shape.
- Lead to a figurative assessment of work.
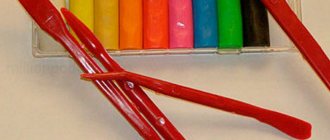
Material: Presentation “Mushrooms” , pictures and dummies of mushrooms, plasticine, modeling board, model of an autumn forest, ball, dry and wet napkins
Progress:
Educator: Guys, I suggest you guess the riddles (the teacher uses ICT with the presentation “Mushrooms” )
Educator:
He grew up in a birch forest. Wears a hat on his foot. The leaf stuck to it on top. Did you find out?
Children: It's a mushroom! Educator: In the soft grass at the edge of the forest there are red ears everywhere.
Golden sisters are called... Children: Chanterelles Teacher:
White dots on red - Poisonous mushroom, dangerous. There’s no point in talking here - Don’t disrupt...
Children: Fly agaric
Educator:
He will be born in an aspen forest, No matter how he hides in the grass, We will still find him: He is wearing a red hat.
Children: Boletus
Educator: That's right, these are mushrooms. Where do mushrooms grow?
Children: In the forest.
Educator: Children, can all mushrooms be picked in the forest?
Children: No
Educator: Let's remember which mushrooms are edible and inedible
Ball game "Edible, inedible"
Educator: Well done, you remembered everything.
Educator: Well done! Guys, take one mushroom at a time, look at them carefully and tell me how they are similar?
Children: Mushrooms have a stem and a cap.
Educator: That's right, children! How are they different?
Children: Mushrooms come in different sizes and different colors.
Educator: That's right, children! Today I suggest you make mushrooms from plasticine. First, I will tell you how to sculpt mushrooms. First, I will sculpt the stem of a mushroom, take a piece of plasticine and roll it between my palms with forward and backward movements. This is how the mushroom stem turned out. To make a mushroom cap, I take another piece of plasticine, put it on my palm, roll it out in a circular motion to make a ball, then put this ball between my palms and flatten it. Like this. Now I will connect the cap and the stem, I have such a beautiful mushroom. What is the name of this mushroom? (Boletus) Guys, do you understand everything? You can start sculpting. But first, I suggest you stretch our fingers. Watch and repeat after me.
Finger gymnastics “A crow walked across the field”
A crow walked across the field, carrying six mushrooms in the hem: Russula, boletus, boletus,
Milk mushroom, honey fungus, champignon, If you haven’t seen it, get out!
Independent activity of children, provide assistance if necessary.
Bottom line
Educator: Guys, look what beautiful mushrooms we got. Ilyusha, tell us how we used our palms to make mushrooms? (straight and circular) Roma will tell us what parts the mushroom consists of (leg and cap) And Sasha will show us what mushrooms we made (Boletus, boletus). Children design an exhibition of creative works “Mushrooms” .
| Next > |