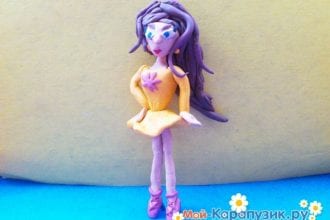
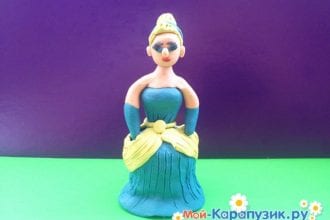
How to mold a girl from plasticine.
Children are of great interest in sculpting all kinds of figures. This is useful in itself, as it develops motor skills. During sculpting, the child’s imagination develops. It is easy to sculpt all sorts of different people. The girl's facial features are difficult to draw for a person who does not have the skills of an artist. Easier to make from plasticine. To do this, you need to correctly place the elements of the face: nose, mouth, ears, eyes and add hair to the dress and bows. The result will be a beautiful little Cinderella.
We offer you a step-by-step process of sculpting a figurine of a girl from plasticine.
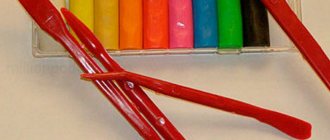
To perform sculpting you need to prepare:
- modeling board;
- plasticine set;
- stack;
- a drawing of the girl you will make;
- thin sticks or matches.
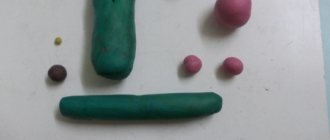
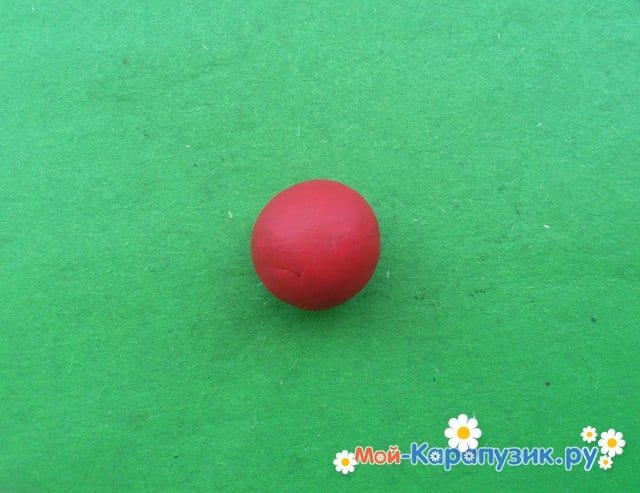
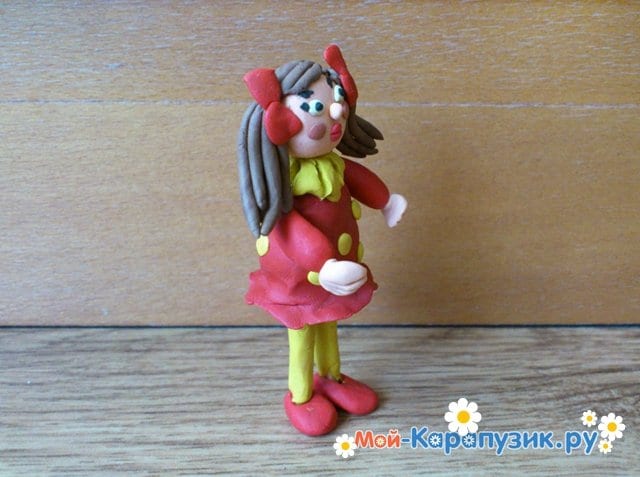
Place a sheet of paper with a drawing in front of your child. Ask him to provide red plasticine for making the body - a dress.
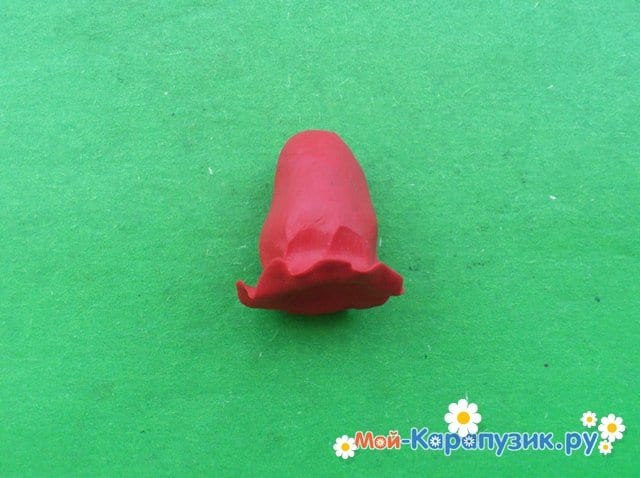
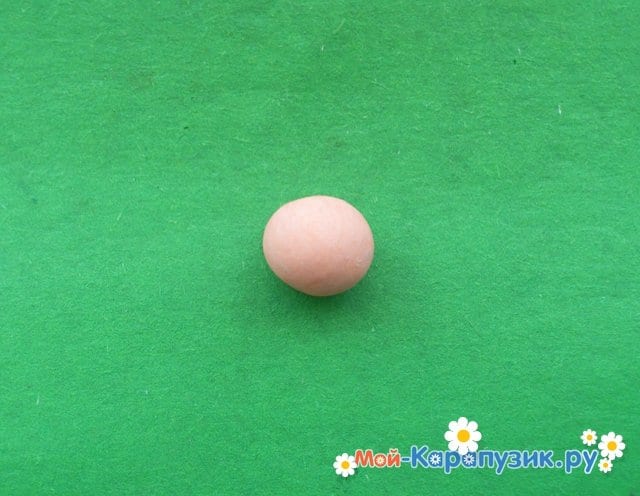
To sculpt the body, which will immediately be dressed in a dress, knead a piece of this plasticine and roll out a ball of the required size from it.
Form a cone from the resulting kolobok. Make a wavy edge on the bottom with your fingers, as shown in the picture.
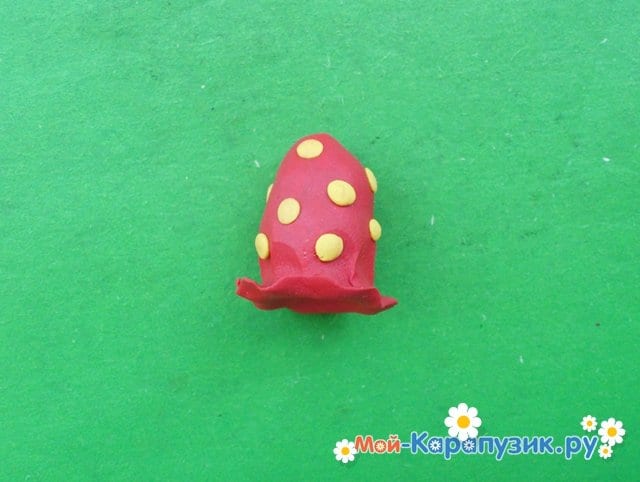
Roll out 14 yellow koloboks with your child. Pressing with two fingers, flatten them and attach evenly along the entire contour of the dress. The result was a polka dot dress.
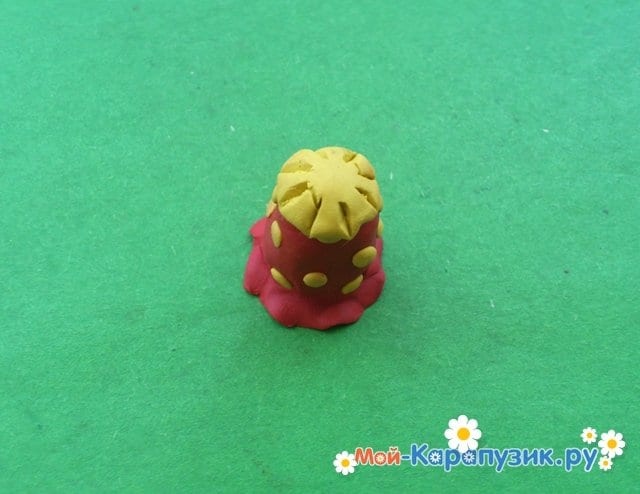
Cut a piece of yellow plasticine and form a round collar. Using a stack, make indentations around the collar. Use a match to attach it to the body. Leave the top edge of the match free.
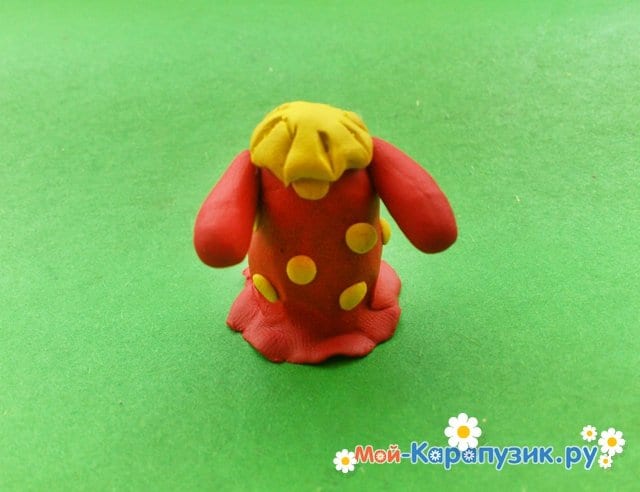
Cut two strips of red plasticine and roll into thin cylinders. Form handles from them and attach them to the body.
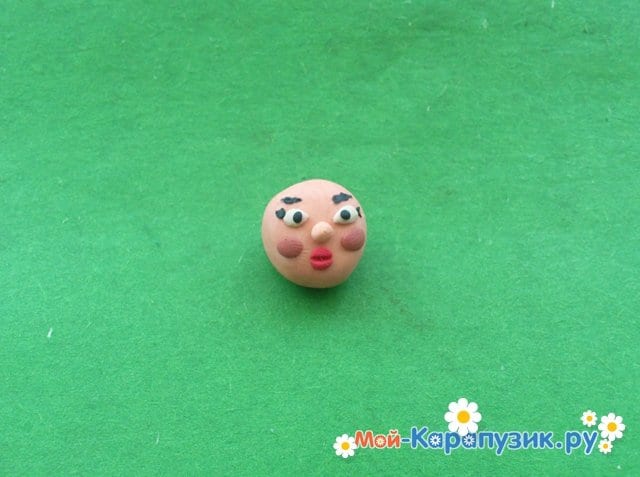
Roll a ball of flesh-colored plasticine. In the future, it will become a head.
Attach the plasticine mouth, nose, eyes, eyebrows, cheeks in the right places as shown in the figure.
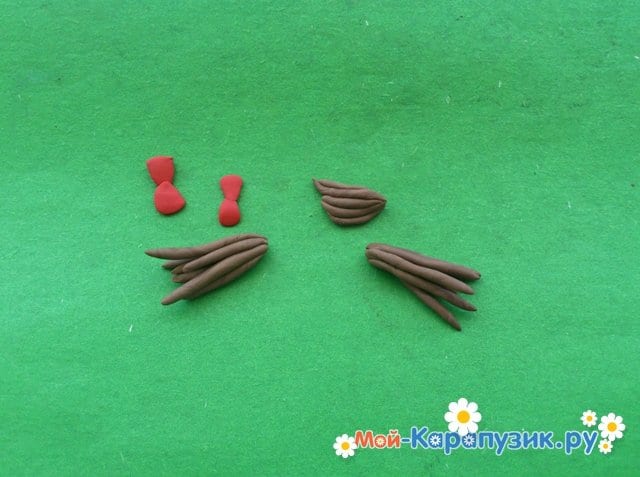
Ask your child to roll red plasticine balls. Form bows from these balls. Cut brown strips and roll them into thin cylinders of varying lengths and thicknesses. Connect all the cylinders into three bundles. The result was braids.
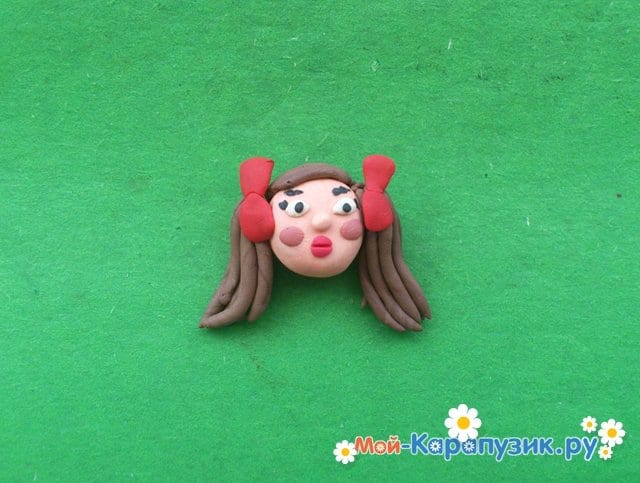
We attach the elements of the banner and braids to the head.
We connect the head and body with a match.
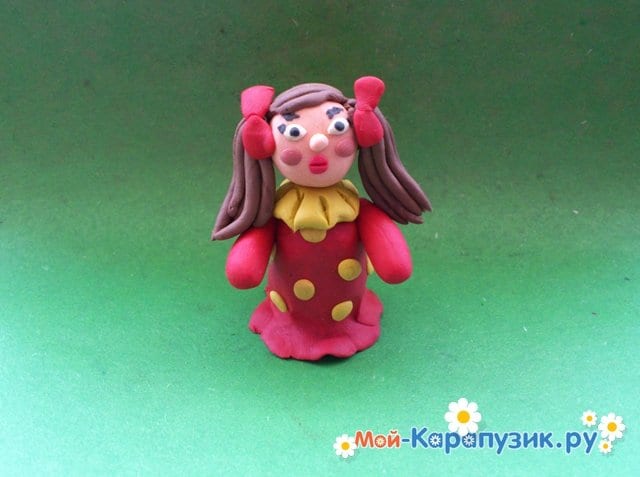
Roll out two yellow sausages. Attach the top edge of the sausages to the body. Place shoes on the bottom edge. To make them, roll two balls and flatten them to form shoes.
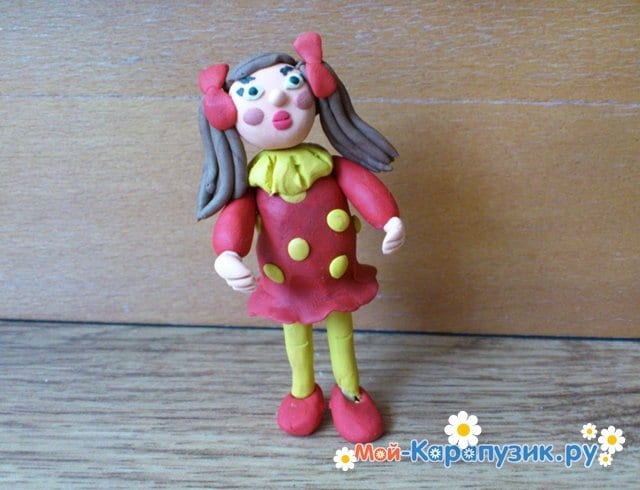
This is such a cute girl made from plasticine. Ask your child to give her a name and you can safely start playing.
If you find an error, please select a piece of text and press Ctrl+Enter.
Olesya Selikhova
About the author: Psychologist, specialist in the field of family relationships and raising children. I love drawing, modeling, needlework and any interesting creativity. Mom raising two children and a wonderful wife!
human figures
Share with friends:
We also recommend watching!
Modeling Homer Simpson from plasticine
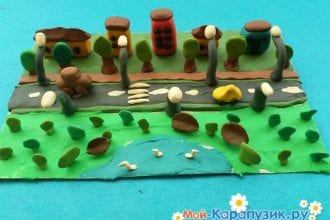
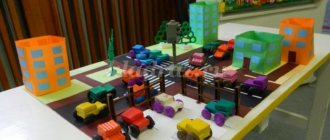
How to make a city from plasticine.
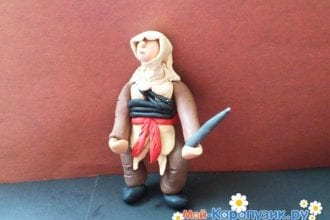
Assassin made of plasticine. Modeling lesson.
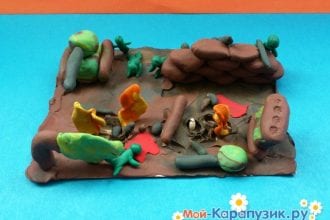
Plasticine war. We make a children's applique.
How to make Winx from plasticine.
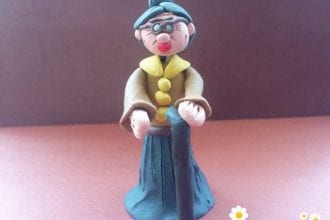
How to make a grandmother from plasticine.
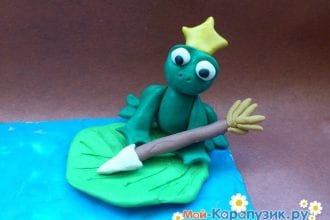
How to make a Frog Princess from plasticine.
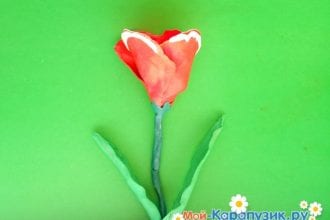
Modeling a tulip from plasticine
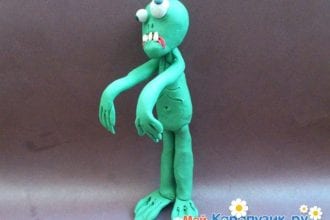
How to make a zombie from plasticine.
How to make Cinderella from plasticine.
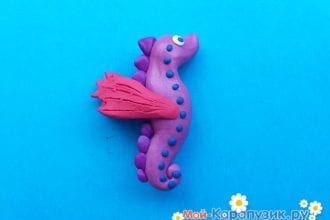
How to make a seahorse from plasticine.
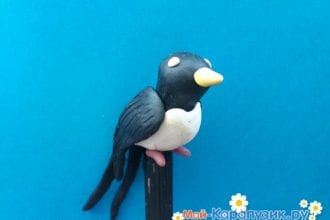
How to make a swallow from plasticine.
Topic of the week: “Insects”
Lesson 35. Snail
(Modeling from plasticine)
Program content. Continue to teach how to roll out a column from a ball and roll it into a spiral, pull it back and round the ends. Exercise children in pronouncing the words of the song loudly and clearly. Develop fine motor skills of fingers.
Handout. Plasticine, short twigs or matches, cardboard stands cut out of green cardboard in the shape of tree leaves, modeling boards.
Progress of the lesson
Say a German folk song retold by L. Yakhtin with your children, while using the finger of one hand the kids need to draw a snail in a spiral on the palm of the other hand:
bbw crawler
Curly house,
Crawl along the path
Crawl along the palm of your hand
Crawl, don't rush,
Show me your horns.
Invite the children to make a snail. To do this, you need to make a ball out of plasticine, roll it into a long column and twist it into a spiral, leaving a small piece of the column free. This will be the snail's head. On the opposite side, pull off the tail. On the head you need to attach two short matches (horns) and plasticine eyes in the form of small balls.
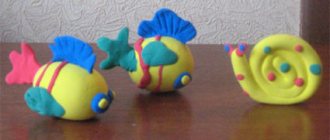
We got a lot of colorful snails!
Theme of the week: “Toys”
Lesson 33. Pyramid
(Clay crafting)
Program content. Strengthen the ability to roll clay balls of different sizes and flatten them between the palms, arrange the resulting circles in a certain order. Continue learning to connect the parts by pressing them together.
Demonstration material. Pyramid of rings.
Handout. Clay, bowls of water, cardboard stands, modeling boards.
Progress of the lesson
Look at the pyramid with your children. Discuss how there are large rings at the bottom and small rings at the top. Give each child a ring to remove, and then ask them to assemble the pyramid in the right order.
Read the poem by D. Rozalieva to the children:
I'm building a pyramid
Help me, friends.
Take different rings
Place them on top of each other.
Suggest making such a pyramid out of clay: you need to separate 3-4 pieces of different sizes from the clay, roll them into balls, flatten them between your palms and place them on top of each other, starting with the largest one. The connection points should be lubricated with a small amount of water.
When the clay dries, the rings of the pyramid can be painted.
Lesson 34. Free topic
(Modeling from plasticine or clay)
Program content. Learn to sculpt an object from plasticine according to your own design. Reinforce previously learned sculpting techniques (rolling, unrolling, flattening, pressing, attaching and smearing). Develop a friendly attitude towards others.
Demonstration material. Doll.
Handout. Plasticine, clay, various additional materials, cardboard stands, boards for modeling.
Progress of the lesson
Play out the situation: the Dasha doll came to visit you, she is dressed very smartly. Describe with the children how the doll is dressed. Let the guys ask why she is so smart.
“Today is my birthday,” answer for the doll. - I invite you to visit. Come to my place to celebrate my birthday.
Invite the children to give the doll a gift. Give each child the opportunity to come up with their own idea of what they will sculpt. Prepare additional material for the children to use to decorate the craft. Give gifts to the doll.
At the end of the lesson, you can perform a round dance “Like on our name day.”
Theme of the week: Easter
Lesson 32. Easter egg
(Applying plasticine)
Program content. Continue to introduce children to Easter. Improve your skills in applying plasticine to cardboard in a thin layer. Practice decorating a product with patterns using a stack.
Handout. Egg-shaped ovals cut out of cardboard, wax crayons, plasticine, modeling boards.
Progress of the lesson
Tell your children about Easter: this holiday is dedicated to the resurrection of Christ, whom God sent to earth to save people. Bells ring all week during this bright holiday. People give each other eggs (a symbol of life). Eggs are usually painted or painted. So today we will try to decorate Easter eggs, and then we will give them to our moms and dads.
At the beginning of the lesson, children paint over the egg template with wax crayons of different colors so that the egg becomes colorful. Next, a thin layer of plasticine is applied to the template (plain or multi-colored; you can mix several colors in a single piece and apply the resulting plasticine with streaks). Stacks of patterns are drawn on plasticine, under which a template appears, previously tinted with crayons.