Sculpting a woodpecker in stages
The next master class will be on sculpting a woodpecker from plasticine. Remember that the color of these birds is black and white with variegated splashes of red or yellow. Therefore, prepare the appropriate colors of regular plasticine or air plasticine.
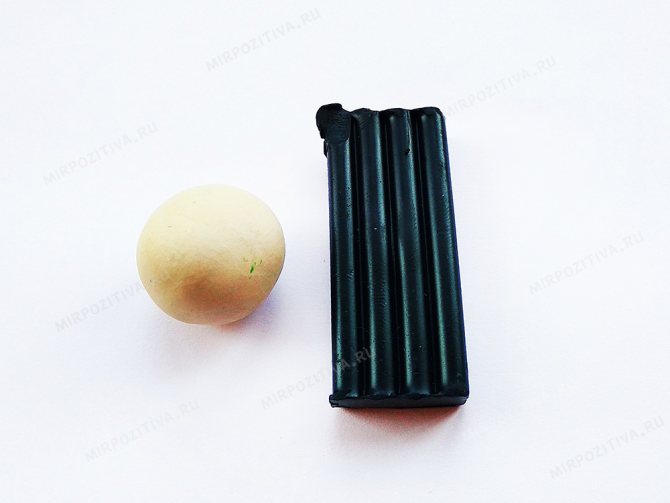
Step 1 . As in the previous case, the main block of plasticine will be black. But in this case you need to add white fragments to the plumage. You will also need a small piece of red and brown or orange for the beak and crest.
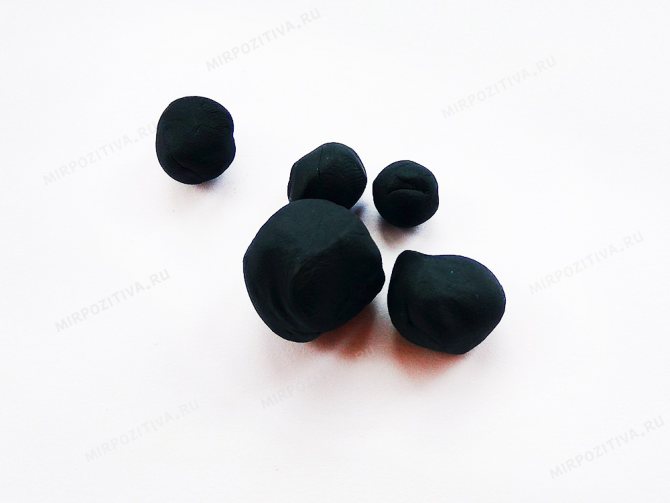
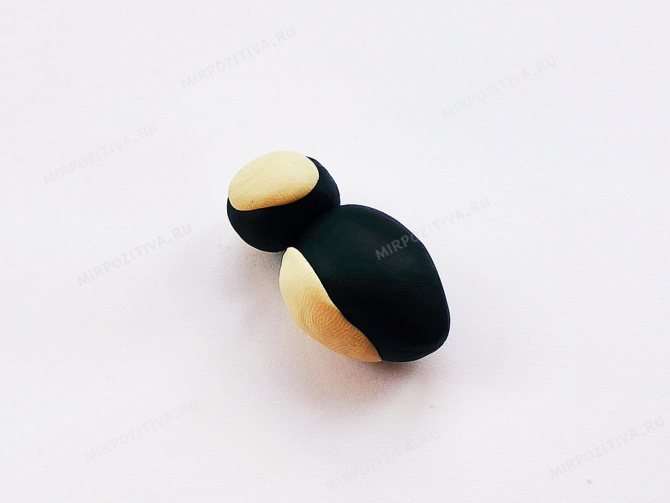
Step 2 . Divide the black block to form the body, wings, head and tail.
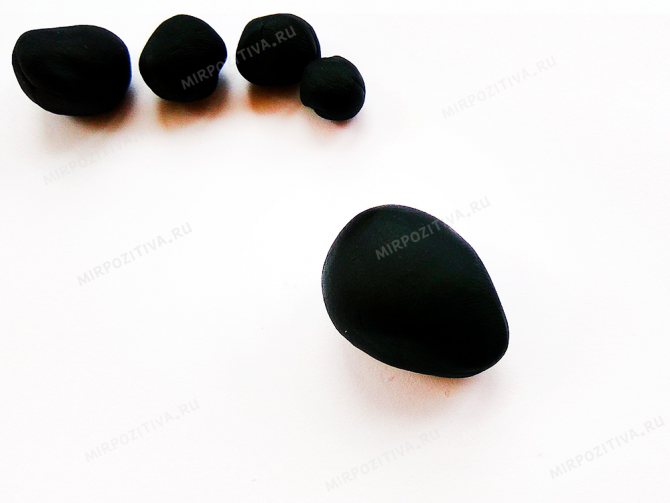
Step 3 . Roll the largest piece in your hands, smooth it out, and turn it into a body.
Step 4 . Attach a small black ball to one side of it. For security, secure a toothpick inside. Glue 2 white cakes on the sides of the small head ball. Glue the chest on the front of the body.
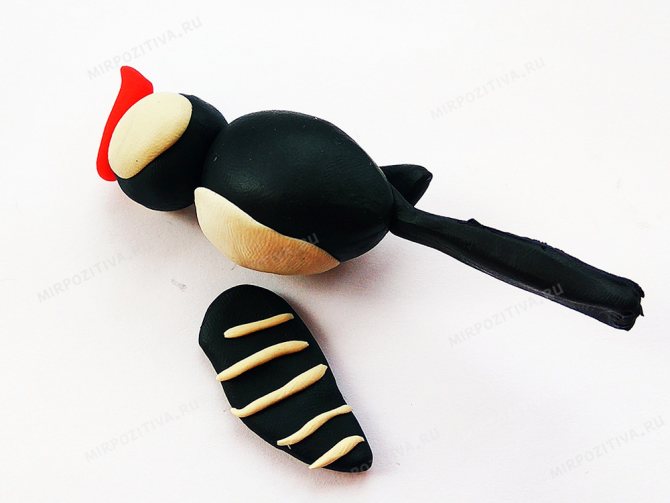
Step 5 . Using additional pieces of black plasticine, fashion wings. Their shape has already been examined using the example of sculpting a crow. Glue the same long tail.
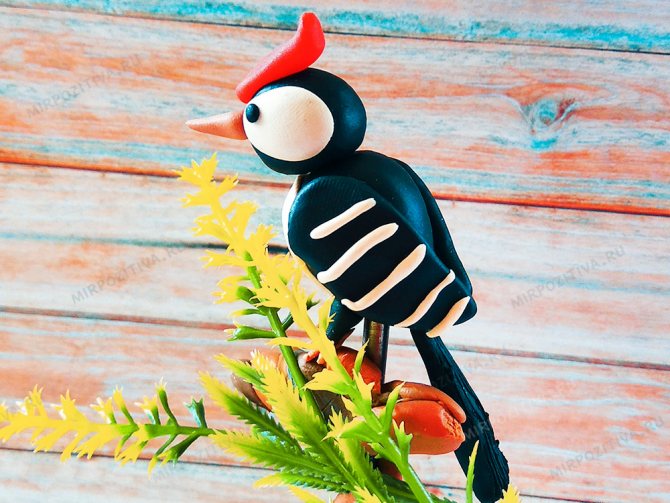
Step 6 . Glue thin white stripes across the wings. Do this on the first and second wing. Also attach a small red plasticine sausage to your head in the form of a tuft. On the reverse side, lift up a kind of comb; the woodpecker should have it.
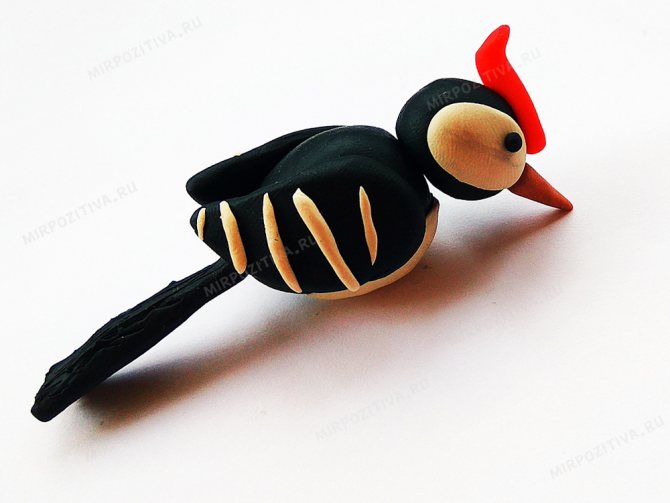
Step 7 . Attach a long beak in front - a powerful weapon of a woodpecker, with which he heals trees, breaks through wood, and gets worms. Glue 2 small black balls, like eyes, onto white cakes on the head.
Step 8 . Glue the legs in the same shape as in the case of sculpting the crow. Only the paws themselves can be made from orange plasticine.
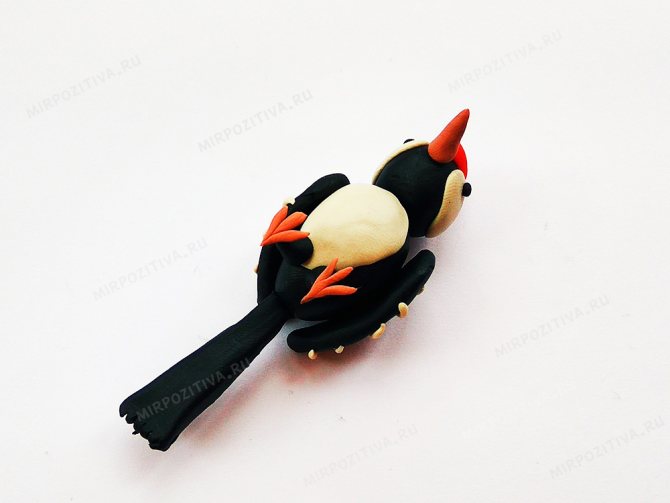
Step 9 . The bright woodpecker craft is ready.
We looked at a creative lesson in sculpting birds using the example of two individuals familiar to the smallest children of kindergarten age (preschoolers) and older children who have already started school.
Parrot - step-by-step modeling scheme for the older group
Making such a beautiful bird is not as difficult as it seems. First we will form the body. We attach white spots in the eye area and a crocheted beak. For the tail we will alternate blue and red plasticine. We create a relief using a stack. We'll make the wings in a similar way, but use red, yellow, green and blue. Add claws.
Stork step by step - modeling a bird in the senior group
We sculpt a body from a white ball and attach the neck and head. We make white and black wings and show feathers on them. Attach the bird's tail and wings. Legs can be made from ordinary matches. To do this, we attach matches to the body using balls. We add membranes at the bottom. All that remains is to make a nose in the shape of a carrot and eyes from beads.
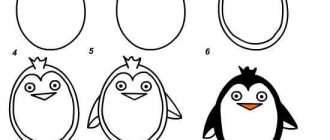
Penguin - step-by-step modeling in the middle group
The pattern for sculpting a penguin is quite simple and suitable for children, for example, 2nd grade. We form the body of a bird from light plasticine. Attach the eyes and beak. We make two cuts on the paws. Stick on the wings and you're done.
Titmouse - crafts for the older group
We connect a small head and a large body. We add a yellow layer to the bird’s breast, and a green layer to the back. The wings at the base will be blue, and then black and white. We designate the feathers as a stack. We sculpt a blue tail and attach it along with the wings. We sculpt the beak, eyes and paws.
Flamingos - we sculpt exotic birds in the senior group
Let's sculpt a graceful flamingo step by step. Take the wire and cover it with a thin layer of pink plasticine. Attach a round head to the tip and bend the neck in a wave. We roll an oval for the body and insert the neck into it. From three pieces we sculpt two wings and a tail. We use a stack to represent feathers. Let's make legs from wire and gray plasticine. We insert them into the body of the bird. We glue on the eyes and pink beak.
Similarly, you can make a swan, woodpecker, starling, heron or even a firebird. There are also Kargopol, Dymkovo, Kalinin birds or whistles, which can also be sculpted from plasticine. Crafts on this topic are suitable for children in the preparatory group or schoolchildren.