Modeling a duck outline of a lesson on applique, modeling (middle group) on the topic
Summary of GCD for modeling in the middle group
Duck theme
1. Goal: to teach children to sculpt an object consisting of several parts, showing some characteristic features (an elongated beak, a tail).
Tasks: - Reinforce modeling techniques: rolling the dough between the palms; - Practice using pinching and pulling techniques; - Strengthen the ability to connect parts, pressing them tightly against each other, and smoothing the seams; — Cause a positive emotional response to the overall result.
Vocabulary work: beak, tail.
2. Methodological techniques: verbal (guessing riddles about a duck), visual (examining a toy duck with children), explanation (what is the shape of the body, what is the head, beak, tail).
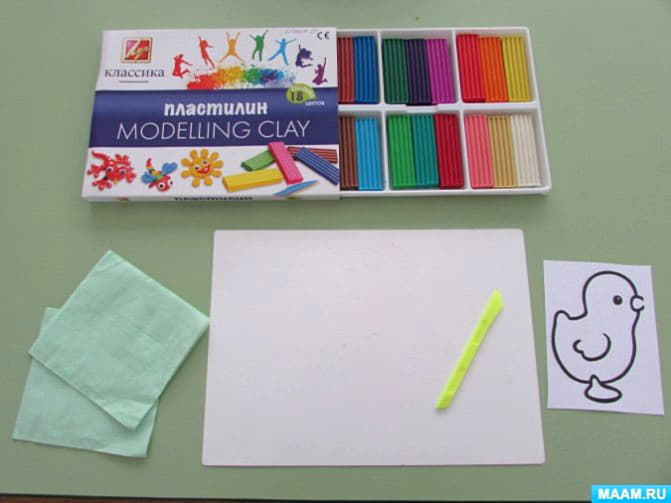
3. Materials and equipment: salted colored dough; boards; napkins; for each child there are toys - a diagram for sculpting a duck); toys – pet birds; musical accompaniment (dance of little ducklings).
4. Organize children in classes into subgroups.
5. Preliminary work. Conversation with children about poultry (geese, ducks, chickens); looking at illustrations of ducklings, chickens, geese, goslings; game “How are they similar? What is the difference?" (comparison of chicks and ducklings); guessing riddles about birds.
Progress of the lesson.
(Getting a riddle) She walks in the rain, loves to cut grass! "Quack!" shouts, This is all a joke, Well, of course, it’s... (Duck!) - Well done, guys, but here’s another riddle. Amazing child! Just came out of diapers Can swim and dive, Like his own mother (Duckling!)
- Well done! So you guessed it. This is a duck and ducklings.
- Guys, the ducklings were playing, swimming and lost their mother, and they began to call their mother “Quack-quack-quack!”, but mother did not respond. The ducklings ask you to help find their mother duck. Let's help them! How can we help them, guys? (answer options): ... you can blind...
- Of course, you can make a duck! But first, let's play with you a little. The ducks came out into the meadow, (we walk like ducklings) - Quack-Quack-Quack! A cheerful beetle flew by - Zhzhzhzhzh! (we wave our arms - wings). Geese arch their necks - Ga-Ga-Ga (circular rotation of the neck). The feathers are straightened with the beak (the body turns left and right). The wind swayed the branches (we swing our arms up), Sharik also growled - Rrrrr... (hands on the belt, bending forward, looking in front of us). The reeds whispered in the water - Shhhhhhhh... (raise your arms up and stretch), And again there was silence - Shhhhhhh... (crouched down). - Well done! Now sit down at the tables, we must help the ducklings. Look, guys, what wonderful colored dough is on our plates. Touch it, what is it like?.. (Soft, yellow...). - Look, children, what parts does a duck consist of? (Head, torso. Head is smaller, torso is larger). -What do you think this is? (Beak, tail).
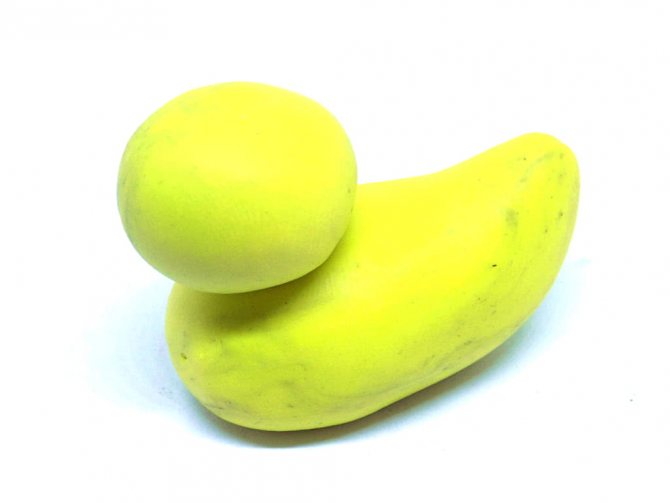
- Well done! First you need to divide the dough into two parts. One piece of dough, which is larger, will be the body; a smaller piece is the head. To sculpt the body of a duck, we need to take a larger piece of dough and roll it into an oval with our palms. Then we also sculpt the head, only with a ball. Next, we connect these two parts, pressing them tightly against each other. But be very careful so that the shape does not break. Then we guys, by pinching, make a beak on the duck’s head and pull it back a little, and on the body, where the tail should be, we pull it out. Look how I do it. Our mother duck is almost ready. Is she missing some eyes or something else? (Wings!) - Look, you have buckwheat cereal on your plate, make eyes out of it for the duck. Carefully! Where the eyes should be, press the grain. If everything is clear, get to work. (Music sounds, children get to work). - Our ducklings in the pond are really waiting for their mothers - ducks! (The children finished their work).
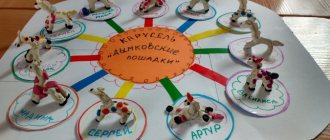
Educator: Now, guys, let’s go and put all the mother ducks on the lake. There is a fish in the pond, and ducklings love to eat this fish in the mornings, in the mornings and evenings. And of course at lunch too! The fish will help them grow!
How many ducks! Let's count them guys! Well done, you did a great job today! Look how happy the ducklings are! And the duck is happy too! Everyone has fun, and so do we! After all, we did a good deed. Is it true? (Yes)
- Guys, let's dance the “little ducklings” dance. Please everyone stand in a circle. Now listen to the music and repeat all the movements after me.
(Music sounds. Children dance the dance of little ducklings). - What great fellows you are! I and the ducklings thank you for the wonderful dance.
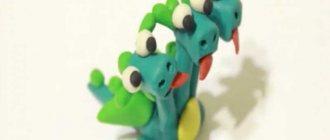
Step-by-step instruction
- Prepare the main color for work and the tool. The yellow mass should be thoroughly kneaded in your hands.
- The prepared soft mass can be immediately divided into slices of different formats. The largest piece will be used to sculpt the head, three smaller pieces will be used to create the body and wings of a domestic bird.
- On the ball head, press two triangular holes with a stack. Also knead a small piece of orange plasticine in your hands.
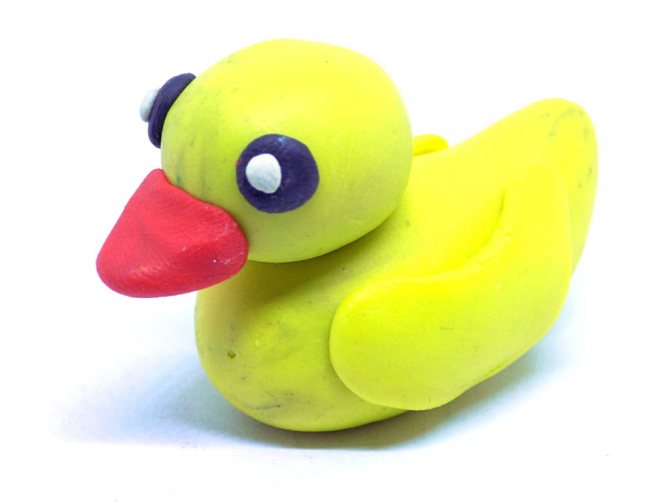
- Insert white cakes into the holes - these will be blanks for the eyes, it is advisable to make them large. Make a beak from an orange piece and attach it to the head.
- Place blue cakes on the white cakes first, then black cakes. After that, add small white highlights.
- Stretch the small piece intended for the body into an oval. Press one side of the oval with two fingers, highlighting the tail. Using the sharp side of the stack, apply stripes to the ponytail.
- Insert a match into the front. Lift the tail slightly up.
- Press the remaining two flatbreads on top onto the board with your fingers. Squeeze on both sides with your fingers, releasing droplets-wings.
- Using a stack, apply the same pattern to the wings as to the tail.
- Glue the wings to the body.
- Prepare orange balls for the paws, press them down with your fingers.
- Make the resulting cakes triangular. Apply 2 strips on each in a stack, highlighting your fingers.
- Attach the legs to the body.
- Add a head to the match.
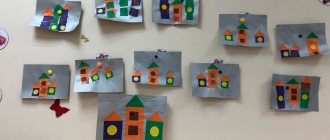
Children's master class on plasticineography "Fidget Duckling"
Elena Varakina
Children's master class on plasticineography "Fidget Duckling"
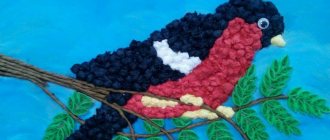
Children's master class on working with plasticine “ Fidget Duckling ”
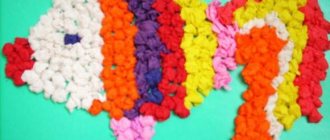
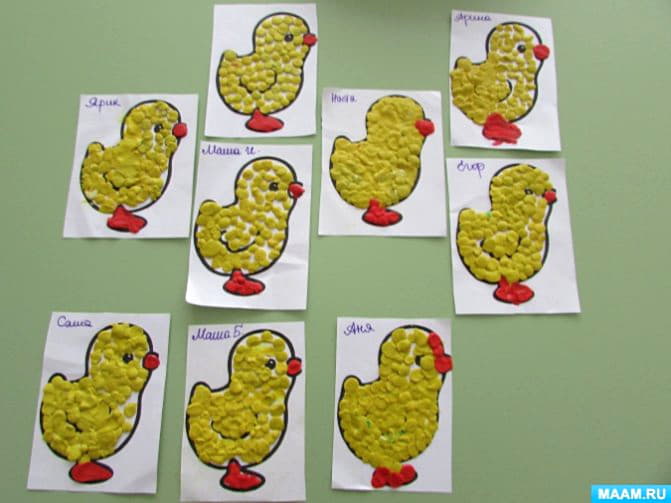
plasticineography technique Hello! Today we, the children of the 2nd junior group No. 5 “Pochemuchki”, want to show you a master class on plasticineography “ The Fidget Duckling ”. Plasticineography is a very interesting and fascinating technique for working with plasticine . It consists in the fact that we paint over the drawing inside the outline not with paints and gouache, but with small balls of plasticine . Also, work can be done not only in the form of gluing small balls onto a drawing, but also by smearing plasticine along the contour of the drawing . plasticineography with great pleasure .
Participants of the master class : Children 3-4 years old and teacher E. N. Varakina.
To create we need:
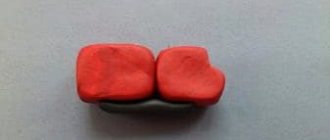
1. Picture of a duckling with a thick outline
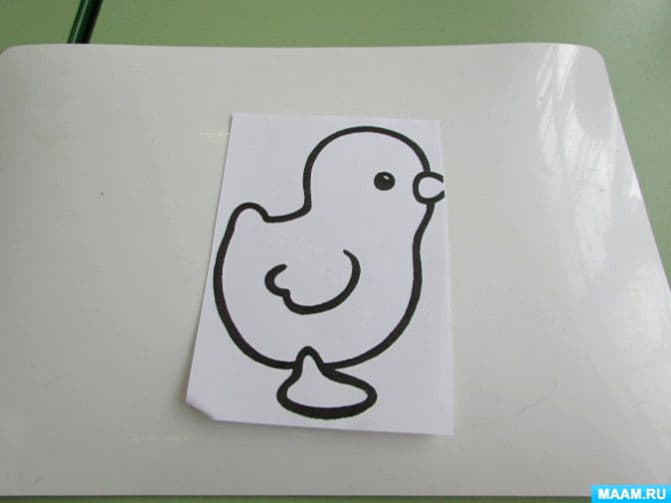
2. Yellow and red plasticine
How to make a duck from plasticine
Modeling animals and birds is the most popular subject of creative activities, which is due to the wide choice for children's creativity. It is recommended to begin the development of creative skills by sculpting such simple figures as a duck. By gradually performing certain actions, the child will be able to make a bird both independently and with the help of an adult.
A simple duck version
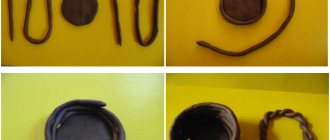
The easiest way to sculpt a duck involves performing the following steps in the prescribed sequence:
- You need to prepare material in brown, burgundy, orange and green. Two large balls are rolled out of dark plasticine, a medium-sized ball from green, and a small ball from yellow.
- The brown ball is the body of the future duck. It is necessary to pull it to one side and press down a little, giving it stability.
- Burgundy material will be needed to make the neck and head. The parts must be connected to each other.
- From drop-shaped blanks made of burgundy and green colors, you need to fashion two wings.
- Using a stack, feathers are drawn on the wings. The wings are glued to the sides of the duck's body.
- Two indentations for the eyes are made on the head: two balls of white plasticine are inserted into the dimples on the head.
- An orange tint will be needed to make a flat beak and, bending it slightly, stick it in the center of the head.
- Once all of the above steps are completed, all that remains is to finish drawing the eyelashes and eyebrows.
Modeling a little duckling
The little duckling is a simplified version of the craft that even a child can handle. Yellow plasticine will be used as a base: the feathers of the chicks are exactly this color.
In order to make a little duckling, you will need to perform the following steps:
- Prepare yellow, white, black and red materials and form small balls.
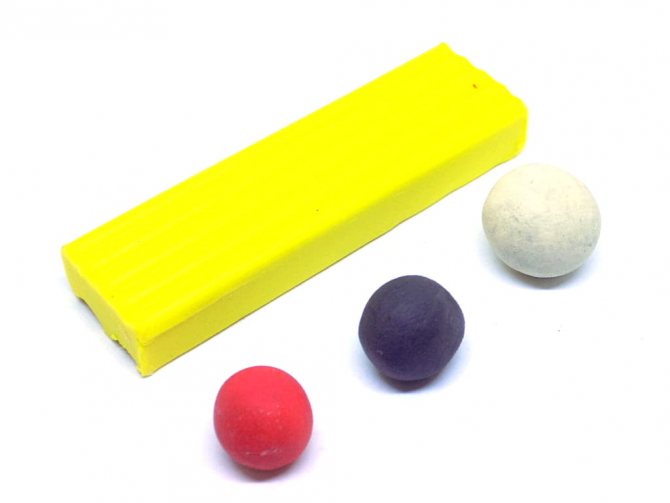
- The body of the bird, the head, and the wings will be made from yellow plasticine. One piece is divided into three parts, the largest of which will become the body of the duckling, the middle one will become the wings, and the small one will become the head. When ready, the parts need to be connected to each other.
- You need to form a beak from red plasticine and stick it to the center of the head.

- All that remains is to make the eyes from black and white plasticine and attach them to the head.
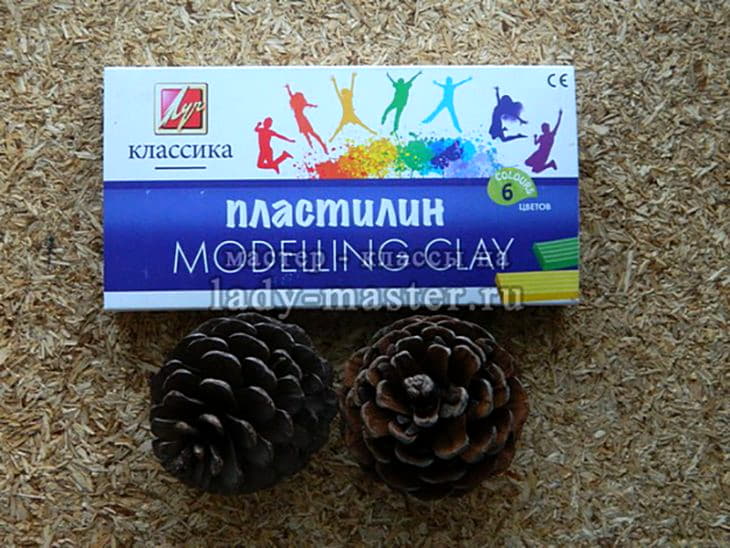
Duck using natural materials
The use of natural materials is an excellent opportunity to realize the most daring creative ideas.
In order to make a duck from natural material, you will need to prepare:
- Cones
- Plasticine of different colors
- Grass and pebbles
- Blue cardboard
- Glue gun
- Paints and brush
A duck made from cones is a craft for which the child will need the help of an adult:
- From brown plasticine it is necessary to form the head and neck of the future duck.
- The green mass is the plumage of a bird. It is glued to the body blank.
- It is necessary to sculpt a beak from a material of a light brown or mustard shade and fix it in the center of the head.
- The duck's eyes will be made of black and orange material: you need to form two balls of each shade. The black balls should be smaller than the orange ones. Bright flattened blanks are attached to the sides of the head, and black balls are glued to them.
- Red plasticine is for paws. They form and attach to the bottom of the bud.
- You will need cardboard to create the base: you need to cut out an oval.
- Cardboard is an imitation of a lake: grass is placed on one side and pebbles on the other. For reliable fixation, you must use a glue gun. The finished duck can be seated in the middle of the lake: the craft is ready.