Autumn painting made of plasticine
Let's start with the most difficult, and at the same time, the most exciting task - sculpting an autumn landscape. To do this you need to prepare in advance:
- a thick sheet of cardboard, preferably blue, which in the picture will depict a blue autumn sky and the same blue autumn distances;
- plasticine of various colors;
- stack (this, if anyone doesn’t know, is a special knife for cutting plasticine, which is usually sold along with a package of plasticine);
- a smooth board without roughness or burrs for rolling out plasticine;
- paints and brush (optional).
Let's start creating.
- From plasticine of all autumn colors (yellow, brown, red) we roll out sticks of different thicknesses and lengths.
- Having prepared plasticine sticks, we begin to make autumn leaves from them. Of course, fashioning a piece of wood from plasticine is a difficult task, but in this case it is not necessary. We make spirals from plasticine sticks (aka “snails”). To do this, the stick needs to be rolled into a spiral - a task that any child can easily cope with.
- Having made a sufficient number of spirals, we begin to stick them to the cardboard, forming the crown of the tree. What exactly the crown should look like in terms of size, contours and color palette depends entirely on the child’s imagination.
- Having finished with the crown, we begin to make the trunk and branches of the tree. We roll out sticks of different lengths and thicknesses from black or brown plasticine. These are fragments of tree trunks.
- By the way, about the color scheme. It is not at all necessary that the trunk be exclusively black or brown. Maybe the child is an impressionist or abstract artist at heart, and sees the autumn forest in his own way - in some other colors. Well, so much the better, and there is no need to convince him of anything.
- We begin to form a tree trunk from the bundles. Of course, it should be below, under the crown. We stick several flagella to this place from top to bottom. We try to keep them parallel to each other. Several flagella under the crown are already a full-fledged trunk.
- We make many more flagella of different colors. Roll them into spirals. These are fallen autumn leaves. We place them below under the tree.
- In this way you can sculpt one tree. Or maybe several at once. You will get a full-fledged plasticine grove.
- We make a circle and thin sticks from yellow plasticine. This is the autumn sun and rays. We stick them on top of the picture.
- If you have the desire and ability, we paint the space between the trees or around the tree in autumn colors. It will turn out great - both plasticine and paint.
- Finally, we prepare a frame for the picture (what is a picture without a frame?). To do this, we make long plasticine strips of any color and paste the picture along the contour. You can do this using simple plasticine strips, or you can weave several strips in the shape of a braid - it will be even more beautiful.
The result will definitely be a highly artistic product - a real autumn plasticine landscape. For example, like the one in these photos.
This video will tell you how best to make a picture from plasticine.
This video will teach you how to sculpt a beautiful autumn tree from plasticine.
Each tree consists of fragments: trunk, crown, individual branches, berries and leaves. They also need to be able to sculpt beautifully. How to do this better, look at another video.
Autumn with children from 1.5 to 2 years old - educational games and ideas for activities.
- Seal
Details Author: Nalivaykina Lyudmila Published August 23, 2017
In this article I want to share with you ideas for autumn games with the youngest children - from 1.5 to 2 years old. They can be played separately or used as the basis for a real educational activity on the theme “Autumn”.
Since children aged 1.5 to 2 years can differ significantly from each other in their development, each game from the list below will need to be “adjusted” to your child’s level (complicated or simplified).
Making mushrooms
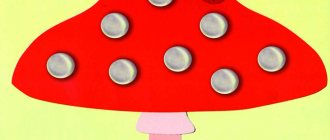
The autumn forest is so rich in mushrooms! That’s why I really want to sculpt them from plasticine! They are beautiful both on their own and as part of a plasticine autumn landscape. Once sculpted, they can be placed in the above-mentioned painting, and as a result it will turn out even more beautiful.
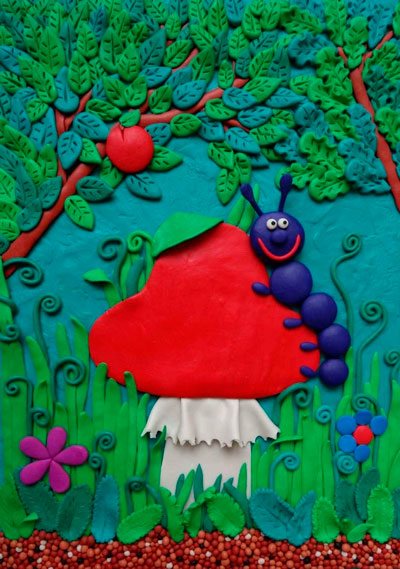
This miracle of nature is very easy to put together:
- First, we sculpt a mushroom stem from plasticine of any color;
- then we make a hat. It is clear that its production also requires plasticine of all colors. Real fungi, as you know, have caps of all kinds of colors;
- connect the stem and the cap.
It is clear that if fungi are supposed to be placed in the picture, then they should be flat.
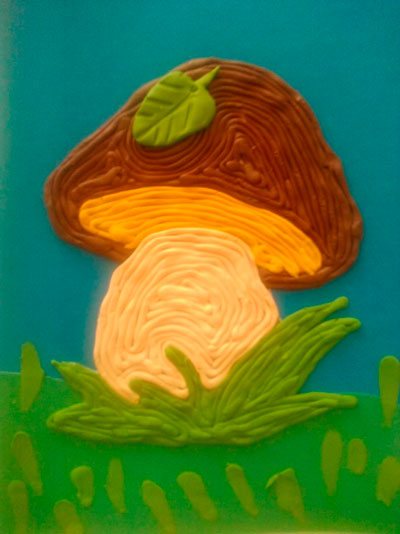
You can also sculpt three-dimensional fungi – in their natural form. Making them is no more difficult than mushrooms for application.
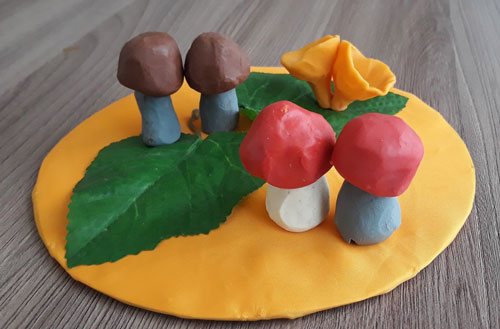
By the way, about the volume
Plasticine is a fertile material for creativity. They can be used to sculpt full-fledged three-dimensional figures. Mushrooms have already been mentioned. And, besides them, the child will happily make other gifts of autumn nature: a variety of vegetables, fruits, a whole bunch of grapes, and even a head of cabbage. In general, whatever he wants and can do. Moreover, sculpting all this beauty is not at all difficult. Here, look at the photo.
How to sculpt different animals
Children love animals very much, and willingly draw them and sculpt them from plasticine. Well, that's great. We'll show you how to do it better.
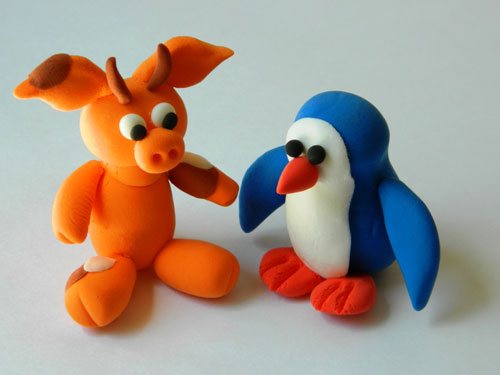
Let's start with the snail. It's not difficult to make.
- We sculpt the body of evidence. It should resemble a carrot: one end is thicker, the other is thinner.
- Bend the carrot at a right angle.
- From the thick part we make the head of the snail. At the very top we stick two plasticine sticks with spirals at the end - snail horns. A little lower – we make the eyes. They can be sculpted from plasticine, or you can stick store-bought ones. Below the eyes we stick a plasticine mouth.
- A snail's house can be made from different materials. First of all, of course, from plasticine. To do this, roll the plasticine into a thin strip, twist it into a spiral and place it on the snail’s back. In addition to plasticine, chestnut or walnut look great as a house.
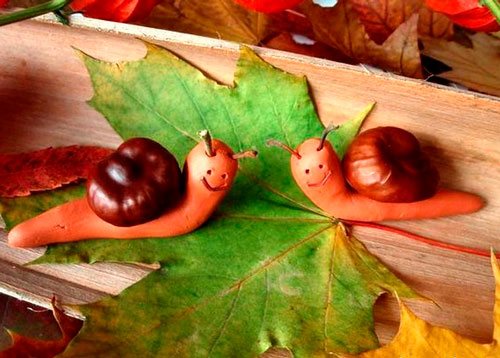
Now let’s sculpt a beautiful caterpillar.
The good thing about this craft is that even a very small child can do it. As a matter of fact, children's “plasticine” creativity in most cases begins with the creation of a caterpillar.
- We make balls of any color from plasticine. It is better if each subsequent ball is smaller than the previous one.
- We place the balls in a row, starting with the largest (this is the caterpillar's head) and ending with the smallest (this is its tail).
- We connect them with thin soft wire or fishing line. A very young child will probably not be able to cope with this operation, so he needs help.
- We place horns on the caterpillar's head. They can be made from ordinary matches or from plasticine.
- We give the caterpillar a face: eyes, nose, mouth. It’s better to stick on store-bought ones, and everything else is made from plasticine.
- If desired, make plasticine legs for the caterpillar (two for each ball on both sides). And, of course, the handles: they are attached to the ball that follows immediately behind the head.
The cheerful, mischievous, cute caterpillar is ready!
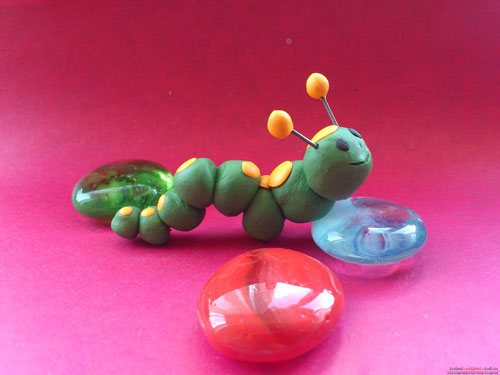
And if you also attach wings to it, you will get a wonderful dragonfly or butterfly.
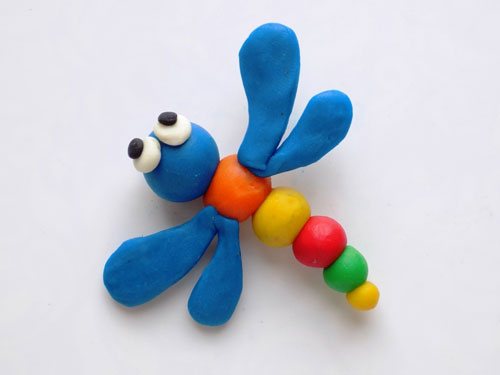
Of course, it is impossible to talk about all their plasticine products in one article. Yes, this is not necessary. Another thing is more important - to introduce a child to creativity from a very young age. And the easiest way to do this is with plasticine. In general, we create, we dare, we comprehend the world! And plasticine helps us!
Plasticine craft ideas
Sensory box "Autumn".
Surely your baby will be interested in a sensory box with the theme “Autumn”.
We got something like this, for example:
How to play with the box:
The box can be used to “play” various “autumn” scenes:
“The bunny collects leaves”, “The squirrel is looking for nuts”, “The leaves rustle underfoot.”
It will be interesting for the baby to watch how his mother acts out different scenes (“mini-fairy tales”) using this box, at the same time he will very quickly learn all the “autumn” words.
In addition, many children will enjoy fiddling around in such a box on their own.
Game "Big and small leaves."
Goal: teach the concept of “big - small”.
For the game you will need leaves - large and small.
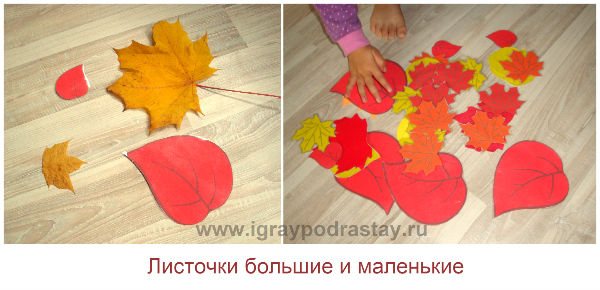
You can use real autumn leaves or cut out leaves from paper.
The essence of the game: We put large leaves in a large box, and small ones in a small one.
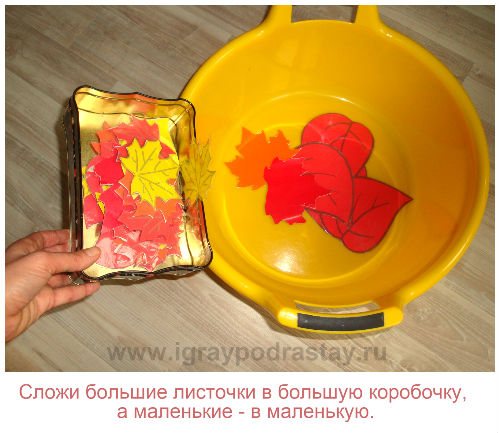
This task will be quite easy to complete for children from 2 to 3 years old.
But children from 1 to 2 years old may have difficulties (“you begin to introduce the baby to a task, and he smiles and runs away from you into another room” - a familiar picture, right?).
In order for the child to cope with the task more successfully, it is important to conduct a “getting to know each other” ritual with the task.
For example:
- Look at the large piece of paper with your child. Say “here’s a big leaf.” Highlight the word “big” in the appropriate voice. “Let’s show how big this leaf is, so big” - we spread our arms wide to the side, showing the “big” sign, we encourage the child to repeat this gesture after you (if he finds it difficult, we spread his arms to the sides ourselves ).
- Take a small leaf. “And this leaf is “small” (we pronounce the word “small” in a “thin” voice.) Let’s show how “small” this leaf is (we bring our hands close to each other, showing the “small size” sign, encouraging the child to repeat this gesture after you , we help him do this if he himself finds it difficult).
This preliminary work - highlighting the words “big” and “small” in a special voice, showing the sizes “big” and “small” with pens - is very important. With its help, the child will better understand the meaning of the task and it will be easier for him to complete it.
3. After you have worked with the concept of “big - small leaf”, you can move on to completing the task. Show your child that large leaves should be put in a large box, and small ones in a small box. Ask him to arrange all the leaves into the boxes correctly.
How you can help your child:
- together determine the size of the leaf (mom says what kind of leaf it is - large or small).
— guide the child’s hand with the piece of paper to the correct size box if the child makes a mistake.
- if the baby finds it difficult to choose the right box, you can simply place the right box under the baby’s hand and ask him to “throw a big piece of paper into the big box.”
It seems that with such “help” the mother does almost everything for the child. But that's not true! In the process of completing a task together, the baby actively learns. His eyes look and remember (he examines large and small leaves), his ears hear and absorb (he constantly hears his mother comparing leaves by size), his hands “do” (kids absorb knowledge very well if it is presented through “movement” ).
After your child completes this task several times with you and with your help, he will feel more confident, better understand all the necessary concepts and begin to cope with similar tasks on his own.
Rain - modeling.
It often rains in autumn. Look at the picture with a cloud and droplets with your child, show together “how the rain drips” (“drip-drip-drip”) and tap your fingers on the table.
Then invite your child to make “droplets for a cloud” - let him stick plasticine “droplets” onto a sheet of paper.
This task has three difficulty levels (it is better to choose the one that most suits the child’s level):
1. Simple level (for children who are still not good at sculpting or sculpting for the first time (usually children under 1.5 years old) - the mother puts pre-prepared balls on a sheet of paper and asks the child to press them with his finger.
2. Intermediate level (for children who are already familiar with modeling techniques ) - the child himself takes lumps of plasticine, places them on the paper himself and presses them with his finger.
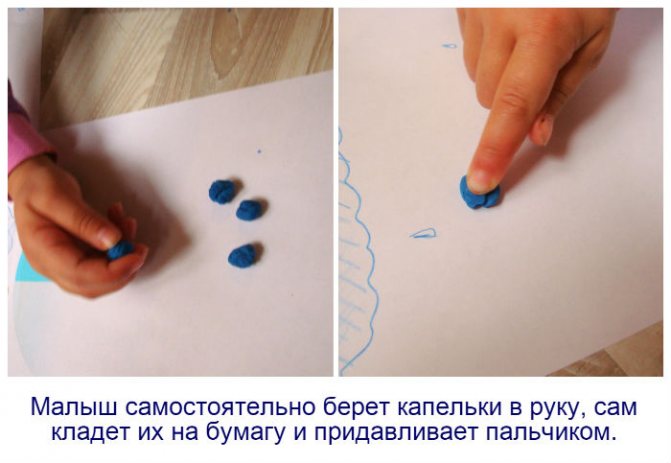
3. “Advanced” level (for children who are already good at sculpting ) – the baby himself tears off a piece of plasticine from the “sausage” and attaches it to a sheet of paper (specially prepared drops are not required, the baby “makes” them himself).
Music of the rain.
Take percussion or noise children's musical instruments that you have at home (or use these “household” instruments that can easily replace musical ones).
Take the child’s hands in yours and try together to “tap” the rhythm to the verses:
Rain, rain, drip and drip!
Don't drip so loudly!
Don't knock on our window!
Better wet the grass!
Drip - drip - drip - drip!
Then turn on the music and invite the child to play a “melody” to the song themselves (play along to Ekaterina Zheleznova’s composition “Rain” ).
The baby will do this with great pleasure if the mother also plays the rhythm on some musical instrument with the child.
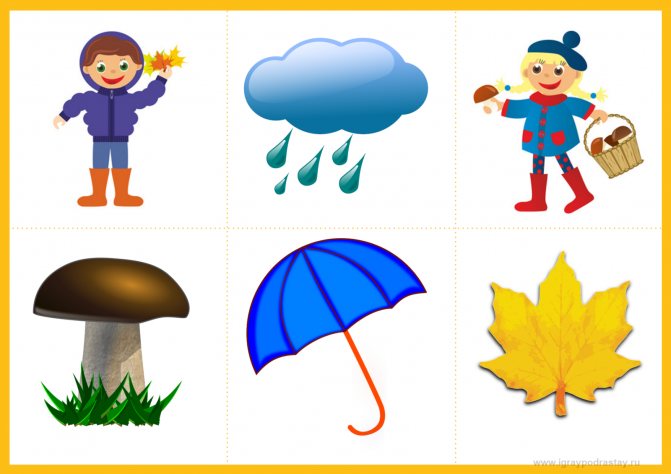
Lotto "Couples".
Invite your child to play the autumn Lotto. By playing with lotto, kids develop attention and logic, and also expand their vocabulary (if the mother voices the objects drawn in the picture).
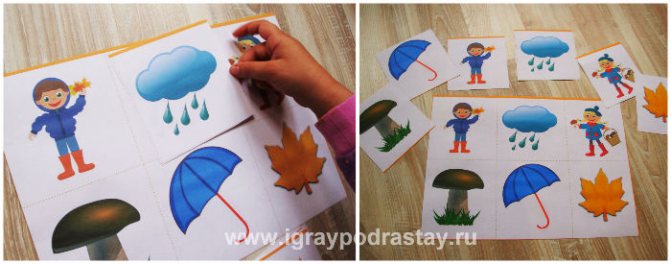
(If you are interested in lotto, click on the picture to enlarge the image).
Learning colors.
This activity will help your child understand the concept of “red and yellow.”
Prepare leaves of two colors - red and yellow.
Examine the leaves, focus the baby’s attention on the fact that some leaves are yellow and others are red.
Then offer to put the yellow leaves in a yellow box, and the red leaves in a red box.
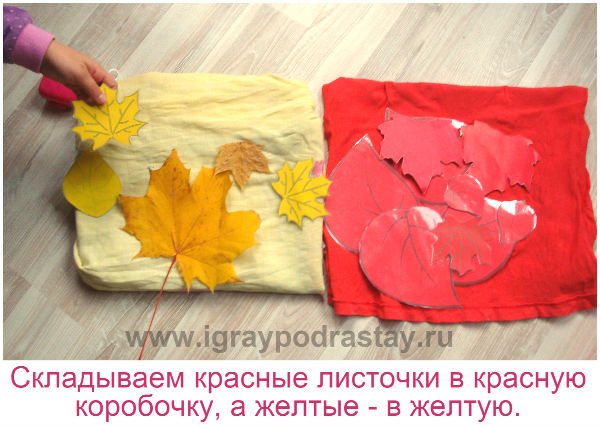
To help complete this task correctly, the same rules as for the previous lesson will help (we actively help the child complete the task, work together with the child, at first it is very useful to literally place the desired “box” under the child’s hand, saying the name of the color out loud (“this is red”) piece of paper, we put it in a red box").
