Master class with step-by-step photos: “Do-it-yourself mushroom basket”
Knyazeva Irina Anatolyevna, teacher of Branch No. 1 of MBDOU No. 137 of Penza
Master class is designed for preschoolers 5-6 years old, their parents and teachers.
Purpose: Counting material for classes, material for role-playing games, for gifts, for interior decoration.
Purpose: making a gift with your own hands, making counting material for classes
Objectives: To arouse interest in understanding nature and reflecting received ideas in artistic images.
Develop the child’s imagination, imagination, fine motor skills, and accuracy. boletus
, the fat little boletus, went out onto the path, the little fat little boletus - he tripped up my leg.
The fat little boletus is a fabulous marvel, he has moved his hat to the side, he looks proudly. I won’t leave the mischievous fungus in more often than not, I will find him a friend, But for now - Dive for now, Mischievous, into the basket. I. Melnichuk Materials: fine sawdust;
PVA glue; starch; vegetable oil; brush; acrylic paints; stack; round mold (you can use a fried egg mold or an egg container); scissors; a piece of cling film; plastic bottle; 10 sticks; silk ribbon; pebbles for decoration; stationery knife; awl; glue "Titan"; needle and thread; varnish; dry tea. Stages of the work:
1. Sawdust dough recipe:
Sift small sawdust through a sieve. 2 cups sawdust; 1 cup starch; 2 tablespoons of PVA glue; 0.5 glasses of water; 1 teaspoon vegetable oil. Dissolve PVA glue in water. Mix the starch and sawdust well, and slowly add water mixed with PVA glue. Then add oil, stirring constantly. We make the dough cool. 2. Line the form with plastic film.
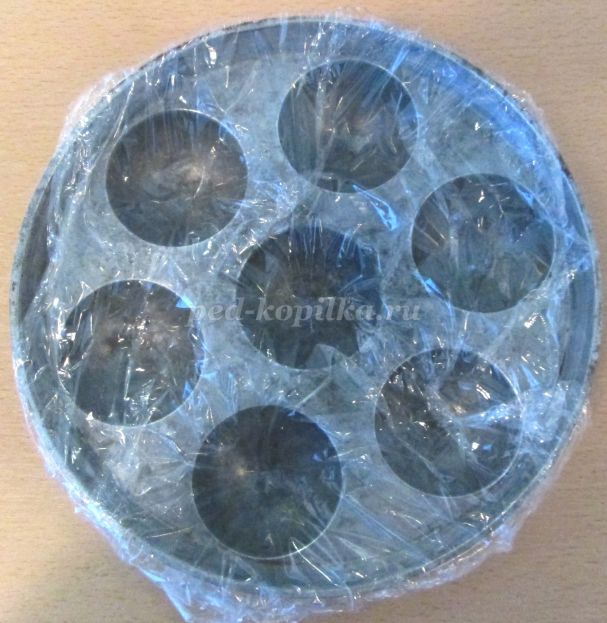
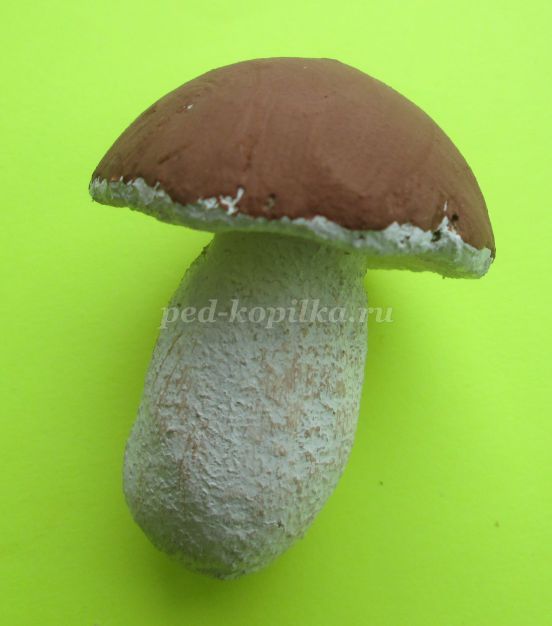
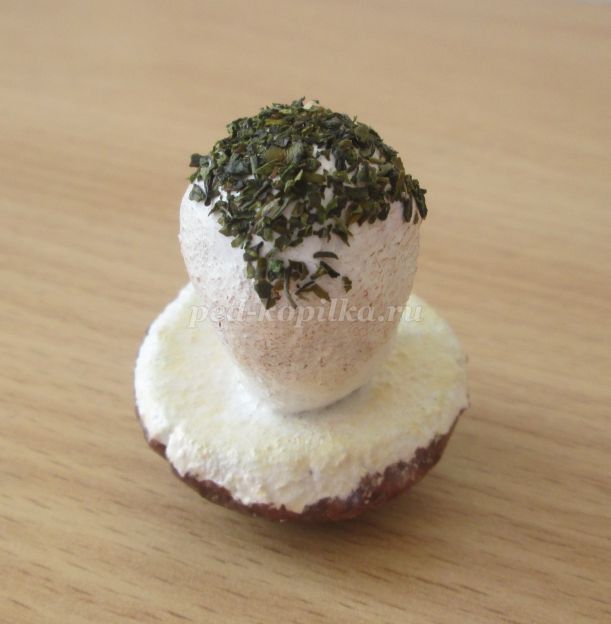
Place the sawdust dough into the mold. This will be the cap of our mushroom. Second option: put the dough in an egg container. Insert a stick into the hat. 3. Let our hats dry slightly. This usually takes 3-4 hours. 4. We sculpt a stem for our mushrooms. Roll out an ovoid from sawdust dough. and put it on a stick. Lubricate the stick and the place where the leg is attached to the cap with glue.

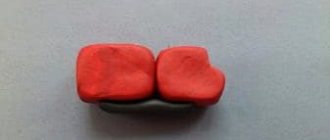
5. Making a ladybug. Form two balls from the dough pieces, one slightly larger than the other. Lubricate the attachment point with glue and connect. We fold a piece of thin wire in half and make antennae. Using a stack in the middle of the body, we make an incision. Dry. 6. Dry the mushrooms completely and paint them with acrylic paints.
Lubricate the fungus legs with PVA glue and sprinkle with tea. Dry.
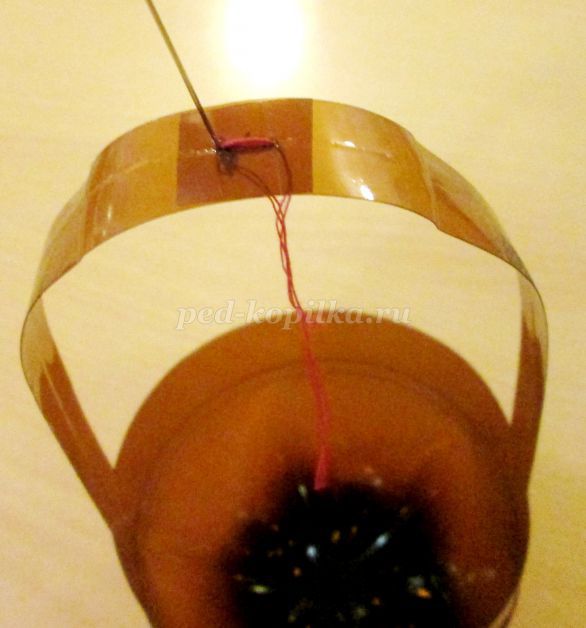
Cover with acrylic varnish. Color the ladybugs with paints. Glue the ladybug onto the mushroom. 7. Cut off the top of the bottle from a plastic bottle with a stationery knife. Using scissors, cut two strips on the sides, as shown in the photo.

Connect the strips overlapping and use an awl to pierce two holes. Use a needle to sew the future handle of the basket.
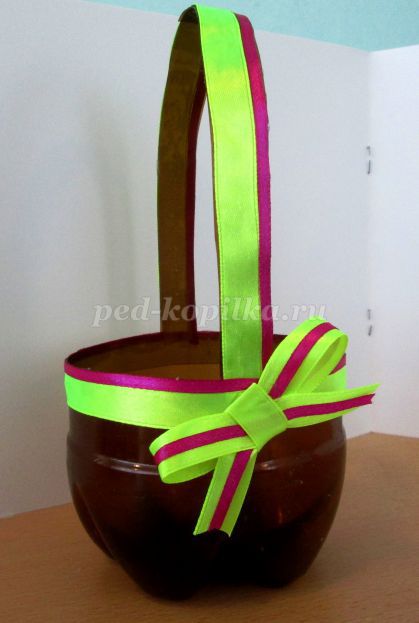
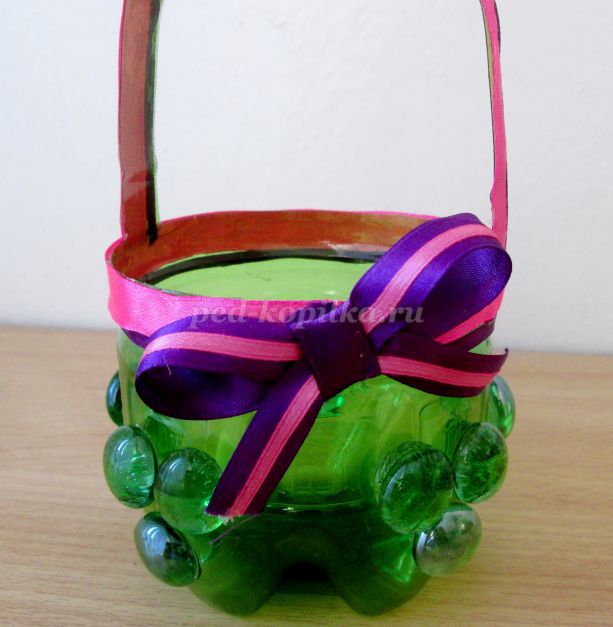
Lubricate the handle of the basket with Titan glue in the middle and glue the ribbon, hiding the junction.

Also coat the edge of the basket with glue and glue a ribbon along the edge. Make a bow from the ribbon and glue it to the edge of the basket using glue, while hiding the junction of the ribbons.
8. You can decorate the basket with pebbles.
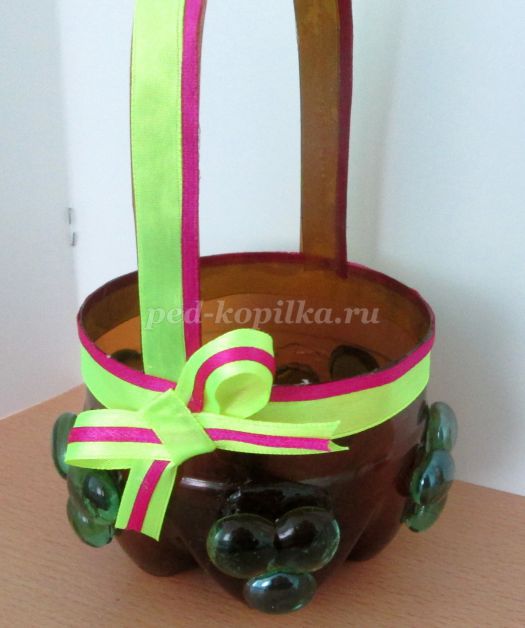
Another option for decorating a basket with pebbles.
If you don’t have pebbles, you can make a decoration from dough. Let's make 5 grape bunches with leaves. First roll it into a ball, then flatten it. Using your thumb and forefinger, sharpen the tip of the leaf. The result is a leaf. We make veins in a stack. You need 5 of these leaves. Then we sculpt a bunch of grapes. Roll 8 balls with a diameter of 5-7 mm and a sausage 2 cm long. We collect a bunch of grapes using PVA glue. Color the leaves and grapes with paints. Secure the decorations to the basket using Titan glue.

9. Using Titan glue, attach a ladybug to the handle of the basket. Place mushrooms in a basket.
Summary of direct educational activities in the group of general developmental orientation of pupils of the senior group in the educational field “Artistic Creativity” (modeling from shortbread dough) using ICT.
Modeling as one of the ways to introduce still life to preschool children
Modeling is of great importance for the training and education of preschool children. It promotes the development of visual perception, memory, imaginative thinking, and the instilling of manual skills and abilities necessary for successful learning at school. Modeling, just like other types of visual activity, shapes aesthetic tastes, develops a sense of beauty, the ability to understand beauty in all its diversity.
In the family of fine arts, noted I. Ya. Ginzburg, modeling plays the same role as arithmetic in the mathematical sciences. This is the ABC of understanding an object. This is the first reading, an exposition of the subject.
What knowledge should children receive about sculpture in a preschool setting?
In the second junior group. Show interest in folk toys and see the variety of shapes and colors.
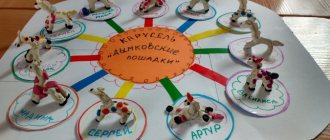
In the middle group. Know some folk toys (Dymkovo, Bogorodskaya)
Be able to talk about them; be able to show a small sculpture that is in a group,
Treat it as a work of art, know that a sculpture is created by a sculptor.
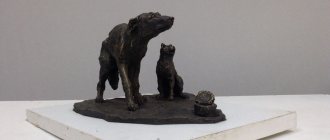
In the older group. Know what material folk toys are made from, understand their means of expression (be able to talk about shape, proportions, movement, additional details that make the toy more beautiful and interesting). Be able to listen carefully to the teacher’s story about the sculpture during an excursion to a nearby park (square): recognize the sculpture in photographs. Slides; engage in a conversation about sculpture.
In the preparatory school group. Understand and love folk toys;
Know and distinguish between individual crafts, be able to independently talk about a folk toy, its content and expressive aspects; know what kind of sculpture there is (folk, small forms, monumental); be able to examine the sculpture (walk around from all sides, pay attention to the means of expression).
Thus, sculpture, with its deep content and expressive means, enriches the child with social experience, develops the ability to perceive beauty, and lays the initial foundations of artistic taste.
When we talk about modeling in kindergarten, we mean visual activity, during which children depict the objects of the reality around them, create an elementary sculpture using plasticine.
A child’s creation of even the simplest sculptures is a creative process. Thus, a spherical lump of clay appears to a small child as a ball, an orange, an apple, and a plasticine column bent until the end connects - a ring, a steering wheel. While working with plasticine, the child experiences aesthetic pleasure from its plasticity, volume, and from the shapes that are obtained during the modeling process.
At the same time, the child becomes aware of the various properties of plasticine, gets acquainted with the three-dimensional shape, structure and proportions of objects, he develops the accuracy of hand movements and eye, and constructive abilities are formed. If this type of activity is done correctly, then modeling can become a favorite activity for children.
Modeling as an activity, to a greater extent than drawing and applique, leads children to the ability to navigate in space, to the condition of a number of mathematical concepts.
Different types of visual activities shape a child’s artistic taste, and if drawing and appliqué influence aesthetic education through the precision of lines and colorful colors, then in modeling the volumetric shape of the object, plasticity and rhythm come first. All three components actually exist in space, which forms in the child the ability to quickly perceive and recognize the beauty of the plastic form of objects, the relationship of their parts, and develops attentiveness and interest in the surrounding reality.
When working with children, three types of modeling are used: object modeling, plot and decorative.
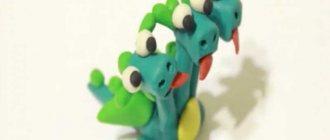
In object modeling, children sculpt figures of people and animals with interest.
Episodes from the surrounding life, the content of some fairy tales and stories can serve in plot modeling.
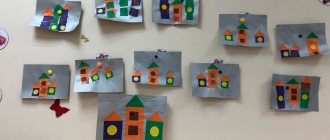
In decorative modeling, children get acquainted with folk applied art and its different types. Beautiful forms depicting dolls, animals, birds with conventional bright paintings delight children and have a positive effect on the development of their artistic taste, expanding their ideas and imagination.
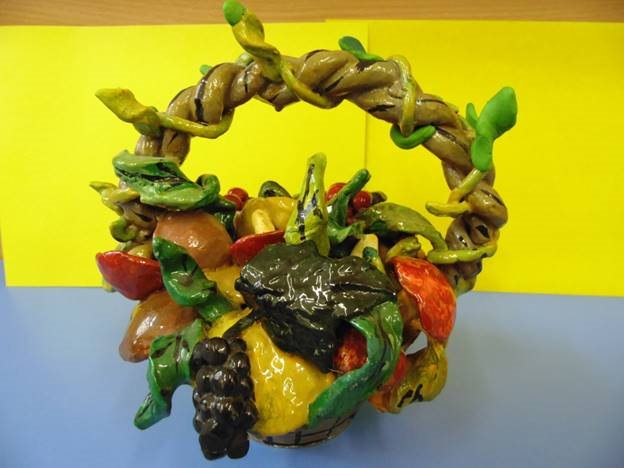
Here is one example of plot modeling on the theme “Basket with Mushrooms”.
Basket with mushrooms
Lesson objectives:
1. To consolidate children’s knowledge about the richness of autumn, obtained in the process of observations in the autumn period.
2. Continue to introduce children to still life and create a composition from various wild berries and mushrooms and combine them with a single content.
3. Teach children to sculpt mushrooms, passing on its main parts - the cap and the stem.
Material:
- a set of colored plasticine;
- stack;
- hand napkin.
Preliminary work.
Looking at dummies of mushrooms or pictures depicting them. Making riddles.
Stages of work:
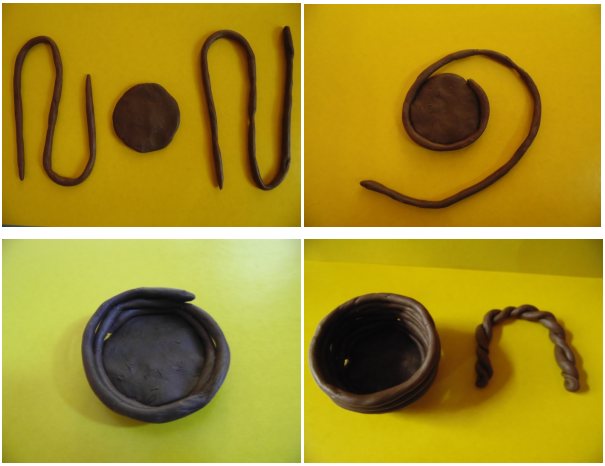
Basket
1. Roll out the ball, flatten it and get the bottom.
2. For the wall of the basket, roll out 8–10 long ropes.
3. Lay the bundles around the bottom.
4. We make a long flagellum and weave a handle out of it and attach it to the basket.
5. You can take any ready-made small pot, paint it like a basket and attach a handle to it.
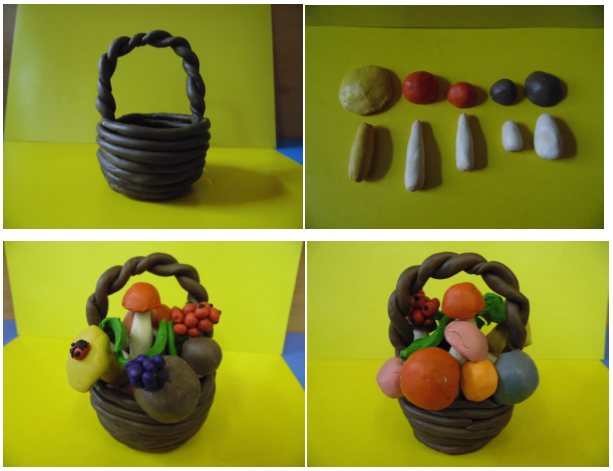
Mushrooms
hat
1. Roll a small ball of brown (yellow, red) plasticine and cut the ball in half with a stack, this will be a hat.
Leg
2. Roll out a column of light plasticine, thickened at one end, and attach the stem to the cap.
3. Place the molded mushrooms in a basket.
To complete the composition, you can make a small branch with red berries and place them in a basket with mushrooms.