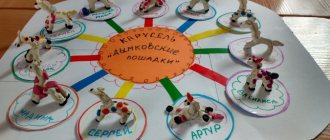
Pets
Pets made from plasticine are a good idea for modeling, since the child could see a cat or dog in person and will now try to make them from plasticine. This develops imagination. You can try to make a red cat:
- Take orange plasticine and mold a flat elongated oval - from this one piece you will get a body and four legs.
- Using a knife, two cuts are made at the ends of the part - you get two paws on both sides, and a back in the middle.
- The oval is bent in the middle so that the figure stands on its paws, arching its back.
- The head with ears is attached on one side, and the tail on the other.
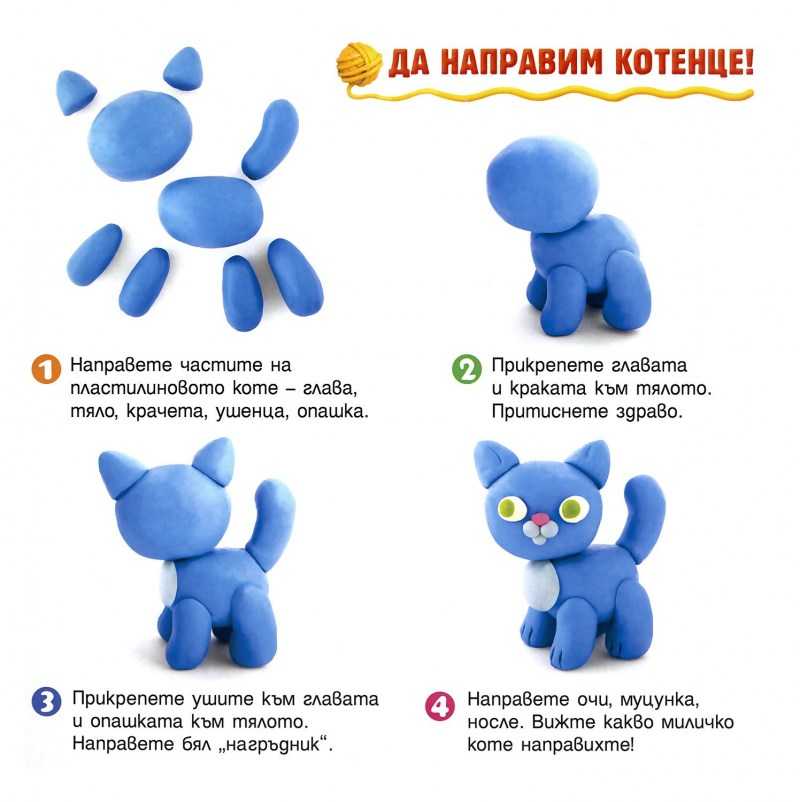
You can make a mustache from scrap materials. The cat is ready!
Fantastic creatures
If you know how to sculpt a horse, you can simply turn it into a mythical creature - a unicorn:
- A horse is several oval parts connected together. The main thing is to maintain proportions. The color can be any, for example pink.
- The head with ears is connected to the neck, the neck is connected to the body.
- Four thinner elements form the legs. Small hooves made of black plasticine are attached to them at the ends.
- The mane and tail are made from thin elements. They may be of a different color.
- And the final element that will turn a simple horse into a unicorn is a horn on the head of a bright shade. The front legs can be bent so that the horse appears to be walking.
After completing the modeling, the remaining plasticine must be sorted into colors so that it does not stick together in the box, otherwise it will harden and then be difficult to separate. Hands must be washed with soap and water.
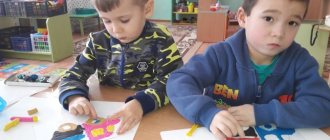
Modeling various animals from plasticine is a great activity for children and parents. It promotes perseverance, develops attention to detail, imagination and independence.
Cartoon characters
Peppa Pig is a popular pig from the children's cartoon and a good exercise for developing motor skills:
- Two balls are molded - pink and red.
- The pink ball is given the shape of a head with an elongated snout, and the red one should make a dress with a hem, the resulting parts are connected.
- Two thin arms, two thicker legs and a curled tail are sculpted from pink plasticine.
- Two pink ears are attached to the head, white eyes with black pupils, and the snout, cheeks and mouth are made of dark pink so that they stand out.
Making your own favorite cartoon character with so many small details is a real achievement and creative success for a child.
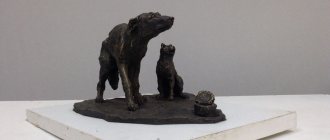
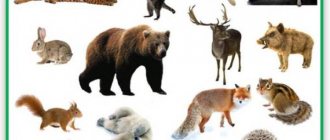
We sculpt wild animals step by step
Wild animals are of particular interest to children, since not everyone gets to meet them in real life. We have to be content with their depiction in the pictures. That is why sculpting a lion cub from plasticine will not only be exciting, but also educational.
Wild animals are of particular interest to children, since not everyone gets to meet them in real life.
Work progress step by step:
- Make a circle from the yellow mass and attach a couple of small parts to it, forming the cheeks of the animal.
- Make a nose out of brown material and secure it between the cheeks.
- Attach eyes a little above the cheeks.
- Make a teardrop-shaped body and slightly extend the tip of this piece.
- Using a match, connect the head to the body.
- Form a lot of brown circles from brown material and fix them on the animal’s head - you get a mane.
- Now mold the paws and stick three small orange circles on each of them.
- Attach these parts to the body.
Make a yellow ponytail with an orange tassel at the tip and stick it to the craft.
Crafts from photography
If you have a photo of a craft made by a specific animal, for example, from a book or the Internet, you can try to make the figurine you like with your child. It could be a panda - a cute two-colored bear. The panda has many elements:
- A white head with a small white muzzle and a black nose, black circles around the eyes, white eyes and black pupils, and black round flat ears on top.
- One elongated part is made from black plasticine - the upper part of the body plus two legs on the sides.
- An oval white part is attached below - this is the lower part of the body.
- Finally, two small black balls are attached to the lower white part of the body - the second pair of paws.

This is a complex figure due to the abundance of elements, but the result will please you.
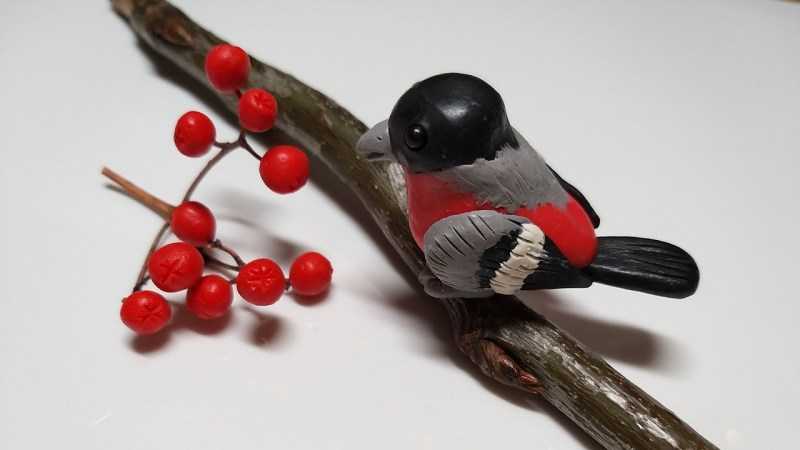
Birds
Sculpting birds is quite difficult, but you can try to make a white swan:
- A body with an elongated tail is sculpted from an oval.
- Attached to the sides are two flat, smaller ovals, pointed at one end - wings.
- The long piece is used to make a curved neck and a larger head.
- Eyes are made on the head, the beak is made from a small piece of red color.
If you take black plasticine, you will get a swan of a rare shade.
Smesharik "Krosh"
We will need:
- Plasticine blue, white and red;
- Stack;
- Beads.
Instructions:
- Roll up a ball of blue plasticine. This will be Krosh's body.
- We attach the eyes and nose to the body.
- Using the stack we draw the mouth.
- Add red plasticine to the mouth and make small white teeth for Krosh. Attached.
- Roll up the legs, arms and ears. We attach them to the body.
And here is another idea and instructions for sculpting crafts.
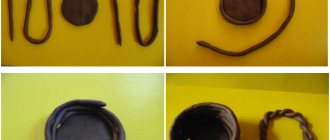
On the eve of Easter, you can make a traditional symbol of this holiday from plasticine: an egg. For this we need:
- Fine-grained plasticine;
- Egg shell;
- Pallet;
- Plastic stack;
- Pencil.
Step-by-step instruction:
First you need to prepare the shell. To do this, take an egg and make holes on both sides. Let the contents flow out. Carefully rinse the base. If during processing cracks appear somewhere, it’s not a big deal; they can be repaired later with plasticine.
Using a pencil, mark the pattern on the shell that you want to see as a result of the work. Fill in the intended patterns with plasticine. After this, fill the background with plasticine of the same color.
Choosing plasticine
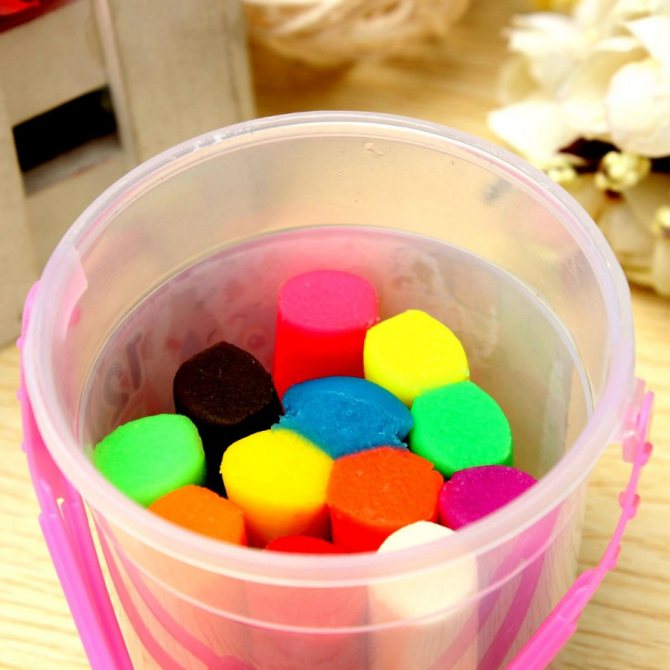
When purchasing plasticine, you need to carefully read the instructions from the manufacturer and make sure that it is appropriate for the child’s age and suitable for modeling purposes.

Classic hard plasticine is a durable material, crafts made from which are durable, but this property can also be a disadvantage, since very young children may not be able to handle it.
Light plasticine is a soft, bright material with natural dyes, easy to clean, suitable for children of any age;
The modeling compound is a very practical and easy-to-use material, it doesn’t stick, it retains its plasticity for 12 hours; the downside is the high price.
Ball plasticine is an excellent material for small children’s hands; it is often used for additional decoration of ready-made figures; it is fragile, but due to its characteristics, the child must be under the constant supervision of adults while sculpting.
Floating plasticine will give children a lot of pleasure, as it is soft, does not stain hands and clothes, and figures made from it float on the water.
Modeling paste - resembles clay, ideal for creating solid figures, since parts made from paste do not stick to each other, suitable for painting.
Thus, for playing with children, it is better to take light plasticine in bright colors, as well as hard material to create more durable and long-lasting crafts. You should not choose sets with strong flavors and artificial colors - they can cause allergies.
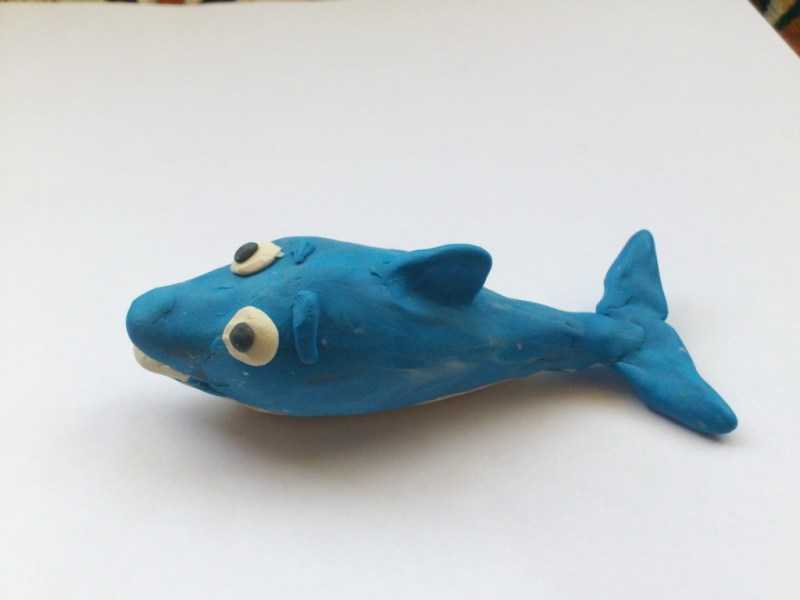
Making an octopus: step-by-step instructions
The octopus is one of the most unusual inhabitants of the seas
. Naturally, the process of sculpting it has its own characteristics, but it does not cause any difficulties. Following step-by-step instructions, even a small child can cope with this task.
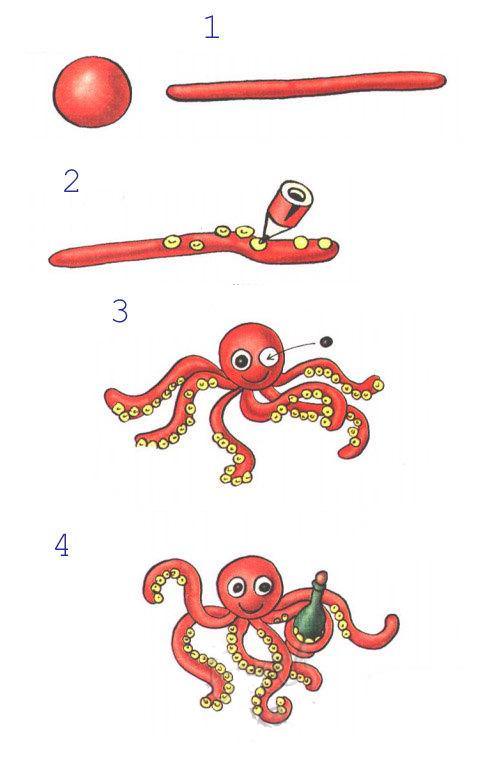
The octopus is one of the most unusual inhabitants of the seas
Progress:
- Make a small circle and eight long sausages - you get a head and paws.
- Place bright circles on each paw.
- Connect the head with the paws.
- Bend each limb.
- Use a toothpick to squeeze out the mouth.
- Blind the eyes and glue them to the head.
Place a small object into the tentacles.
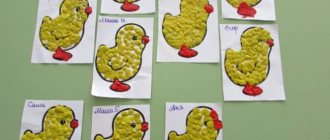
Pink-cheeked pig
Above we looked at instructions on how to sculpt various animals from plasticine. The following instructions will allow you to learn how to sculpt a rosy-cheeked farm dweller - a pig. Designing a piglet is simple and requires few parts and time. The sculpting of this character is relevant, because piglets are often found in animated series and even in poems.
We will make a craft from pink
You need a lot of it, pay attention to whether you have the required block in your set, if not, don’t despair. Show your child how to get this color using others (white and red)
If everything is ready, let's start creating:
Pig (Step 1)
- The prepared color must be divided into many parts. The head and torso will require the two largest pieces. Do not forget that the pig is a well-fed animal and a lot of material will be spent on the body. Four pieces will be needed for the legs. We use additional pink droplets for the snout, tail and ears.
- Attach a middle bead to the ball intended for the head. We press it in the center to get a patch. We make two holes in it. We cut the plasticine under the patch - this will be the mouth.
- To the muzzle we add several black and white beads for the eyes. All that remains is to attach the triangle ears. Lower their tops down so that they become hanging. (Step 2)
- Let's take care of the largest ball. Let's make a well-fed torso. If it happens that there is not enough plasticine, you can roll up a ball of any other color and simply cover it with pink. This will save material.
- We make tubes from the remaining plasticine. We cut them at the base and shape them into hooves. The hind legs should be larger.
- All that remains is to attach a tail to the pig. Roll a very thin worm and twist it into a hook.
The work is finished. Modeling this animal is a simple task even for the smallest children. And step-by-step instructions in the form of photographs will make this lesson receptive for kids.