What is monotype
Monotype is a type of graphic image in the fine arts, which has become widespread as a unique drawing technique. The author of the technique is considered to be the Italian engraving artist Giovanni Castiglione.
In Russia, monotype became famous thanks to the artist Elizaveta Kruglikova. Elizabeth mastered monotype techniques while studying in Paris.
The basis of the technique is creating an impression. The artist applies a design to a special plate using a brush or stencil. Then a sheet of paper is placed on it. The result of the work is an original image that cannot be replicated.
When using professional equipment, the impression from a metal plate is bright and high-quality. The plate can be used several times after being cleared of paint.
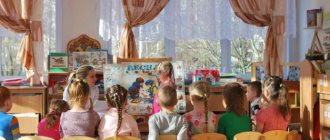
Since the 90s of the 20th century, monotype has been widely used in psychology and pedagogy for the development of artistic perception of various objects in children of older and younger preschool age. Despite the fact that monotype is classified as a printing technique, it differs significantly from other types, such as engraving, lithography or woodcut.
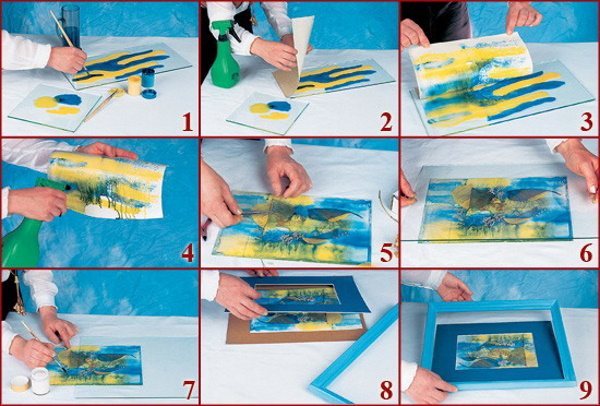
Step-by-step drawing using monotype technique for children.
The main difference is the uniqueness of the image obtained by applying paint to the base and creating an impression. The result of working in the monotype technique for children is a watercolor drawing on damp paper.
Monotype began to be used as a psychological tool starting in the 20s. XX century Swiss psychotherapists used monotype images for personality testing and research.
Patients were offered drawings made by making impressions from a metal plate. They had to guess what object was taken as the basis for the print. Over time, this approach became widespread in official pedagogy and psychology. Using this method, the age characteristics of children were studied.
Specialists in the field of additional education for children began to use techniques for monotypic image of an object for different purposes:
- to develop artistic skills;
- for learning the basics of drawing;
- to form a spatial understanding of objects, their shape and color.
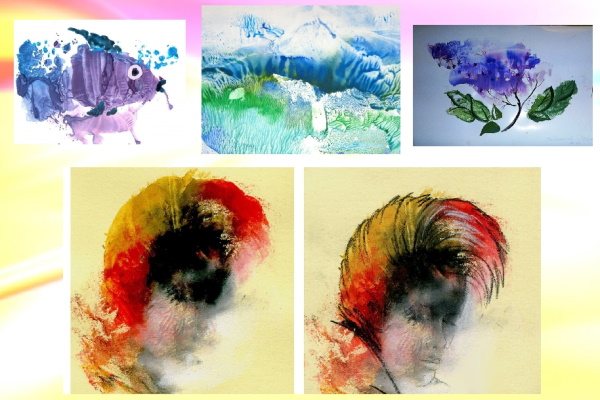
The following properties are considered to be the advantages of using monotype in drawing classes for children:
- development of fine motor skills;
- formation of creative thinking;
- speech development;
- stabilization of the emotional background;
- normalization of the nervous system;
- work on important skills necessary for further study (perseverance, perseverance, attentiveness);
- understanding the shapes of objects;
- awareness of a new skill;
- work on differences in color shades.
The benefits of monotype for children
Monotype drawing technique is very simple, children can easily master it. At the same time, it develops color perception and imagination very well.
Everyone knows that little children love to get dirty. They often enjoy smearing themselves and everything around them. Everything is included: plasticine, paints, jam, etc. This process brings them incredible joy, develops their imagination, and calms them down. The child relaxes and gets a feeling of security. And this, in turn, helps to reveal talents and best qualities.
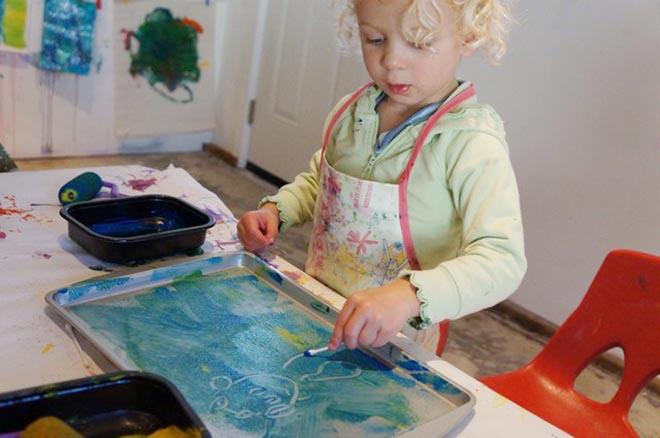
Why not use this baby's inclination in a creative way? Monotype is exactly the type of creativity that will help with this.
What does your child get in class:
- Development of imagination and creativity.
- Relieving emotional tension and stress.
- Joy and pleasure.
- Cancellation of fears and anxieties.
- Development of fine motor skills.
Monotype is actively used in art therapy when working with children of preschool and primary school age.
The essence of monotype
This unconventional direction of painting is an excellent way of self-expression and individuality for a preschooler. A simple technique allows you to create original pictures.
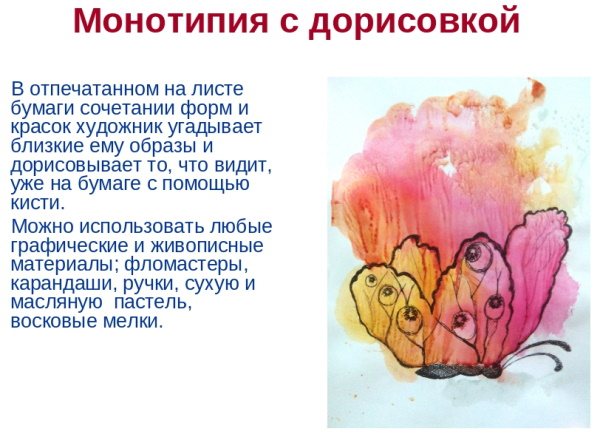
The essence of the method: the design is applied to a smooth surface, transferred to a clean sheet of paper, and pressed with hands or a roller. The result is an impression reminiscent of the outlines of clouds, hills, tree branches, and algae. Different thicknesses of paint create different effects. An interesting result is obtained by using textured paper for a drawing and then transferring it to a smooth sheet. The resulting print will always be inimitable and unique; if desired, it can be supplemented with details, resulting in a familiar object.
Features of this drawing technique
An important feature of this type of creativity is that its result is always unique. Monotype is a drawing technique for children that allows them to unleash their abilities. Features of using it for a child:
- Development of fine motor skills.
- Improving thinking and imagination.
- Improving the perception of different colors and their shades.
- Expanding knowledge about the world around us.
- Development of independent work skills.
On a note! Children love drawing, monotype in kindergarten is another opportunity to do what they love. The process of creating an image becomes an exciting game, something like a magical act.
Fine arts: the history of the creation of monotype
The unconventional monotype drawing was invented by Italian-born engraver and artist Giovanni Castiglione. Although his works vaguely resembled the monotypes of the artists who followed him, it was he who decided to combine the machine with handicraft labor. The most prominent representatives of this trend are such masters as Edgar Degas and William Blake.
Adviсe
- The “monotype” technique involves the use of the mirror principle. You shouldn’t forget about this, otherwise instead of well-thought-out plots and inscriptions you’ll end up with incomprehensible blots.
- For paintings made using prints, it is best to use acrylic paints. The advantage of such dyes is the richness of the colors and dense consistency. Thanks to this, the work turns out bright. The paint must be applied liberally to the surface, but not too much, otherwise you may end up with blots instead of the intended pictures.
- Monotype is a drawing technique that allows you to create one unique print. Of course, you can create multiple prints, but they will be similar in shape and color. It must be taken into account that glass and plastic create different prints; the same efforts will lead to different results.
Monotype. — Autumn Crafts — Crafts for the Holidays — Catalog of Articles
Share:
Drawing autumn landscapes using monotype technique.
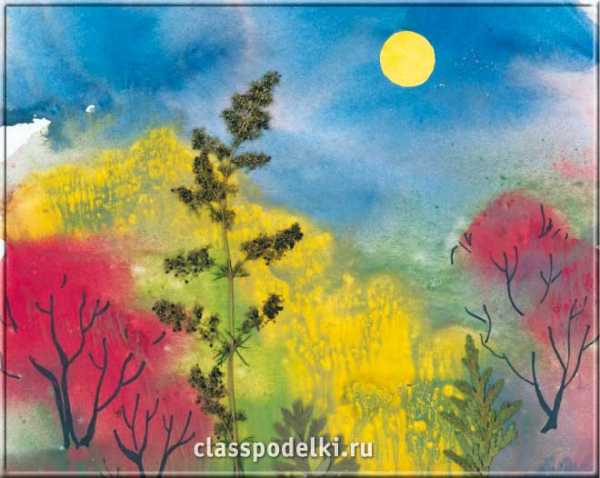
Monotype is a type of printed graphics. The technique consists of applying paint by hand onto a perfectly smooth surface and then applying a sheet of paper to it (type - print). An impression is formed on the paper with unusual patterns that are random in nature. The resulting print is always single (mono) and unique.
After printing, from a variety of prints, the artist selects only those few that satisfy him in terms of aesthetic appeal and subject matter. Therefore, monotype is an amazing genre that essentially occupies a middle position between painting and graphics, between art and psychology.

Materials and tools.
To make drawings using the monotype technique, you must have: - thick glass or a sheet of plastic with a smooth surface; - a set of gouache or watercolor paints; — thick brushes for applying paints to glass and thin brushes for correcting minor monotype defects and correcting images seen;
- sheets of paper for drawing or drawing in different formats;
— a set of pastel crayons for adjusting color transitions and correcting defects; - gel pens or felt-tip pens; - PVA glue; - dried flower petals, leaves, blades of grass for additional decoration of the picture.
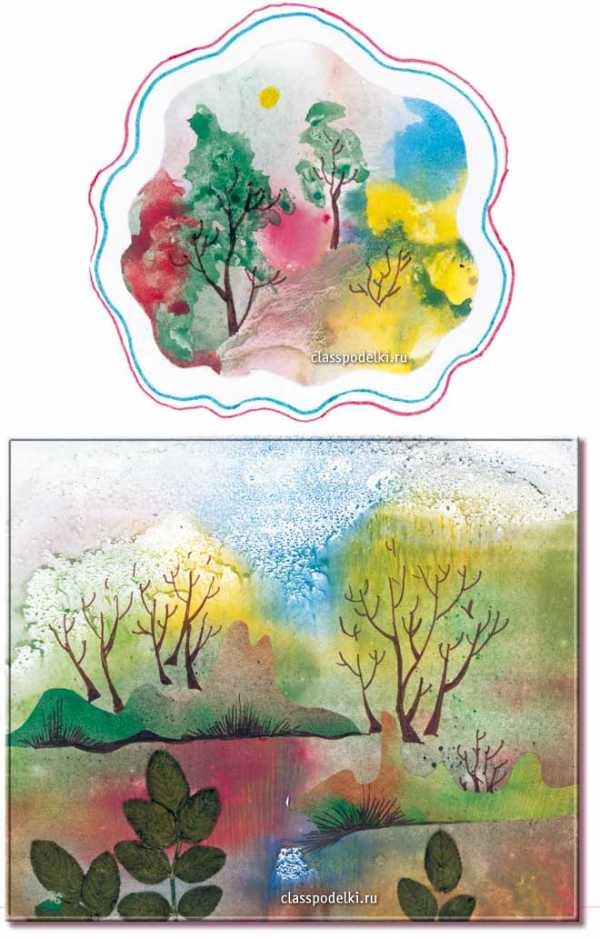
Making a print.
— Apply paint randomly to glass or plastic with a brush. For example, for an autumn landscape - blue, green, yellow and red. Or you can apply one color in different shades. Stir the gouache well before applying it to the glass. The paint should extend beyond the paper size by 1 cm.
- Then place a sheet of paper on the paint and run your palm over it one or more times (from the center to the edges or from one edge to the other), smoothing and squeezing out excess paint.
— Carefully remove the paper and place it with the print facing up. If there are places on the paper that are not filled with paint, then with a brush you can apply paint to match the color so that it blends harmoniously with the main background.
— From one application of paint you can make 2-3 prints or more, adding paint to where it was squeezed out and the glass became visible. In this case, none of the prints will repeat the previous one.
— Leave the print until completely dry. If the dried print is warped, it must be placed under a weight or ironed with a hot iron from the wrong side.
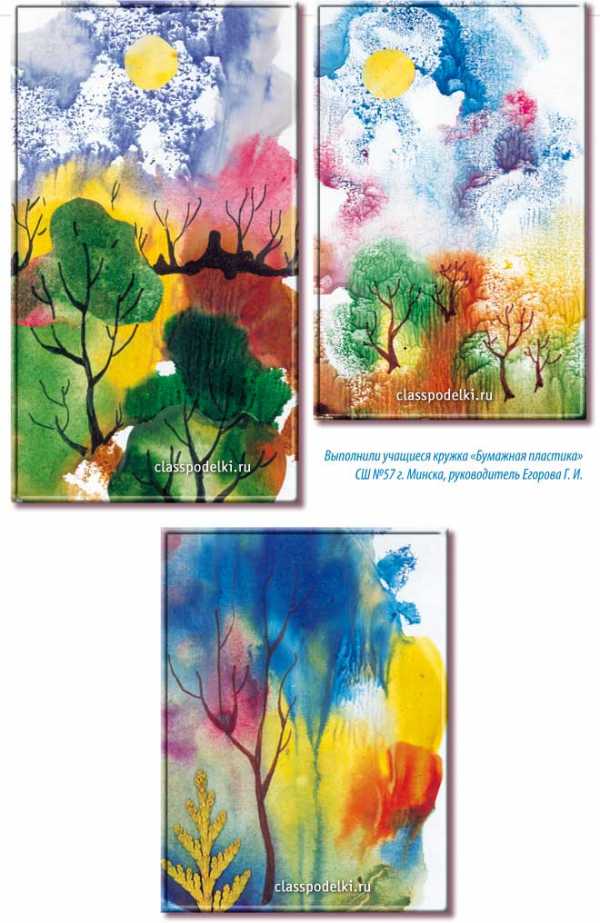
Working on a print.
— After the monotype has dried, the most interesting stage of the work begins - peering at the resulting print, they try to see some image, landscape, composition and slightly modify the print, trying to enhance and reveal what they saw.
— If interesting color, landscape or other options are found in only one part of the sheet, then it is necessary to mark out a new format and trim off the excess parts (which may be useful in subsequent work).
— If there are small places on the sheet that are not filled with paint, they can be finished with a thin brush using paint to match the color. Only the gouache should be very thick, otherwise there will be streaks in the drawing.
— Strong stains from the brush can be retouched with pastel crayons. They can also be used to fill in areas where paint has not adhered to large areas or to remove areas of unsuccessful paint mixing.
— And finally, you can enhance artistic perception by drawing the necessary images with gel pens or felt-tip pens (for example, tree trunks and branches, blades of grass, etc.) Finalizing the print with applique or floristry.
— Perhaps the resulting print is empty, and you want to revive it, add additional elements in the foreground. Since you can’t paint using monotype paints (you’ll get streaks), you can cut out all sorts of blanks (sun, hills, ponds, clouds, tree crowns, etc.) from scraps and rejected prints.
— Apply the resulting appliqué details to the monotype, ensuring their harmonious location in space and color combination, and glue them with PVA glue.
— Dried leaves, flower petals, blades of grass, cypress branches, which perfectly imitate trees, fir trees and other landscape elements, will also help diversify the foreground of the work.
— Place the finished monotype under a weight until completely dry, and then insert it into the frame. Small formats can be used to make postcards.

Published based on the magazine “KSYUSHA. Skillful hands"
classpodelki.ru
GCD move
- Guys, I’ll now tell you a riddle, and you’ll have to guess who it’s about:
"Do you know flowers
can fold the petals
and instantly fly into the air.
What kind of flowers are flying?
What are they called? ( butterflies )
- Right! How did you guess that the riddle is about butterflies ? (According to the words, fold the petals and soar into the air)
.
What is the butterfly compared to in the riddle ? (With flowers)
.
— The life of butterflies is short . The most fertile time for them is SUMMER. butterflies flutter merrily in the garden, in the meadow, in the field, delighting us with all the colors of the rainbow. What do butterflies ? Who knows? (Children's answers)
.
Monotype techniques
Monotype is a drawing technique that is based on a variety of techniques. When working with children, it is customary to use basic methods. There are several types of monotypy. They are distinguished by the use of techniques and tools.
Subject
The method is based on an image of an object familiar to the child. To get the desired result, it is necessary to explain to the child the importance of following step-by-step instructions.
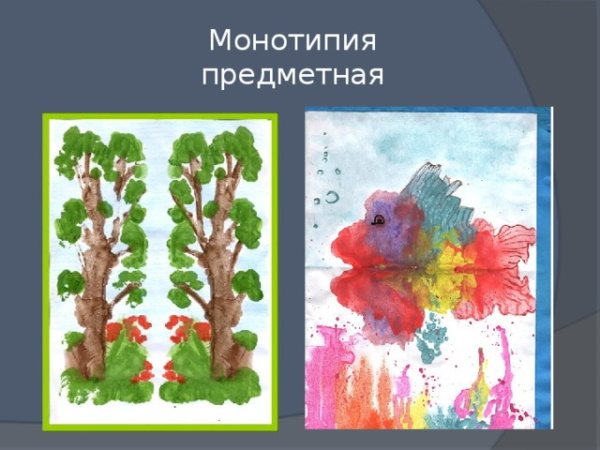
When using a subject technique, the drawing is performed on one side of a blank sheet. Before starting work, the sheet is folded in half. The object is drawn in such a way that there is a part of the object on one side of the sheet.
This method helps to master the principle of symmetry. On the second side of the sheet after the imprint, a symmetrical image of part of the object appears.
After folding the sheet along the intended fold, a complete image appears. This technique demonstrates to children the essence of the method and helps develop spatial thinking. This is necessary in order to obtain a result as close as possible to the intended one.
The child’s task is to create on one side of the sheet a clear outline of the object with the necessary thickness and richness of the gouache. The teacher’s task is to help the child carefully make an impression in order to obtain a drawing with clear contours and boundaries.
For preschoolers, at the initial stage, a subject monotype with images of balloons, squares or objects with a clear geometric shape is recommended.
Landscape monotype
Older kids can create landscapes. In this case, they draw part of the image on half of the paper, fold it and get the full picture. Thus, in particular, it is convenient to draw a forest on the shore of a lake and its reflection in the water.
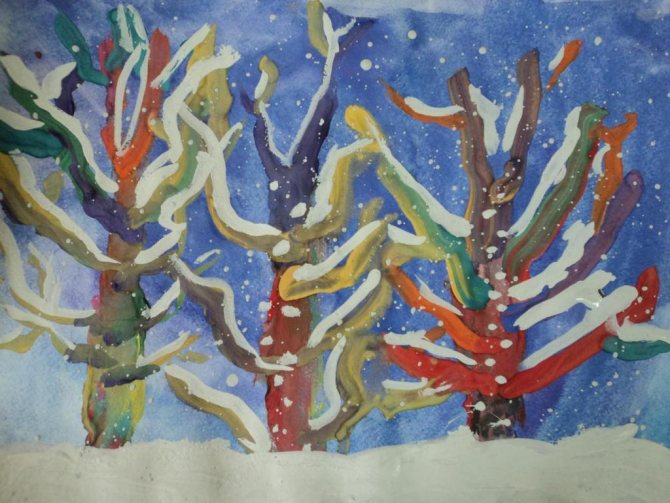
Alternative techniques
There are several variants of the monotype technique, which are used in drawing classes using auxiliary elements.
| Monotype type | Description | Required Tools |
| Abstraction | The textured plastic surface is painted over with plain paint, a sheet of paper is applied to the surface, then carefully removed, starting from the far edge. | Plastic tray or board for working with plasticine |
| Pin a picture | Paint is applied to a sheet of paper in any order, then a multiforum is pressed onto the drawing, both surfaces are crushed. After straightening the sheet, the plastic bag is removed. The paper produces a pattern with streaks that imitate snowdrifts. | Multifora, plastic bag |
| Creating a Pattern | Different patterns are drawn on a sheet of paper with a cotton swab or toothpick, then an impression is made. The result of the work is an image of a snow surface with different patterns. | Cotton swabs, toothpicks |
Monotypes of autumn leaves | Motherhood
Autumn is now in full swing, and in the literal sense of the word! The trees glow with bright colors in the sun, and if you also want to try to capture this beauty with your child, then here are some very simple techniques.
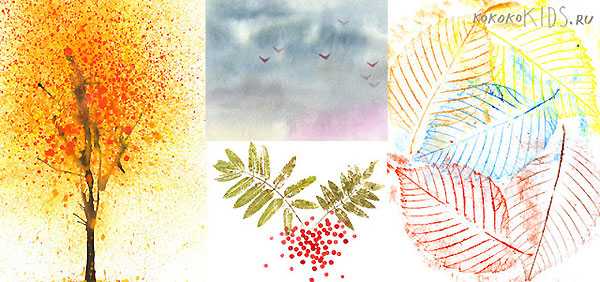
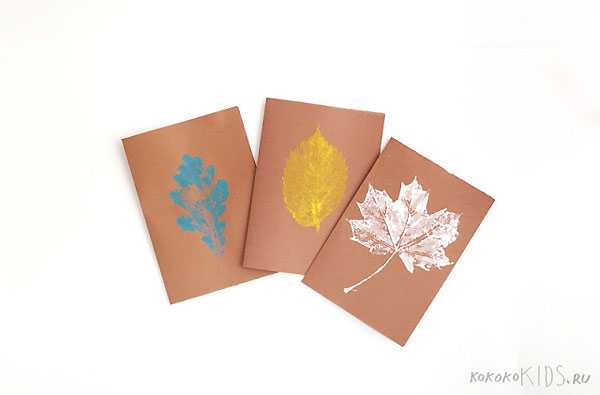
By printing the leaves, you can make postcards or something else.
But if you print a large sheet, it will turn out to be a real tree!
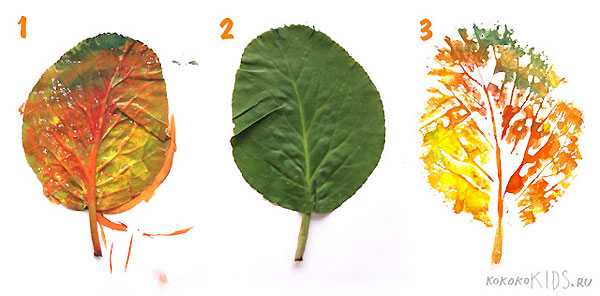
It is better to apply paint from the side of the veins. We painted with gouache, but you can also use acrylic and even watercolor. Each time you can apply new color combinations to the same sheet, then all the prints will be different and not similar to the previous ones.

You can add stickers or stamps.

Using the same principle, you can make an entire autumn forest.

Here are prints of rowan leaves. And any kid can draw rowan berries - they are made using a cotton swab with red paint.

There is a painting method where the paint is blown onto a sheet using a straw.
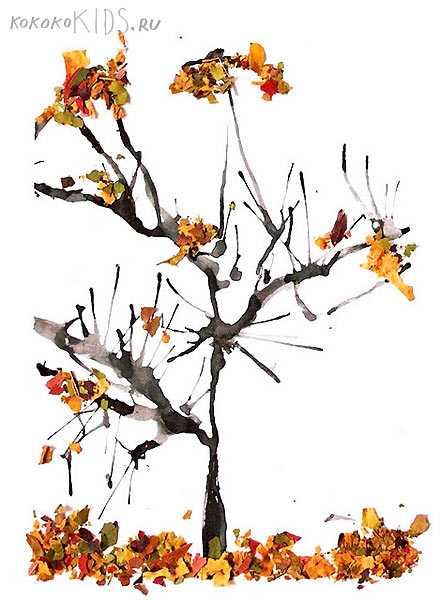
Taking these “blown” trees as a basis, you can develop the theme a little. The following drawings were made using a regular flower spray bottle, into which we poured a little water and stirred the paint (gouache).

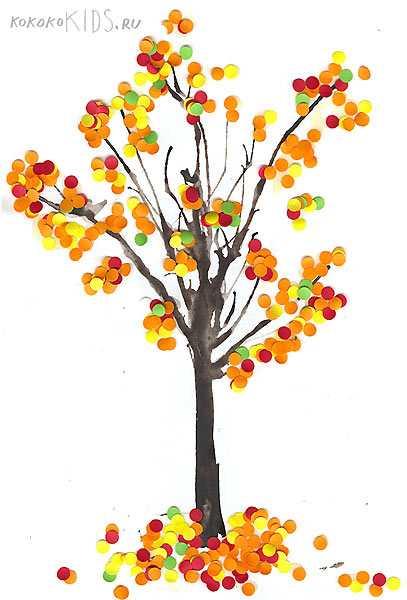
This is also done with cotton swabs. My daughter, however, only had the patience for the leaves on the trees, and I had to poke all the “fallen” ones, which is why they turned out so unnaturally uniform.
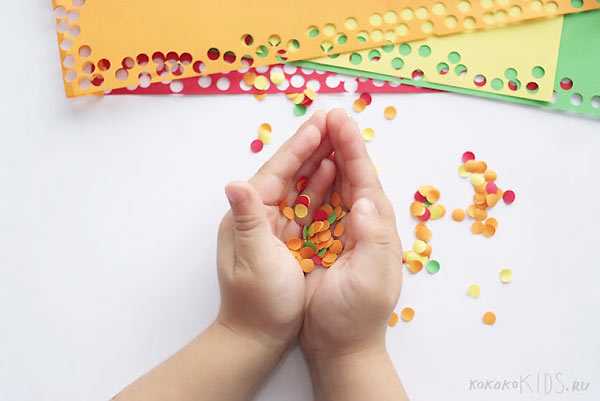
You can also make confetti with a hole punch and pour it onto areas of the design that must first be thickly coated with PVA glue.
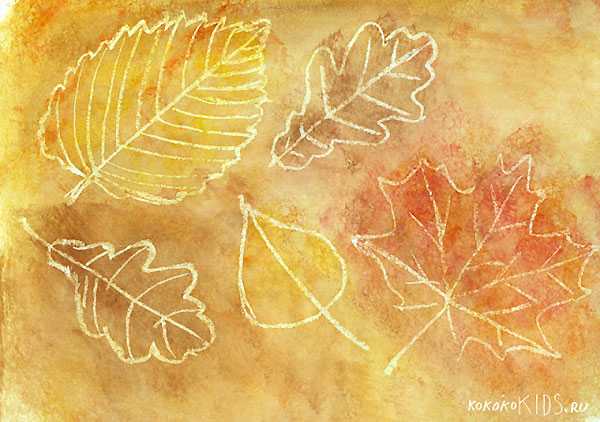
A very effective and probably my favorite method: place leaves under a sheet of paper (not thick paper, but regular office paper), and draw a wax chalk on top, holding it flat, and then a pattern with all the veins will appear on the paper!
And now for a little magic - you just need to take a white chalk and run it over the white paper, and then let the child paint over the sheet with a sponge.
The further fate of all the drawings can be very different. But the main thing is that they have this destiny.
The simplest thing is to sign the drawing (especially the date, age) and save it as a keepsake in a specially designated folder. Or frame it and give it to relatives. We gave just some of these drawings to our somewhat great grandmother for her 96th birthday, and they immediately enlivened her room.
The second, more creative thing is to arrange a small home themed exhibition. And give dad an invitation card right from the door when he comes home from work.
And the third thing - the most interesting thing - is to make postcards and send them to relatives and friends. Believe me, your grandparents, aunties and even your children’s little friends will be very happy to receive such news, even if they live in your own city.
materinstvo.ru
