ECD "Rainbow" for children of the preparatory group
Municipal autonomous preschool educational institution
“Child Development Center – Kindergarten No. 2”
Abstract of educational and research activities for children of the preparatory group on the topic “Rainbow”
.
Prepared by: Teacher of group No. 10
Abushaeva S.R.
Saransk, 2022
Goals:
• Introduce children to the atmospheric phenomenon of rainbows ,
reveal the reason for its appearance (reflection, refraction and decomposition of sunlight).
• Fix the colors of the spectrum and their sequence.
• Develop memory, attention, ability to work in a team.
• Create a desire to participate in experimental activities ,
cognitive activity.
Preliminary work:
• experimental activity on the topic “refraction and reflection of light”
,
“Colors of the spectrum, their sequence.”
• Vocabulary work: refraction, reflection, spectrum.
PROGRESS OF THE CLASS:
A cell phone rings in the group
- Guys, we received an audio message. Let's listen.
Hello guys! My name is Katya, I'm only 4 years old. I was told that in your kindergarten there are smart and sympathetic children, kind and resourceful teachers. Can I contact you with a request? Please tell us what " Rainbow " ,
where does it come from and why. Ask the teachers to make a video letter for me and send it to….
- Who saw the rainbow ?
When it was?
In dry, hot weather, during or after rain? Usually we see a rainbow when
the rain has not stopped yet, but the sun is shining in the sky.
To see a rainbow ,
you need to stand with your back to the sun.
- Shall we help Katya? Where do we start? First, let’s answer the question: “What is a rainbow ?” ( answers ) .
— Once upon a time, a person began to wonder why rainbows . People in those days could not explain this phenomenon, so they came up with myths and legends. Some superstitious people thought that this was a bridge to the other world, but scientists have found an answer to this phenomenon. So, a rainbow is a natural phenomenon that occurs when it rains and the sun shines.
The teacher invites the children to look at several pictures depicting a rainbow :
— The artist painted several rainbows .
Guess which picture shows
the rainbow that
he saw after the rain
(not a fairy-tale rainbow , but a natural phenomenon)
.
How is it different from your pictures? (sequence of colors)
.
How many colors does the rainbow ? The rainbow consists of seven colors, and they all follow strictly one after another, each “knows its place.” True, in nature there are no clear boundaries between colors; they smoothly transform into each other. There is a well-known expression that helps to remember the arrangement of colors in the rainbow :
Every Hunter Wants to Know Where the Pheasant Sits (the first letter of each word indicates a specific color: red, orange, yellow, green, blue, indigo, violet).
MAGAZINE Preschooler.RF
Drawing lesson for children “Rainbow - arc”Prepared by the teacher of the preparatory group, Natalya Andreevna Vavilina.
Goal: to develop creative abilities through teaching non-traditional types of drawing.
Tasks:
- continue to introduce children to new types of drawing
- develop interest in creative activities
- cultivate accuracy in work.
For work you will need: a sheet of thick white paper, a bristle brush No. 5, a glass of water, napkins, gouache.
Progress of the lesson:
“... I’m going to the rainbow-arc I’ll admire the escape - Seven-colored-colored In the meadow I’ll lie in wait.
I can’t look enough at the red arc, behind the orange, behind the yellow I see a new arc.
This new arc is Greener than the meadows. And behind her is a blue one, like a mother’s earring.
I can’t get enough of the blue arc, but I’ll take and run after this purple one.
The topic of our lesson: “Rainbow-arc” .
Ball game "Color Mosaic"
Today you will work at two levels: independent and guest.
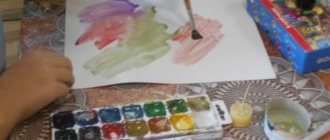
On an independent level, I suggest you paint a rainbow with watercolors or wax crayons.
At the guest level, we will draw a rainbow together, but in a different way.
Before you start, you need to select the circles and take your seats.
Circles of two colors: orange means an independent level, you complete the task yourself, and blue means a guest level, i.e. we complete the task together.
Selecting work levels, selecting circles.
Next, the children take their places.
At the independent level, illustrations of a rainbow are attached to the magnetic board.
Children complete tasks independently, choosing material. with whom they will work.
At the guest level, the teacher explains in detail how to complete the task.
Look, there is gouache in front of you. Open, please, put on the table exactly the colors that the rainbow has: red, orange, yellow, green, blue, indigo, violet. These are exactly the colors that we will need for work.
Before starting work, let's remember the basic rules of drawing using the “poke” (painting with a hard semi-dry brush):
- Water is used only when changing colors; the brush is wiped dry with a napkin before dipping into the paint.
- When drawing, the brush stands strictly vertical to the sheet of paper. Gouache is applied to the sheet with one touch, in other words, “poke” .
- While drawing, leave a white edge on the sheet, making a frame that is not filled with color.
Let's start drawing!
1. Take green gouache and draw a clearing on the bottom of the sheet. Remember to leave a white border without filling the edge of the paper with color.
You should end up with a clearing like this, with space for a small lake.
2. Now we will draw the rainbow itself. Take red gouache and draw the first arc.
3. Now you will need orange gouache. Draw a second arc, next to the red one, leaving no gap.
4. Now take the yellow gouache and continue drawing the rainbow. Don't forget that we are not doing any brush strokes. Only with a “poke” .
5. Now take green gouache. Let's draw another arc.
6. Now take blue gouache and draw a new arc exactly under the green one.
7. Guys, do you all know the colors of the rainbow?
The children answer.
Educator: I suggest you take a little break from drawing and learn a short phrase that will help you learn the colors of the rainbow once and for all.
Every red Hunter orange Wants yellow Know green
Where blue sits blue Pheasant purple
The first letter of each word is the first letter of the color in the rainbow.
Let's repeat it all together.
Children repeat.
Do you remember?
The children answer.
Educator: Well done. So what color do we need now?
The children answer.
Educator: That's right, blue.
8. Take blue gouache and draw an arc.
9. And here is the very last arc - purple. Take your time, draw carefully.
| Next > |
How to draw a rainbow without color transition?
Drawing is quite difficult for a beginner. You can easily find out whether your child has a penchant for drawing or not. After all, the drawings of those children who have talent are significantly different. However, this does not mean that your child should immediately abandon the fine arts and move on to another field. After all, absolutely anyone can start drawing and learn this art.
If you want to get a rainbow that has no outlines, start by drawing with pencils. Because it is with the help of pencils that you can easily master the basic basics of drawing.
Move on to paints only when you learn how to draw a rainbow with a pencil
To get an ordinary rainbow that has no color transitions, simply draw 7 arcs at a small distance from each other. Draw 1 arc above, then your rainbow will turn out larger. There is one important nuance in the rainbow - these are the colors. When drawing a multi-colored “beauty”, you will have to take 7 ordinary colored pencils, which we listed above. If you don't want to forget the color sequence, read the poem about the pheasant and the hunter several times.
When you know exactly the placement of each color, start coloring the rainbow. Clearly draw each color, carefully highlight their borders. When you learn how to draw a rainbow with pencils, feel free to pick up paints and other materials and start creating.
Summary of a drawing lesson in the senior group
Now I’ll tell you an interesting story about the gnome Boom. (A video is played or picture material based on the text is shown).
“Once upon a time there was a cheerful gnome named Boom. He loved to plant flowers. One day he planted a rose in his garden and it grew on him. “What a beautiful rose,” the gnome always admired. One evening, Boom took his watering can and went to water the flower; when he finished and took the watering can back to its place, he discovered insects in the grass that were as green as she was - they were a caterpillar and a grasshopper. He asked them to stand with their beautiful rose so that he could paint a picture, because he not only loved to plant flowers, but the gnome also loved to draw.”
(The teacher takes out a toy).
Educator: guys, look, here is the gnome Boom himself. He asks you to draw this picture with him.
(Images of insects are hung on the board)
Main part:
Educator: before you start, you need to stretch your fingers.
Finger gymnastics:
One, two, three, four, five, (we bend the fingers of both hands alternately)
Fingers, it's time to get up (we clench and unclench our fists on both hands)
We will do exercises (clap our hands)
We will jump in a squat (we make movements with our fingers, as if we were splashing water)
We will jump and dance (we make rotational movements with our hands at the wrists)
One, two, three, four, five, (we bend the fingers of both hands alternately)
Educator: Well done guys.
Look at the figures of a grasshopper and a caterpillar in my hands, they are the same size in life. (Shows the children the figures close up, each one)
Now, look at the rose. Is she bigger than insects?
(Yes)
So, we also draw. The rose must be larger than the insects.
Educator: let's get to work.
Drawing sequence:
(The teacher demonstrates on the board, helps the children)
First, draw grass at the bottom of the sheet with a green pencil. Now we take a simple pencil and begin to draw a caterpillar and a stem with a leaf, on our own. We'll color it later. Now look carefully at the board and repeat after me.
(The teacher shows how to draw a grasshopper)
Educator: let's rest a little and then continue.
Physical education minute:
The wind blows in our faces, the tree sways. The wind is quieter, quieter, quieter. The tree is getting higher and higher.
(Children imitate the wind blowing, swinging their torso, now in one direction, now in the other direction. When they hear the words “quieter, quieter,” the children squat, and when they say “higher, higher,” they straighten up).
Educator: Now we’ve had a rest, now all that’s left is to add clouds and sun. Let's start painting. Guys, remember, to get a beautiful picture, you need to paint it in one direction.
Rainbow drawings for children to draw: photo
The most important thing in drawing any picture is the tools. If you want to teach your child to draw an ordinary rainbow and other elements, first teach him to prepare each tool and all the necessary materials. A very important role in drawing this natural miracle is played by a template from which your child can copy. Thanks to this template, your child will know exactly what colors to use in drawing and how they are positioned.
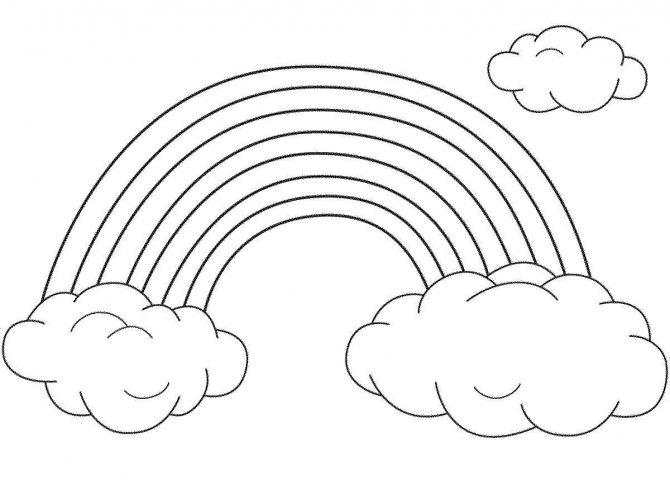
For sketching
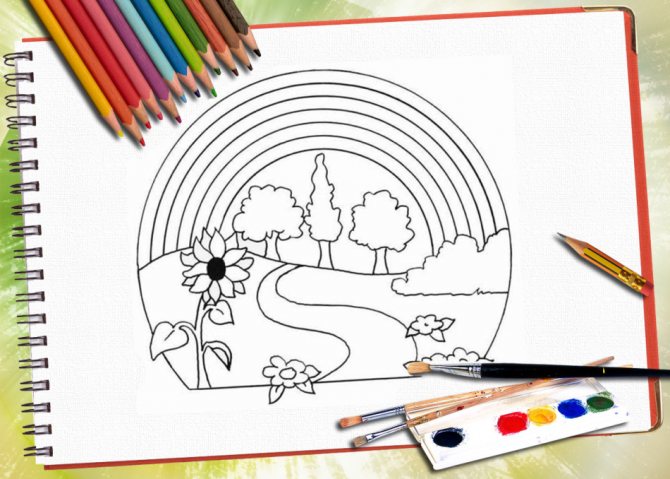
Drawing a rainbow
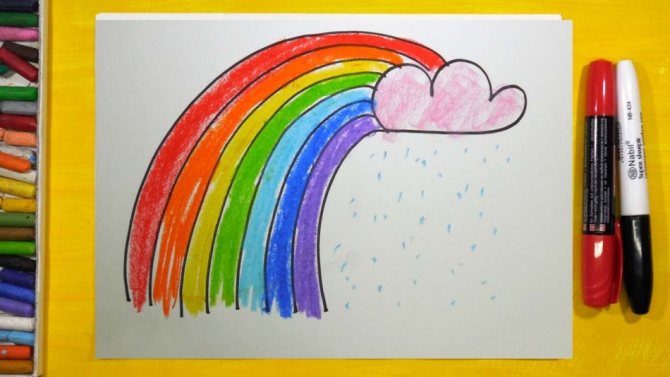
Draw and color
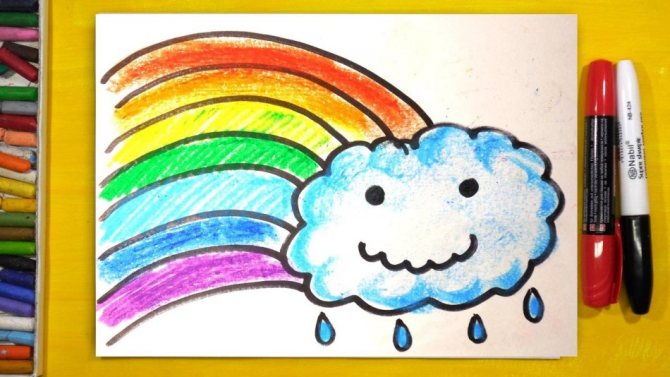
bright rainbow
How to correctly draw a rainbow step by step by color with a simple pencil: step-by-step instructions
If you learn how to draw a rainbow with pencils, you will be able to draw it to add to other landscapes in the future. Because this natural phenomenon that appears in the sky looks incredibly beautiful. The colors smoothly merge with each other, creating a fabulous picture.
In order to depict a rainbow, you will have to use only 5 colors. But, if you have a lot more pencils of other shades in stock, then try to use many of them in your drawing. This way you can get a more colorful and vibrant picture.
To draw you will have to use:
- With a black marker
- With a simple pencil
- Paper
- Eraser
- Colored pencils
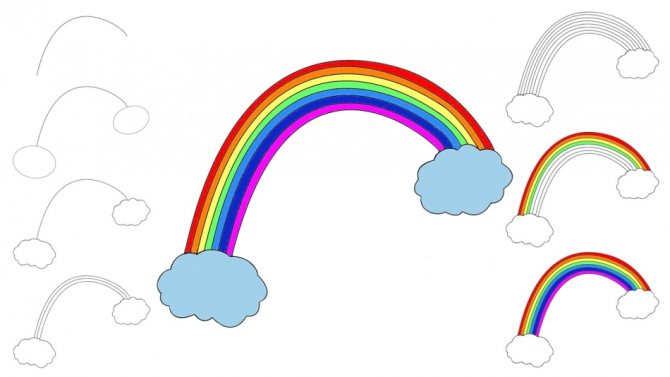
The execution process:
- Draw small ovals at the bottom right corner and top left corner. Do this with quick, sharp movements, do not carefully draw each contour. After all, you are only drawing a sketch.
- Create beautiful, airy clouds from ovals. Simply add wavy stripes of varying sizes to these ovals. Make sure that they do not extend beyond the ovals.
- After this, from the 1st cloud, draw 8 identical arcuate lines to the 2nd cloud. This will give you a rainbow.
- Then very carefully trace each line in the drawing using a black marker.
- To add shades to the image, start with blue. Color the clouds with a blue pencil. Do not paint them completely, only partially, so that the clouds look airy and light.
- After that, take a red pencil. Use it to color the top stripe of the rainbow.
- Once you've colored the rainbow with red pencil, move on to orange.
- After this, take a yellow pencil, making a smooth transition from orange.
- After the orange one, you can take a green pencil.
- And so on until you have painted each stripe with the appropriate color.
Children's drawings of rainbows: photos
In nature, rainbows are considered a rare phenomenon. It can occur in several cases:
- A rainbow appears from splashes of water in a fountain or waterfall.
- Rainbows also appear after the rain stops. Sometimes 2 rainbows even appear at the same time.
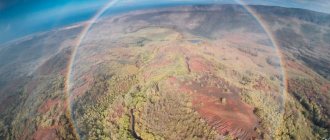
- In some cases, a rainbow may appear on the ground, which resembles a thin arc.
But most often, a rainbow appears on paper when children draw it.
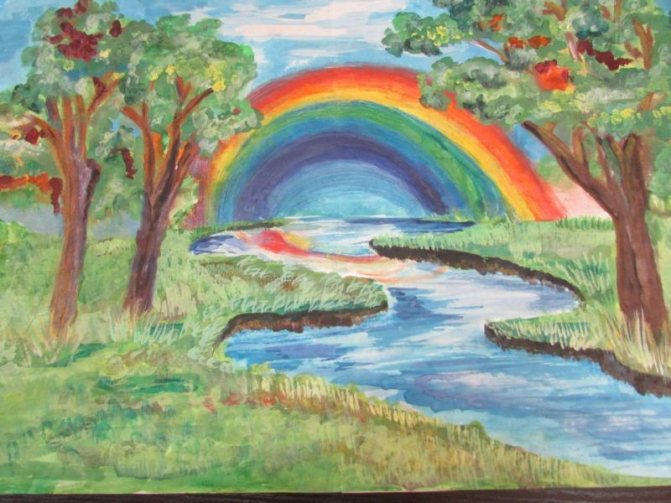
Children's drawings
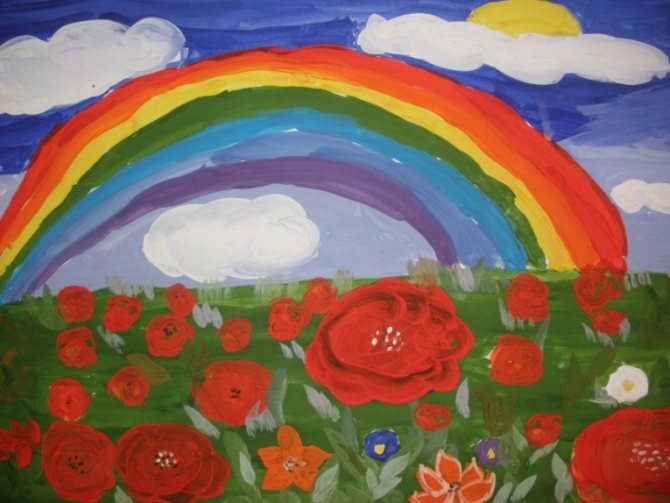
Rainbow
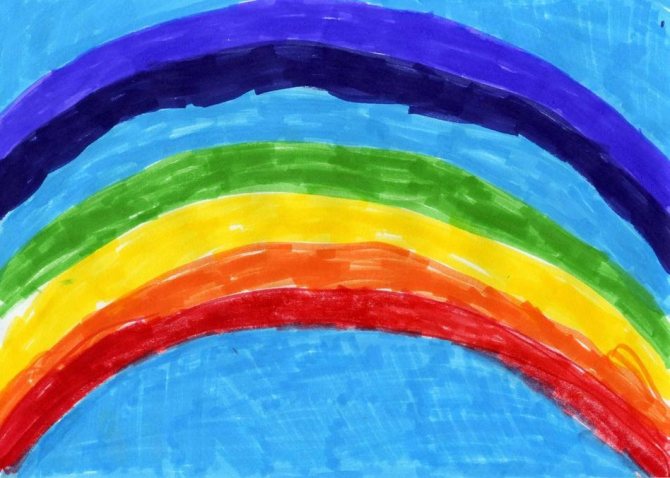
Rainbow with children's hands Rainbow
