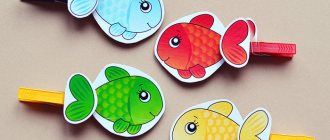
Pencils for dolls
Goal: To instill in children empathy for game characters and arouse a desire to help them. Practice rolling lumps of plasticine between your palms with straight movements; learn to give them the shape of a pencil. Strengthen knowledge of colors.
Material: Empty boxes of colored pencils, plasticine.
Progress of the lesson
Creating gaming motivation. Before class, empty boxes of colored pencils are placed next to the dolls. On behalf of the dolls, the teacher conveys their request: they would really like to have pencils. There are empty boxes, but no pencils.
The teacher invites the children to help the dolls. Children take empty boxes and take a place at the work tables.
Children are already familiar with the technique of rolling plasticine between their palms with straight movements. Therefore, you can attract those who have mastered it to the show. The teacher only shows the children how one of the ends of the sculpted column is slightly squeezed with the fingers to give it the shape of the sharpened side of a pencil.
To consolidate the names of already known colors, the teacher, on behalf of the toys, asks someone what color pencil he made. In case of difficulty, the teacher names the color of the pencil.
Learning colors
If the baby doesn’t yet know colors, during modeling (as during all other games and activities), constantly call them: “We’ll make an apple from red plasticine. Now give me a piece of green plasticine, it will be a leaf..."
Good plasticine will surprise even a child who can confidently navigate all the colors of the rainbow. Take 5 small pieces of red, yellow, blue, black, white. With their help, you can build the entire color palette (before showing something to your baby, check whether the plasticine really gives the right color when mixed). First, connect the primary colors in pairs and show how, in your palms, motley two-color lumps turn into green, orange and purple balls. Mixtures of white and black will add lighter and darker shades to the palette. Experiment with different mixtures and proportions with your child. All the baby needs to do is place the colorful balls on a plastic plate. With an older child, stick pieces of plasticine onto cardboard and connect each color with lines to the colors that participated in its production.
Tell and demonstrate to your child that if you mix all the colors, you will get an ugly, dirty gray or brown piece. To prevent this from happening, let your child help you sort the plasticine by color at the end of each lesson.
Plasticine cooking
Before sculpting something himself, a child needs to learn how to make sausages and balls, cut them with a knife, and turn the balls into flat cakes. It's just not interesting to do it like that. But cooking various dishes with your mother is an exciting activity.
The baby can cut sandwiches from adult-made bread and cheese. Or flatten lumps of blanks to make cake layers. Instruct your child to roll small balls of sweets or berries, sausages. Surely the child will want to participate in decorating the dishes. Plasticine food will serve as a prop for games in a store or cafe. Or it will become a treat for visiting dolls and animals. Such a plasticine lunch is a good reason to give your child the first idea about fractions and division (of a pie or cake), to teach comparison (the number of guests and the number of sandwiches), and to practice addition and subtraction.
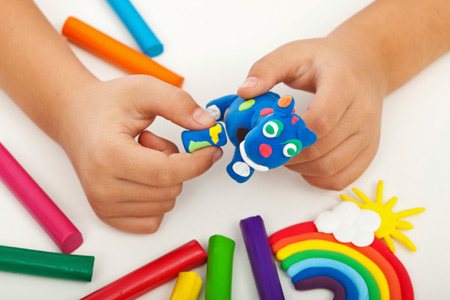
Plasticine fantasies
The result of a child’s first attempts to make something together will most likely be something “incomprehensible-wonderful.” And it doesn't matter. Come up with a name for this creature. Bring him food, toys, and then friends. Although such games do not teach how to sculpt, they do develop imagination and freedom of creativity.
A child who is beginning to find his place among people will benefit from social games. Sculpt whole families of animals, people or fantastic creatures. Play out different situations with them. Such games will help to unobtrusively demonstrate to the child a recent conflict, rehearse an upcoming visit, and teach how to get to know and communicate with children. An adult can control all the characters, but it is better if a child takes on some role.
Roll out the dough with a rolling pin
The baby will most likely be happy to start rolling out the dough, because he has seen his mother do it more than once. If your baby is having trouble using a rolling pin, help him by clasping his hands with yours.
Both a toy and a real kitchen rolling pin are suitable for the game. My daughter likes rolling with a large rolling pin even more.

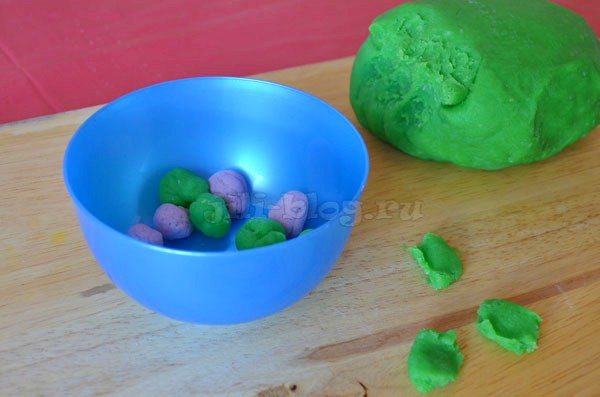
Pinch off small pieces of dough and place them in a jar/bowl.
This activity is very useful for the development of fine motor skills, as it trains the “pinch” grip. It’s quite simple to play around with the activity: invite your child to feed his favorite bear with candy. The game will most likely appeal to the youngest children - children about one year old. At this age, kids really like to tinker with small objects, fold and rearrange them.
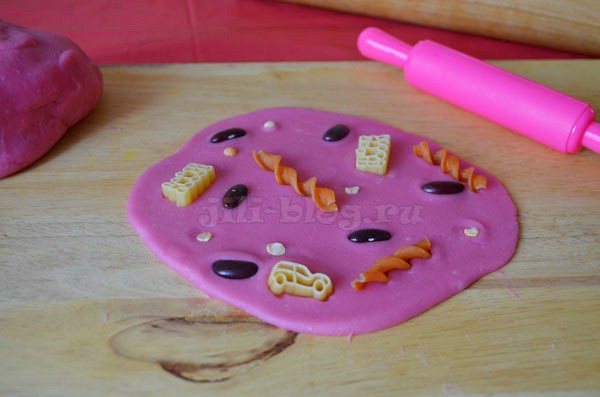
Press various objects into the dough
Next, you can announce that the resulting flatbread is not just a flatbread, but a pizza or a cake that now needs to be decorated. And for this purpose you can use a variety of objects: matches, pasta, beans, counting sticks, small toys, lids, etc. Try to use objects of different shapes and sizes to diversify the child’s tactile sensations.
Create simple crafts based on pressing objects into dough
Let me give you a few examples:
- Hedgehog
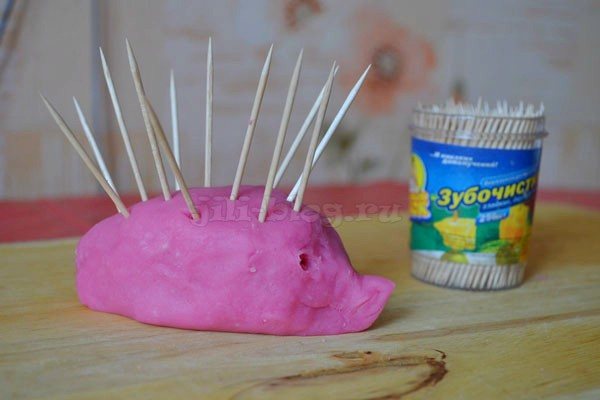
For the little ones, toothpicks can be replaced with matches or counting sticks.
- Fence for animals

- little man
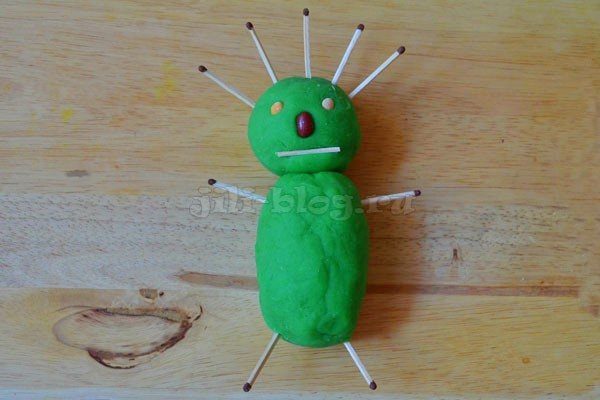
Be sure to involve your child in rolling out the torso and head. If your baby is not doing well yet, take his hands in yours and make rotational movements together.
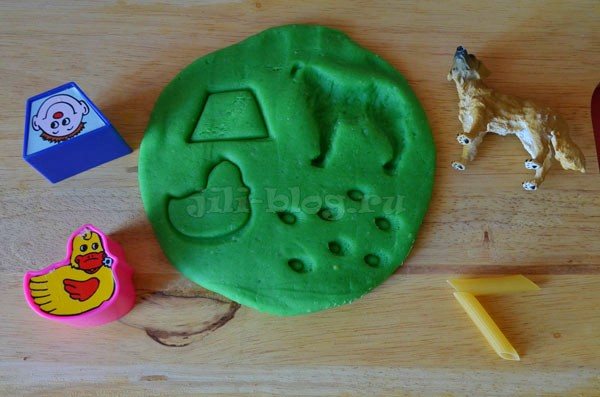
Leave fingerprints on the test
We press the toy into the dough, carefully remove it and ale-op, you get a beautiful pattern on the dough! Taisiya was simply delighted with this activity, and could get carried away for a long time, imprinting pasta on the dough.
Figurines from a sorter, pasta tubes, small toys, construction set parts, a fork, and a comb are well suited for imprinting . Well, if according to the test, a car passes by, leaving marks (preferably with large wheels and treads on them), then the baby will most likely appreciate it.
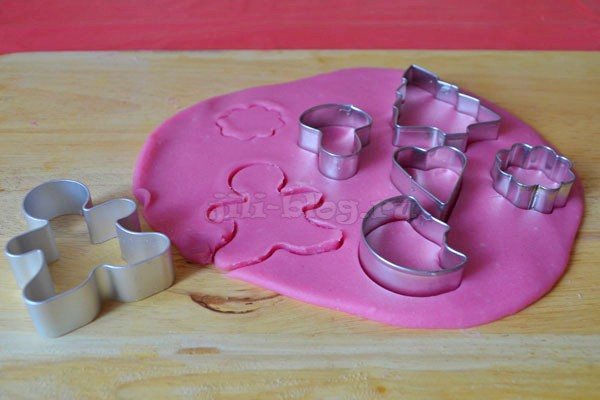
And, of course, it’s worth mentioning the cookie cutters separately. With their help you can not only make beautiful prints. With older kids, you can try removing the “extra” dough around the molds so that you get “cookies”.
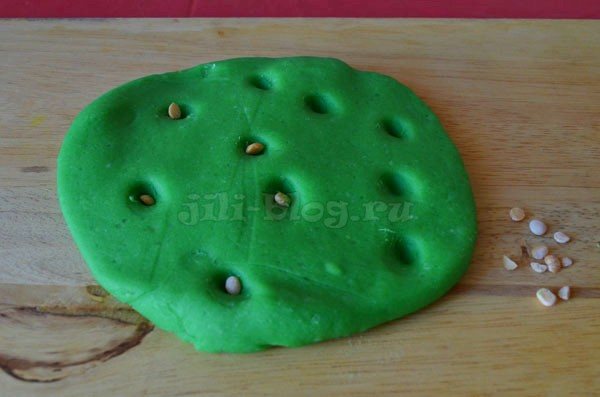
Prints can also be made simply with your finger. After which it will be very interesting to “sow” seeds into the resulting holes. This will be another great exercise for developing a “pincer” grip.
Exercises for little fingers
The benefit of plasticine for fine motor skills lies in the modeling itself, and not in its result. It is important that the baby crushes the plasticine, tears off pieces from it, and rolls them between his palms. And, of course, the easiest way is to get the baby to perform these actions in a playful way.
Hide a “treasure” in a piece of plasticine - a small toy wrapped in foil for safekeeping. Let the baby find it. Over time, make the task more difficult by using more play dough and a smaller toy.
Make prints of various plastic toys, shells, and coins on plasticine cakes. When the child grows up, such prints can be filled with plaster, resulting in interesting crafts.
Take a small plastic doll and invite your baby to pinch off pieces of plasticine and “dress” the doll. You can cover up other toys too. Or use a picture on cardboard to which you need to add the missing details - plasticine leaves for wood, a pattern for butterfly wings, a road for a car.
Roll out a piece of plasticine and use it as a surface for drawing and writing. Or invite your child to lay out a pattern of cereals, beans, and pasta of various shapes.
Perhaps the child will like not to sculpt, but to assemble figures from blanks. Mom makes balls and the child makes a snow woman out of them.
Plasticine is also useful for fastening natural materials, scraps, and matches. You yourself will be surprised how easy it is to teach even a one-year-old baby to create quite recognizable crafts. The plasticine sausage studded with toothpicks absolutely looks like a hedgehog. If you stick two pairs of maple seeds instead of toothpicks, you get a dragonfly. A shell and two antenna matches will turn a piece of plasticine into a snail.
Advertising
Some tips to make sculpting even more fun
- You can sculpt not only from plasticine. Invite your child to work with salt dough, clay, wax, modeling mass, plasticine, ball plasticine. Each new material will provide special tactile sensations and unusual opportunities for creativity.
- Along with the plasticine, purchase the necessary tools: molds, stacks, rolling pin. They will not only add variety to the modeling process, but will also make many tasks easier for the baby. Using a rolling pin, it is very easy to roll out the plasticine into an even layer. And cutting it with a stack is better than tearing it with your hands.
- Allow the use of other materials in games with plasticine - beads, buttons, sticks, pebbles, shells, scraps of colored paper, foil.
- Visit the museum specifically for the sculptures on display there. While walking around the city, pay your child’s attention to the monuments. It will be equally useful to go to an exhibition of applied art and study crafts made from clay and other similar materials.
* * *
Perhaps, carried away by playing with plasticine, the baby will fall in love with this material, and soon he will create cars, animals, and people himself. Or maybe modeling will remain an uninteresting activity for the child. But thanks to the games (suggested in the article and those that you come up with together with your baby), the purchased set of plasticine will not gather dust on the shelf, but will bring a lot of benefit and joy.
Recipe for very flexible dough
And another recipe for a very, very soft, plastic, homogeneous and, I would even say, ideal dough! :) It is not suitable for drying and painting, but for fun games with dough it is perfect.
1 cup flour
1 glass of water
¼ cup salt
1 tbsp. vegetable oil
2 tsp citric acid
Combine all ingredients in a saucepan, stir, then place over medium heat. After this, we begin to actively stir the dough with a spoon until it forms a ball and stops sticking to your hands. You will need to stir for no more than 3 minutes. After the dough has cooled, you can start playing with it.
Don't neglect such a seemingly insignificant ingredient as citric acid! If you do not add it, then after storing in the refrigerator the dough will begin to stick to your hands.
You can add food coloring to any version of the dough. If you don’t have a dye to tint the dough, you can use beet or carrot juice, turmeric, brilliant green, and gouache. Well, if you divide the dough into several parts and paint them in different colors, it will be even more interesting!
Both doughs can be stored in the refrigerator in a closed container for quite a long time (several weeks).