Applique is one of the most common types of creativity. It allows children to explore the world around them, gives them an idea of the color, shape, and size of objects. Classes contribute to the diversified development of the child.
One of the jobs offered in preschools is mushroom appliqué. Depending on the complexity and the chosen technique, it is offered to children in the junior, middle and senior groups.

Application options for different ages
Mushroom applications are distinguished by the variety of materials used and the complexity of the work. The teacher chooses an option depending on the abilities and age of the children.
- Junior and nursery group. This category includes children aged 2 to 4 years. The works are characterized by simplicity and lack of details. Number of elements 2-3. All templates are prepared and cut out in advance. The children's task is to smear the parts with glue and glue them in the correct sequence.
- Middle group. This category includes children aged 4-5 years. The application becomes more complex, the number of details increases, and a plot is present. Work can be aimed at studying size and counting. The use of different techniques is allowed.
- Senior group. This category includes children over 5 years old. The works are offered with a variety of details; voluminous crafts and various compositions are of particular interest. For example, a hedgehog applique with mushrooms. The pieces invite children to draw and cut out themselves. At this age, they practice the skill of drawing from a template and cutting out.
To make the work interesting for children, experts recommend choosing bright colors of templates and a variety of subjects.
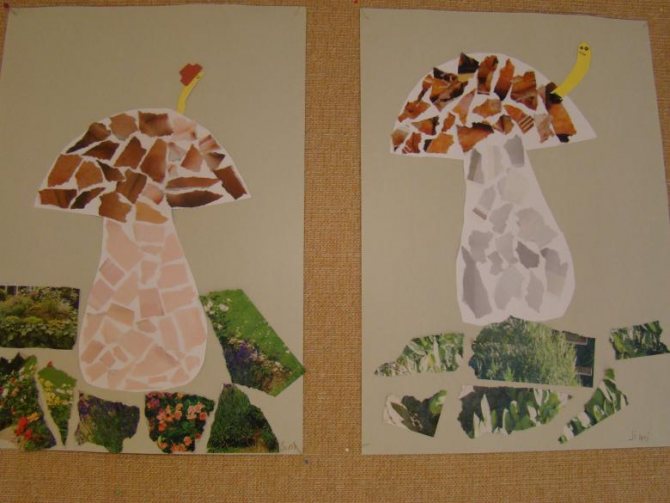
Simple work "Mushroom"
For the youngest craftsmen, creating simple flat crafts is a completely accessible activity.

Kids can glue finished parts onto a paper rectangle with their own hands. You can make a creative activity more exciting for kids by accompanying it with a fairy tale about the hedgehog Timosha, who needs to help collect supplies for the winter.
Children can glue the finished parts of the picture onto a piece of paper. As the lesson progresses, they will learn what a mushroom is made of.
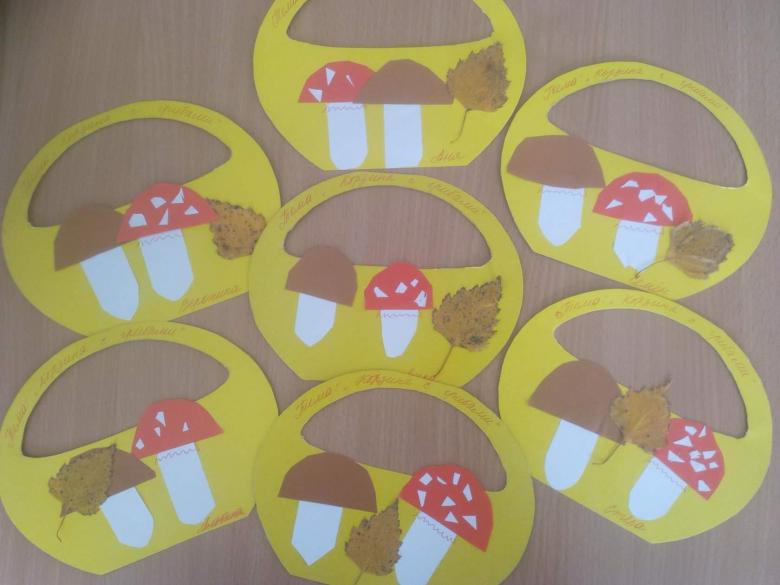
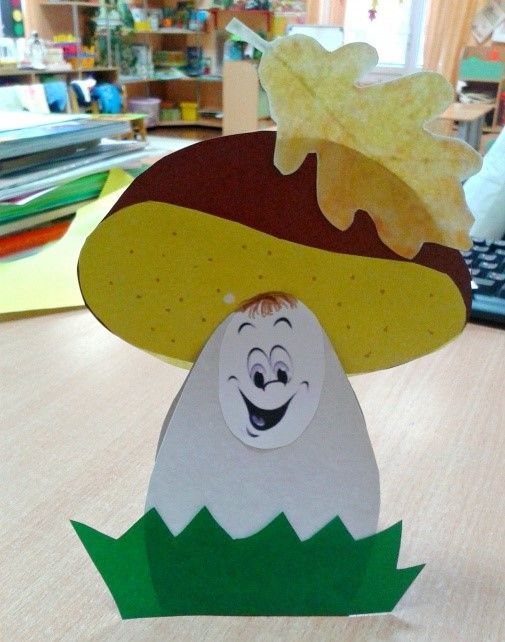
Options for simple tasks can be varied by offering a fly agaric stencil or adding a pre-cut autumn leaf to the picture.
Suitable materials
To create the classic “Mushrooms” applique you will need the following materials:
- for the base - sheets of paper or cardboard in A5 format (cardboard can be used white or colored, for example, green);
- colored paper of different colors (brown, yellow, orange, gray, red, etc.) for creating mushrooms;
- narrow strips of green paper (grass);
- scissors, glue, oilcloth, napkins.
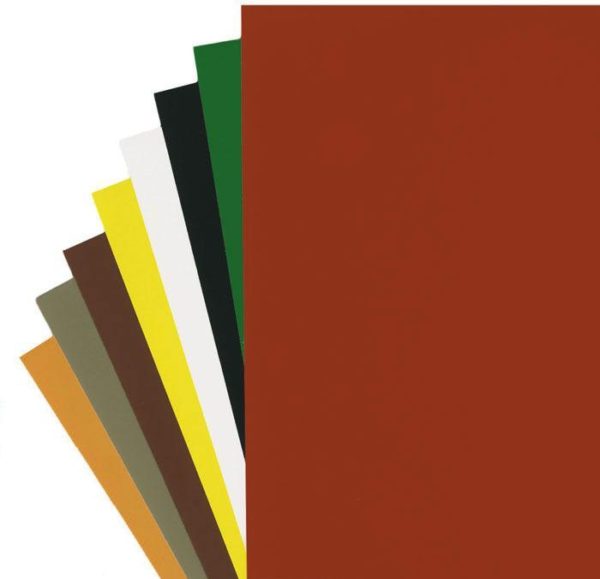
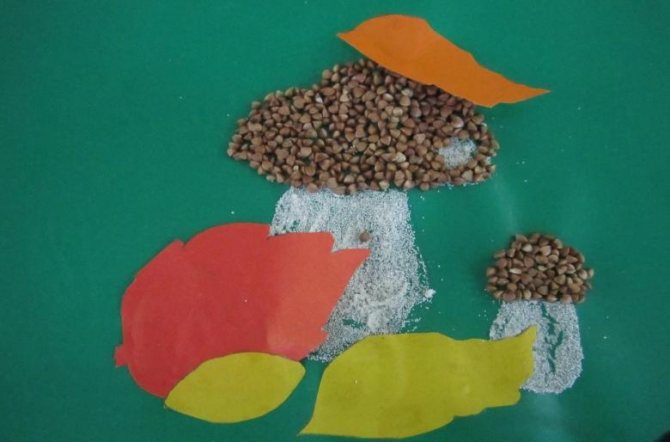
To create a mushroom composition, natural (yellow-brown, gray, green) tones of colored paper are best suited.
If the teacher decides to use non-traditional techniques, then the set of materials, of course, will be different. So you can use dry leaves, seeds, cereals, napkins, etc. When combining applique with other types of fine art, you can offer the children felt-tip pens, pencils, and plasticine. Additionally, sequins, beads, sequins, fabric, pieces of cotton wool, etc. will help decorate the composition.
You may also need unusual materials for the activity, such as cotton wool and fabric.
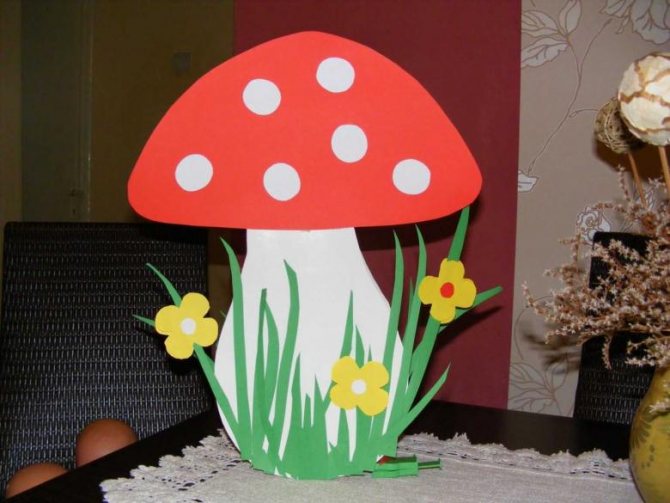
Base
First the mushroom needs to make a base. To do this, you need to draw a leg; note that it should be wider at the bottom than at the top.
This is a structural feature of the mushroom stalk on which the cap is located.

The dimensions of the stem, its thickness and height may vary, depending on which mushroom was chosen.
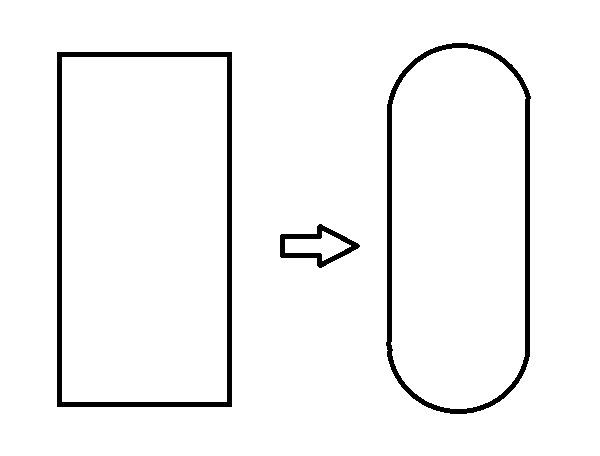
To make the applique realistic, you need to use the color of paper that is most suitable for these purposes. For example, if the stem of a real mushroom is white or gray, then you need to use white or gray paper to draw a stencil.
For ease of assembly by the child, it is recommended to sign each part with a pencil on one side. For example, on the back of the part you can write “leg”.

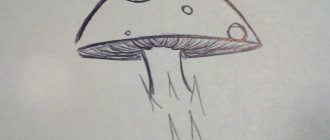
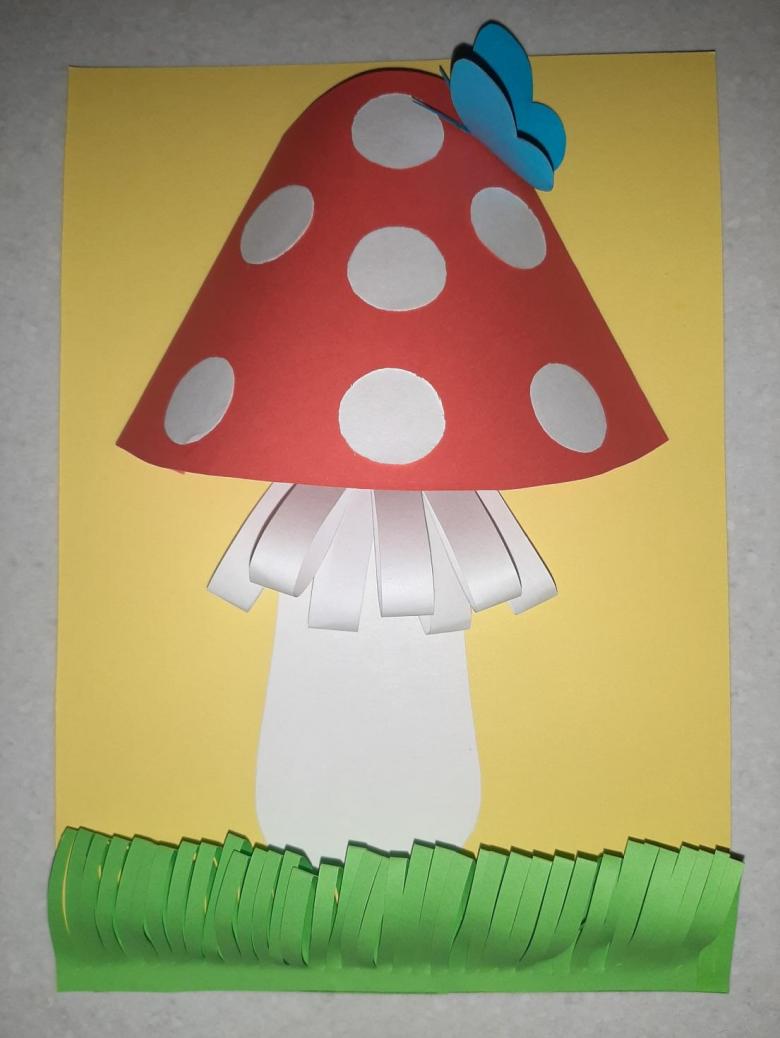
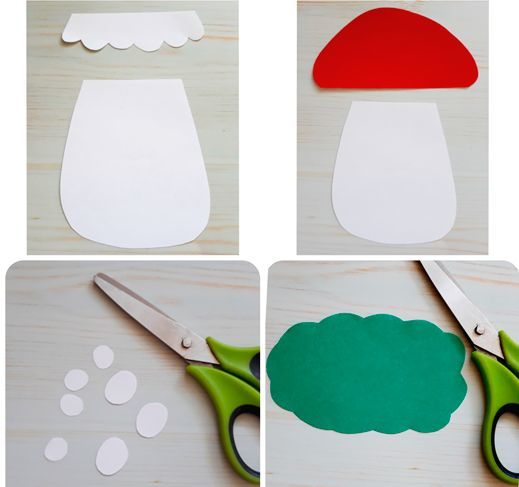
hat
Drawing a cap is much easier, because most mushrooms have the same shape.

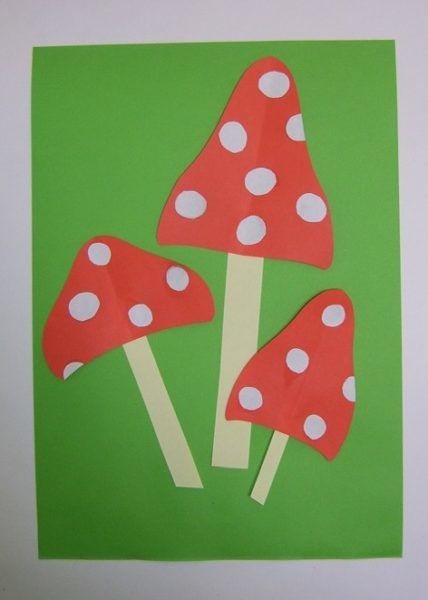
However, the caps are very different in appearance; on some mushrooms, for example fly agarics, there is a certain pattern in the form of white dots, while the cap itself is red.
To make such a hat, you need to cut out a hat on red paper, and to add white specks, white paper will do. You will need to cut out several white circles from it.
In fact, at this point the outline of the components of the mushroom is completed; all that remains is to place them on a suitable background in the correct order. However, you can complement the applique with additional details that will decorate its appearance.
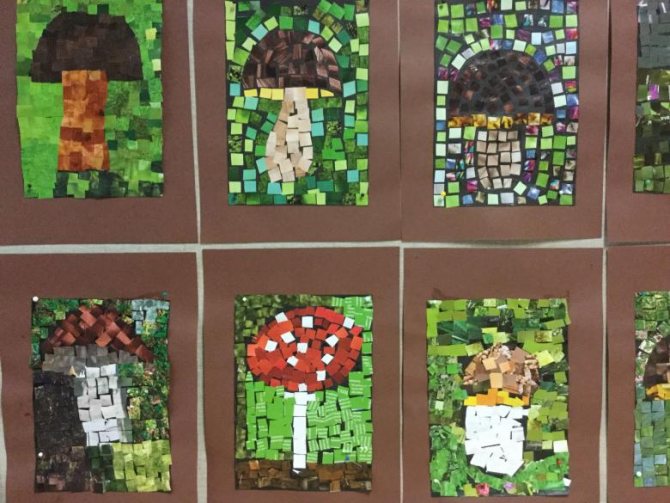
Paper applique
The paper mushroom applique features a variety of techniques and examples of work. Children can be offered classes of varying complexity, aimed at both the youngest and older ages.
To work you will need:
- mushroom template for applique (this can be a separate mushroom or a composition of several elements);
- colored paper;
- napkins;
- scissors;
- glue;
- colour pencils.

Applying templates
The easiest way to create a paper mushroom applique is to use ready-made templates. For the lesson, you will need to prepare in advance sheets on which the details of the mushroom are printed.
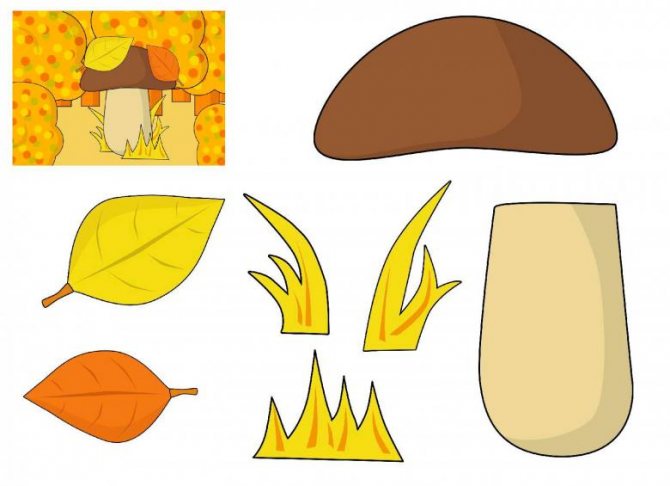
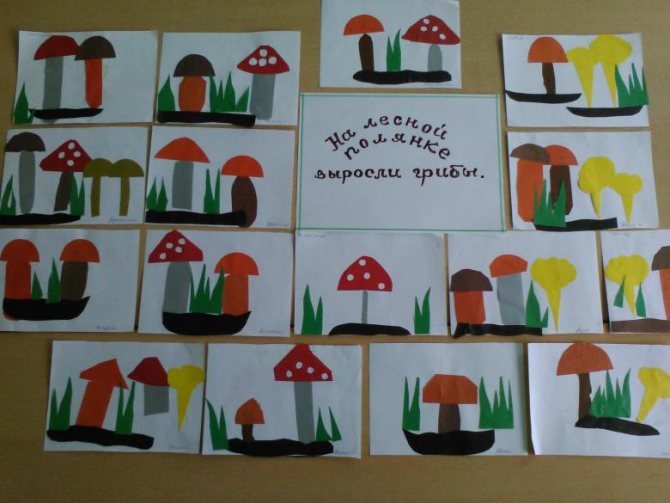
Such classes are suitable for younger and middle groups, where the task is to teach children to create a composition of 2-4 parts. The number of blanks should be 2-3 more than the number of children.
The work is carried out in several stages.
- Children are shown a sheet with printed patterns. They discuss every detail, what it looks like, what part of the mushroom it is.
- In the middle group, where children own scissors, they cut out the blanks on their own.
- All parts are laid out on a sheet of colored cardboard. If the picture is correct, then the template is glued to the base.
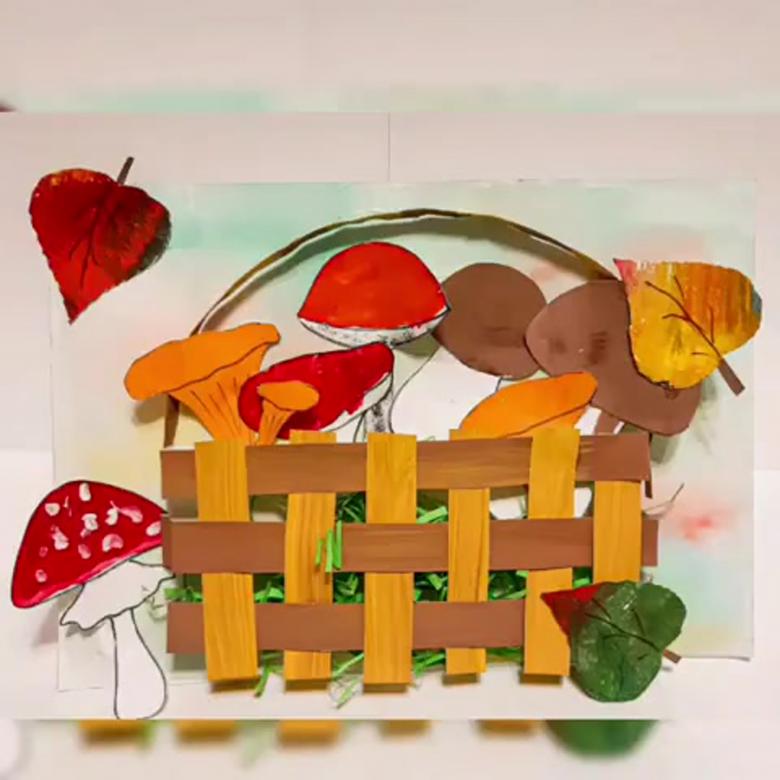
The use of different compositions allows you to make the work more complex and interesting. You can invite the children to make an applique of a basket of mushrooms or mushrooms on a forest edge.

Tear-off technique
For the development of fine motor skills and the formation of a finger grip, the tear-off technique is of interest. It is based on tearing off pieces of paper that are used to fill out a template.
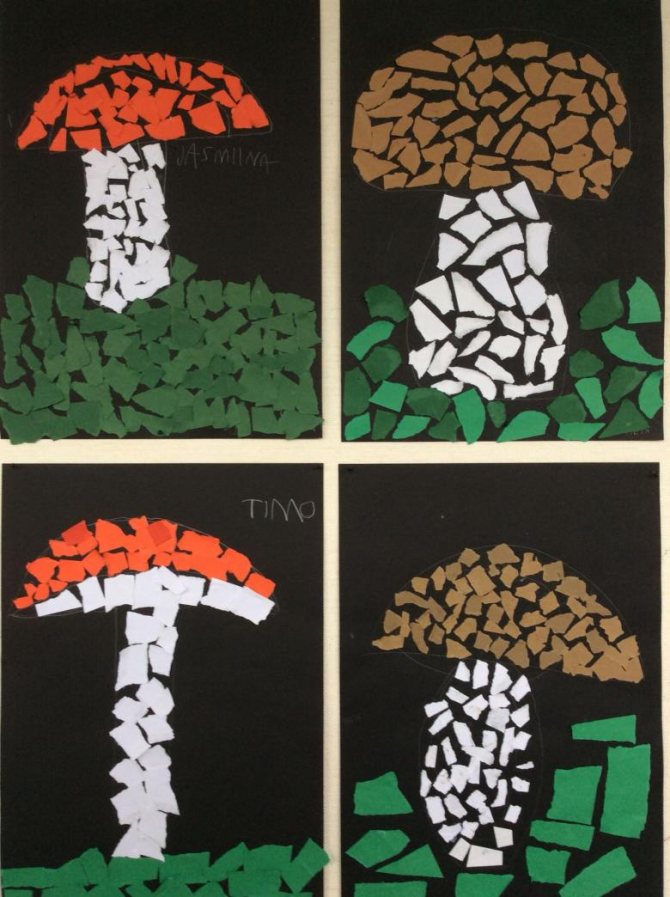
To apply a mushroom cutout, you will need to prepare a template with an outline, colored paper and glue. The mushrooms should be in the form of a black and white outline, the hedgehog – colored.
Sequence of work:
- Children carefully study the picture. It could be a mushroom in a clearing, a hedgehog with mushrooms, or any other picture. The mushroom is not painted.
- The teacher explains that the children’s task is to fill in the outline of the mushroom. The stem is with pieces of white paper, the cap is brown.
- Children prepare pieces of white and brown paper, opening from a large sheet.
- The prepared pieces are glued with glue (it is better to use a pencil) onto the template.
The complexity of the work and its size are chosen depending on the age of the children.
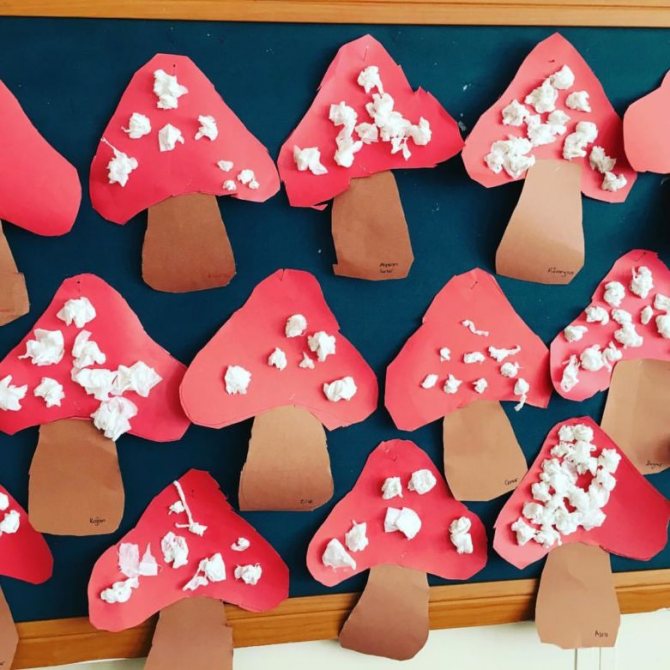
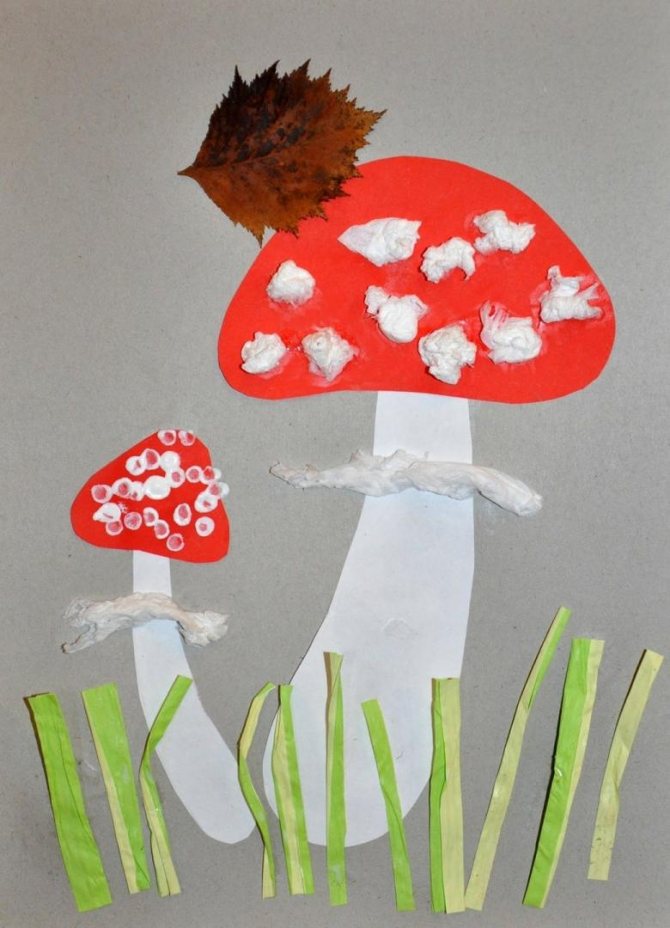
Lump technique
The lump technique is more suitable for older children. To implement it you will need paper napkins (white and brown or red), glue and a mushroom template.

Sequence of work.
- The teacher explains to the children the features of the technology. To work, you need to prepare a sufficient number of lumps. To do this, open a piece of the napkin and roll it into a ball.
- Children carefully study the pattern. They explain what color the hat is made and what color the leg is made.
- Glue is applied to the leg (PVA is better). The lumps are evenly distributed over the smeared surface and lightly pressed down.
- The steps are repeated with the mushroom cap.
Children in the middle group can be asked to fill only the hat using the lump technique, and color the leg with colored pencils.

How to motivate children to be creative
Of course, the topic of mushrooms in itself is interesting to preschoolers, but the teacher must additionally motivate them and inspire them to be creative. As always, game characters come to the rescue. For example, this is Old Man Lesovichok. He informs the guys that all the mushrooms in the forest have suddenly disappeared, and squirrels, hedgehogs and other animals now have nothing to store for the winter. The teacher invites the children to help the forest dwellers create mushrooms for them.
Old man Lesovichok asks the guys to help the forest dwellers, because all the mushrooms have disappeared in the forest, and now there is nothing to store for the winter
As an option, a squirrel comes to the guys and tells them that she has stored nuts for the winter, but didn’t have time for mushrooms.
If the lesson is based on a fairy tale by V. Suteev, then the teacher invites preschoolers to help the heroes of the fairy tale - give them a large mushroom, under which there will be enough space for everyone to hide from the rain.
You can start the lesson with a riddle to intrigue the children:
- Who sits on a strong leg In the brown leaves by the path? A grass hat stood up - Isn’t there a head under the hat?
You can offer riddles about specific types of mushrooms, for example, these:
- There are no more friendly mushrooms than these, - Adults and children know - They grow on stumps in the forest, Like freckles on the nose (honey mushrooms)
- Golden... Very friendly sisters. They wear red berets, they bring autumn to the forest in summer.
In the older group, children already perceive interesting cognitive information well. You can tell them that mushrooms are special organisms that are similar to plants, but have no leaves, branches, or flowers. Instead of roots, the mycelium located in the ground helps them obtain nutrients. Therefore, you need to cut the mushroom carefully so as not to damage it, and then a new mushroom will grow in this place.
An integral part of any art class is a dynamic pause. Physical education or finger gymnastics must be selected on an appropriate topic - this also motivates children to be creative.
Table: finger gymnastics “Mushrooms”
| Text | Movements |
| One two three four five! We're going to look for mushrooms. | They “walk” their fingers on the table. |
| This finger went into the forest, This finger found a mushroom, This finger began to clean, This finger began to fry, This finger ate everything, That’s why it got fat. | Bend one finger at a time, starting with the little finger. |
Table: physical education sessions on mushrooms
| Text | Movements |
| "Borovik" | |
| Walked along the path | March. |
| They found the boletus. | Bend over. |
| The boletus hid its head in the moss, | Hands above your head in a “lock”. |
| We could pass it - It’s good that we walked quietly. | Walking in place. |
| "Pick mushrooms" | |
| We'll go to the forest to pick mushrooms | Walking in place. |
| We'll collect them for you ourselves. | Turns right, left. |
| One - fungus, two - fungus | Squats. |
| That's a whole box! | clapping hands |
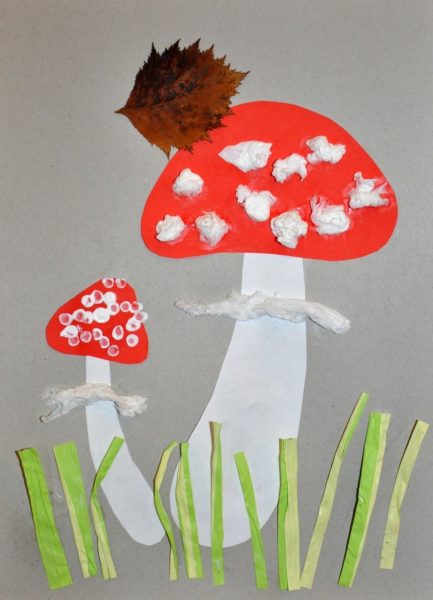
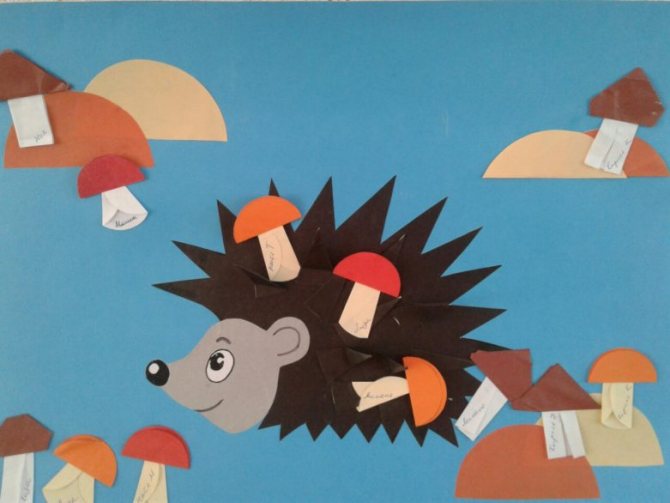
Hedgehog with mushrooms
To create an applique with a cute hedgehog stocking up on provisions for the winter, you will need:
- Glue and brushes;
- Napkins and scissors;
- Templates (several legs and caps of mushrooms, a stump, a basket, multi-colored leaves).
Process steps:
- Before starting work, you should tell your child that mushrooms can be poisonous and edible.
- Then you need to find on the Internet and show your baby several types of mushrooms that a hedgehog can collect for food.
- The images should not be deleted immediately - let the child have a hint in front of his eyes in what color to paint the legs and caps of the edible product.
- A stump, a basket, a hedgehog and leaves are painted.
- The blanks are glued to the base.
- Using the prompts, the child colors the legs and caps of the mushrooms.
- Then the forest harvest is placed in the basket.
- You can draw yellowish grass under the stump and leaves.
The hedgehog and mushrooms applique is ready.
Origami technique
Children in the older group of kindergarten or elementary school can easily cope with making a mushroom using the origami technique. To work you should prepare:
- Colored paper in the shape of a square;
- Scissors and glue;
- Cardboard.
Step-by-step instruction:
- The square sheet is folded first along one and then along the other diagonal.
- Three corners bend towards the center.
- The workpiece is folded in half so that the fourth corner remains in the open position.
- The resulting figure is turned over.
- The corners are folded to form a rhombus.
- The edges are tucked into pockets.
- The stem of the fungus is trimmed.
- The upper corner of the mushroom cap is bent.
The product is ready.
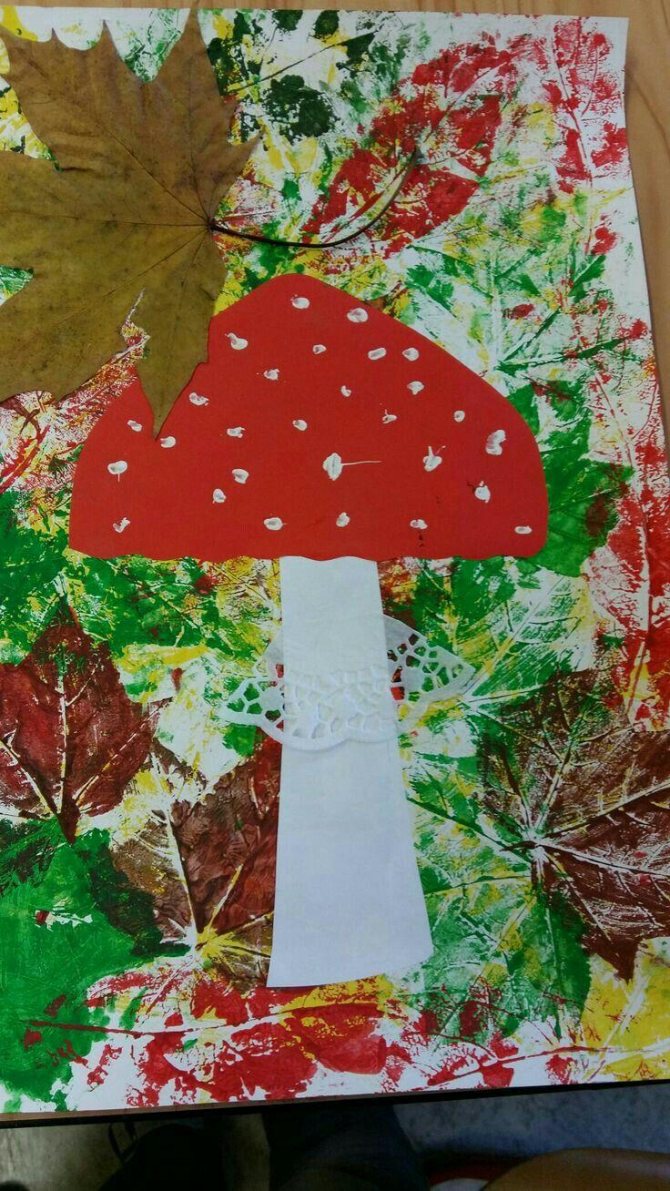
fly agaric
What kind of miracles are not found in nature! The most beautiful mushroom is at the same time one of the most poisonous.
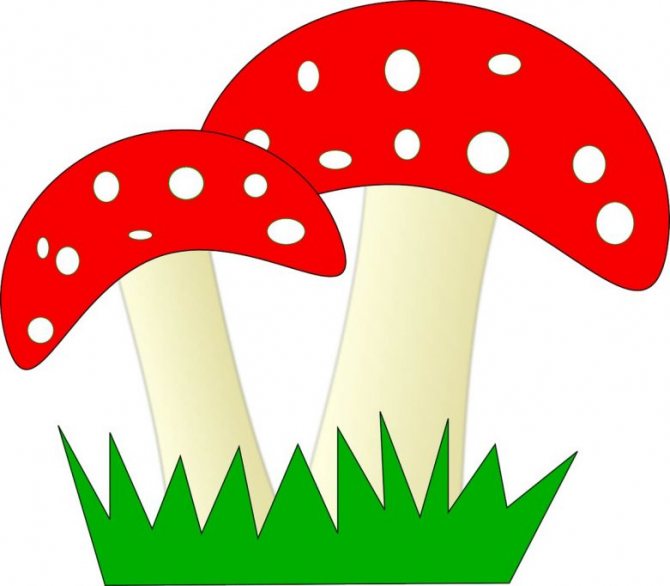
Well, since we are not going to raise a Scandinavian berserker warrior, it is quite possible to offer the child to make a beautiful fly agaric applique.
Progress:
- You can print out a template of a mushroom, but drawing such a plant will not be too difficult for a child.
- Glue is applied to the stem of the mushroom and a piece of light brown cardboard is glued.
- The red cap of the mushroom is designed in exactly the same way.
- White spots can be applied using gouache or watercolor paint.
That's all! The application is ready.

Tips and tricks
- For mushroom preparations, choose brighter colors - this will attract the attention of children and give them more pleasure.
- Use blanks of different sizes - this develops a sense of composition.
- Make templates of mushrooms of various shapes. Ask to decorate it before cutting it out. This stimulates the creativity and imagination of the preschooler.
- For gluing paper, it is best to use PVA glue. For children of preparatory or junior age, use glue in the form of a pencil: you won’t be able to spill it or get heavily smeared with it. It is better for children of the middle and older groups to learn how to work with a brush and liquid glue.
- When using scissors, teach them to be careful not to cut themselves. Show how to hold scissors correctly and teach smooth movements.
- Teach how to properly glue applique elements: after gluing, carefully wipe off any remaining glue with napkins (clean each time) so that unnecessary parts do not accidentally stick.
- Select additional