Decorating the work
Ready-made compositions can be supplemented with decorative materials. Tasks can be different - in level of complexity, topic, scale and amount of materials. The broken applique in the older group will differ in execution from the younger one, so the process can be complicated.
To decorate their work, children can use a variety of available and purchased materials:
- shells, pebbles, pebbles (small);
- dried leaves and flowers;
- beads and seed beads, glass beads, small rhinestones (with precautions and under adult supervision);
- threads, ribbons, bows and wool;
- buttons, buttons;
- parts of old toys.
Children can frame the result of their efforts and present it to a competition or exhibition. But the main thing is that the kids enjoy the creative process. If the painting decorates the interior, the children will be very pleased.
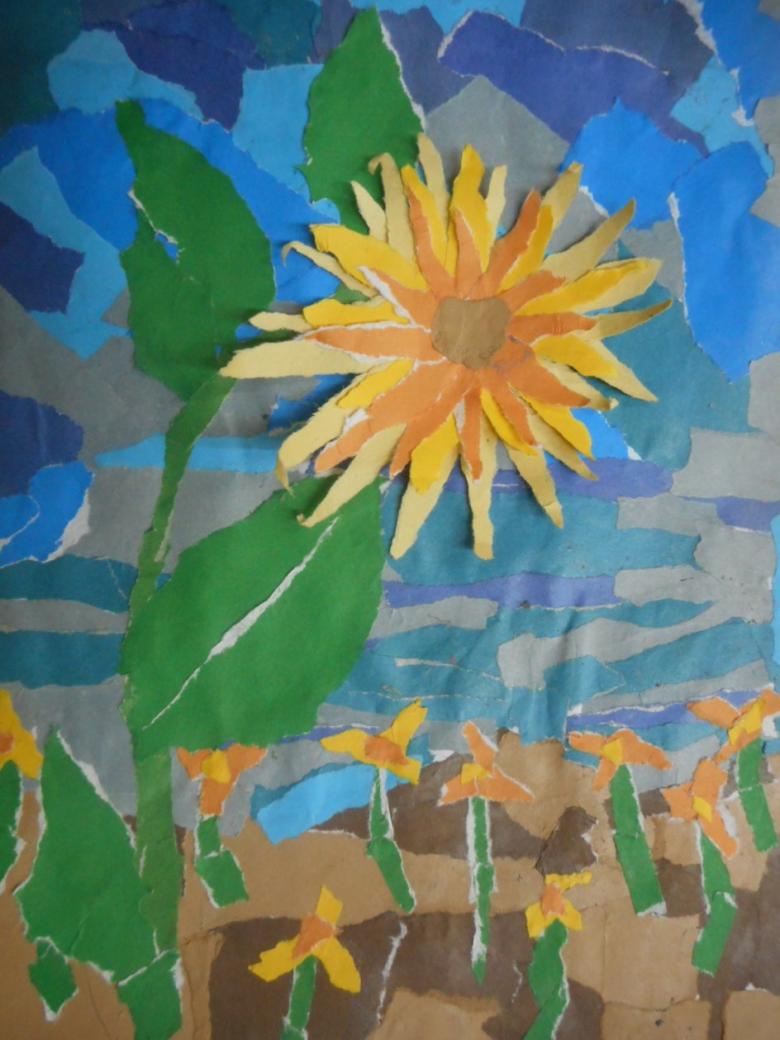
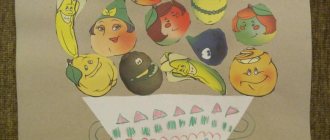
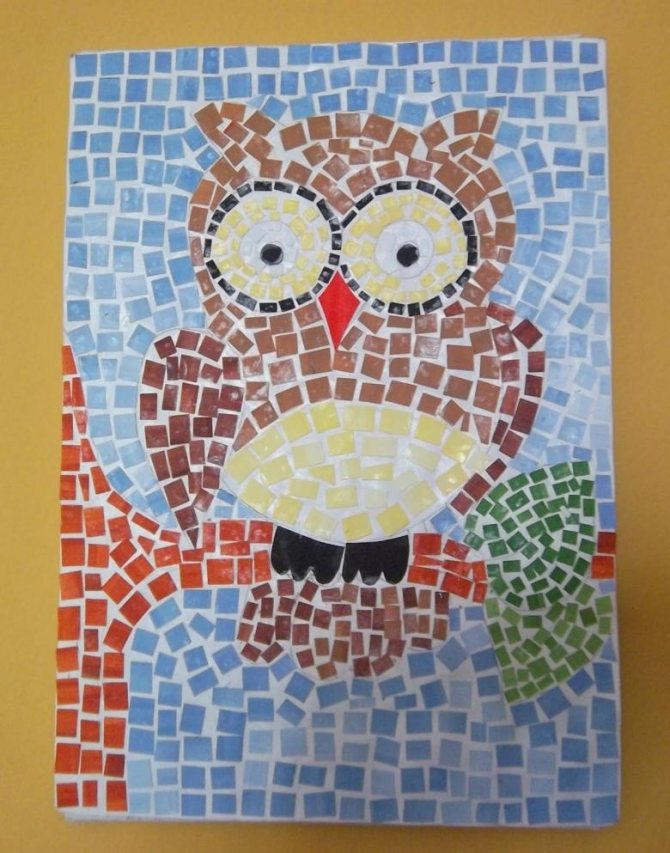
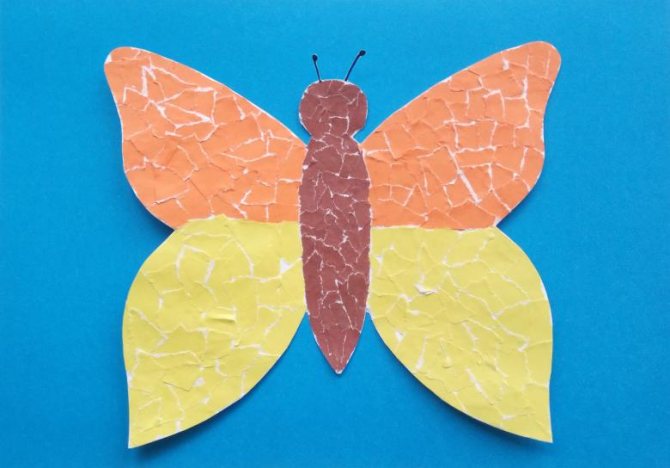
Examples of finished works
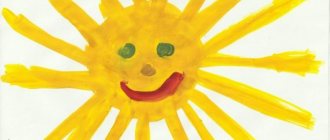
For inspiration and ideas, you can look at drawings on the Internet with your children. Examples can be found on various creative sites; it will also be useful to look at art galleries and choose a simple drawing for a further “broken” imitation of the original.
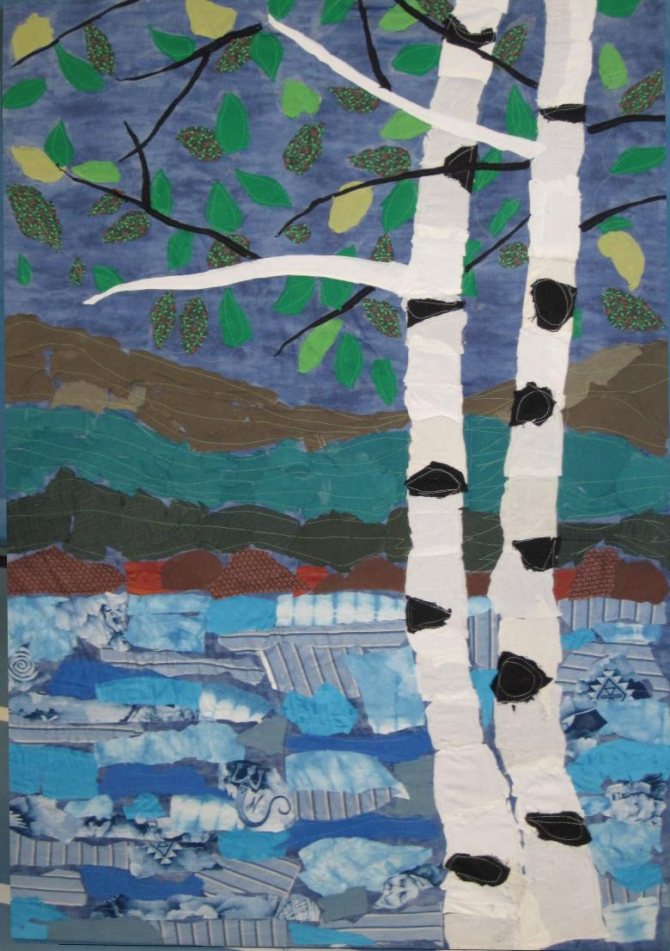
The product of children's creativity can be simple and unpretentious. But this is a very effective means of activating imagination and various skills. And children get great pleasure from working with colored materials. In the process of painstaking work, children become diligent, neat and patient, which is very useful for further development.
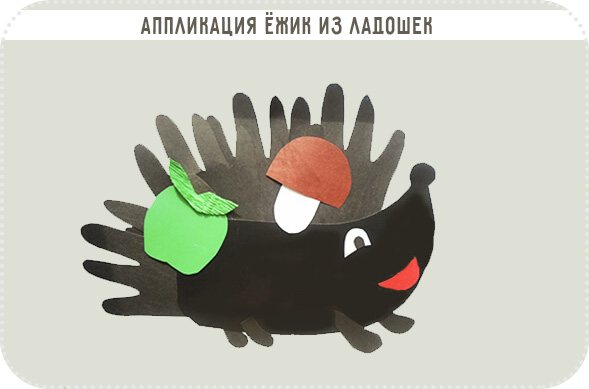
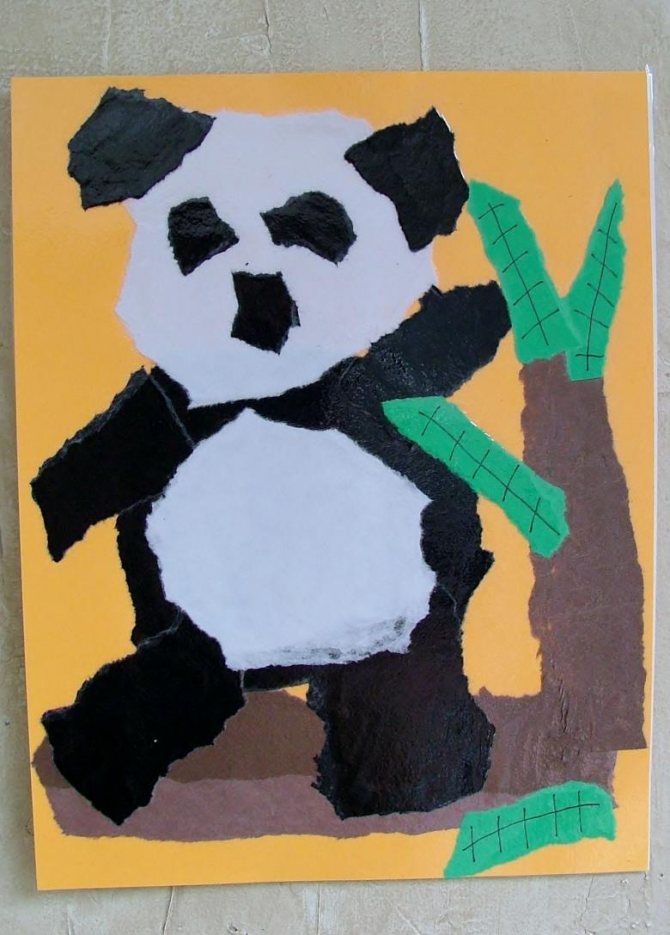
Hedgehog
Applications for the little ones are creativity, where the abilities of even the tiniest fidget are taken into account. And this example with the “hedgehog” is just right for toddlers who, by the age of three, still cannot cut and glue, but they will be great at participating in the work. How?
- There are two options for preparing to make this applique for kids. First
.
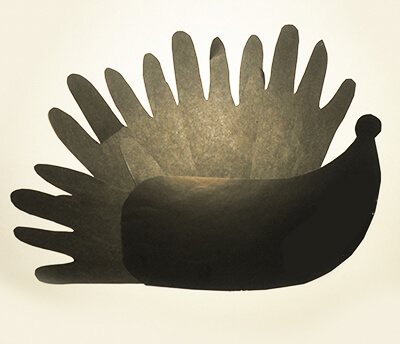
We trace the baby's palm on a sheet of black or brown paper. Cut it out. Glue it. Four palms will be enough. Second option
. Or we use finger paints. The child dips his palm, and we help him put his palm in this way several times, at different angles in the upward direction, to make a fan. - Cut out something like a boat from paper of the same color. This is the body and nose of the hedgehog (cut out a small circle and glue the “nose” to the edge of the muzzle).
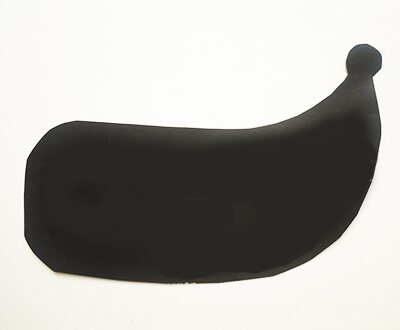
- We place the body under the “needles”.
- You can draw a mouth and an eye, or make semicircles from red and white paper. Don't forget about the pupils.
- Paper applications would be incomplete without a plot. We come up with a story with the baby. Our hedgehog is coming from the forest, so we’ll cut out and glue his “prey”: an apple and a mushroom.
- We complement the paper applique with small black paws.

Principle of operation
To complete the application, you can follow simple universal rules:
- Choose the basis for the future work. This is most often cardboard, white or colored. The main thing is that it does not get wet from the glue and can withstand the weight of the future composition. An alternative is thick white paper.
- They think through the composition and idea of the future film. The drawing is applied with light strokes onto the cardboard.
- Choose shades of color for the drawing, the overall color scheme.
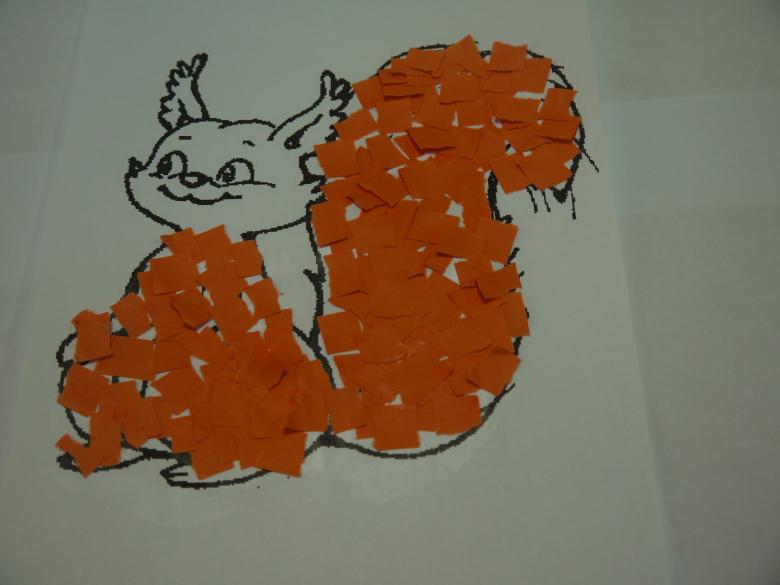
- Prepare pieces for applique. They need to be cut into different sizes, but it is better to help the baby with this process. At the beginning he will try to do everything “right”, then it will become easier. It is important to tear the paper carefully, then the drawing will be beautiful.
- Take a glue stick and fill the space of the applied pattern with scraps of colored paper. First, large pieces are glued on, and the area is finished by gluing small pieces.
- The surface of the entire pattern is glued in advance, then the small pieces are simply pressed.
- The finished application will look like a mosaic, especially if there are small gaps between the pieces.
Advice: it is better for a teacher or parent to observe how carefully the child glues the composition in order to direct his strength in the right direction in time. It is important not to go beyond the edges of the drawing.
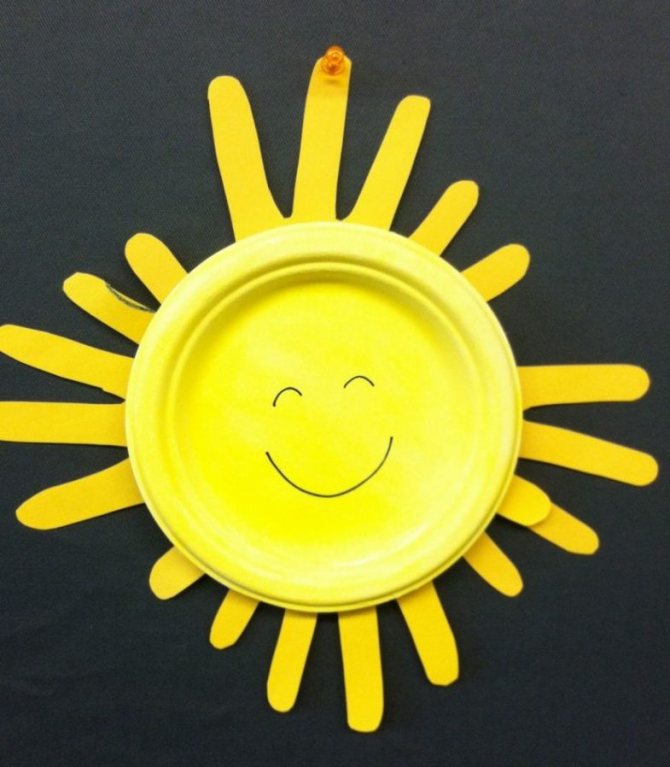
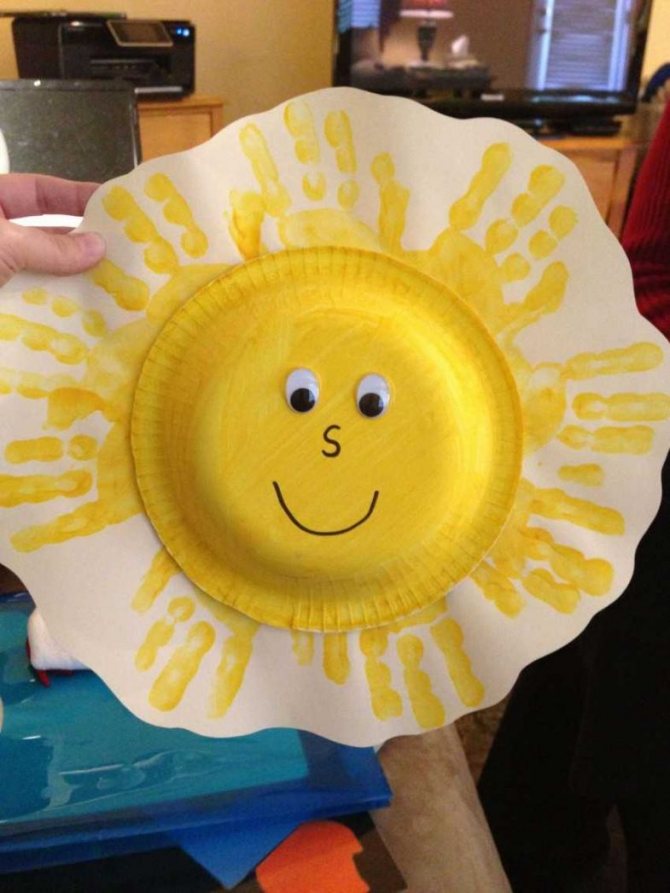
Craft from a plastic plate
Another simple version of a sun craft that can be done by a 5-6 year old child in kindergarten.
You will first need to prepare:
- A plastic plate, preferably yellow, of the most suitable diameter.
- Acrylic paints are best suited in this case.
- Paint brush.
- Yellow cardboard.
- Scissors.
- Adhesive suitable for working with plastic.
Work progress:
- On the reverse side of the plate, a funny face is painted with paints.
- Permanent markers are also suitable for creating a face.
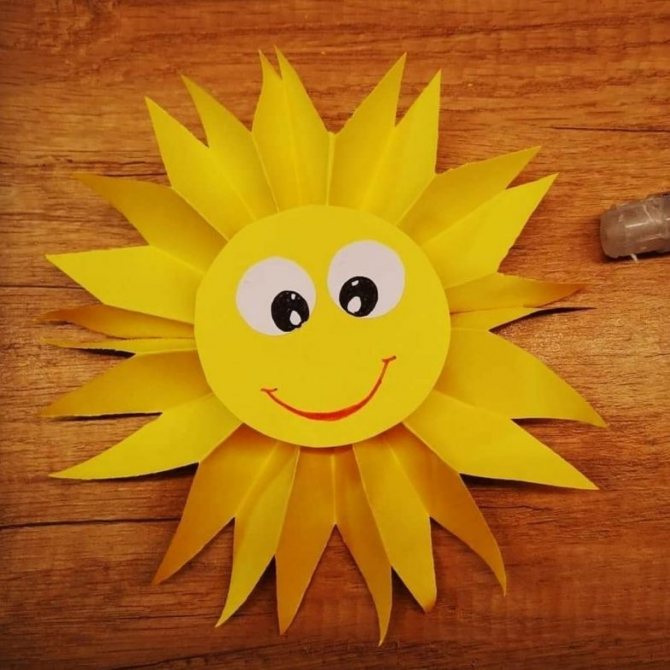
- One of the most interesting and original varieties of this craft is the sun, with rays made from palms.
- Such palms are first drawn on colored cardboard and cut out, and then glued to the back of the plate.
- If desired, the palms can be replaced with rays of unusual shape.
- After the glue has dried, the work on the craft is considered complete.