Interesting ideas and design schemes
For older preschoolers, the greatest pleasure comes from activities that contain a play element. To maintain interest in paper design among students, it is necessary to select unusual topics for classes, use a game form of learning, and select objects for design that will be suitable for children’s play activities.
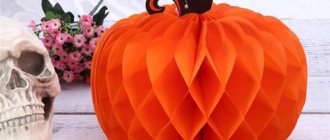
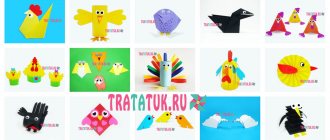
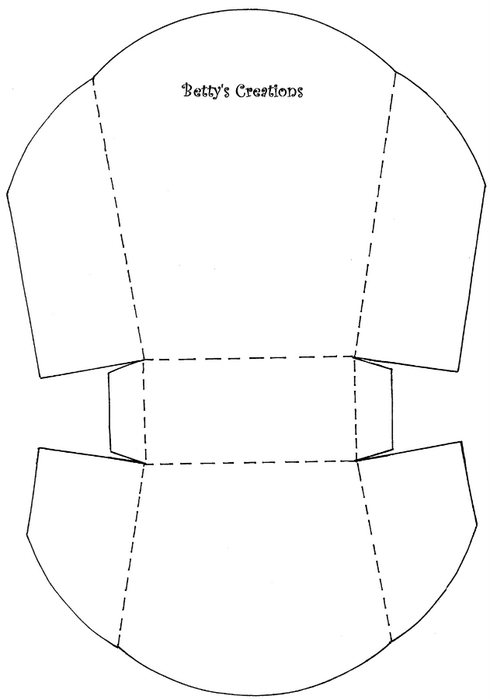
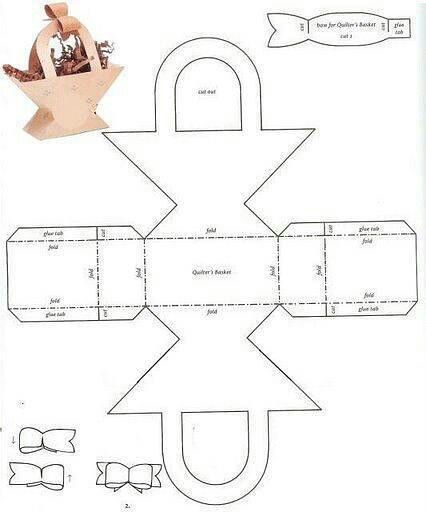
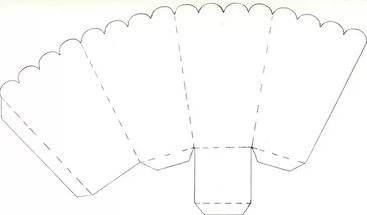
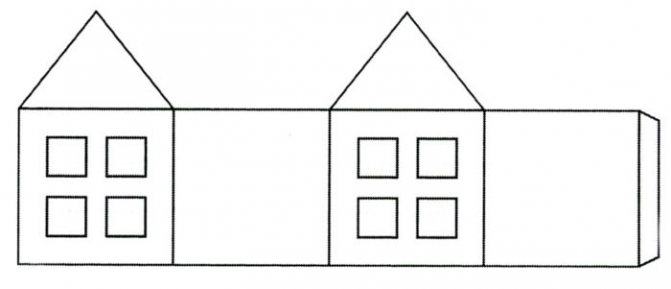
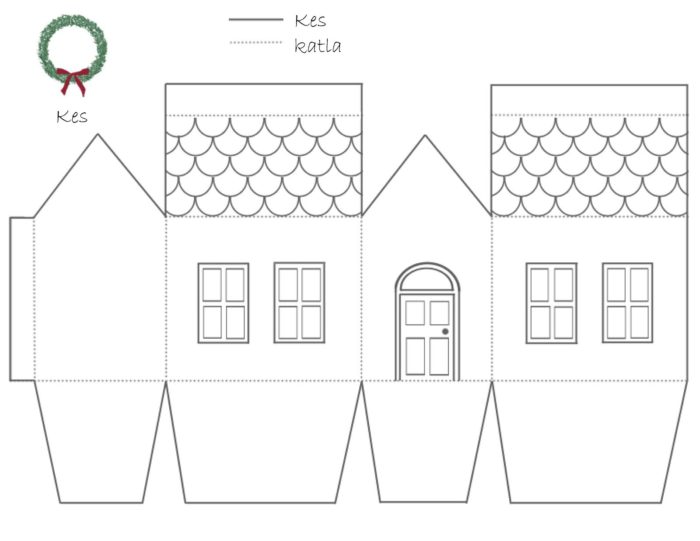
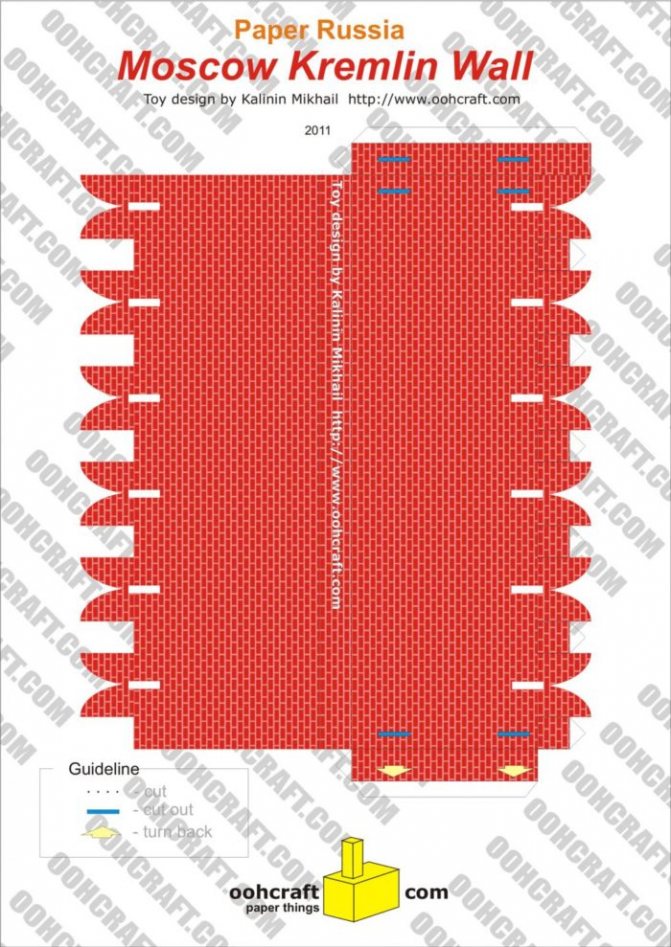
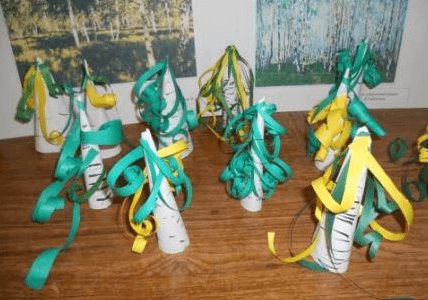
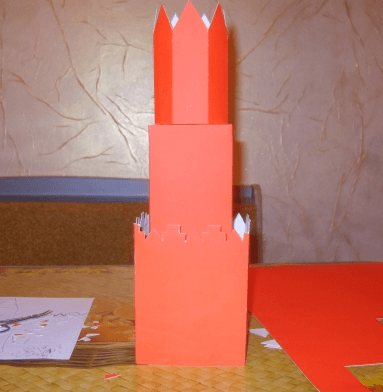
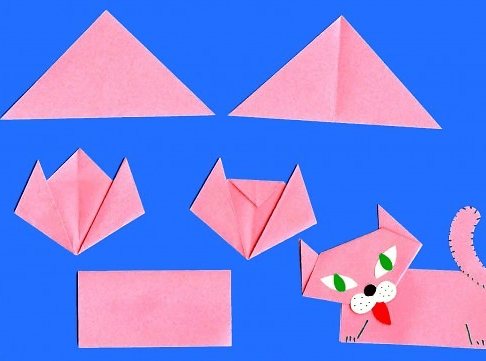
Photo gallery: templates for paper construction
Sample
Sample
Sample
Sample
Sample
Sample
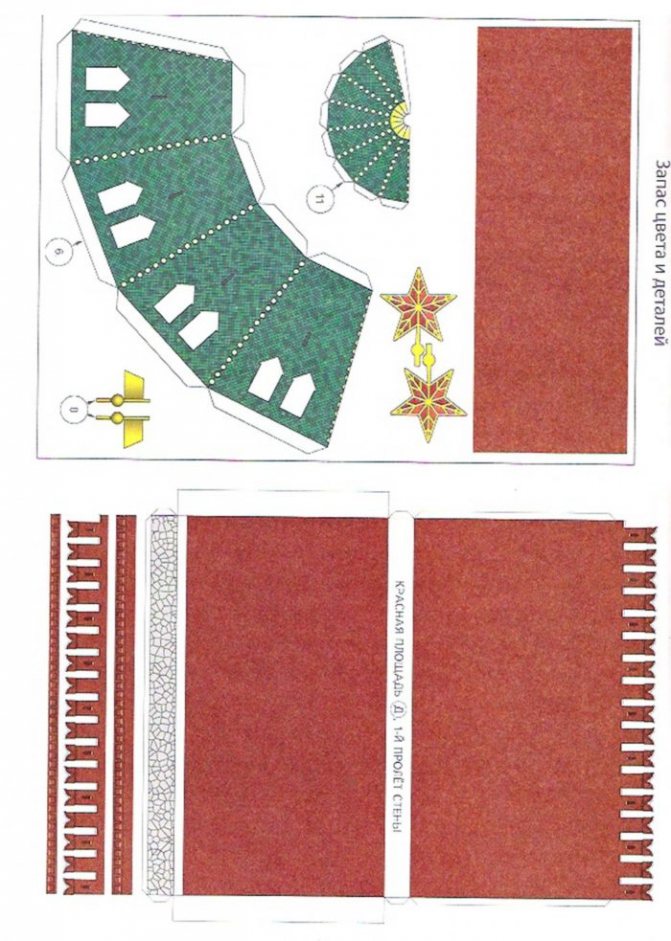
Sample
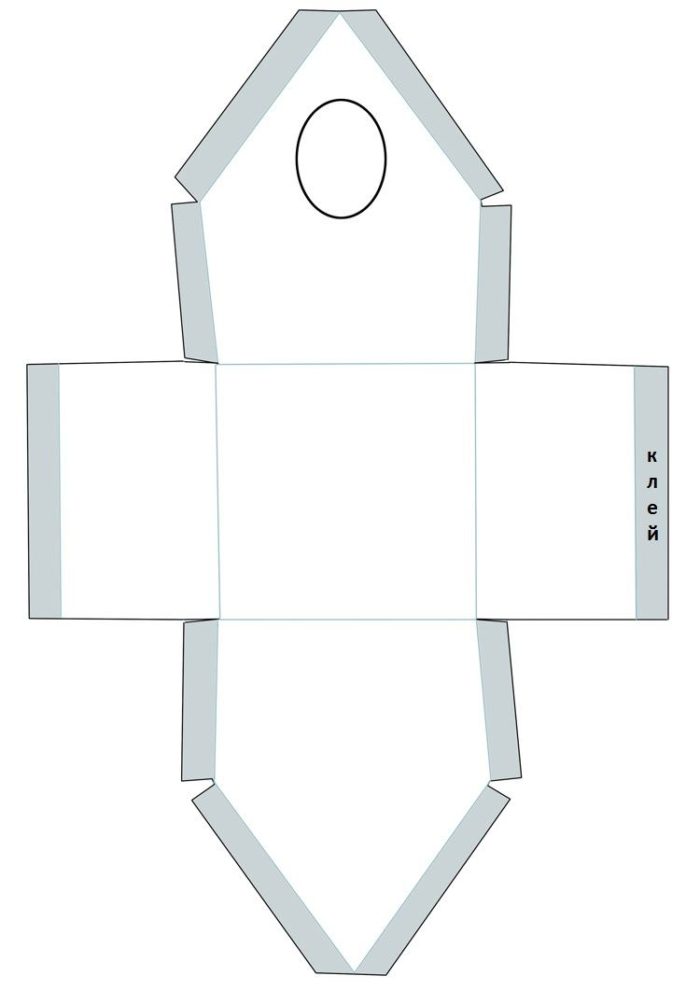
Sample
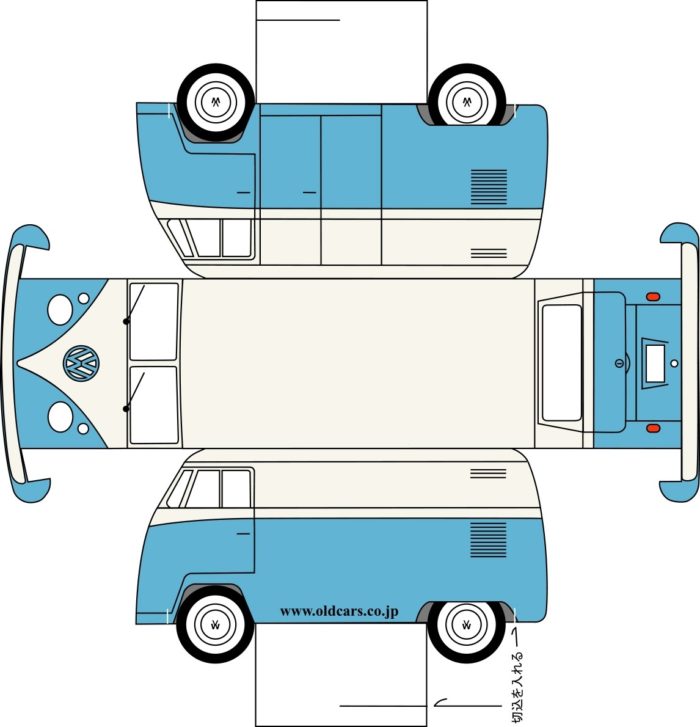
Sample
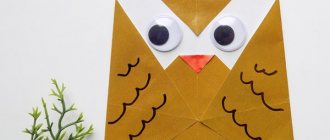
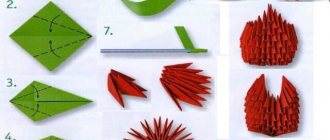
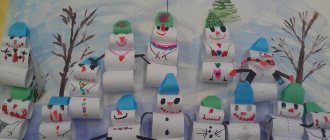
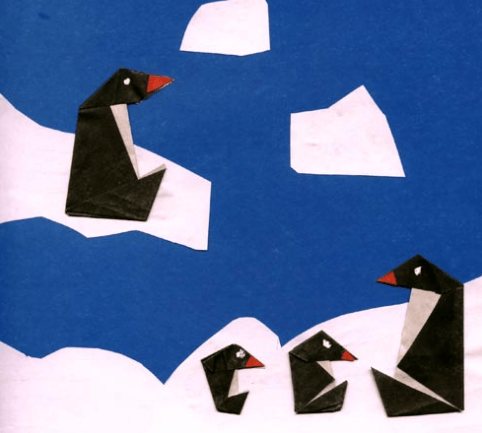
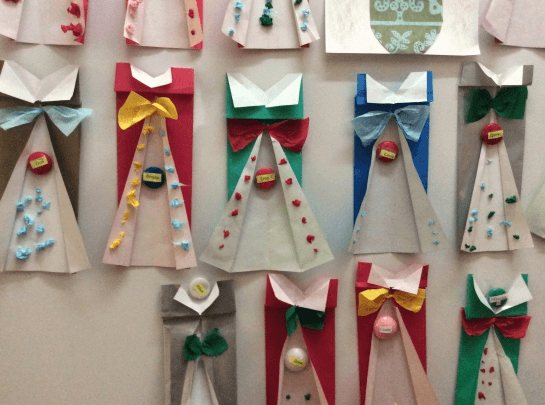
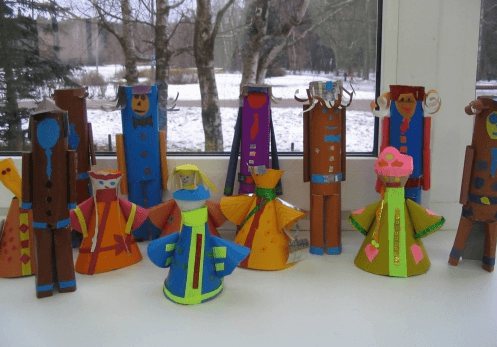
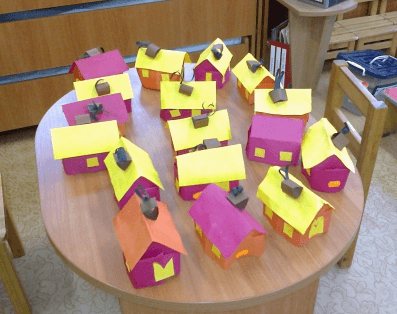
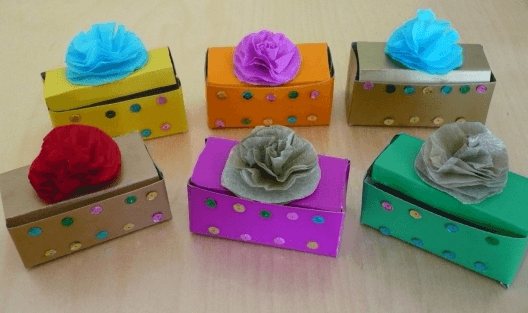
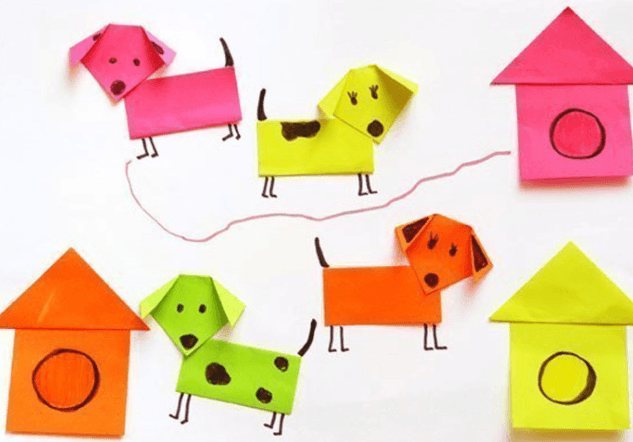
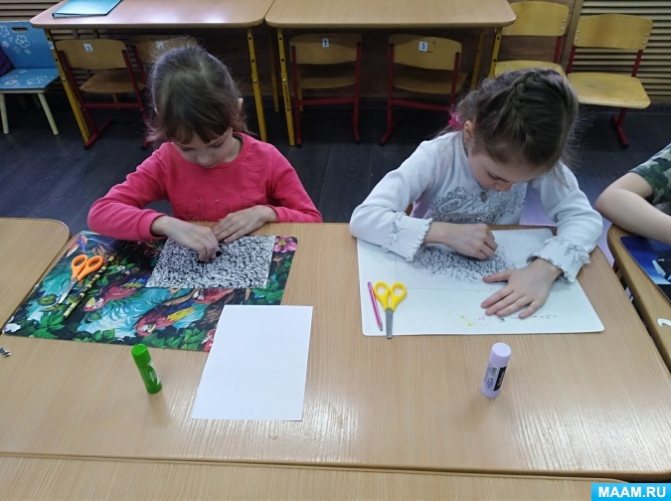
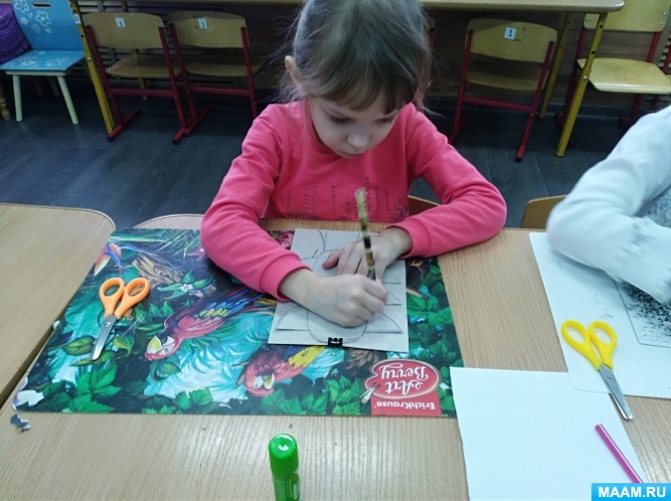
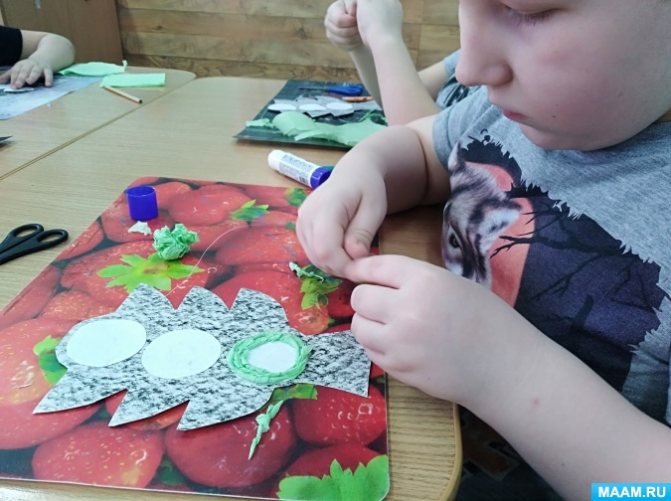
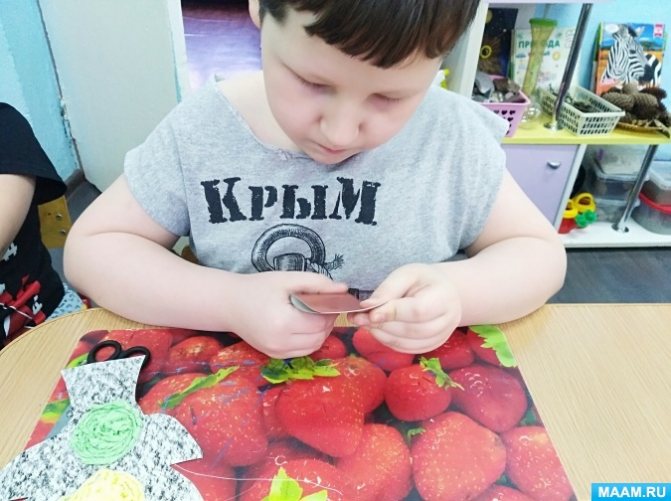
Photo gallery: examples of ready-made paper crafts
Example of paper construction Example of paper construction
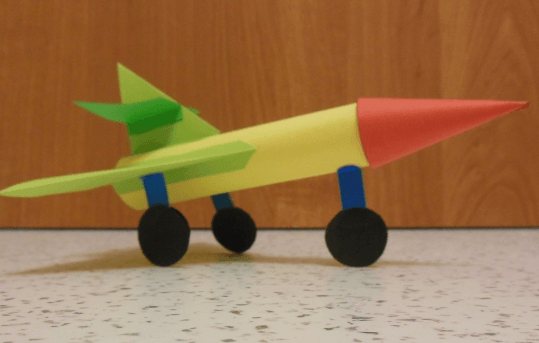
An example of design from paper An example of design from paper with additional drawing according to plan
An example of a paper design using the origami technique (applique)
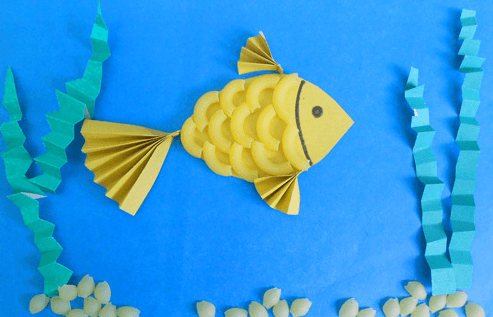
An example of a paper design using pasta to complete the design
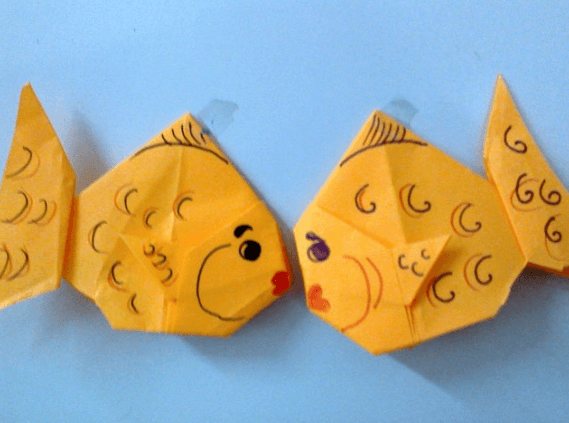
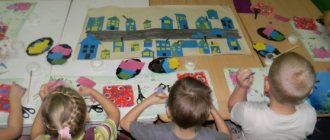
An example of designing from paper using the origami technique and simple drawing. An example of designing from paper. An example of designing from paper. Using crafts in the game

Options for completing the task
Example of paper construction
Example of paper construction

Example of paper construction
Example of paper construction
Example of paper construction
Example of paper construction
Example of paper construction
An example of a paper design using the origami technique
An example of designing from paper using drawing techniques An example of designing from paper using drawing techniques
Video: paper construction lesson on the theme “Gift for Dad”
Video: paper art design in kindergarten
Video: open lesson on paper construction on the theme “Aquarium”
Video: paper construction on the theme “Year of the Rooster”
Children's master class on constructing a “Funny traffic light” in the preparatory group
Pismennaya Elena
Children's master class on designing a “Funny Traffic Light” in the preparatory group
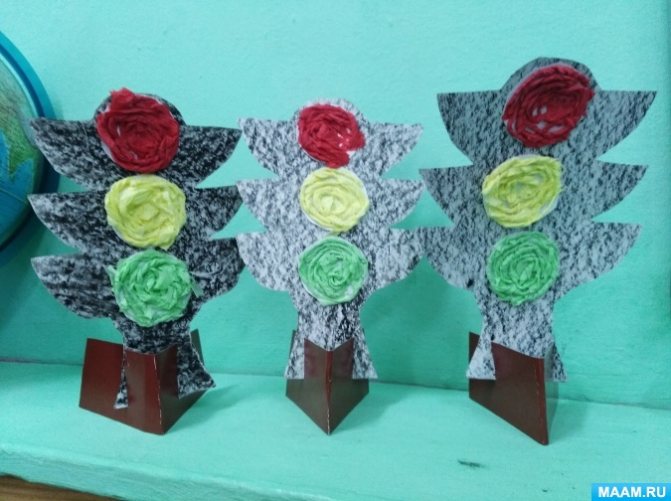
Program objectives: To develop children’s ability to make a traffic light on a stand , to consolidate silhouette cutting techniques, twisting and twisting techniques, to consolidate the ability to transform flat material into a three-dimensional form, using different materials for creativity (cardboard, paper, napkins, wax pencils)
;
clarify traffic rules, meaning and colors of traffic lights , develop imagination and creativity;
cultivate perseverance. I wonder when and how the first traffic light ? The first traffic light appeared in London about 140 years ago. The traffic light stood in the center of the city on a pole 6 meters high. It was controlled by a specially assigned person. Using a belt system, he raised and lowered the instrument needle. Then the arrow was replaced by a lantern that ran on lamp gas . The lantern had green and red glass.
The first electric traffic light appeared in the USA in 1914. It also had two signals - red and green - and was controlled manually. The yellow signal replaced the police warning whistle. traffic lights appeared in New York .
In our country, the first traffic light appeared in 1929 in Moscow. It looked like a round clock with three sectors - red, yellow and green. And the adjuster manually turned the arrow, setting it to the desired color. traffic lights with three sections of the modern type appeared in Moscow and Leningrad And in 1937, the first pedestrian traffic light .
For the master class you will need white and brown cardboard, white paper, napkins (red, yellow, green), black wax pencil, scissors, glue, a simple pencil, a traffic light , a round block.
First, white cardboard was tinted black. To do this, white cardboard was painted with the side of a black wax pencil.
We took a traffic light stencil , outlined it and cut it out .
A round block was outlined on a white sheet of paper, cut out and glued to the future traffic light .
We take napkins, tear them into strips and press them into flagella. We glue the flagella onto the circle in a circle. This results in three colors of traffic lights .
a traffic light from brown cardboard . Fold a strip of cardboard 5 centimeters wide in half and cut it.
a traffic light on the stand .
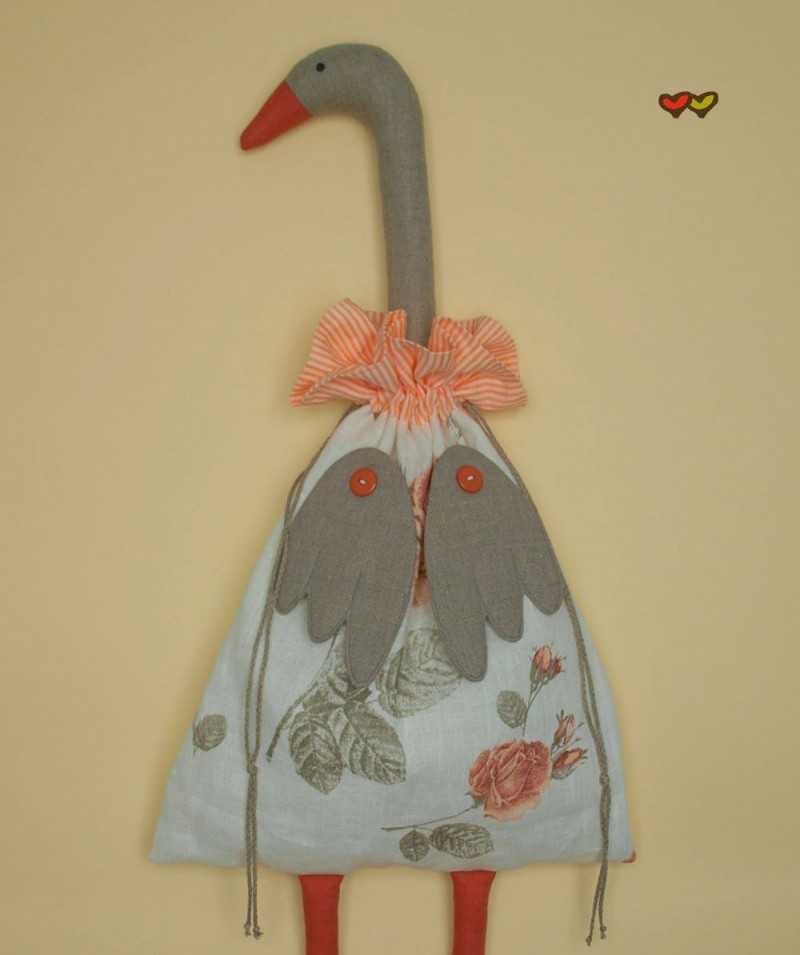
Goose
On the main sheet of paper that will serve as the background, sketch out the outlines of the bird to make it easier for the baby to navigate the space of the sheet.
It is better to use thick paper or cardboard, since regular office paper will begin to bend from the weight of the seeds.

The wing can be made from pumpkin seeds, the beak and legs from orange napkins, previously divided into small pieces and rolled into balls, and the plumage itself from medical cotton wool. The materials must be glued to the background using PVA glue.
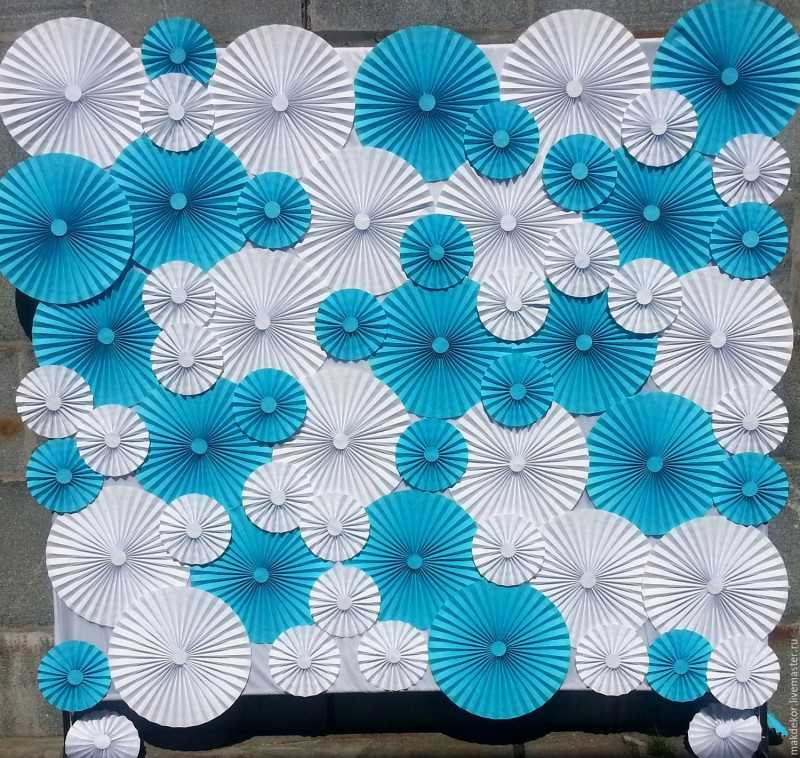
Crafts from paper rosettes
Rosettes are the molds in which cupcakes are sold. They can be found in most retail or specialty food stores.

If you can’t find the right color, then you shouldn’t quit this activity ahead of time, since this material can be painted well without losing its main characteristics of shape.
a lion
The sleeve becomes the body, and the head can be made from a thinner sleeve or specially rolled cardboard.
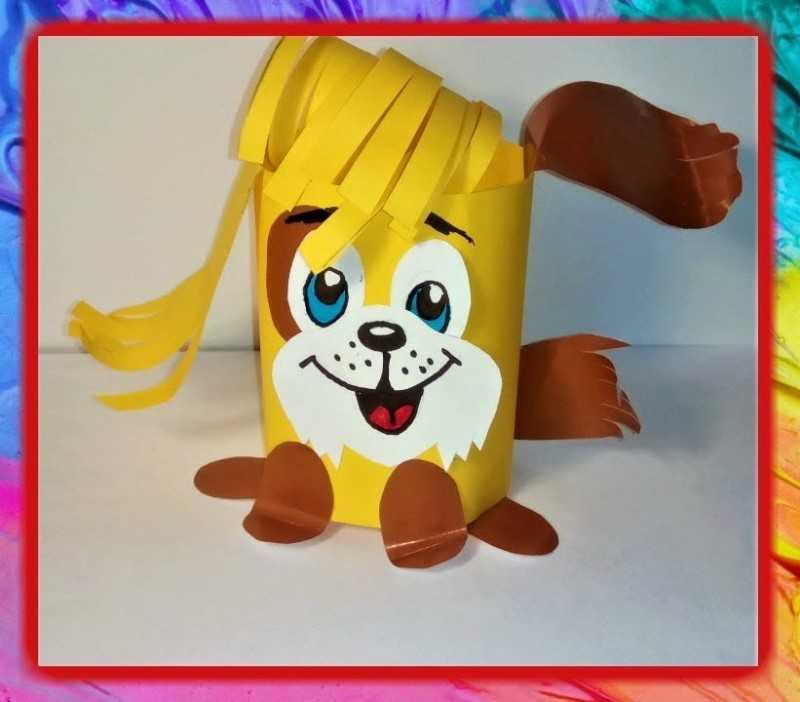
Glue a paper mane to the side closer to the edge, and a head to it. The ears are also made from oval paper, which is folded in half for a characteristic shape.
The tail and paws are cut out and glued onto the “tummy”.
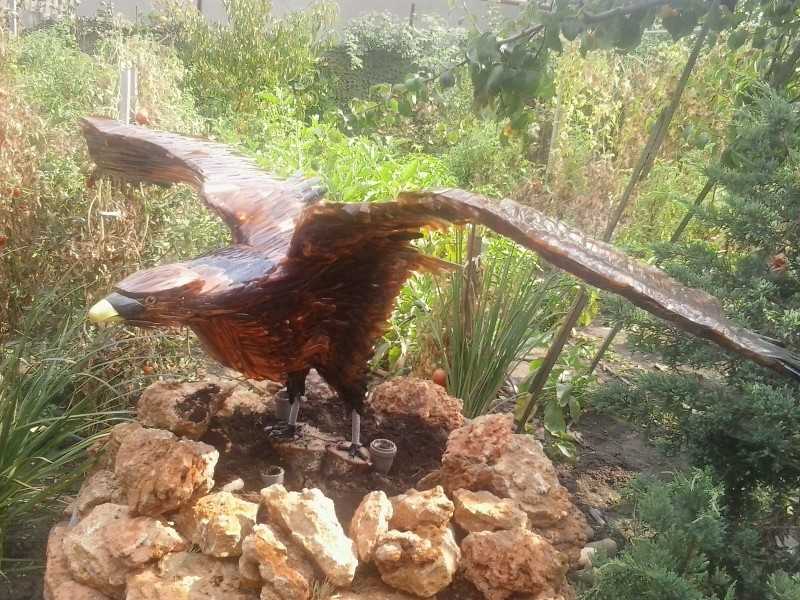
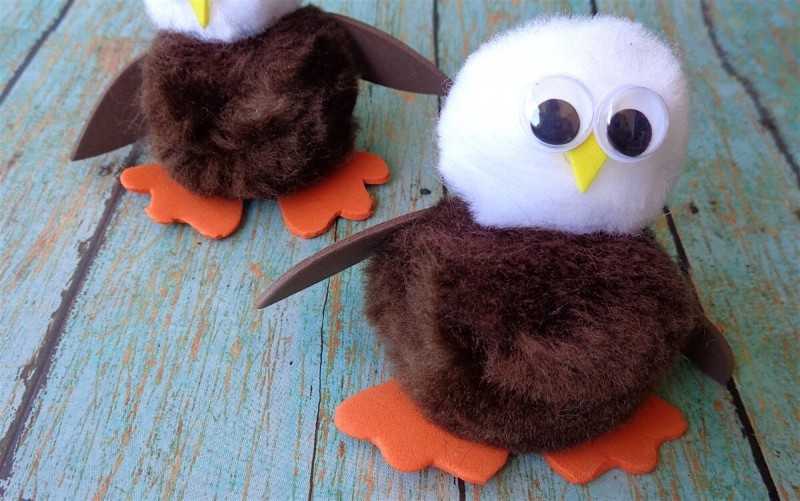
Eagle
First you need to pluck the lump using pliers. These types of crafts for moms and dads in the older group may not be easy, so it's just worth trying again if it doesn't work out.
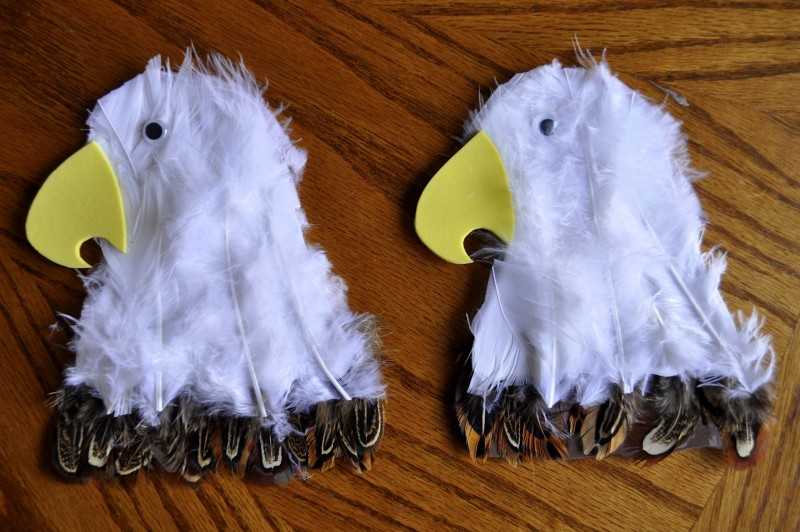
The body of the bird itself can be made from plasticine or using the methods indicated above in the instructions for the golden birds.
As a base, you can use ordinary thick cardboard or a plastic base, or prepare a real piece of driftwood or a wooden block.

You can take a plastic bottle, fill it with something heavy, like sand, and decorate it to look like wood. Attach the body of the eagle on top.
In the direction from the tail, glue the scales from the pine cone onto superglue or hot nails.
- Crafts for kids: ideas on how to make cool crafts with your own hands (125 photos and videos)
- Crafts for boys: 130 photos of original and beautiful options for creating stylish and beautiful crafts
Plasticine crafts for children - video + 135 photos of beautiful options for creating original crafts
Instead of a feather cone, you can use seed shells.