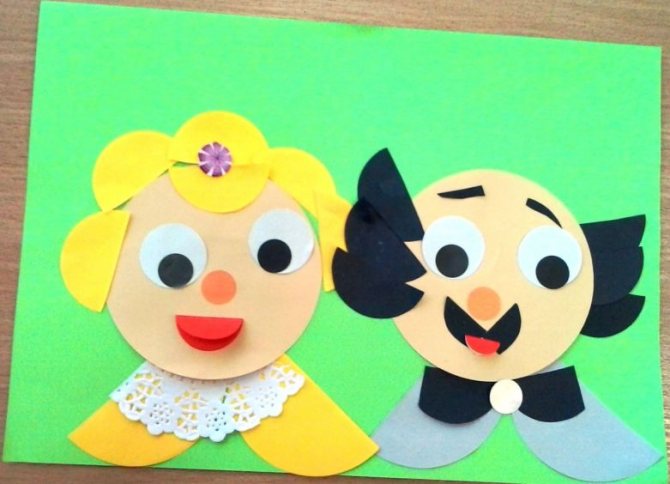
Working using the appliqué technique on the theme “Furniture” is a very interesting option in all respects. Firstly, it will be very interesting for children and adults to make their own model of the room with their own hands. Secondly, in the case of such crafts, a lot of design ideas are born. And finally, such pictures are always associated with a personal relationship, because furniture is one of the components of our lives, so it will be especially interesting for children to create their own unique design.
Most often, these applications are supposed to be done in the older group, but the level of difficulty can be adjusted for both junior and middle groups.
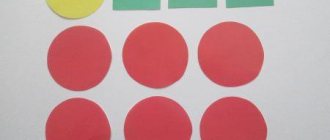
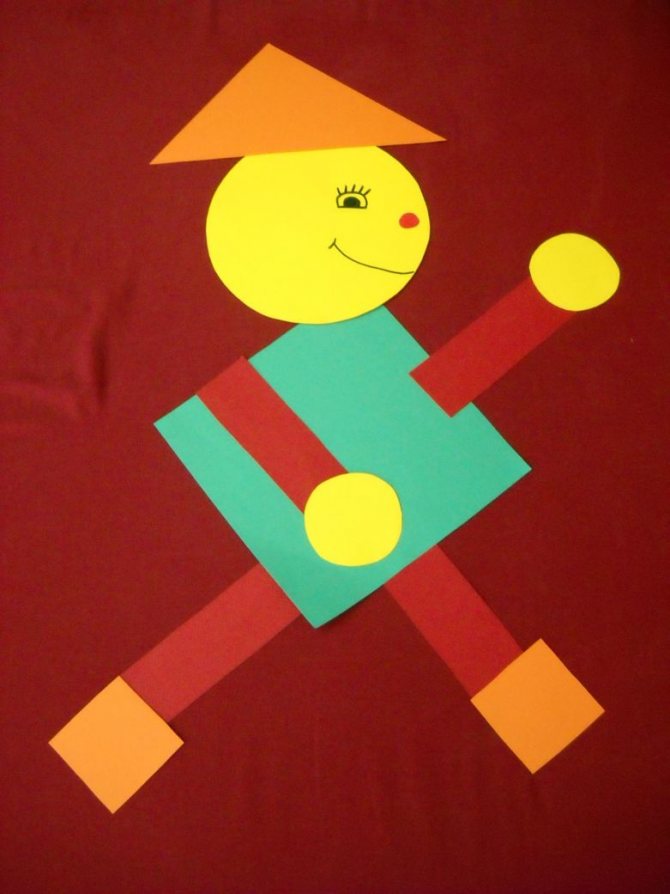
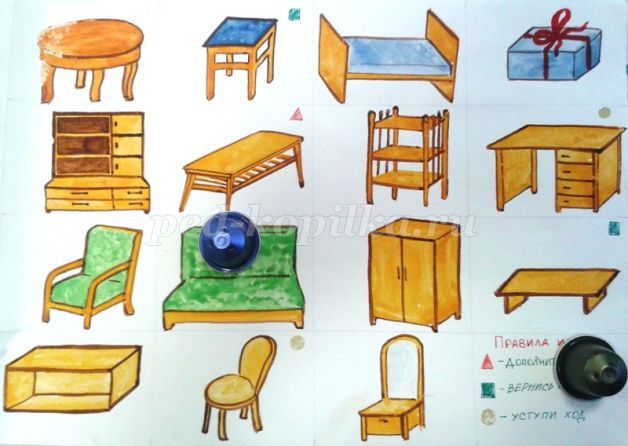
Ready-made samples of blanks
Creating a paper set is not a very popular process today compared to flowers, butterflies, and landscapes. It is still very rare to find professional blanks for creating furniture appliqué on sale, but if you have a vivid imagination, you can create beautiful pictures.

As we noticed, there are quite a few blanks, but they still exist. They are quite easy to use. We cut the blank and glue it in the desired order. If desired, we complete the missing elements (wallpaper, carpets, etc.). It is important not to confuse them with regular colored stickers.
Creating an applique from ready-made material is quite simple (cut and paste), but if you want to make it yourself, you will have to get confused.
For the little ones
Toddlers are just beginning to learn about crafts and shapes. Initially, you should randomly distribute the shapes on the sheet so that the child learns to work with glue.
Children aged 1-2 years are characterized by energy and restlessness, so you should start the lesson in a playful way.

You can tell a story about a circus bear who lost his juggling balls. The child will get acquainted with different colors, the circle shape and learn how to handle glue.
For the applique you will need three circles of different diameters made of colored paper. You can print the bear using a template or use a sticker. The bear is glued to the background sheet, and the child’s task is to find balls of a certain color. The found circle is covered with glue.
It is important to teach your child to hold the glue at a 90 degree angle. The part is located in an arbitrary location.
When the baby learns to handle glue, you can complicate the task a little and try to make an applique along the contours. To do this, geometric shapes are sketched on a sheet or cardboard, and parts corresponding to the drawing are cut out of colored paper.
The baby must find and glue the parts along the contours of the picture.
Self-execution
Let's try to create a chair together. To do this we need colored paper (blue, yellow and red), a button without a needle, glue and scissors. We start from the back of the chair. Draw a shape resembling a crown on a blue sheet. We do the same on yellow, but smaller in size. Draw two orange slices on a red piece of paper. Let's move on to the legs and seat. Cut out 4 red pieces measuring 2 x 4 cm (3 pieces) and 2 x 5 cm (1 piece). We twist them into tubes and secure them with glue. We assemble a chair from the resulting material. We decorate the back with a button.
As you can see, such products look much brighter and neater. Let's look at a few sketches, having learned to draw which, you will be able to create creations with smooth, clear contours.
Let's create a TV and a sofa. We redraw them or translate them using carbon paper.
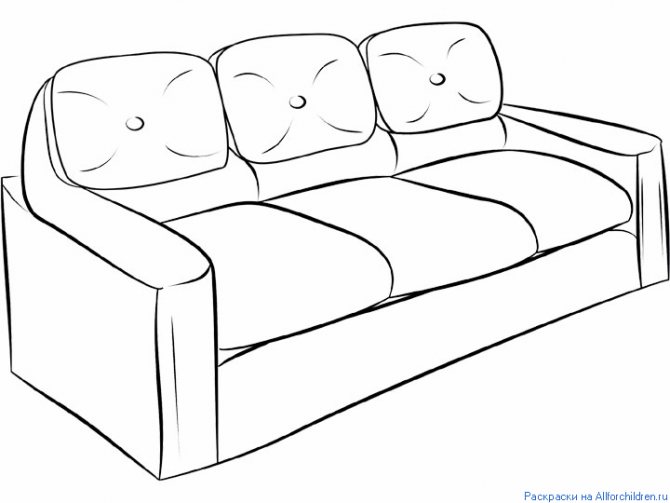
After you have drawn a sketch, color and cut out. We paste it onto the sheet in the required shape and complete the interior elements.
If you want to create a large room, then you need to draw a lot of furniture. We take a large sheet of paper or several small ones, draw a lot of different home furnishings, paint them with the necessary colors (for example, orange, blue and green). Carefully cut out with curly scissors and paste in the order we need.
Preparation
The first step is to prepare for the development process:
- When organizing a workplace, everything unnecessary is removed from the table.
- You can cover the surface with oilcloth to protect it from glue.
- All elements are cut out in the required quantity.
- It is recommended to use stationery scissors with blunt tips - they are comfortable for the child and he will not be able to cut himself with them.
- A background base is selected from colored paper or thick cardboard.
- For younger children, it will be more convenient to use pencil glue rather than PVA.
- To make the activity more interesting, you should choose beautiful and bright colors.
Before creating an application, you need to tell your child about geometric shapes - show the blanks, name their shapes. It is important to become familiar with the sequence.

Your child will be interested in creative activities together, and teamwork will strengthen relationships. Over time, the baby himself will learn to assemble compositions from different elements.

Paper 3-D
Using curly scissors you can also cut out elements for 3D applique. Cut out a cross with sides 3 x 3 cm. Glue a cube from it (the base of the chair). Glue the back to the shape we need. Wait for it to dry completely and paint. Let's make the table: cut out a strip measuring 2 x 5 cm, roll it into a tube and secure it with glue. Cut out a circle and attach a tube to one side (this will be a table). We paint the table.
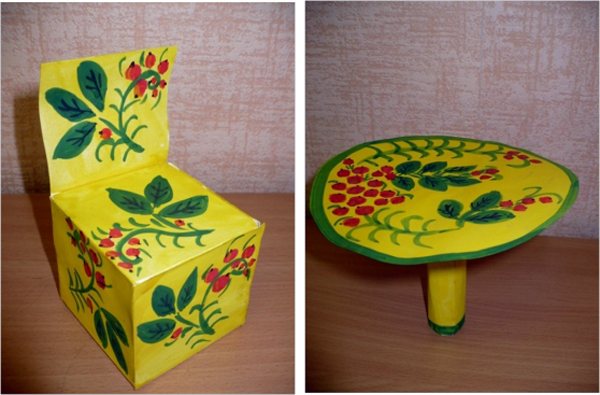
We attach these elements to a sheet of paper, finish drawing the background - the craft is ready.
Thus, we considered several creation options. Of course, the blank material at work looks much brighter, but if you know how to draw beautifully and select colors, then homemade elements will look no worse. Select shapes, tones, complement with invented elements, diversify your applications. With their help, children will be able to learn new words, develop imagination and imagination. Good luck!
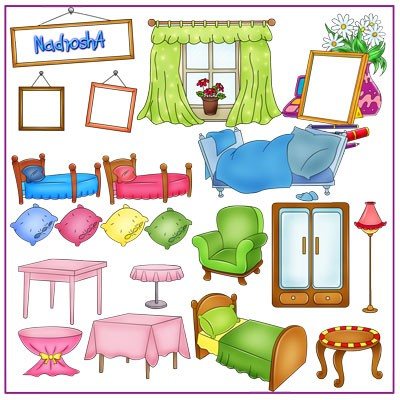
Learning to create an interior using applications
Applique table
The lamp must definitely be on the table. Although this craft can be made as an independent option in the furniture theme. The application can be done step by step according to the instructions, or you can print out the finished pictures.
In the older group, applique furniture can be made more complex, creating a real room interior.
Advice! A table is not only a piece of furniture, but also a surface for a delicious lunch.
You can diversify the picture by decorating it with various products or dishes that you can find and cut out yourself step by step.
Assembling a chair
Of course, a table needs a chair. This is one of the basic applique crafts on the topic of furniture.
Again, you can take a ready-made children's picture. Although it will be very interesting for children if the chair looks like a real one - in this case it is easy to find and make an applique based on photographs in a furniture catalog.
Children's bed
And another interesting craft in the furniture section is a bed. You can find a lot of beautiful drawings or make them yourself.
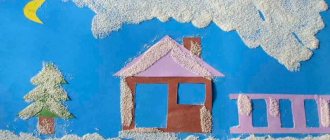
Furniture
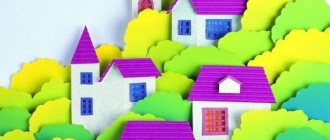
And another interesting idea - why not make a whole panorama using the appliqué technique in the preparatory group? To do this, you can take the largest sheet of whatman paper in A1 format, print out templates of beautiful furniture according to pre-selected patterns, draw several floors and create your own house.
Here is an example of one of these rooms. As for design options, you can give freedom to children's imagination - for preschoolers such a game will be very useful and educational.
For children from 3 years old
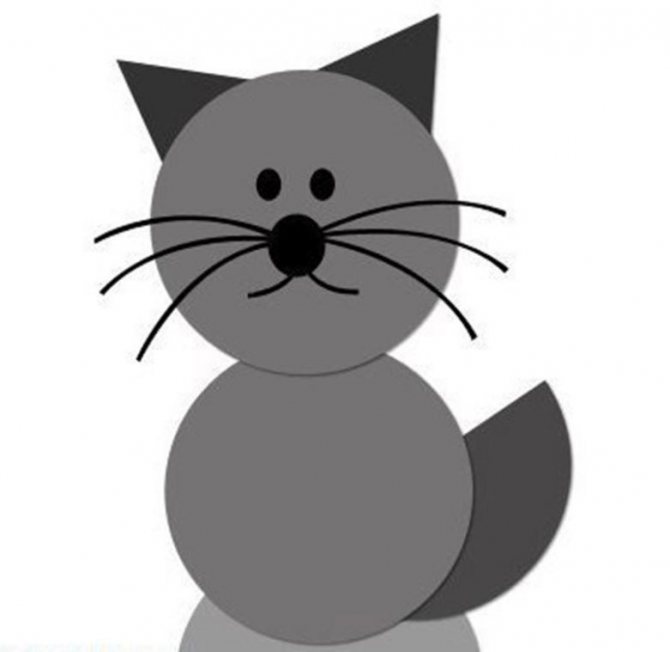
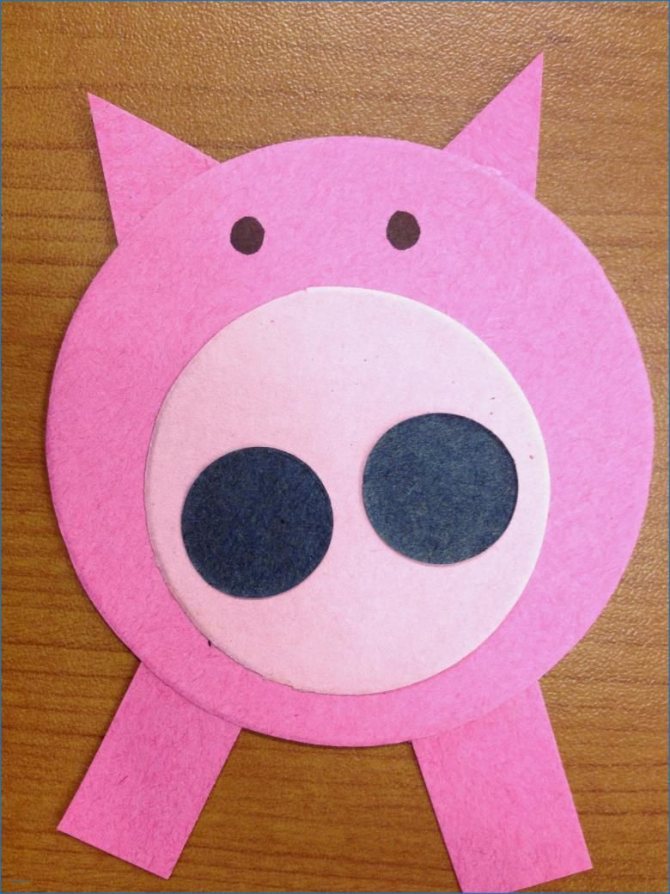
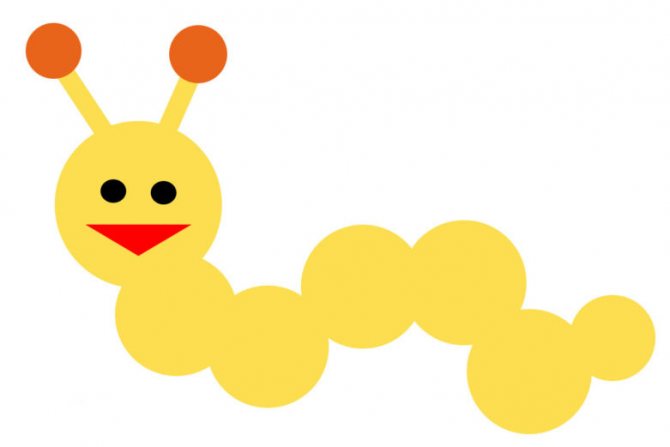
At the age of three, children can already assemble a picture of 6 parts in the correct sequence. You can choose animals for applique that are familiar to the child - for example, a hen with chicks.
For production you will need:
- Green cardboard.
- Yellow circles - 3 pcs.
- White circles of different diameters - 2 pcs.
- Triangles – 1 white, 2 yellow, 3 red, 6 brown.
- Colored markers.
- Glue.
The first step is to prepare a sample, and the children follow the picture and lay out their applique. It is advisable to focus on the baby’s characteristics; for some it is easier to create from a sample, while others prefer to repeat the actions step by step.
Eyes are added to the pasted chickens. The picture can also be supplemented with green grass made from stripes, a bright round sun, and daisies made from white triangles.

For the little ones there is a large selection of colorful applications for creativity, with self-adhesive figures. The kits are sold in bookstores or delivered via courier.
Ready-made sets help develop fine motor skills.