Materials and tools
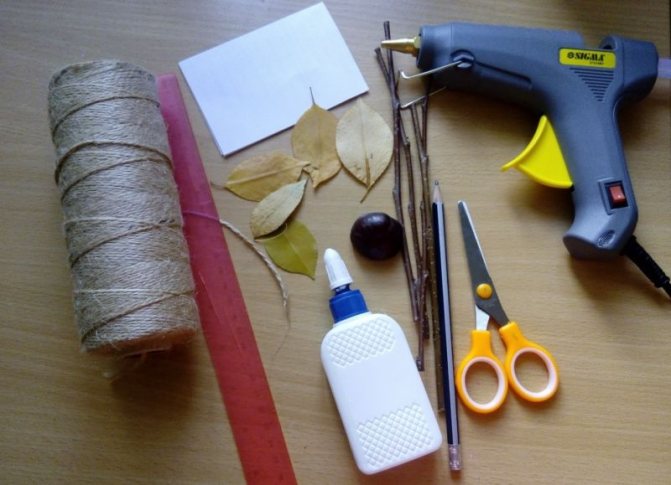
Before work begins, you should prepare tools and materials:
- Thick cardboard.
- Multi-colored paper.
- Scissors with rounded ends.
- PVA glue or stationery pencil.
- Wallpaper.
- Cotton wool.
- Felt pen.
- Cotton pads.
- Watercolor paints.
The main differences between patchwork techniques
Ordinary pictures require the use of a variety of ready-made templates. The child must first transfer them to paper of the desired color. Armed with scissors, he carefully cuts out all the blanks. If your baby has not yet learned how to hold scissors correctly, it will be difficult for him to work with them. As a result, he will not see the beautiful application and will be upset.
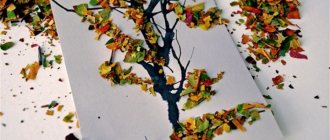
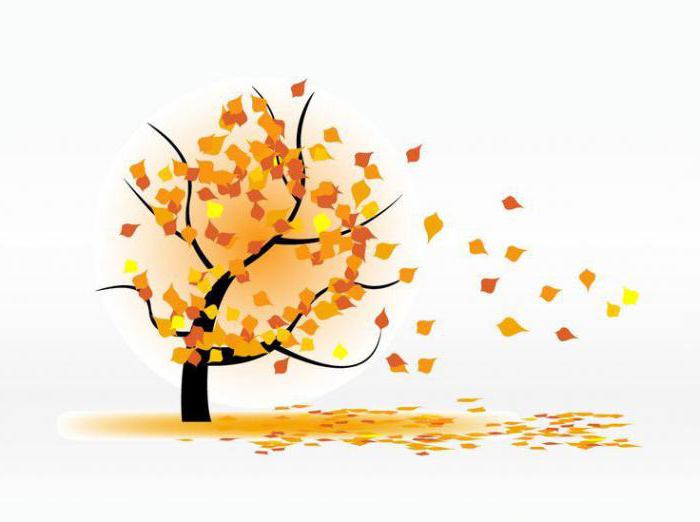
At the age of 4-5, children experience their first transitional period, so psychologists do not advise choosing tasks that can hurt the child. Having experienced failures at this time, he will not be able to tune in to positive growth or be motivated to demonstrate creative abilities. An application made from torn pieces of paper “Autumn Tree” is an excellent chance to avoid failures associated with using scissors in your work.
Application options
Many people believe that such a craft can be made exclusively from colored paper, but there are other methods. You can stick it on cotton wool, cotton pads or any other elements. In this case, the result will be completely different. Therefore, we recommend experimenting, introducing your child to creativity and developing his original approach to creating things.

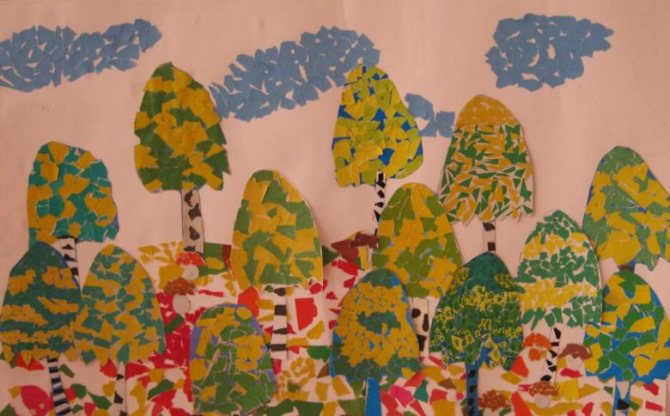
Flat paper applique
The standard way to create an autumn forest. To do this you need:
- Take a piece of paper of any color that seems most suitable - white, blue, green.
- Glue a strip of paper along the bottom to imitate the ground. More often they choose brown or green. Just choose this color that is contrasting with the background.
- Make several trees of different colors. It can be yellow, orange, dark green, brown, mustard. Here the child must draw the outline of the future tree on the back of the sheet, and then carefully cut it out.
- Don’t forget to cut additional trunks for each tree.
- Carefully, lubricating the back side of each blank, stick them onto the prepared sheet so that the trunks stand on the ground.
- Then suggest using a black or dark brown felt-tip pen to draw branches directly on top of the colored paper.
The technique is easy and accessible, even for small children. It is used in kindergartens.
Volumetric techniques
By working not only on a given theme, but also on texture, you can achieve a certain effect when creating an appliqué. There are several techniques for creating volumetric applications. Let's try to analyze the main and most effective of them.
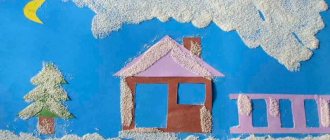
Working with cotton wool
This method involves molding pieces of cotton wool into the required volumes. Fixing them to the main sheet. And then carefully painting the entire surface to create a specific color scheme for the entire composition.
This is done as follows in class:
- A piece of cotton comes off.
- It is necessary to prepare a small container of water to make it easier to mold the cotton wool.
- By dipping your fingers in water, give the cotton a certain look and shape.
- Lubricating or dipping one part of the cotton wool into glue, then fix it on the paper in the right place, while creating a tree crown.
- Take a brush with a fairly voluminous and thick bristle, dilute the paint of the appropriate color quite thinly, and with precise movements paint the cotton wool in the desired color. It is not necessary to achieve a continuous tone creation. It will be enough to apply it pointwise.
- Cut out trunks from paper and glue them under the cotton wool.

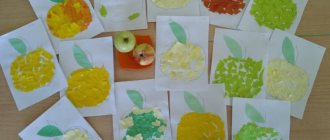
Application with cotton pads
It is necessary to invite the child to take cotton pads and color them in the desired color. Take into account and prompt the child that the final application will look most impressive if the cotton pads are painted with several shades of the same color at once.
Cut out a trunk from colored paper and glue it to the main sheet. Now start gluing cotton pads around the trunk and on top of it, forming the crown of the tree. Keep in mind that if they are placed one on top of the other, with a slight overlap, you can achieve greater volume of the composition and its effectiveness.

Make several of these trees, preferably painting cotton pads in different colors.

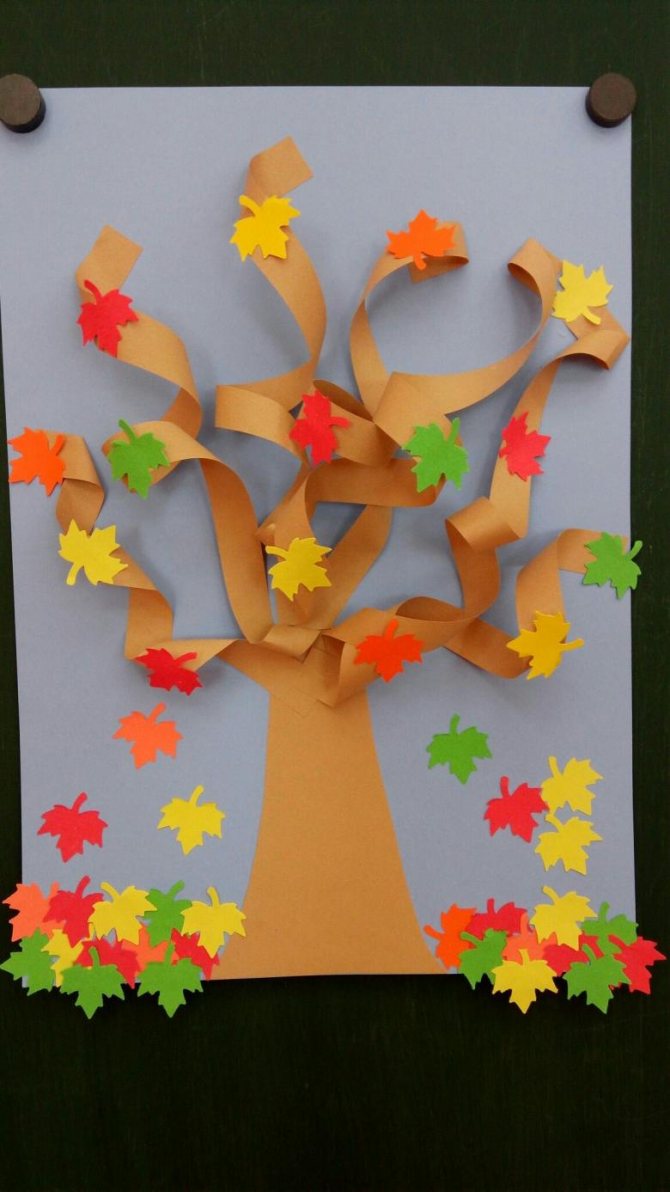
Composition of rolled strips of paper
In this case, a colored sheet of paper needs to be cut into thin strips of short length and glued into rings. Cut out the trunk and glue it to the base.

Drop a drop of glue onto the rings, preferably in the place where there is a seam on the paper. And fix it around the trunk in this way so that a crown is formed.
Please note that the rings can be glued both vertically and horizontally. This will result in completely different wood looks. Therefore, you can combine several methods on one application to get more texture.

Using methods for creating an autumn forest appliqué, you can arrange a real master class for your child, both at home and in classes in the garden or at school. Although, there are other ways that the teacher must also take into account when drawing up notes for the relevant classes.
Jobs for kids
A simple applique made from torn pieces of paper can be done even by children of 2-3 years of age. At such a young age, not all children know how to use scissors, glue, or make beautiful and straight lines. To show your child’s creative abilities at this time, the ideal option would be applique and mosaic made from torn pieces of paper. The baby's fingers will develop, and in the future he will not have difficulties with writing skills.
Example of tear-off technique
Have you decided to spend a free evening with your child and prepare a gift for dad for his birthday? In this case, choose a picture option, stock up on colored paper, cardboard, glue in the form of a pencil and start creating. We offer a work plan for those who decide to create a “color masterpiece.”
At the first stage, you need to select a background of thick cardboard. If the applique is associated with autumn, you can use blue, white, gray dense material. Pay special attention to its density, since when working with glue, the base will become saturated with it and will not be able to withstand the entire application.
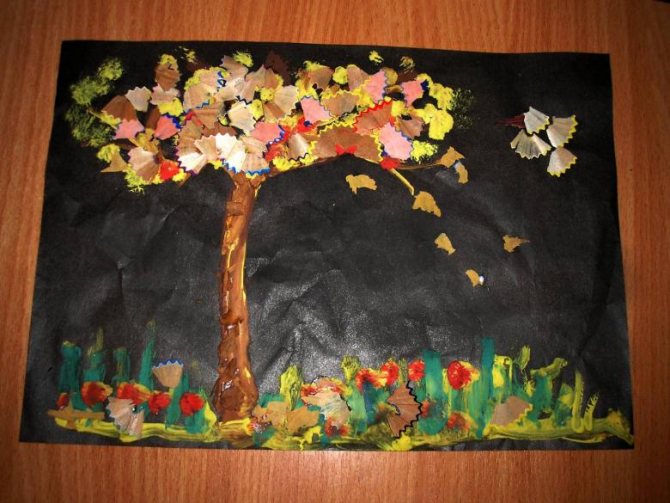
Now you can proceed to selecting a pattern for the future application. Have you decided to make a picture dedicated to late autumn? In this case, you can use a tree or flowers as a base design. First, it is important to draw the outline of the future picture onto the base with a pencil. For example, when choosing an autumn theme, you can mark a tree trunk, branches, and a place for leaves on cardboard. If the application is made by a schoolchild, in addition to the tree, the base depicts birds flying south and the contours of clouds.
The algorithm is similar to coloring different images in a coloring book. But working with pieces of paper does not involve painting, but gluing the fragment with paper of the desired color. In the first task, parents or a teacher can help the child, prepare colored pieces of a certain size for him, and show the child how to properly glue them inside the outline.
First, large pieces are selected, and each of them is glued separately. Then small pieces are used to fill the remaining space in the circuit. Do not forget while working that it is important to select fragments not only by parameters, but also by color. The task of adults is to control that during work the baby does not go beyond the boundaries of the intended contour. Otherwise, the application will turn out untidy and ugly.
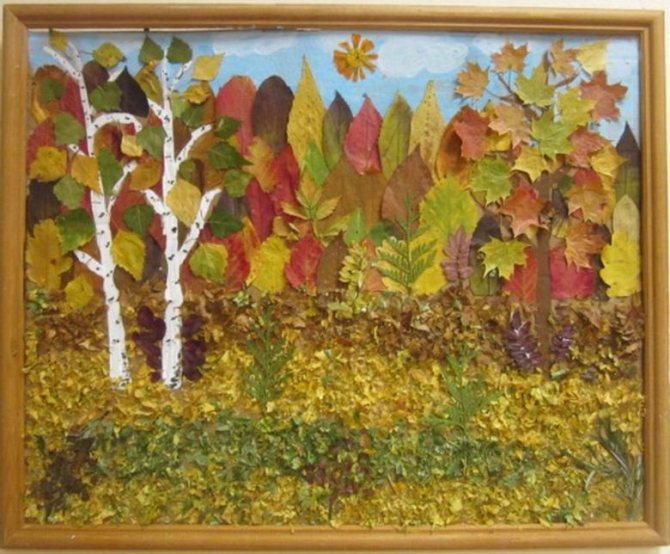
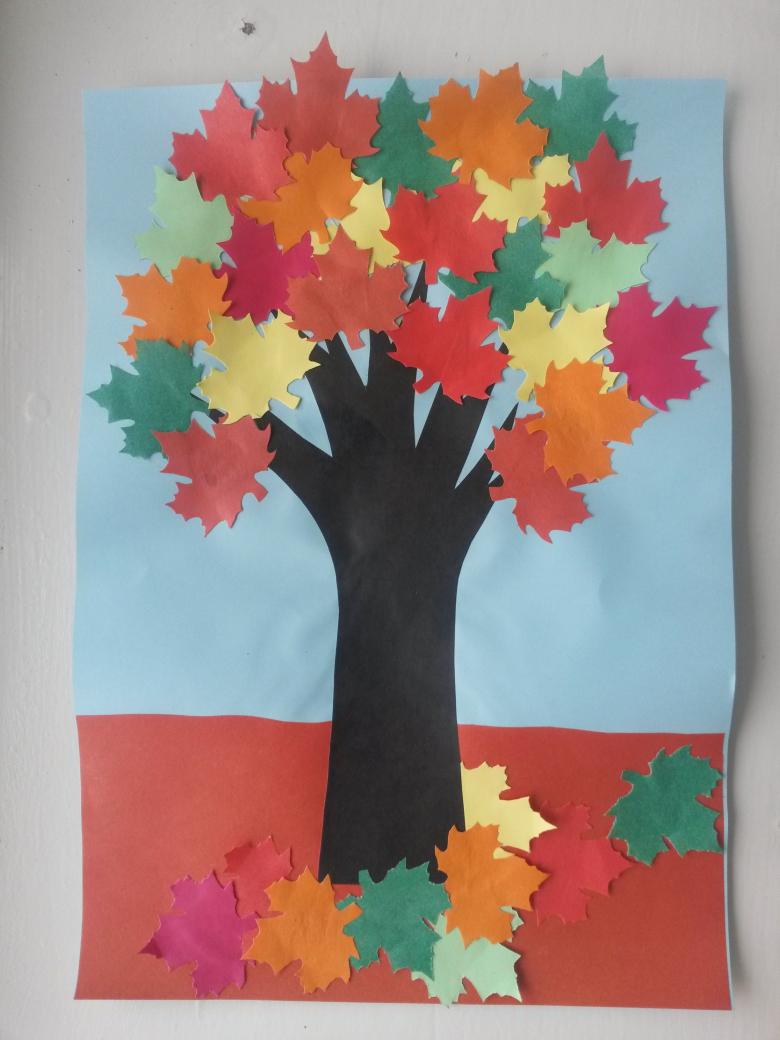
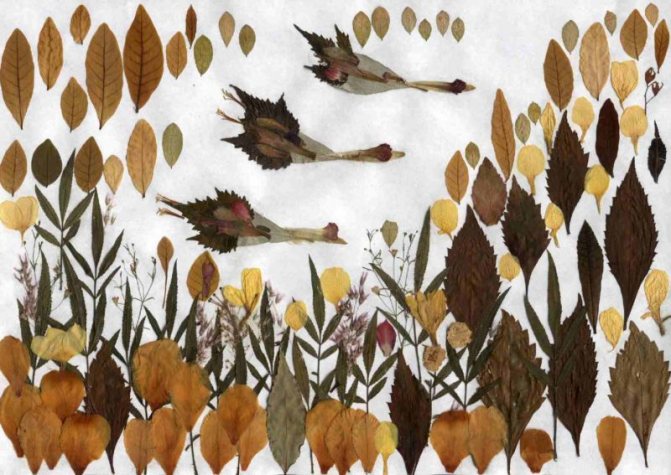
Forest applique of autumn leaves
Working with natural material is quite complicated; it requires preparation and careful handling of fragile leaves. Typically, an application of leaves on the theme “Autumn Forest” is done in 2nd grade.
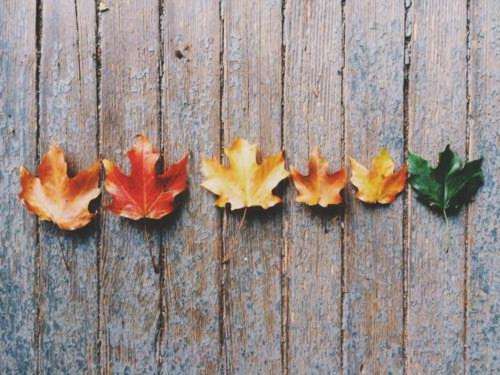
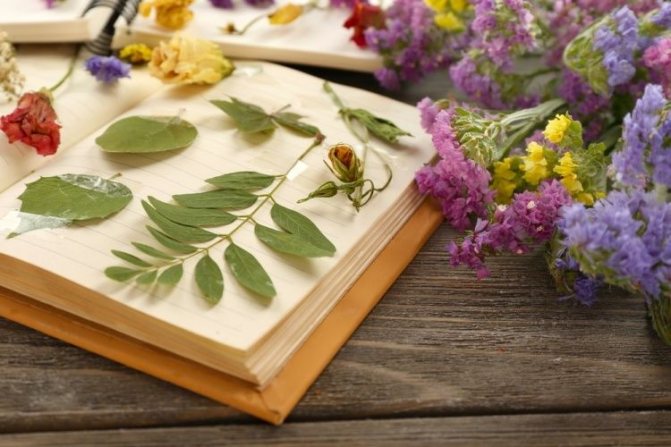
The material for this craft must be prepared in advance by drying the leaves. To prevent the composition from looking sad, find leaves that retain a bright color after drying. For example, red wild grape leaves or yellow linden leaves.

The collected raw materials need to be laid out with newspapers and weighed down with something heavy, leaving in this form for three to four days. If the material is needed urgently, it can be quickly dried with an iron. To do this, the sheet is placed between two sheets of paper and ironed for ten minutes.
Cut out or draw a tree trunk from paper. Glue the leaves using PVA glue.
Older children can cut the leaves into small pieces and make a craft using the collage technique.
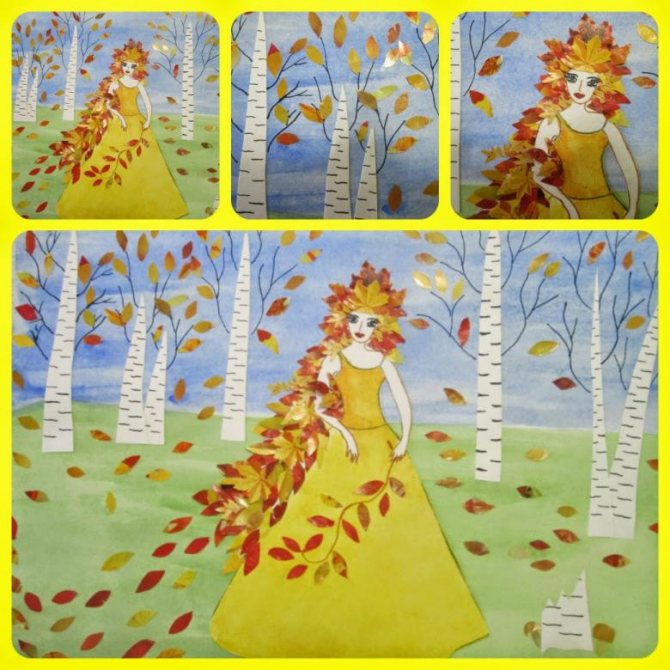
Application “Autumn” in the senior group made of colored paper
One of the associations with autumn is drizzling rains and bright umbrellas. Older preschoolers will certainly enjoy the beautiful “Autumn” applique made from colored paper. Take a set of paper, stationery glue and scissors for the lesson.
Make the application like this:
- Draw a circle of any size on colored paper, which determines the size of the composition. Divide the circle into 4 equal parts and cut them out.
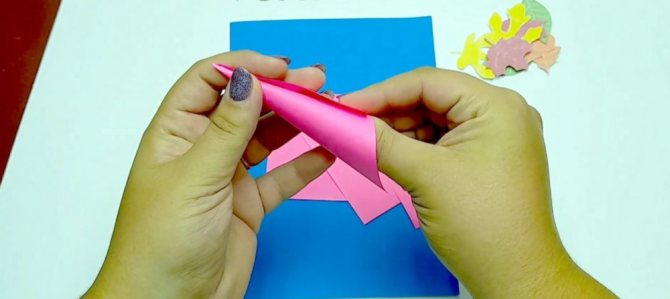
- Twist the blanks into cones and secure with glue. Their color can be any, the same or different. In the second case, you will either have to cut out parts of the circles from different papers, or use white paper, then color it.

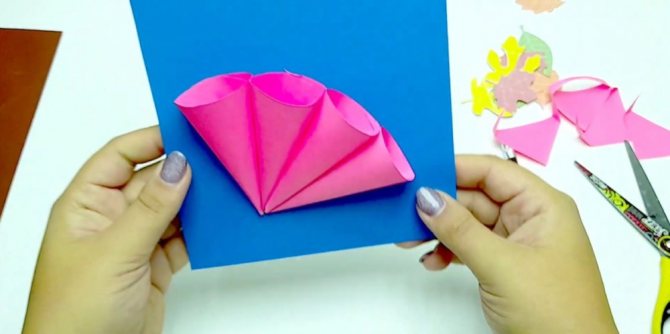
- Glue the finished cones onto a cardboard base so that they meet at their sharp ends. You will get a half-opened umbrella.
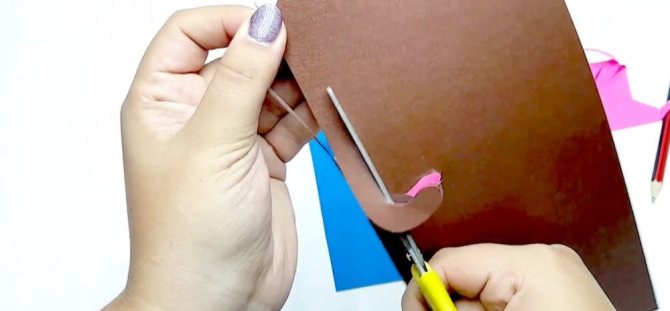
- Cut out a handle with a curved knob. Glue to the base of the umbrella.
- Cut out colorful autumn leaves using templates. Insert them into the cones and secure.

Where to get templates
The easiest option is to draw the outlines for the future application on cardboard yourself. In addition, you can use ready-made templates by purchasing a special set. Such kits include not only several thick bases with printed pictures, but also sheets of colored paper and glue.
If desired, you can also print the pictures using a computer and printer. The children themselves can also take part in making the outline of the future applique.
You won’t have any difficulties tearing the paper; you can turn this activity into an exciting game. If you carefully examine the finished work, it looks like a mosaic. School-age children, when gluing small pieces of paper, leave practically no empty spaces between them. Therefore, their work looks like a real piece of patchwork art. Children do not immediately master the basics of this interesting work, but parents or educators can always come to the rescue.
How does the application help in studying the world around us?
As a sample for appliqué, children are most often provided with a real object, for example a leaf, a spikelet, or various containers. It is very important to teach them to convey the real ratio of the size of things to each other, their real shape and color. Mushrooms are perfect for these purposes. While doing the work, children remember the names, learn to distinguish between species, and determine whether they are poisonous or non-poisonous.
![]()
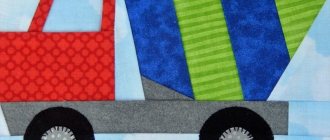
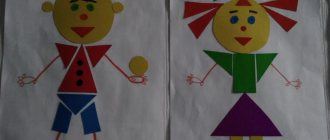
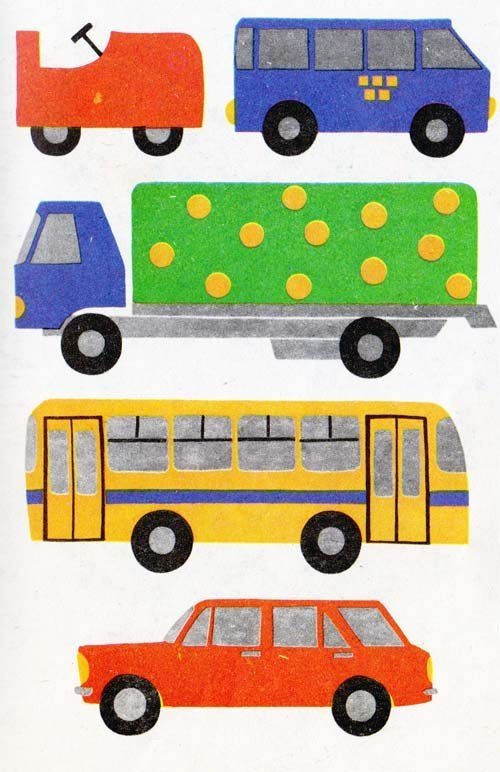
The skills of accurately conveying a design are developed using images of various vehicles. By assembling an image from individual parts, children in the process of work gain knowledge about the structural features and purpose of a particular type of transport.
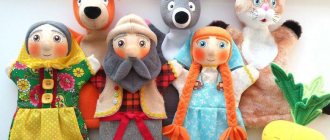
Application themes related to fairy-tale images will help children develop their creative abilities and use their imagination. Tasks to depict fictional animals and bright buildings activate the child’s thinking and independent search. In such work, preschoolers receive freedom of action and the opportunity to creatively apply the knowledge and skills acquired earlier, change colors and shapes at their discretion, add or remove structural elements.

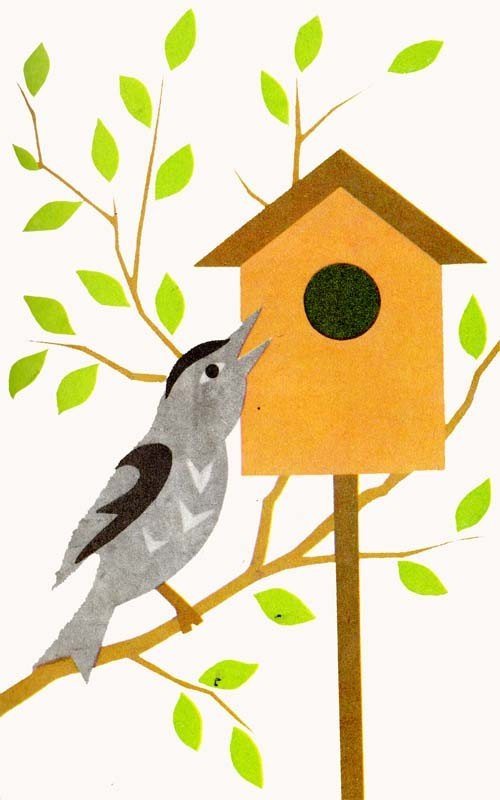
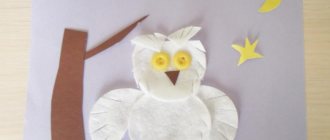
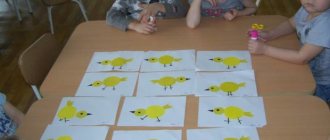
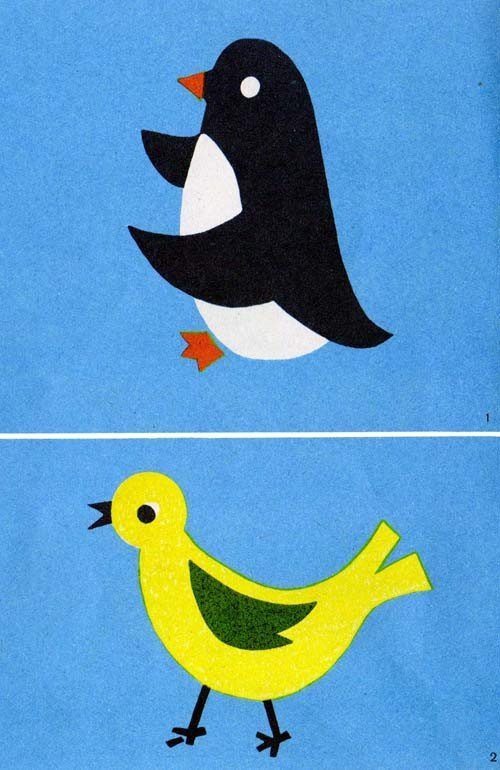
One of the most difficult tasks is for preschool children to master the skills of creating representatives of the animal world - birds, fish, domestic animals. This application requires the presence of small details, compliance with the exact parameters of the silhouette and color. Having mastered this step, children move on to depicting moving figures. Here certain difficulties arise with children conveying the dynamics of the animal, acquiring an understanding of how its body changes while jumping, running, etc.
Having mastered the skills of appliquéing individual objects, preschoolers move on to combining them into complete images and related plot pictures. Their works reflect such themes as “Fruit Bowl”, “Spring Bouquet”, “Migratory Birds”, “Hares in a Forest Clearing”, “My Family on a Walk”.