An interesting creative technique that both adults and children like is cut-out appliqué. Any crafts made from colored paper are an interesting activity; many have tried their hand at making appliqués.

Carefully cutting out paper with scissors often helps children learn different artistic techniques. You can instill an interest in working with crafts through the most unusual techniques. Studying the features of cut appliqué will help you express your ideas and bring very original works to life.
Features of cut-off appliqué
This technique is simply irreplaceable for the development of intuition and love of creativity. In the process of working, children form a composition on cardboard, they learn to evenly and accurately glue the elements of the composition from paper pieces. Children begin to learn methods of color solving, develop manual motor skills and observation skills, discipline their approach to work, and actively use their imagination.
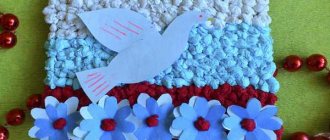
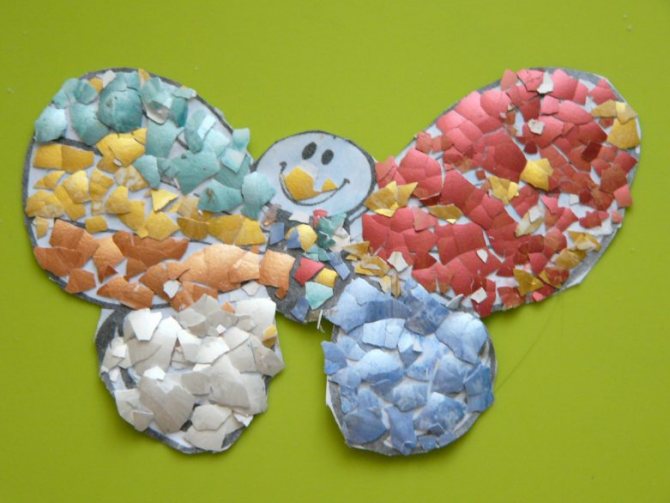
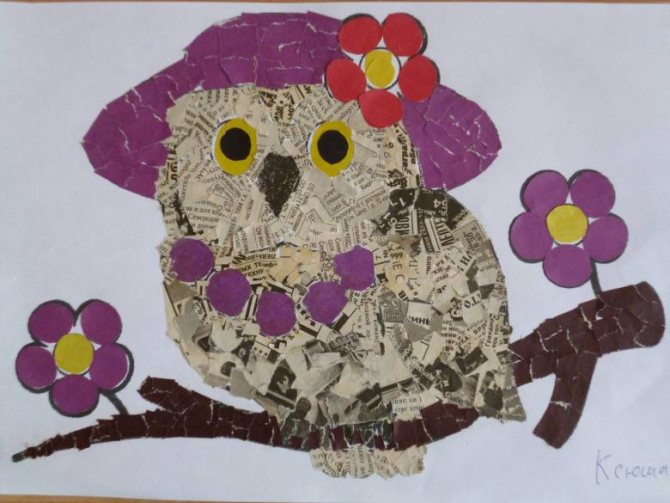
Tear paper applique is one of the types of applique that perfectly conveys the texture of any image. Any image (bird, cloud, plant, tree, person) is depicted using pieces of torn paper. Elements must be of different colors and formats. No scissors are needed here, which will be a plus - children will not get hurt.
Advice. To glue the pieces, you often use a glue stick - it will help avoid spreading. The advantage of the “torn” technique is the absence of scissors, because very young children can injure themselves and others with this tool.

The composition is created quickly and simply; even a child over 4 years old can handle it. Therefore, such creative tasks are often given to children in different kindergarten groups.
Principle of operation
To complete the application, you can follow simple universal rules:
- Choose the basis for the future work. This is most often cardboard, white or colored. The main thing is that it does not get wet from the glue and can withstand the weight of the future composition. An alternative is thick white paper.
- They think through the composition and idea of the future film. The drawing is applied with light strokes onto the cardboard.
- Choose shades of color for the drawing, the overall color scheme.
- Prepare pieces for applique. They need to be cut into different sizes, but it is better to help the baby with this process. At the beginning he will try to do everything “right”, then it will become easier. It is important to tear the paper carefully, then the drawing will be beautiful.
- Take a glue stick and fill the space of the applied pattern with scraps of colored paper. First, large pieces are glued on, and the area is finished by gluing small pieces.
- The surface of the entire pattern is glued in advance, then the small pieces are simply pressed.
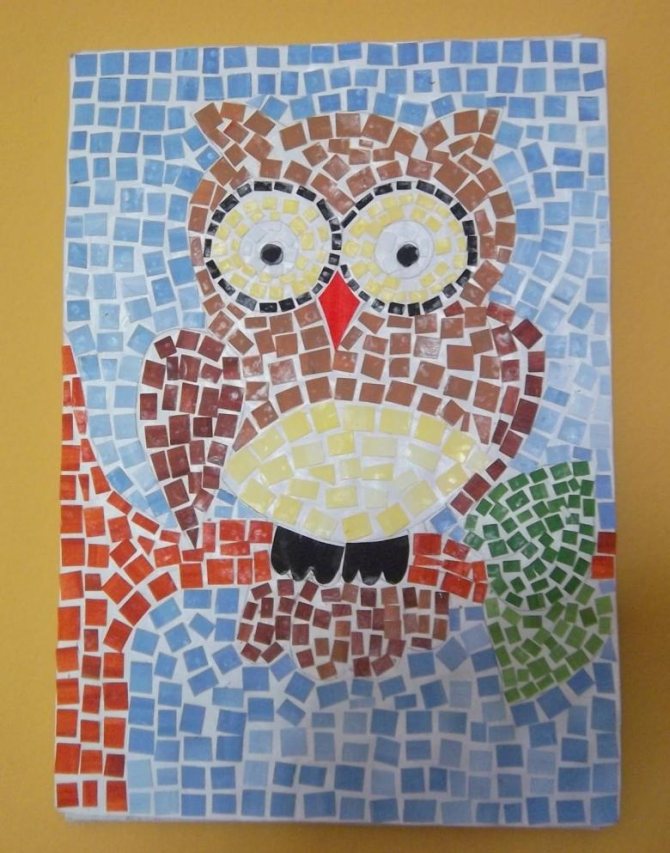
- The finished application will look like a mosaic, especially if there are small gaps between the pieces.

Advice: it is better for a teacher or parent to observe how carefully the child glues the composition in order to direct his strength in the right direction in time. It is important not to go beyond the edges of the drawing.
Decorating the work
Ready-made compositions can be supplemented with decorative materials. Tasks can be different - in level of complexity, topic, scale and amount of materials. The broken applique in the older group will differ in execution from the younger one, so the process can be complicated.
To decorate their work, children can use a variety of available and purchased materials:
- shells, pebbles, pebbles (small);
- dried leaves and flowers;
- beads and seed beads, glass beads, small rhinestones (with precautions and under adult supervision);
- threads, ribbons, bows and wool;
- buttons, buttons;
- parts of old toys.
Children can frame the result of their efforts and present it to a competition or exhibition. But the main thing is that the kids enjoy the creative process. If the painting decorates the interior, the children will be very pleased.
Decoration of the composition
When the painting is ready, you can decorate it using all kinds of materials to give it a finished look and make the work unique.
- A few shells, dried flowers and leaves, ribbons, bows, buttons, beads, beads, rhinestones are perfect for this (adults should supervise the children’s work, especially if small parts are used in the process of creating a masterpiece).
- The resulting creation can be inserted into a beautiful frame. And then the child can safely participate in competitions with his works.
All these ideas will help you and your children create real masterpieces using a minimum of materials. And most importantly, this is a very fun and interesting process that can become leisure time for the whole family.
The finished work can become a wonderful interior decoration, and you can also present it at any children's craft competition. Such educational crafts will be very useful for teaching in kindergarten.
There are a lot of different techniques of varying complexity; you can choose something suitable for the creativity of children of different ages, from the youngest to the preparatory group.
Templates for cut appliqué
It will be very convenient if you prepare beautiful templates in advance for working with scrappy techniques. You can get the template from anywhere:
- cut from a magazine;
- use old coloring books;
- draw with your own hands.
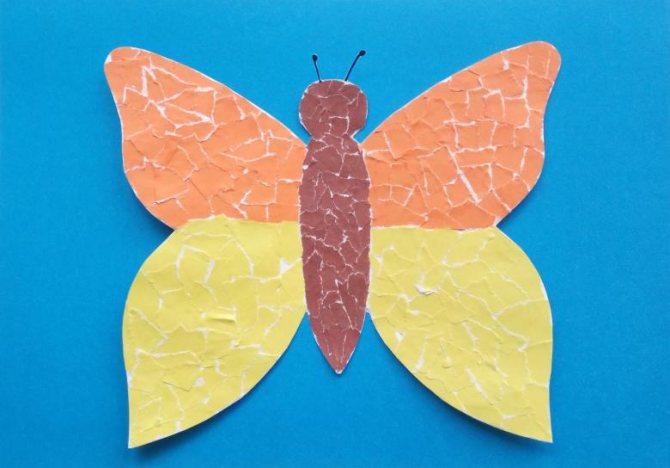
Children can also create these patterns on their own. After all, drawing the outline of a cat or butterfly does not require much skill, just like tearing off pieces of colored paper.
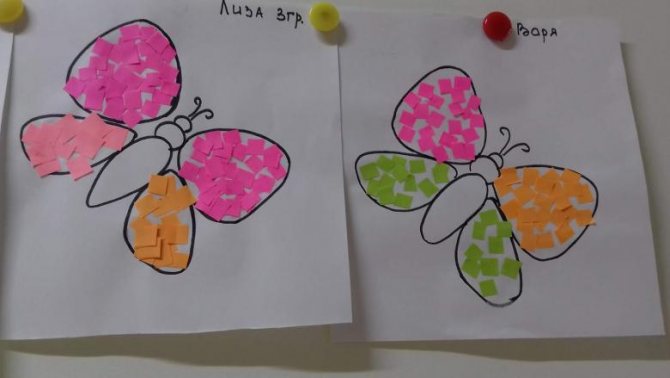
At the first stage, when the baby is just getting acquainted with this technique, you can offer him a ready-made template - for example, from an old coloring book. As they gain experience, children themselves will want to try to draw their own version of the outline drawing. These can be animals, landscapes, clouds, flowers and bouquets, kittens or puppies. The outline drawing should not be too detailed or complex. The main thing is that it serves as a good basis for further gluing with torn elements.
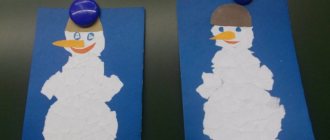
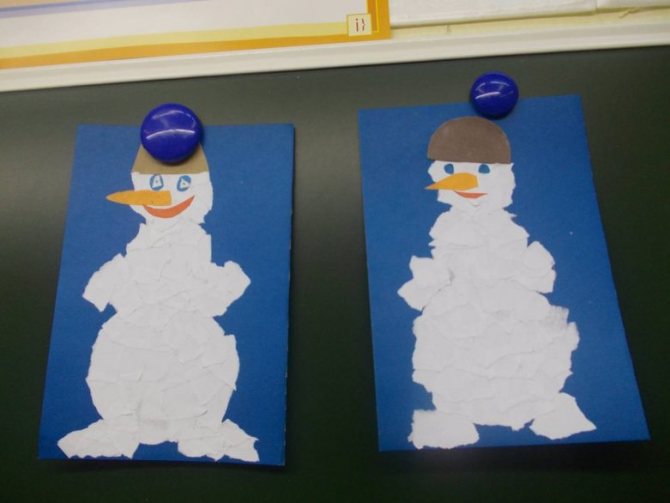
Snowman
Prepare a sheet of white paper and draw snowdrifts on it.
- Tear them off with your hands, following the drawn line.
- Now cut it into two parts.
- Blue or light blue cardboard will play the role of a background; stick snowdrifts on it.
- Attach different parts on top of each other to make the result look more realistic.
- Make templates with snowman parts from white paper.
- Carefully tear off the blanks along the pencil outline.
- You can glue the resulting circles to make a snowman; try to put the bottom border on the snowdrift to “put” the snowman on the snow.
- Cut out a headdress for a snowman from colored paper, buttons and parts of the face can be drawn with felt-tip pens.
- Decorate the craft further as you wish.
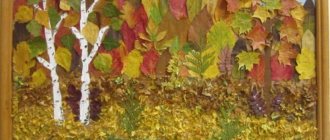
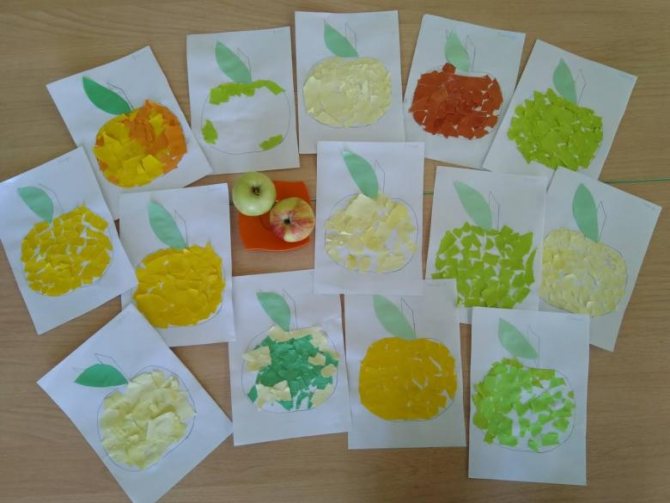
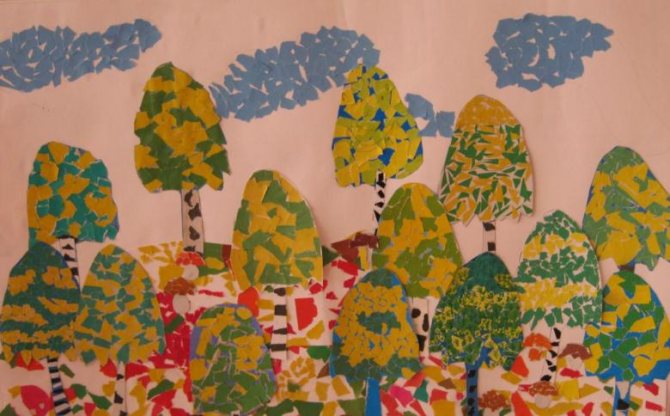
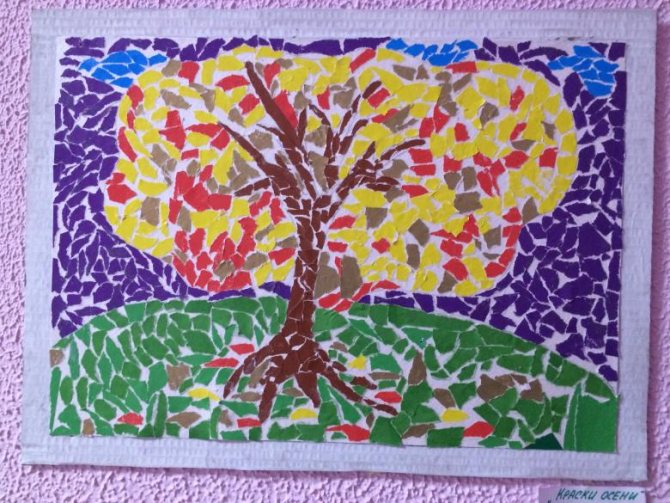
Example of a craft “Autumn Tree”
Let's look at a sample of a broken autumn tree applique. This is a simple and very beautiful option for children in the middle or senior kindergarten group.
For work you will need materials:
- glue stick;
- set of colored paper: yellow, orange, brown, green, blue;
- cardboard base (you can use white paper);
- additional decorations in autumn style: golden beads, small stones;
- a cloth for wiping off glue.

Work algorithm:
- Invite your child to apply the drawing to the base. Let it be a large tree with a lush crown. You can draw the sun and clouds in the sky, and bushes and paths on the ground.
- Next, select the main shade for the wood - yellow, orange, brown. The paper is torn into pieces and evenly pasted inside the contours of the tree. Dark colors are used for the trunk, light colors for the crown.
- They cover the sky with blue pieces, leaving space for clouds.
- The sun is decorated in yellow. Thin rays can be drawn with a pencil or felt-tip pen.
- The finishing touches are glued on – pebbles on the ground, beads on the tree as fruit.
The picture is ready, it can be framed. You can also wipe off any excess glue on the image before the glue dries completely.

Examples of finished works
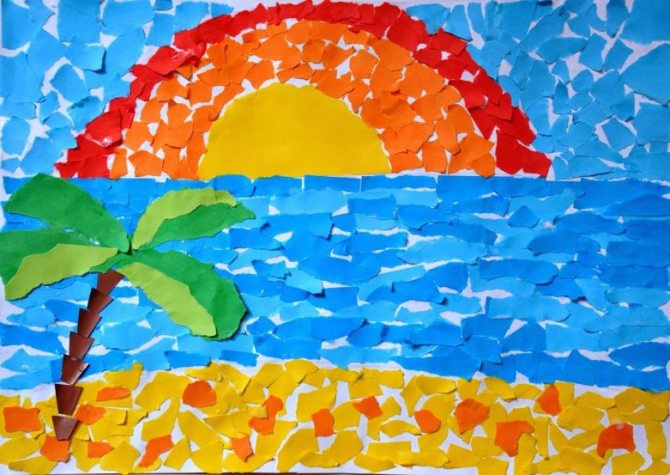
For inspiration and ideas, you can look at drawings on the Internet with your children. Examples can be found on various creative sites; it will also be useful to look at art galleries and choose a simple drawing for a further “broken” imitation of the original.

The product of children's creativity can be simple and unpretentious. But this is a very effective means of activating imagination and various skills. And children get great pleasure from working with colored materials. In the process of painstaking work, children become diligent, neat and patient, which is very useful for further development.
Where did you come from?
Initially, cut-out appliqué was by no means a child’s form of creativity. It was not children who were doing it.
This is an ancient Korean art called handigyrim. It is done a little differently.
The tearing paper is pre-wetted, and then pieces are torn off along the edges. By soaking the paper on the applique, you can achieve the appearance of oil or watercolor paints. This is how Koreans create entire works of art.
Korean art has been greatly simplified for children. It's difficult for kids to deal with wet paper, and it's a lot of trouble for adults too. So we will create a cut-out applique with children from ordinary dry paper.