The game process is recognized by modern teachers as a very effective way of providing children with the necessary information. Working together with them turns classes into an exciting process.
We offer several techniques for making crafts on the topic of traffic rules in a kindergarten with their own hands to instill a culture of safe movement on the street. In addition to road signs, children can make a mini-city filled with car models and traffic lights.
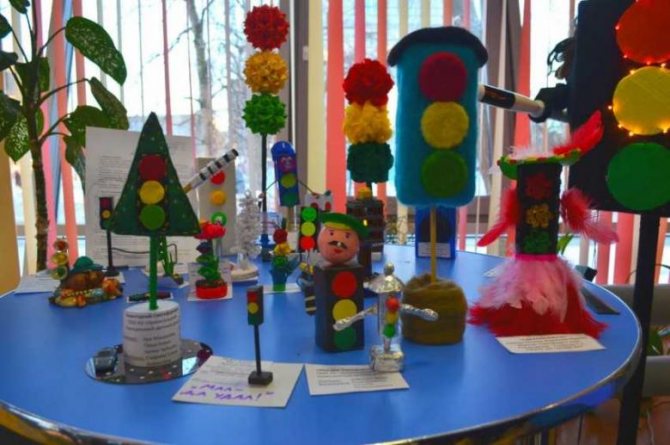
Simple ways to make a traffic light
In older preschool age, you can safely make crafts using electrical parts. A very original option is a traffic light made from plastic bottles. 2-liter dark bottles will do. Three windows are cut into them with scissors or a cutter. Each of them contains light bulbs connected by batteries and equipped with power buttons.
To install a traffic light near an intersection, mount it on a portable PVC pipe. Cover the windows with colored glass or film. Bring the control device into operation by pressing the desired button.
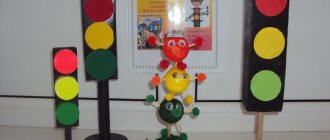
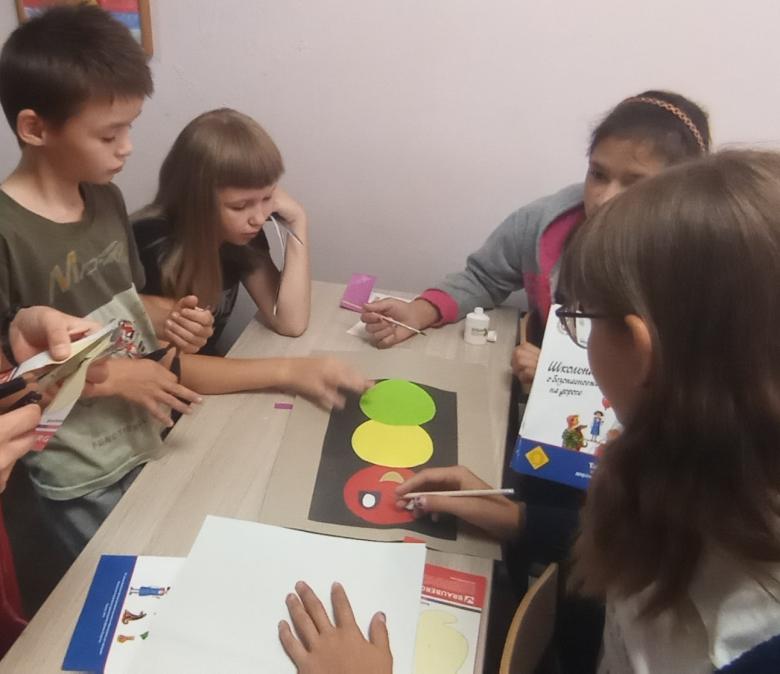
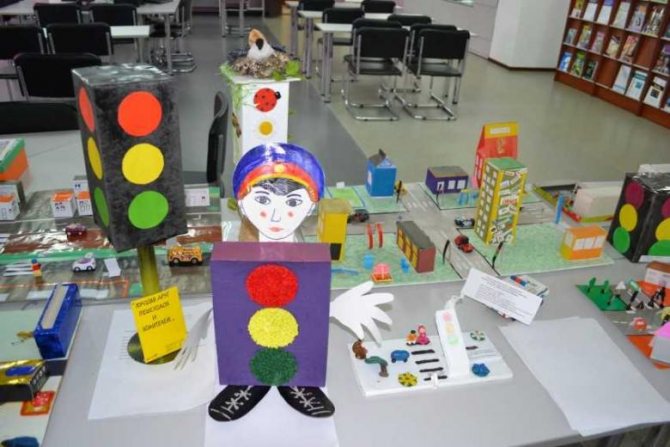
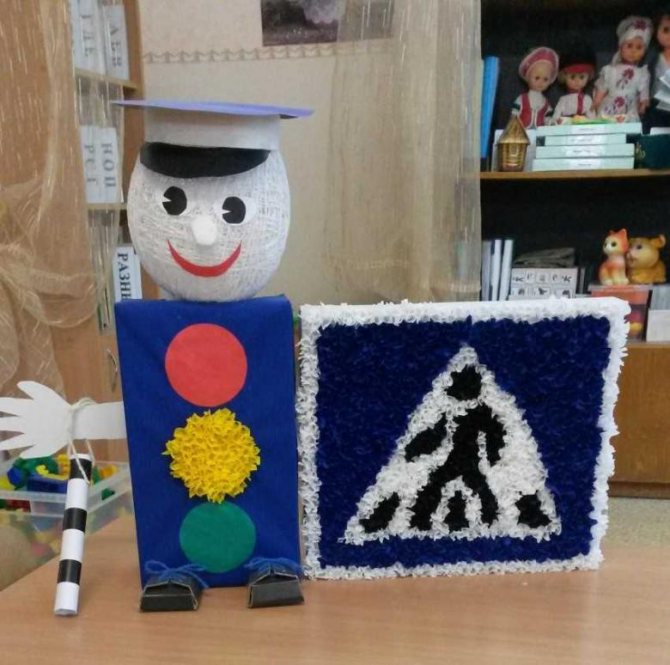
Making a paper traffic light
A very simple but interesting craft made using the appliqué technique. The shape of the traffic light is created from black cardboard. Three white circles are glued to one side. Colored signals in the form of dog faces will be created from red, yellow and green paper.
Cut out a square of paper and fold it diagonally. Fold in half again. Bend the upper corners of the resulting triangle down so that the ears are drawn. They can be long or short. For each muzzle, cut out circles for eyes from white paper.
Draw eyebrows and smiles according to the color of the traffic light. Red, yellow or green smiles should be appropriate.
Instead of cardboard, you can use packaging made from natural juice or milk, covering it with black paper.
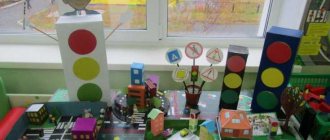
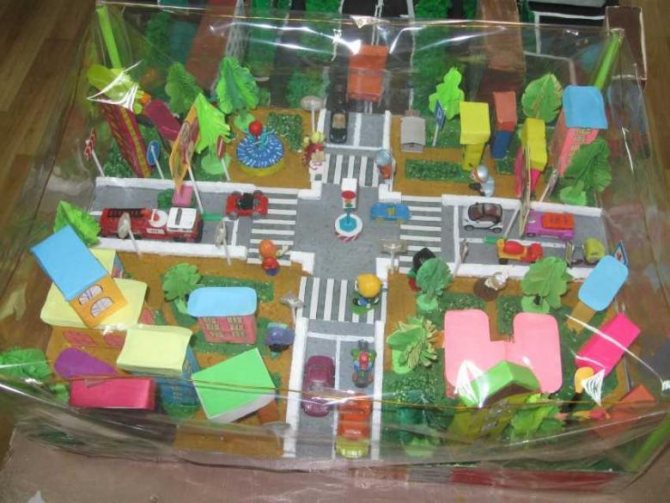
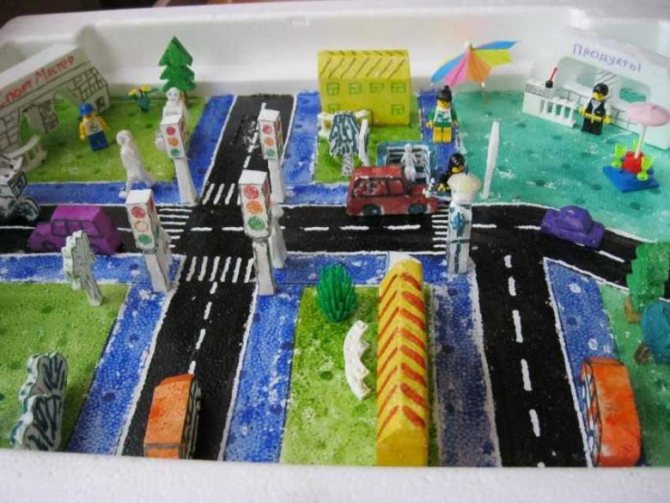
We create a mini-city for studying traffic rules
The layout has a complex design. It will turn out large and voluminous, but its creation will require few materials. This craft on the topic of traffic rules will be a good teaching material. The mini-city is made from cardboard and colored paper using watercolor paints, brushes, scissors and glue.
Technique for making a city model
- Prepare cardboard boxes of different sizes. Cover them with colored paper and decorate them with windows cut out of plain white paper.
- Cut off the top of a large box and decorate its bottom according to the plan of the future city.
- If the project includes a river, paint it blue or cyan.
- Paint the road black and apply white markings.
- Cut out circles from cardboard and draw traffic signs on them. To install next to the road, glue it to a wire stand.
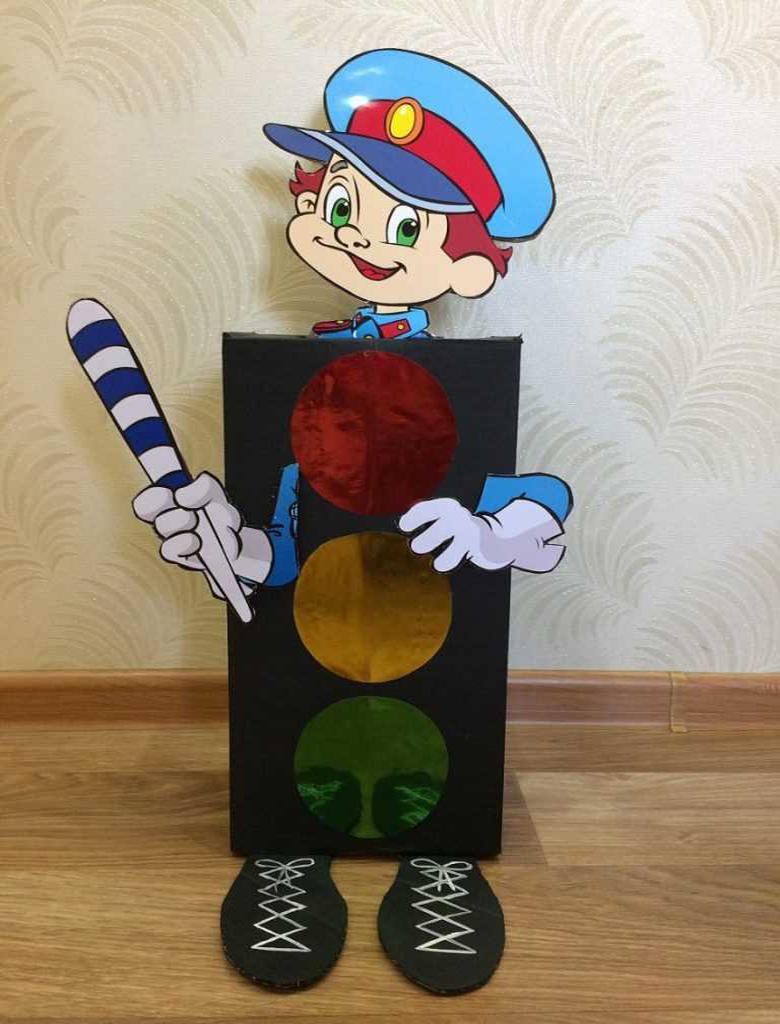
- A traffic light is created from a cardboard rectangle onto which colored circles are glued: red, yellow and green.
- You can stretch a wire across the road to serve as a wire for suspended traffic lights. Its ends are glued on top of the houses.
- Make trees, shrubs and flowers from plasticine. Create additional elements: benches in the courtyards, a bridge across the river, a fountain.
This craft will help you not only learn safety rules, but also colors. To make the layout more realistic, use Lego figures and toy car models.
Public or specialized transport can be created from matchboxes with colored paper glued to them. Instead of headlights, small buttons are glued to the boxes.
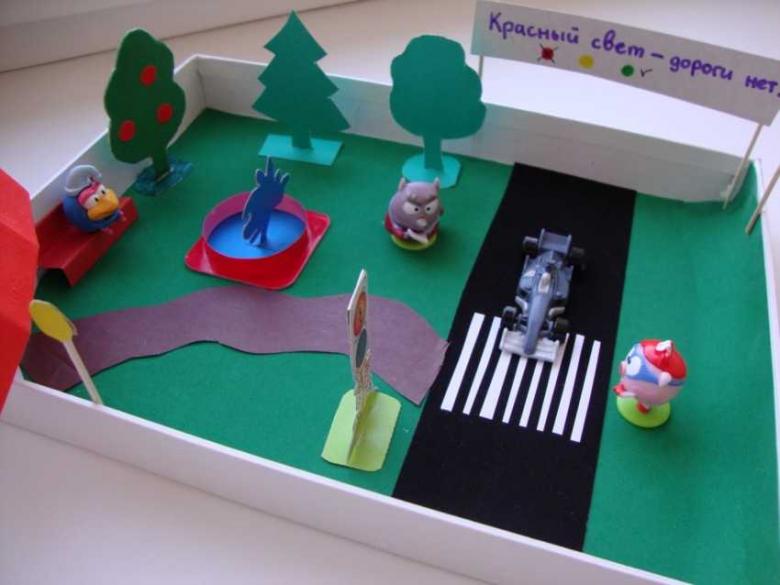
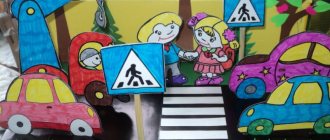
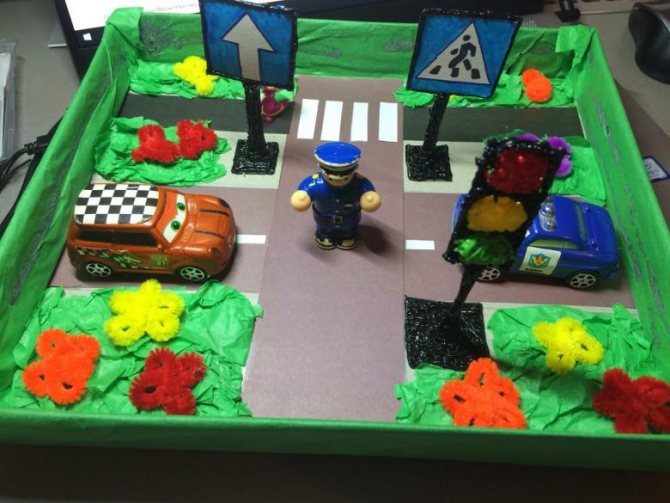
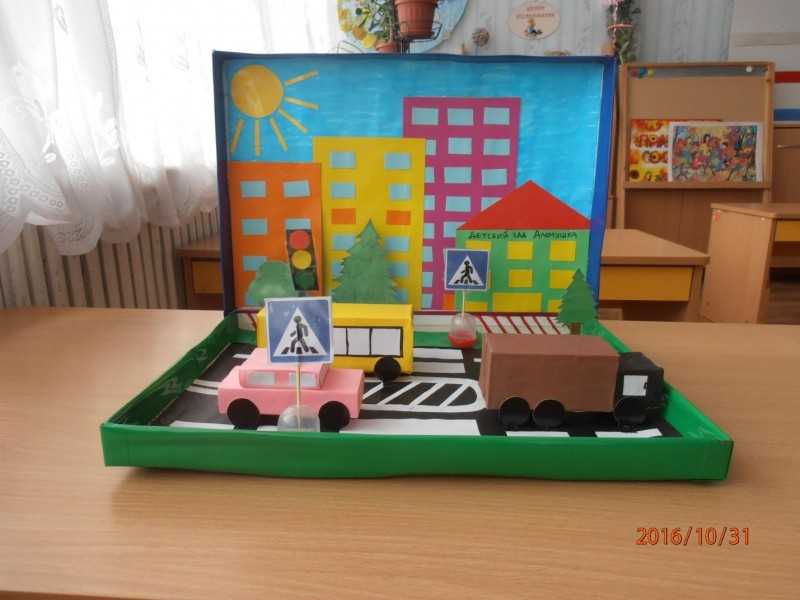
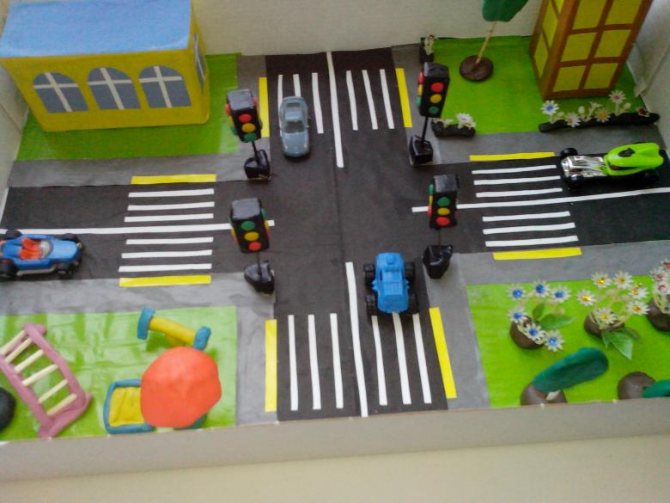
City layout for the game
Instead of a big city, you can create a small structure for playing traffic rules, which is suitable for preschool children:
- Cut a playing field out of a large cardboard box, place houses and signs on it, and crosswalks across the road.
- Come up with an interesting task for the pedestrian.
- You can use Kinder figures as characters.
- Cut and glue the game cube, placing the required number of dots from one to six on each side.
Have a nice trip and enjoy your time!
Techniques used in work
- Images created using various paints, pencils, pens, felt-tip pens.
- Applications made of cardboard, woven materials, plastics, paper.
- A collage using applications with hand-drawn, molded elements, origami, surrounding everyday details, photographs and other things.
- Layout, that is, the creation of volumetric elements.
- The use of fabrics, threads, embroidery, knitting and other techniques.
To make crafts dedicated to traffic rules, almost all available materials are used: plastic, plywood, cardboard, textiles, old toys, branches, fruits and things intended to be thrown away. The choice of material mainly depends on the age of the child, and should correspond to his interests.
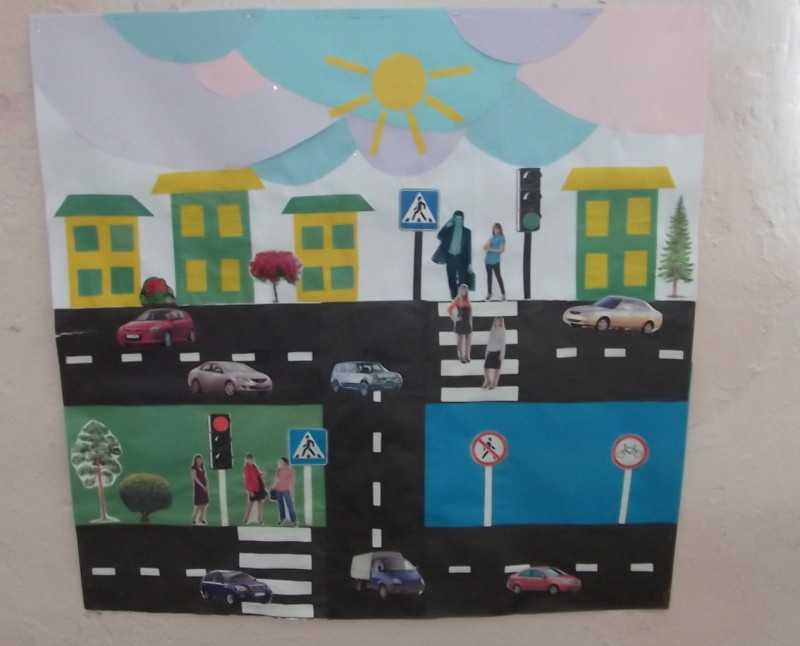
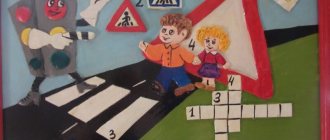
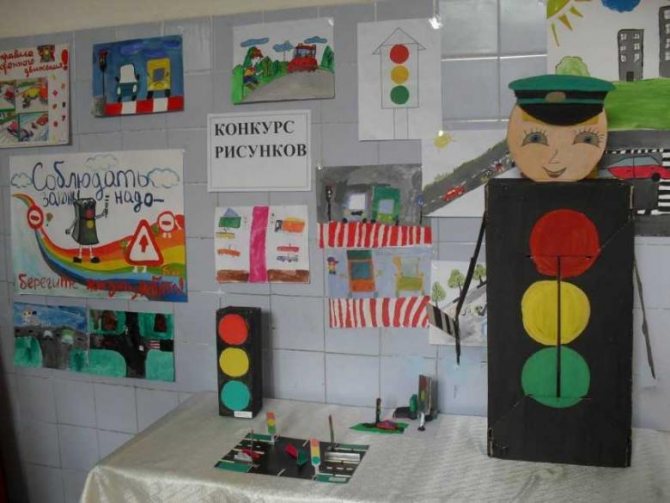
Wall newspaper
The wall newspaper helps to consolidate the acquired knowledge and will serve as an excellent craft on the topic of road safety. For young intellectuals, it can be designed as a crossword puzzle or a tea puzzle. It can be filled with information about traffic rules competitions or the intricacies of the work of a guard at an intersection.
Master class on making wall newspapers
- Take whatman paper in A1 format and measure its length and width.
- Prepare the plywood and cut it to size, then mount it to the wall.
- On whatman paper, mark places for the main heading, thematic sections and articles.
- Fill the wall newspaper with the necessary material using paints, brushes, markers and pencils.
- Take the buttons and attach the wall newspaper to the plywood.
Our didactic material on the topic of road safety is ready. Teaching staff can be offered to hold a competition to create wall newspapers between school classes. A stand with a colorfully decorated wall newspaper is perfect for a themed event.
Road signs for games in the yard
You will need to take white plastic and cut it into the shape of a road sign: round, square or triangular. It is advisable to find an image of the sign on the Internet and print it out. After this, the picture should be transferred to self-adhesive paper, from which a stencil will be created.

Cut out areas that require painting. Glue the rest of the part onto the plastic. Paint the cut out areas with acrylic paint, forming central elements from it. Let the paint dry completely, then remove the stencil.

To disguise the plastic cut, attach a plastic profile to the edges of the sign. It will form a neat white border.
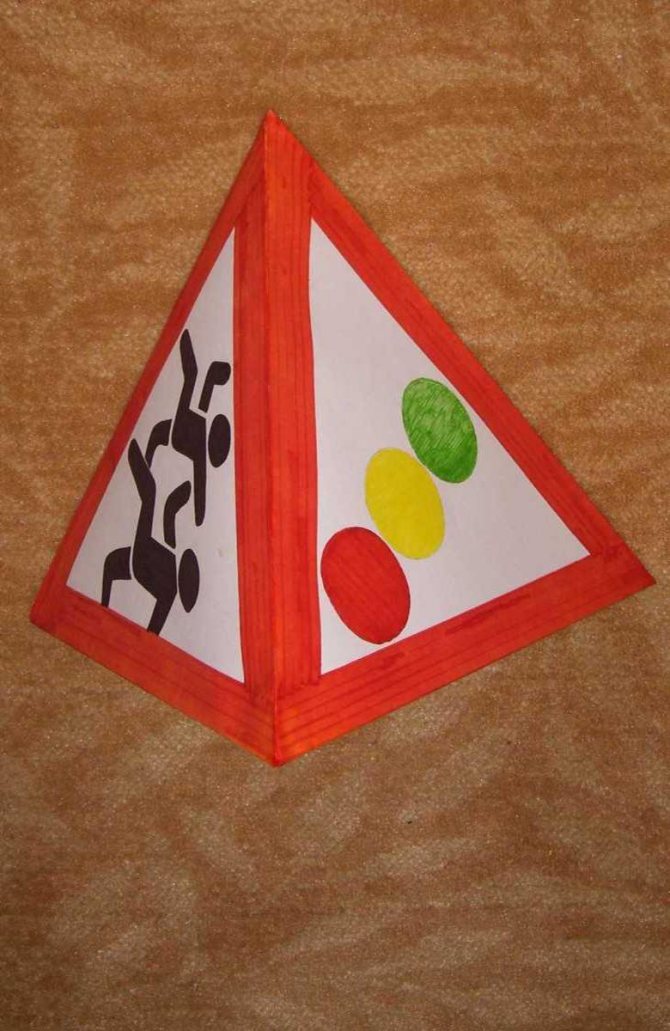
Secure the workpiece to a wooden strip with a cross fixed at the bottom.
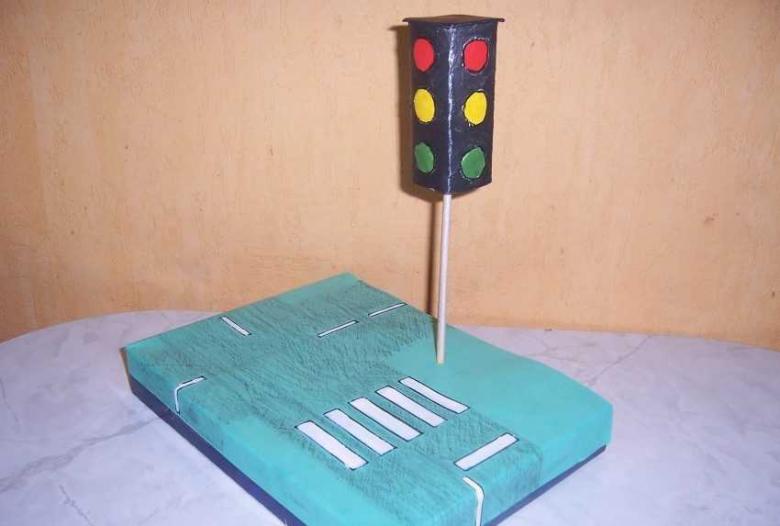
Intersection model
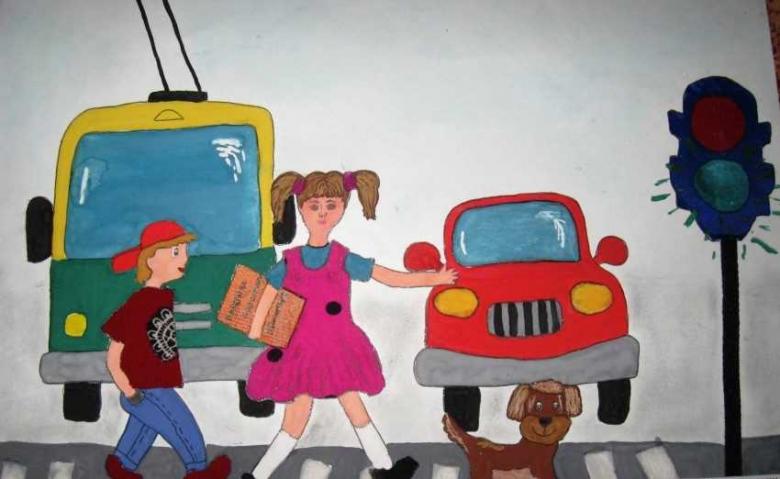
The main task facing teachers, parents and educators in teaching traffic rules is to create the skill of safe behavior in the road infrastructure. To do this, we use crafts on the topic “Transition”. This is a traffic light, a pedestrian crossing and a themed road sign.
You can make a model of an intersection on the territory of a school, yard or kindergarten. We are looking for a flat, straight surface (so that water does not accumulate in puddles there). Using a tape measure and chalk, we mark the places where traffic lights are installed and where the pedestrian crossing intersects with the improvised roadway. Using a meter and chalk we draw a pedestrian crossing. Then, using acrylic paint, we draw curbs and a pedestrian crossing from top to bottom. We remember that there should be a traffic light at each corner of the intersection.
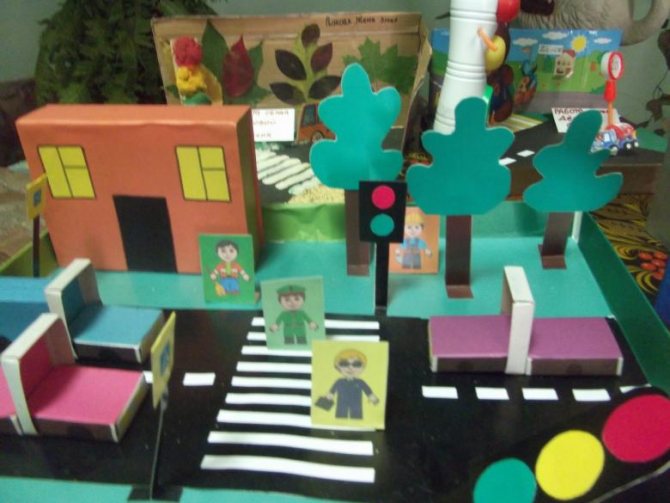
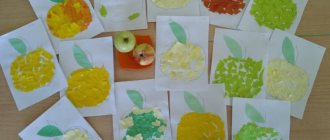
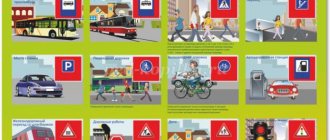
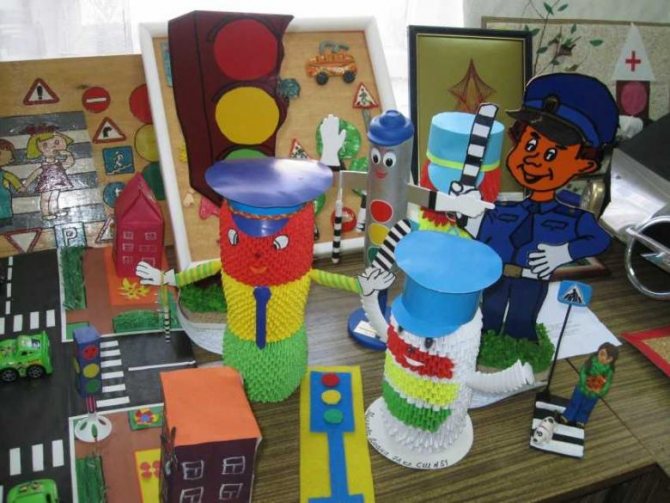
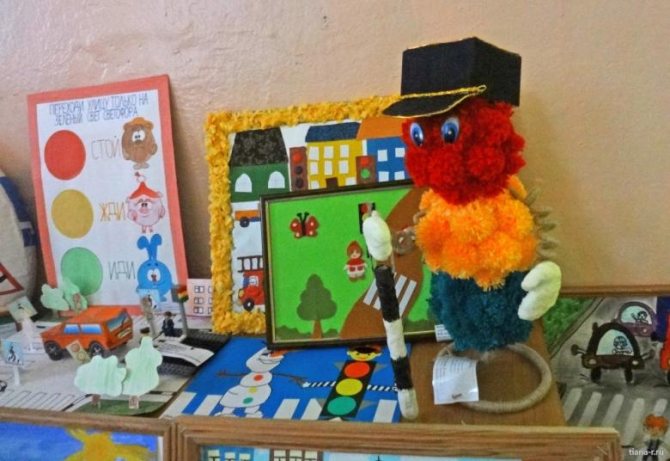
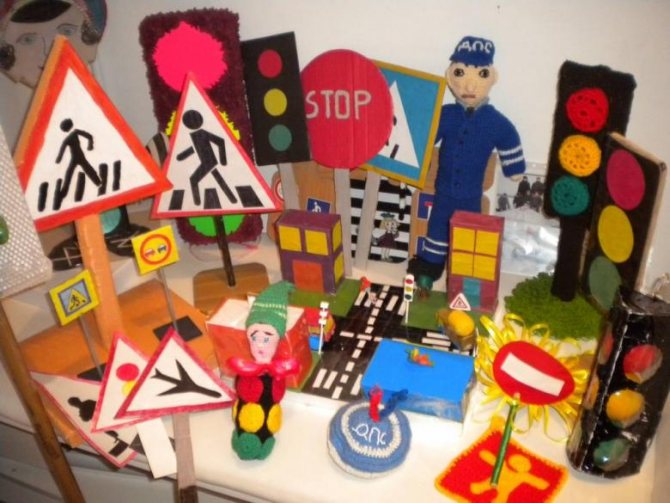
Photo ideas on the topic of traffic rules
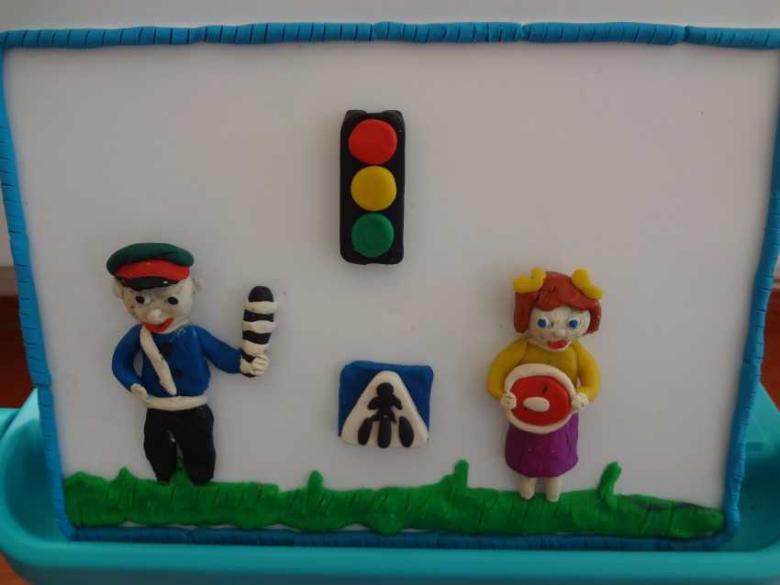
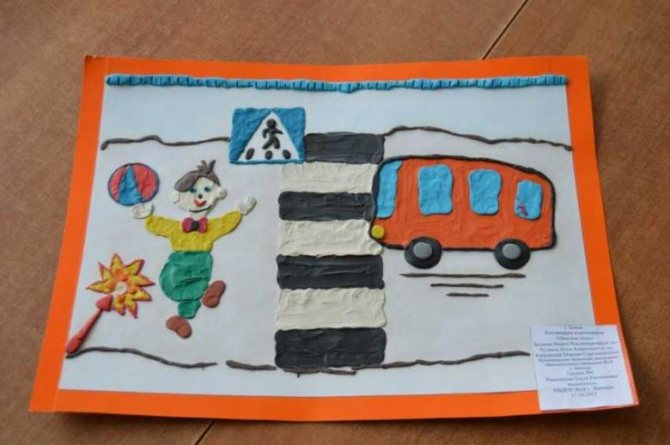
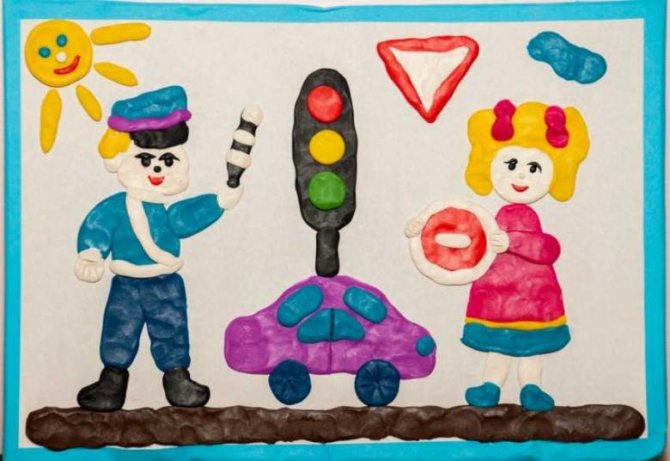
The photo of the crafts shows other interesting ideas on the topic of traffic. There are options made entirely from plasticine or textiles. The photographs show different ideas made from plastic and other materials. For example, a children's backpack can be decorated with a decorative element in the form of a traffic light woven from beads.
Stand
The child must cut out road signs and glue them onto a large thick sheet of paper. During this work, he must remember the names and meanings of the signs.