The traffic light craft is interesting for children not only because you can make an interesting toy with your own hands, but also in the process of working, learn how to cross the road correctly.
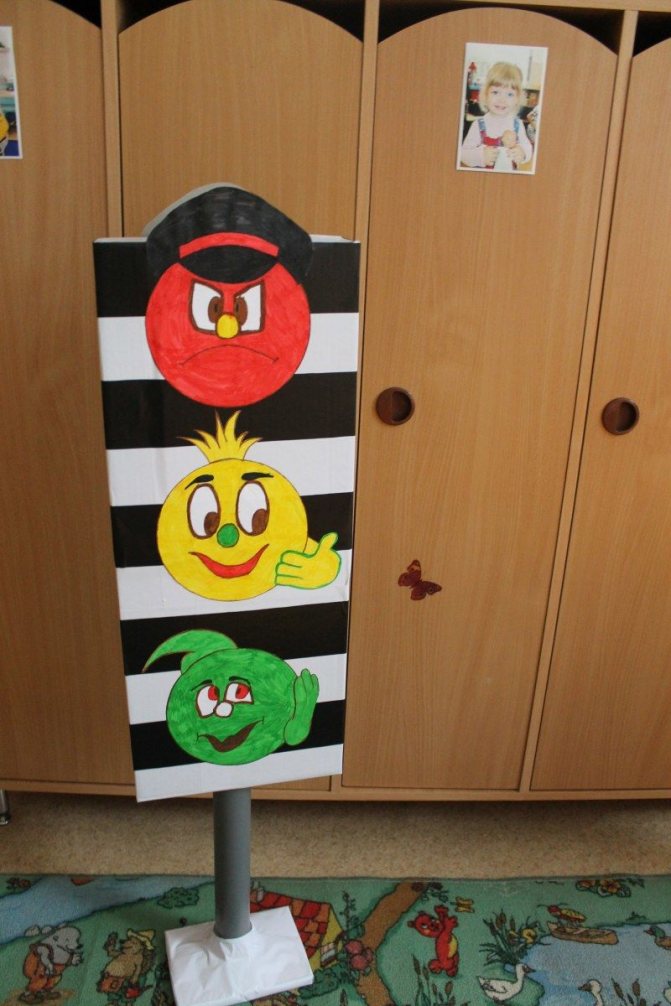
Traffic lights are an integral part of life in modern cities. The more familiar a child is with the rules for crossing the roadway, the safer his path. Therefore, making a traffic light will help you remember the color you can cross the road with.
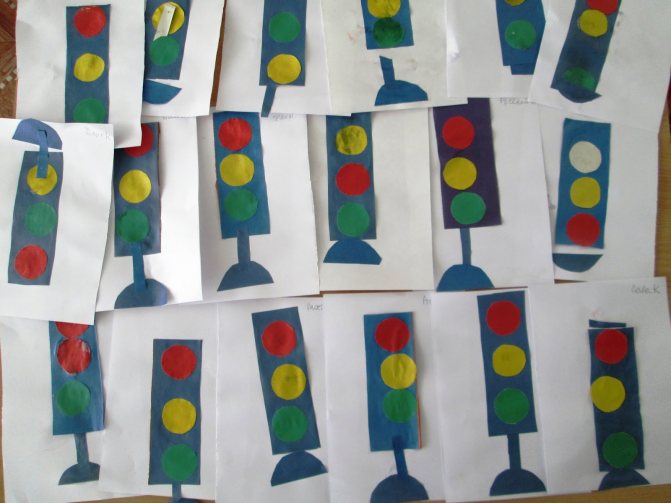
Paper applique
Everyone has such a material as paper in their home. Therefore, making our Traffic Light will not be difficult.
What we need:
- Sheet of cardboard
- Colored paper
- PVA glue
- Scissors
- Stationery knife
- Scotch
- Gouache
- Brushes
- Sippy cup and water
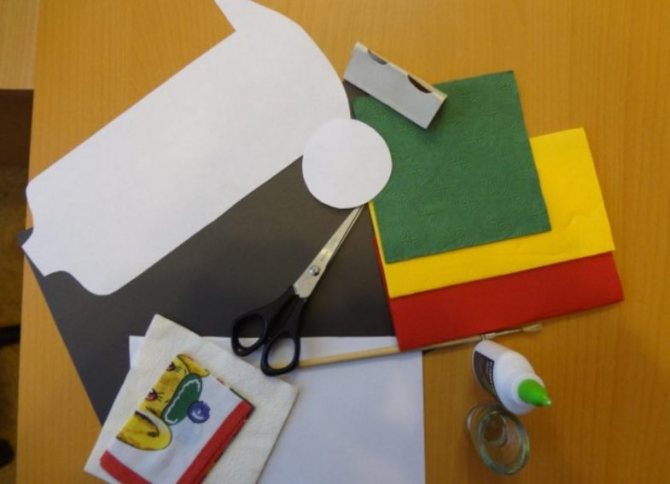
So, let's get started:
- First we need to take a sheet of cardboard, it should be rectangular in shape.
- Dip the brush into water and then into black paint and decorate our cardboard.
- While the sheet dries, let's work on colored paper. We need certain colors: red, yellow and green. It is these flowers that our craft consists of.
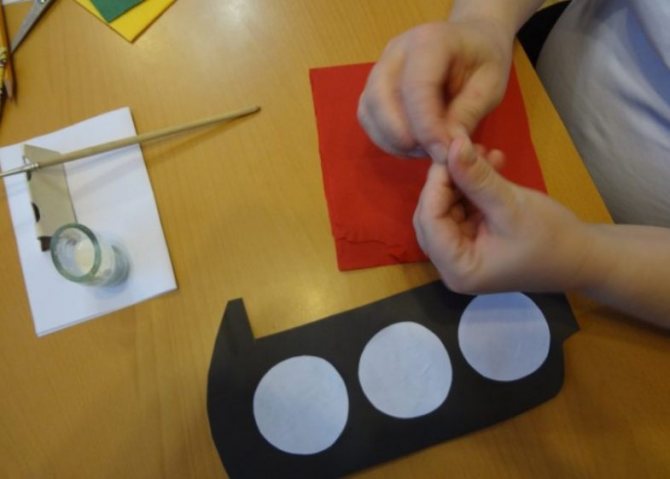
- Take scissors and cut out circles. To make them even, you can use a compass or use improvised objects.
- This could be a glass or mug.
- You can add originality to our traffic lights and cut them into different shapes, so that you can then glue them onto our signal circles.
- They can be in the shape of hearts or small flats with which you can decorate everything.
- You can use glitter or eggshells this way. It all depends on your imagination and the imagination of your child. As shown below in the picture.
- In the meantime, the cardboard has dried and we can connect all our parts.
- You need to make marks on the cardboard so that the circles are glued at the same distance from each other.
- Then we smear the colored circles with glue and carefully glue them each into place.
- There is red at the very top, yellow in the middle, and green at the bottom. We wait. Let it dry. And look what we got.
Plasticine traffic light
What child doesn’t like to stretch their hands with plasticine? But don’t just stretch it, create something. In this case we will make a traffic light. For this we need:
- Plasticine
- Chupa Chups stick
- Pen refill

Progress:
- First we need to make the body of our road assistant.
- Let's take a piece of black plasticine and knead it thoroughly, giving it the shape of a rectangle.
- Next you will need to use red, yellow and green plasticine. From these pieces you need to roll into small circles.
- Then, carefully take them with your fingers and flatten them a little.
- And at the end we assemble the traffic light craft. Glue the circles to our body.
- A traffic light, as everyone knows, is mounted on a pole; you can use a candy stick or a pen rod as a pole.
- The fake is ready.
What might you need?
- Ready to use table
- Scissors,
- Glue,
- Paints,
- Plasticine,
- Additional materials.
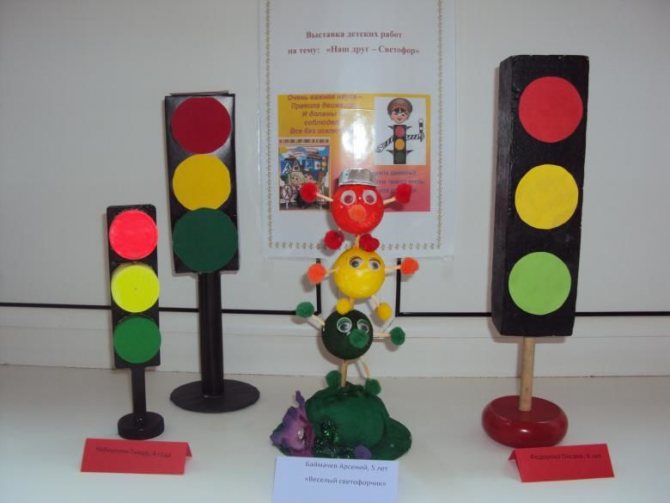
As a rule, DIY traffic light crafts for children become one of their favorites.
There are absolutely no restrictions on your imagination, since a traffic light can be made from almost anything. The main thing is to maintain the correctness of the colors, but even here sometimes you can give free rein to little authors.

Edible traffic light
Well, everything here is generally very simple. All children love sweets. And here, when making crafts, they can not only enjoy themselves, but will also forever remember the role a traffic light plays in traffic.
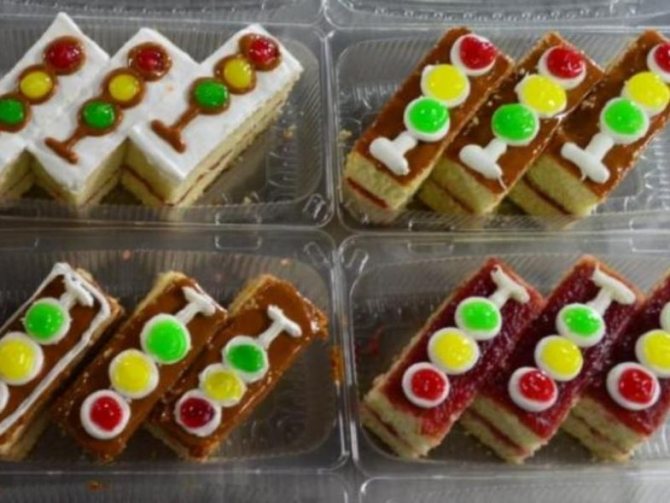
- For the base we need a wafer or cookie. Make a rectangular shape and fill it with chocolate.
- Then add red, yellow and green caramels. You can use M&Ms.
That's all! Looks very tasty.
Goals and objectives of the application
This type of application pursues several goals and objectives.
The main goals are to teach children how to cut out and create crafts, as well as learn how a traffic light works. When cutting, children will be able to learn how to make rounded elements and develop skills in using scissors. On the topic of traffic rules, children will consolidate their knowledge of the color designations of traffic lights, they will know their location and the basic rules of the road.
Application "Traffic light"
The main task is to develop a child’s interest in learning and complete the craft independently, following the sequence of actions and using different types of materials.
For your information! When studying, the game form of the process provides the greatest productivity.
The Federal State Educational Standard supports didactic games for preschool children, so the “Traffic Light” application in the middle group is included in the annual program.
Where to start
It is important to create a scenario that involves you in the creative process, and then working together will become useful and educational. Gradually, the child will remember the norms and realize that:
- At the “Pedestrian crossing” arrow, you must not let your guard down;
- First you need to make sure that all transport has stopped;
- when walking, look to the left, and when you reach the middle, look to the right;
- It is forbidden to play near the road, even if it is in the yard.
Techniques used in work
- Images created using various paints, pencils, pens, felt-tip pens.
- Applications made of cardboard, woven materials, plastics, paper.
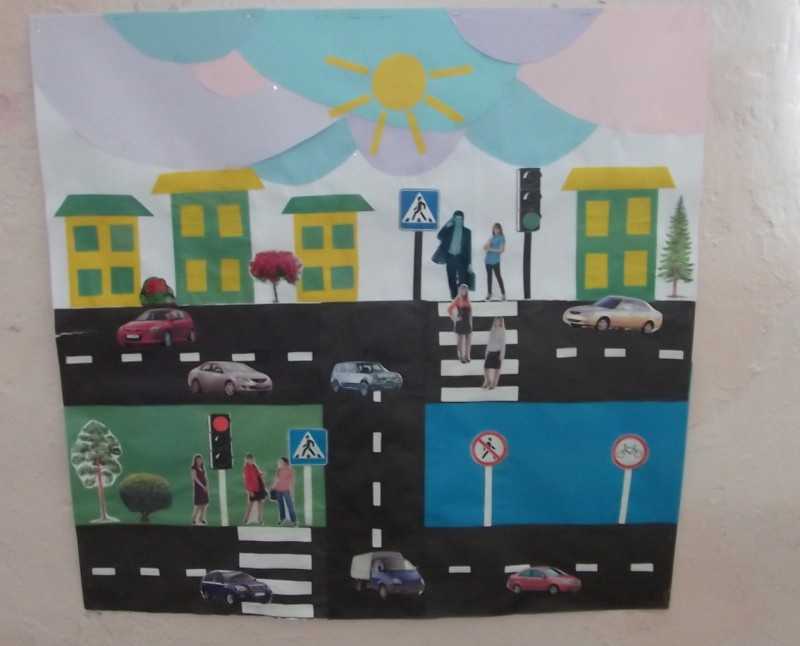
- A collage using applications with hand-drawn, molded elements, origami, surrounding everyday details, photographs and other things.
- Layout, that is, the creation of volumetric elements.
- The use of fabrics, threads, embroidery, knitting and other techniques.

To make crafts dedicated to traffic rules, almost all available materials are used: plastic, plywood, cardboard, textiles, old toys, branches, fruits and things intended to be thrown away. The choice of material mainly depends on the age of the child, and should correspond to his interests.
Traffic light from a plastic bottle
This fabulous option is very easy. Let's turn on our imagination. We will need:
- Plastic bottle
- Brushes and paints (preferably gouache)
- Colored paper
- PVA glue
- Scissors

Work progress:
- We choose a plastic bottle, it is better to take the one with a longer neck.
- We paint it a neutral color (meaning not red, not yellow, not green). Let it dry.
- Next, we cut out circles from colored paper for the traffic light itself and details for our fairy-tale character. These are eyes, mouth, nose, ears, hands.
- The bottle is dry. Carefully glue the finished parts and, of course, the circles, making sure that the distance between them is the same.
- But our hero cannot be without hair! We also make hair from paper. Cut into thin strips and twist with scissors.
- We also make the cap out of paper. And look what happened. To fully complete our hero, we will add a rod or a road sign to the handles.
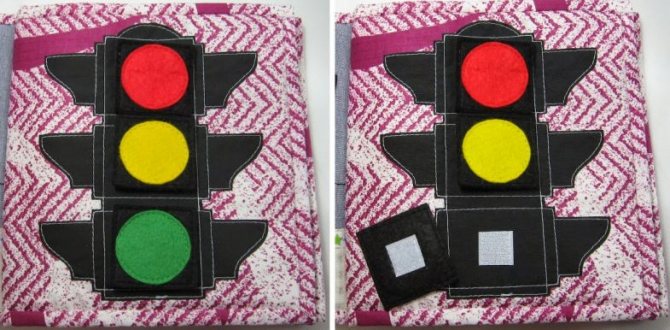
Fabric craft
This version of the traffic light is more suitable for girls and real needlewomen. A sewn fake can also serve as an educational toy if the circles are made with Velcro.
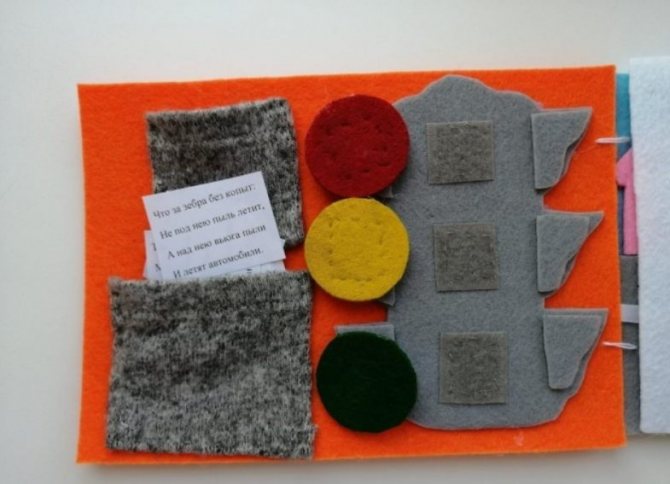
So, let's begin:
- You need to take rectangular pieces of black fabric and lay a small layer of foam rubber between them. Sew it together.
- Next, cut out circles from felt (red, yellow, green). We sew them along the edges. You need to sew one part of the Velcro to the traffic light body itself, and the second part directly to the circles.
- For a more interesting design, you can make a fabric lid on top. Having previously divided it into three parts. Thus, each color will be opened separately, or all at once. The fabric craft is ready.
Themed traffic light
We all love balloons, but kids especially. Our traffic light is made from these and can be used as an educational game.

Any child will love a party dedicated to Traffic Rules.
For production we need:
- Airy small black balls
- Balls with more signal colors
- A thread
- Rack
Work progress:
- The stand can be made from long balloons.
- First, we inflate black balloons and tie them to our finished stand. We try to give it a rectangular shape. We tie red, yellow and green balls in the middle in the correct order.
- The airy structure can also be decorated with balloons in the shape of cars or road signs, which correspond to our themed party.
Complex crafts
Work on the “Underground pedestrian crossing” sign can be divided into the following steps:
- A rectangle is cut out of plastic.
- You should find an image of the sign on the Internet and then print it to the required scale.
- After printing, the design is copied onto self-adhesive paper.
- The areas that need painting are cut out in it, and then it is glued onto a plastic base.
- The cut out areas are painted with acrylic paint of the desired color.
- After drying, the self-adhesive paper is removed.
- A plastic profile is attached to the outer border of the sign.
- A wooden or plastic strip is attached to the sign. A cross should be installed at the bottom.
Sources
- https://vospitanie.guru/doshkolniki/applikatsii-v-vide-svetofora-v-srednih-gruppah-dou-tvorchestvo-na-temu
- https://podelki.pro/podelki-dorozhnoe-dvizhenie/
- https://vsepodelki.guru/podelka-dorozhnoe-dvizhenie/
- https://ped-kopilka.ru/blogs/tatjana-anatolevna-shilkina/aplikacija-svetofor-iz-podruchnyh-materialov-dlja-detei-ot-5-let-master-klas-s-poshagovym-foto.html
- https://Razvivashka.online/tvorchestvo/podelki-pdd-v-sadik
- https://svoimirykami.guru/podelki-na-temu-pdd/
- https://gidrukodeliya.ru/podelki-dorozhnoe-dvizhenie
- https://dnevnikmastera.ru/podelki-na-temu-dorozhnogo-dvizheniya
- https://rukodelie.expert/podelki-na-temu-pdd/
- https://podelkiexpert.ru/podelki-na-temu-dorozhnogo-dvizheniya/
[collapse]
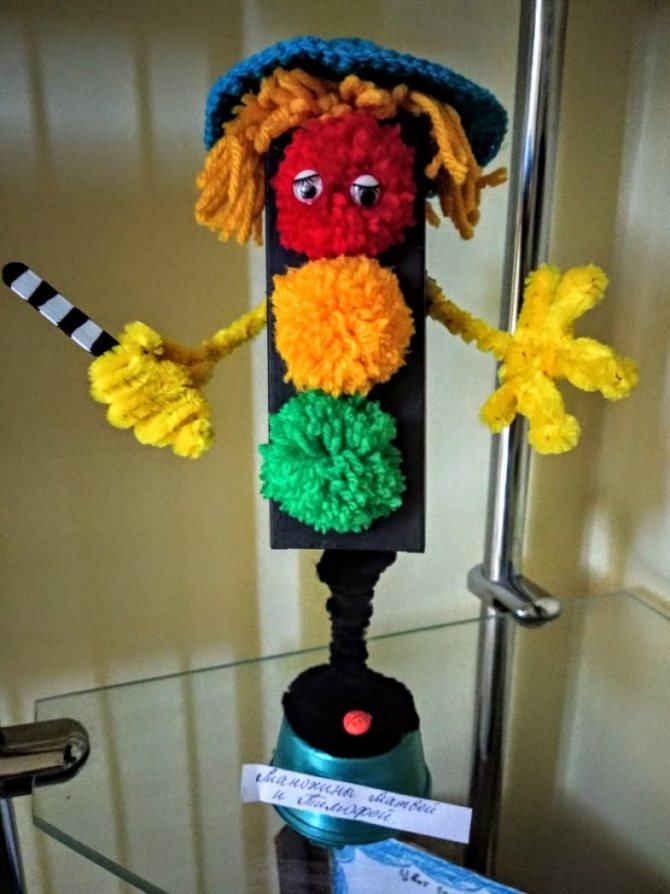
Traffic light from packages
The option is a little more complicated, but quite interesting.
Required:
- Bags (can be trash or cellophane)
- Scissors
- Plastic cover
- A thread
Progress:
- You need to fold the bags into an even stack, carefully cut off the bottom and top from them to get even rectangles. Cut them into even strips.
- Next, take a plastic lid and cut out two rings from it. We put them next to each other and wrap the polo with nets. Then we cut everything along the outer edge, push the rings apart and tie the pom-poms with thread. Trim the edges to make the pompoms even.
- We should end up with three pompoms of different colors. You need to connect them together with a thread. And our traffic light is ready.
- Very funny crafts can also be made from disks; you can crochet a traffic light, or you can simply make one from balls of thread. Much depends on your imagination, and there will always be enough available means.
Soft road signs
Original products are sewn from felt of different colors. Bright and soft to the touch road signs will definitely please your baby. For them, the material of the required colors is selected, the products are filled with padding polyester. Such a craft of traffic rules for kindergarten will not go unnoticed at the competition. You can make several of these toys to use in class.
Another option would be to create soft cubes. Road signs are sewn onto their edges. The child will soon begin to recognize such signs on the way to kindergarten or school. He will look at them with interest and remember them, which will definitely be useful to him in the future.