Applique is an activity that promotes the all-round development of a child, and paper cut-out applique is one of the areas of creativity. Not only children, but also adults can work in this technique using various templates. Preschoolers and schoolchildren will find this application especially interesting. It will contribute to the development of fine motor skills, which is important for those who are just getting ready or starting to go to school.
Bunny made of paper
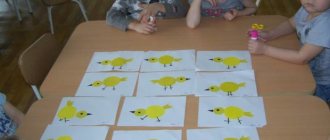
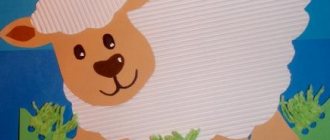
To create such a craft, pre-prepared templates with images of animals are perfect. In the photo of the broken appliqué you can see a bunny; thanks to the use of this technique, an interesting texture is created, the character looks more voluminous.
To create beautiful crafts, you can take templates by cutting them out of magazines, old coloring books, or print them from the Internet. You can also draw the figure yourself on paper or cardboard.
Crafts technique:
- Tear off the paper strips and then finely tear them into pieces.
- Glue these elements like a mosaic onto a pre-printed or drawn image.
- Try to make small distances between the pieces so that they do not overlap each other.
- The nose and eyes can also be torn from dark-colored paper or drawn on.
- Makes a great craft!
Examples of finished works
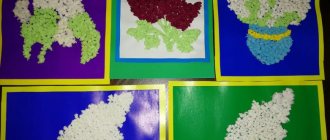
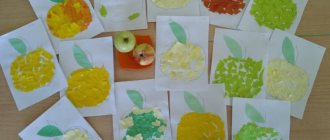
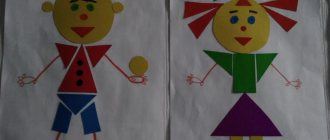
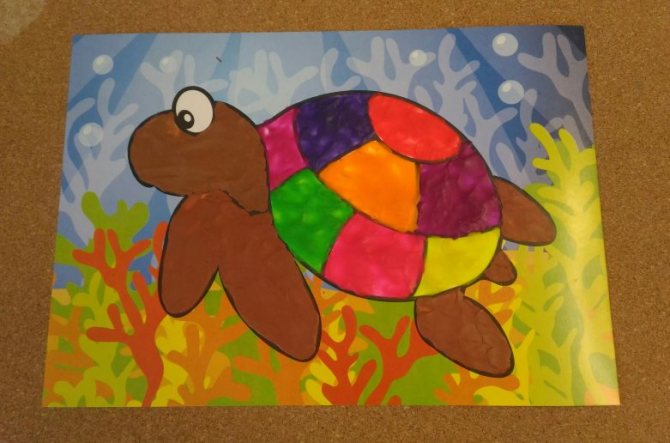
The finished cut-out appliqué looks very much like a mosaic, especially if there is little space left between the pieces of paper. Here are examples of such applications:
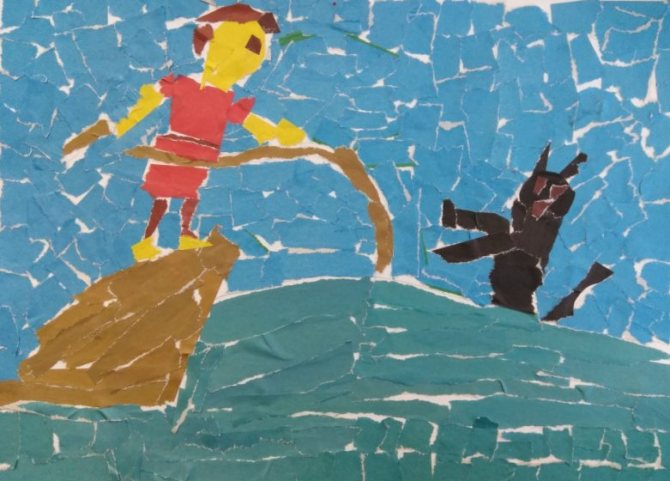
For older children or schoolchildren, you can choose more serious subjects. In Ancient History lessons, the teacher may well suggest making Egyptian frescoes out of paper!
In general, cut-out applique as a type of children's creativity is quite suitable for kindergartens, aesthetic centers, and lower grades of school.
An alternative material for making cut-out appliqué can be multi-colored double-sided tape or adhesive-backed note paper. Scotch tape, of course, is a more expensive method, but the baby will not need to get dirty with glue. Simply tear off a piece, remove the base and stick it on paper. Ideal for kindergarten!
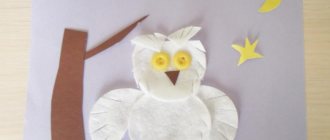
Snowman
Prepare a sheet of white paper and draw snowdrifts on it.
- Tear them off with your hands, following the drawn line.
- Now cut it into two parts.
- Blue or light blue cardboard will play the role of a background; stick snowdrifts on it.
- Attach different parts on top of each other to make the result look more realistic.
- Make templates with snowman parts from white paper.
- Carefully tear off the blanks along the pencil outline.
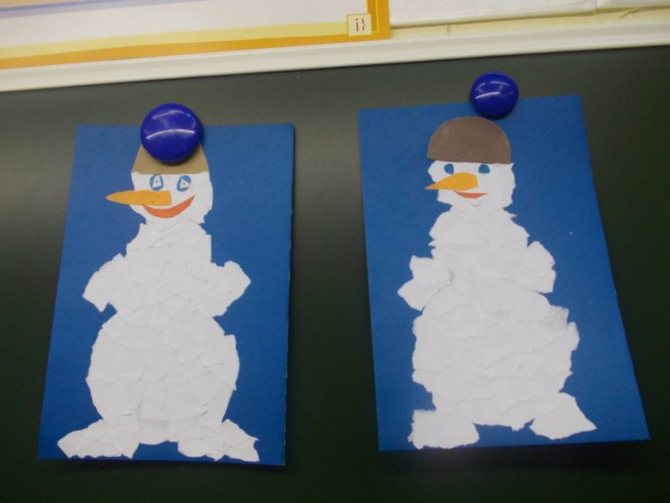
- You can glue the resulting circles to make a snowman; try to put the bottom border on the snowdrift to “put” the snowman on the snow.
- Cut out a headdress for a snowman from colored paper, buttons and parts of the face can be drawn with felt-tip pens.
- Decorate the craft further as you wish.
Other application options
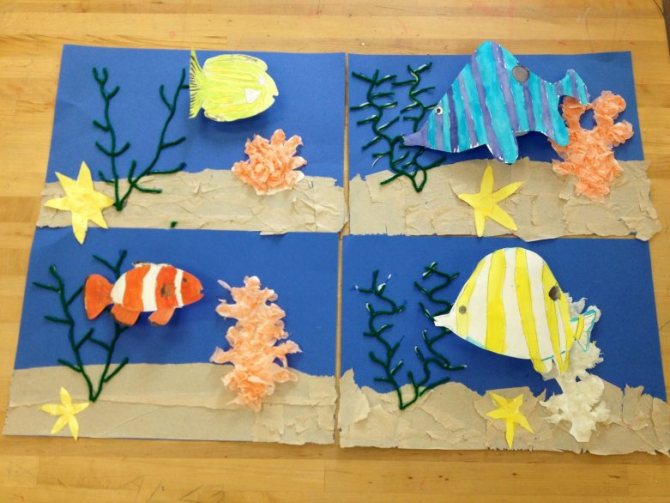
You can create entire paintings using the cut appliqué technique. This technique is perfect for children in the preparatory group of kindergarten.
You can tear off pieces, cut them and arrange them randomly. You can also beautifully outline the contours with markers or felt-tip pens and design an applique inside the image.
What does this type of activity provide?
Those parents who consider cut-off appliqué useless for the baby are far from right. Although there is no work with scissors, cut appliqué is indispensable for the formation of creative thinking. The child learns to place the drawing on the picture, to see what color the outline should be painted over.
At the same time, you shouldn’t let your toddler’s creativity run its course. He must understand that the colors in the picture must be close to reality, and that the gluing must be done carefully and evenly. These factors discipline the process of fantasy and thinking. At the very beginning, an adult should act as an organizer of the technical side of working with the application. And only when the preparatory stage is completed, you can start working!
Using napkins for applique
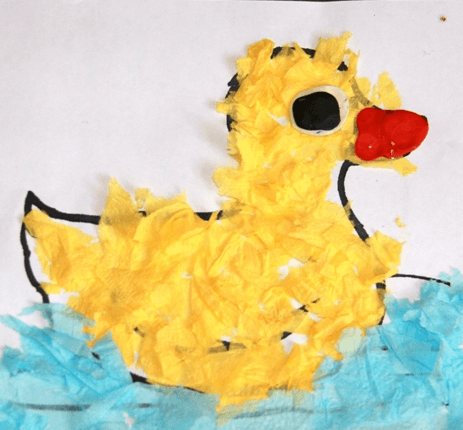
If you tear a napkin into small pieces and stick it on, you will create a volume effect and the craft will turn out airy.
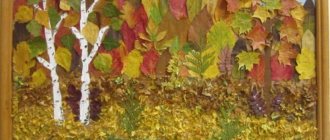
If you are doing a craft with the image of trees, the trunks are cut out or drawn, and the leaves will be light, made from napkins. Pieces of napkins can also be rolled into balls.
Tear technique from napkins
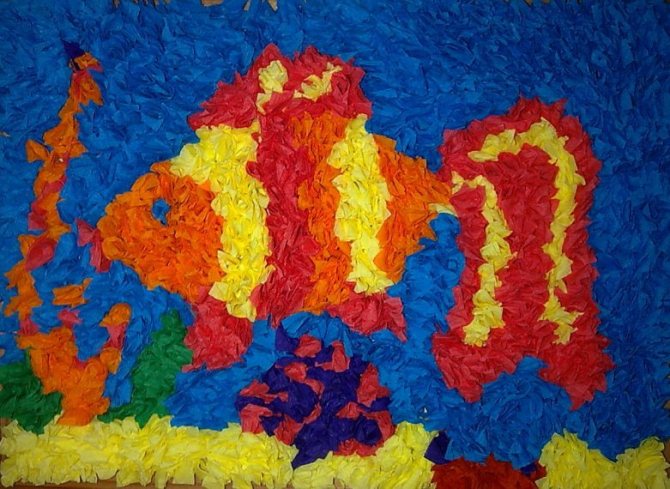
Multi-colored napkins that tear into pieces will give the applique airiness and lightness.
Trees also come out wonderfully; the trunk is made as desired: cut out, drawn or torn: But the most beautiful thing is when you roll torn strips of napkins into arbitrary balls.
Application using cotton wool
- You will need a piece of cotton wool or cotton pads.
- You can give the children the task of tearing the cotton wool into small pieces.
- Draw images on a piece of cardboard.
- Pre-paint the cardboard or take a colored sheet.
- Decorate the background by gluing pieces of colored paper or painting it.
- Lay out and glue pieces of cotton wool inside the outlines drawn in pencil.
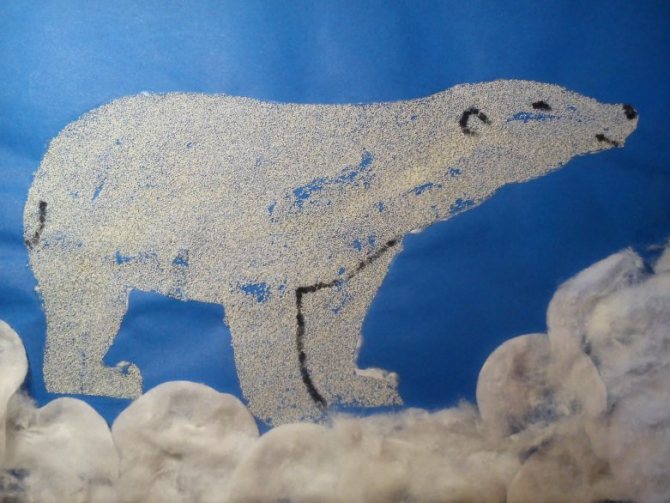
Using this technique, you can also create more complex images, where all the details of the composition, even the smallest ones, are made of cotton wool.
Rainbow
The rainbow mosaic, assembled from small parts, looks original. Its creation will require attention and accuracy from the young master.
Operating procedure.
- You need to draw a rainbow on the base.
- Tear the seven-color sheets into pieces.
- Constantly attack them at the base.
Applique tree
In order to make such a magical tree, prepare colored paper, a glue stick or PVA glue and cardboard or a sheet of thick paper.
- To begin, draw the trunk and branches of a tree on a sheet of paper and color them; you can print the finished image from the Internet or trace it using a template.
- Now tear off small pieces of colored paper and glue them in the form of leaves.
- You can use various shades of paper - your tree can turn out to be both autumn and magical.
- The applique will look neater if the pieces of paper are the same.
- You can apply glue to the sheet of paper itself so that you don't have to apply colored paper to each piece.
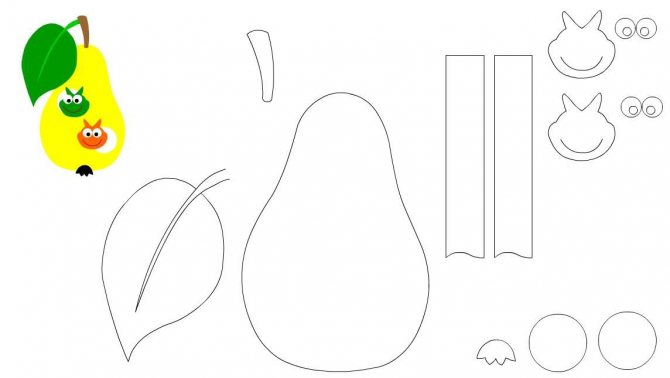
Templates
Templates for applications can be taken from anywhere. You can print them on our website, use your child’s old coloring books, or draw them yourself. Children can become the creators of such patterns themselves. Tearing paper for a picture is also not difficult: the main thing is to convince the child that this needs to be done carefully.
Cutting appliqué can play an important role in the development of a child’s fine motor skills if the baby is just learning to cut with scissors. He only recently picked them up and so far he only cuts any paper into small pieces. Take advantage of these moments. Offer to make a picture from cut-up colored paper. The baby will definitely be interested!
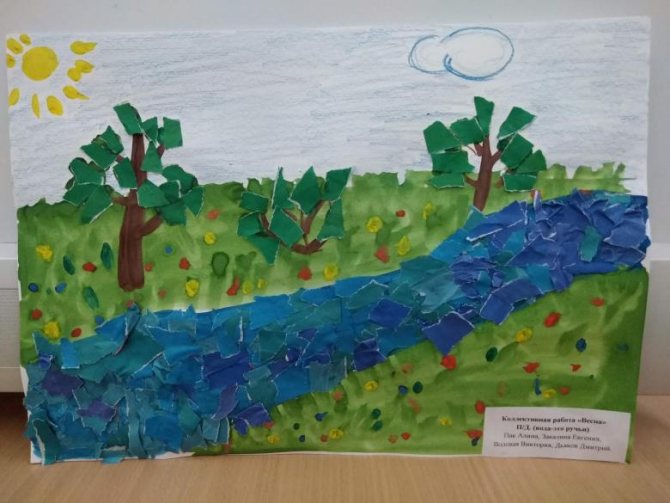
Landscape made of paper
In order to create an entire landscape using the cut-out appliqué technique, you will need several sheets of colored paper, as well as pencil glue and a sheet of cardboard as a base.
- Now the most fun part of the job is tearing and crumpling colored paper.
- If you use crumpled paper to create a composition, it will look even more interesting and voluminous.
- Now you can collect parts for a future application.
- Develop your child's imagination by asking him what a piece of paper looks like.
- This way you can find creative and unexpected solutions.
- In addition, for children this is a real game, so the creative process will become even more interesting. If you have already outlined the elements of the picture on a sheet of paper, you can safely glue the details to the base.
- Attach the corners first so you can experiment by moving the paper pieces around.
When the picture is ready, carefully glue all the parts and let them dry thoroughly. The picture is ready, you can decorate it if you want and put it in a frame.
Decoration of the composition
When the painting is ready, you can decorate it using all kinds of materials to give it a finished look and make the work unique.
- A few shells, dried flowers and leaves, ribbons, bows, buttons, beads, beads, rhinestones are perfect for this (adults should supervise the children’s work, especially if small parts are used in the process of creating a masterpiece).
- The resulting creation can be inserted into a beautiful frame. And then the child can safely participate in competitions with his works.
All these ideas will help you and your children create real masterpieces using a minimum of materials. And most importantly, this is a very fun and interesting process that can become leisure time for the whole family.
The finished work can become a wonderful interior decoration, and you can also present it at any children's craft competition. Such educational crafts will be very useful for teaching in kindergarten.
There are a lot of different techniques of varying complexity; you can choose something suitable for the creativity of children of different ages, from the youngest to the preparatory group.