Subjects of winter applications
The main subjects for winter applications are, of course, winter. It's snow, snow and snow again. Snow on the roofs of village houses, snow on bare tree branches, snow on Christmas trees, and, of course, a snowman. In addition to Santa Claus, deer, polar bears, and penguins are frequent guests of the applications.
Attributes of New Year's fun: skates and skis or winter accessories: warm mittens, hats and scarves are also popular in winter scenes. And, of course, a decorated Christmas tree.
Curly hole punchers to help
If you haven’t yet appreciated the convenience of using shaped hole punches in applique, then it’s time to buy a couple. Perfect little snowflakes that come out with just one click are simply miraculous!
Children will “spank” them with delight, and any applique decorated with such snowflakes will look much more interesting.
Senior group. Senior preschool age. Children 5-6 years old
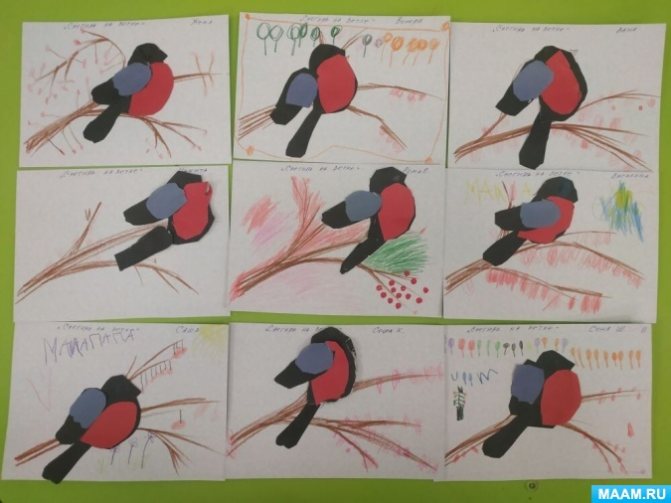
Lesson in the senior group on the application “Bullfinch on a rowan branch”
.
Goal: Learn to depict birds using the applicative method . Objectives: Educational: Expand children’s understanding of the bullfinch; Learn to convey in appliqué the image of a bird , features of the head and body, tail;
Teach children... Drawing with elements of appliqué in the senior group “Winter Fun”
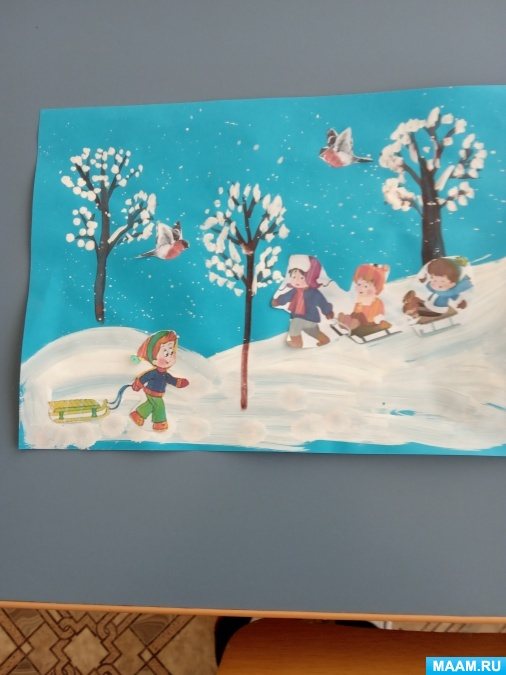
Tasks. Learn to convey the plot using accessible graphic means. Develop compositional skills (draw across an entire sheet of paper, drawing a horizon line, convey proportional and spatial relationships between objects. Expand the possibilities of using technology...
Drawing + applique
The applique can be combined with a pattern. On the Internet there are a lot of pictures for appliqué depicting houses, penguins, snowmen, etc. This template just needs to be printed, cut out and glued to a base of colored cardboard
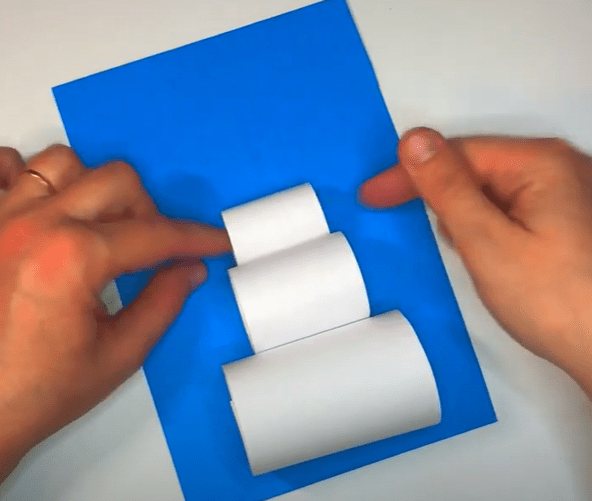
The best color for a winter background is blue or blue. The drawing is painted with paints or felt-tip pens, and everything that is snowy or white in color is filled in with appliqué.
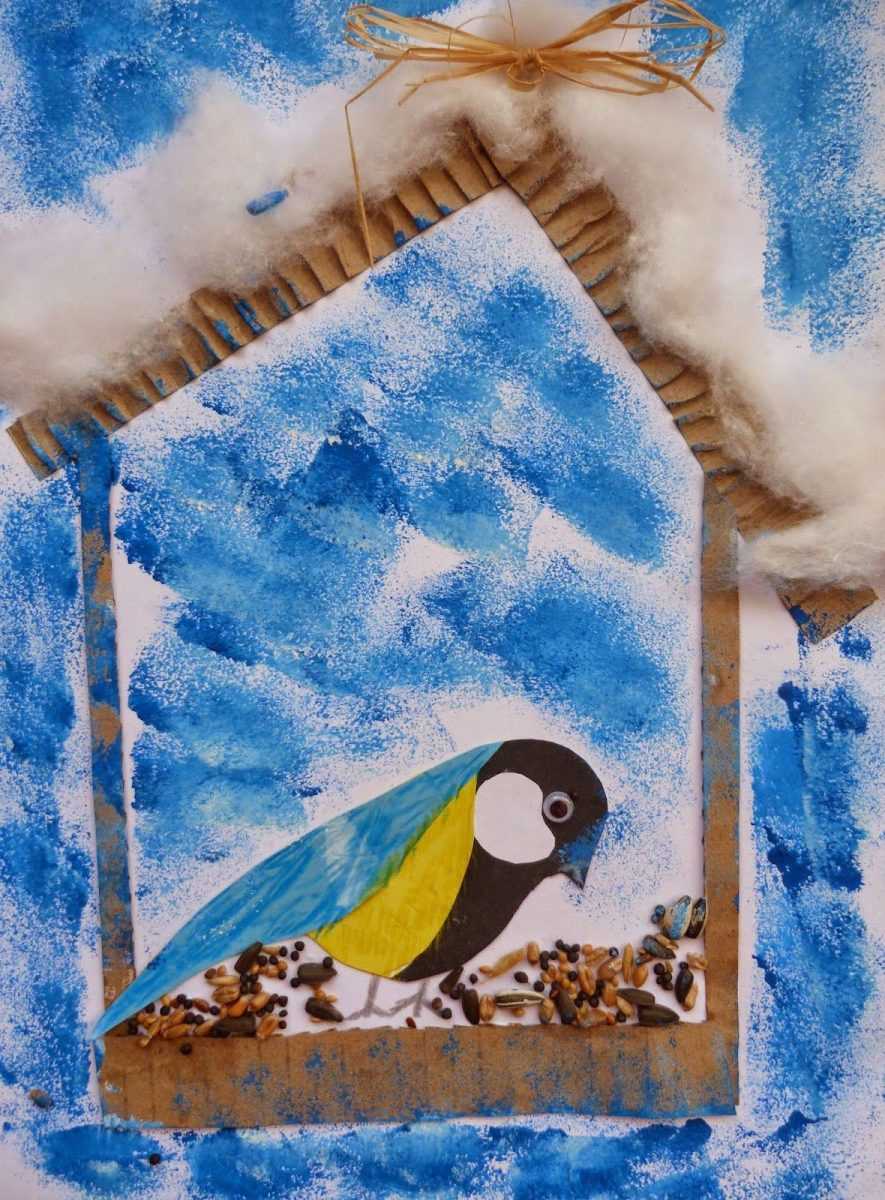
Deer from disposable tableware
If you have a plastic plate lying around from an autumn picnic, you can use it in a winter composition. Application pictures can be found in the public domain. The work is suitable for all ages. How to do it:
- The plastic plate is cut into two parts (one is made a little larger). Next it is painted brown - this will be the body of the deer;
- horns can be made from colored paper. The child places his hand on the sheet and traces it with a simple pencil. After this, they are cut out with scissors;
- The background of the applique will be blue cardboard - a plate, pre-cut legs and horns are glued onto it.
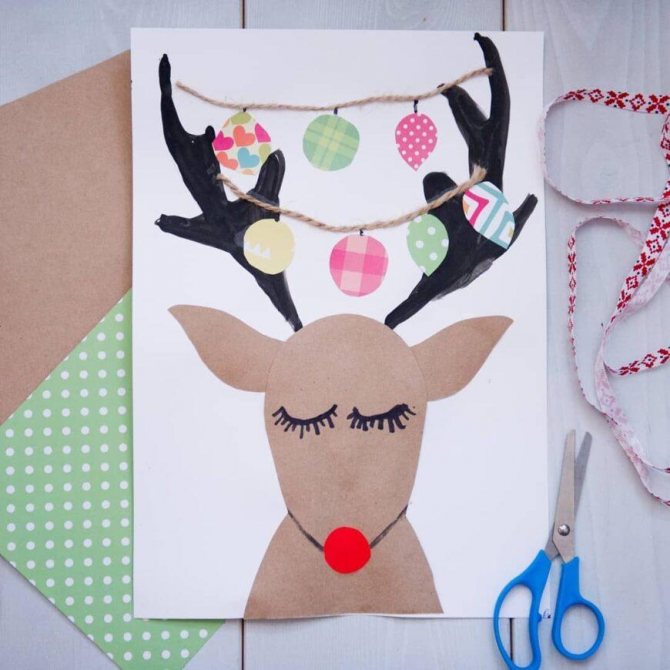
It looks very interesting and unusual. Quite suitable for a winter competition.
Cityscape
If you are wondering how to make winter applique with your own hands, use the following idea. For a winter cityscape you will need colored paper and cotton pads.
Identical rectangles are cut out of paper of different colors to depict multi-story buildings. On them you need to stick small squares of blue or yellow windows, as if there were lights in the windows, if we are depicting an evening landscape.
For doors, you can use paper in a contrasting color. Half a cotton pad will replace snow-covered roofs.
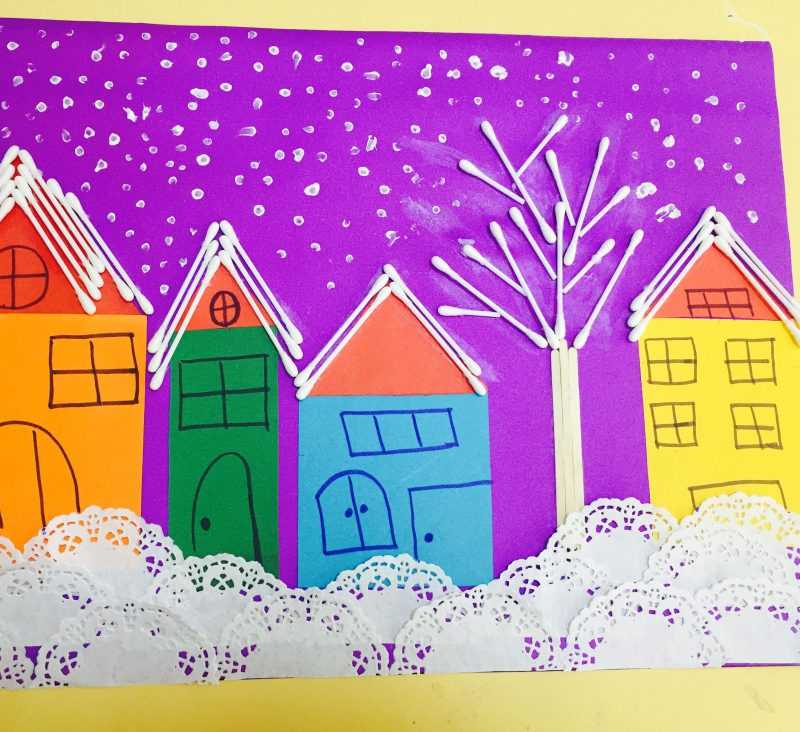
In order for the composition to look harmonious, the width of the “houses” should be equal to the width of the cotton pad. The picture can be simple, in one row, or with perspective.
Then the rows of houses - “streets” - begin to be glued from the middle part of the sheet, the bottom row of each street is covered with a row of “drifts” of whole cotton pads, moving down, the next row of houses is glued in a checkerboard pattern.
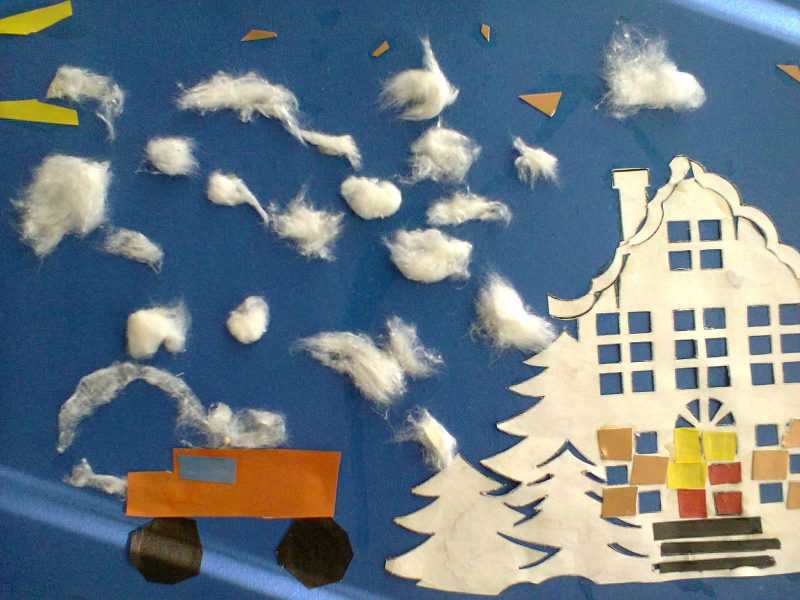
The bottom of the applique is also decorated with “drifts”. A snow-covered tree will add charm to the city landscape; the trunk is cut out of brown colored paper, and the crown is depicted with cotton pads.
Application with drawing elements on the topic: Winter for children 5-7 years old. Master class with photos
Application on the theme Winter for kindergarten
Master class on application with drawing elements “The forest slumbers under the fairy tale of sleep”
Author of the work: Elena Petrovna Lyapicheva, teacher, MKDOU kindergarten No. 1 “Zvezdochka”, Kalach-on-Don. The master class is designed for children of senior preschool age, teachers and parents. Purpose: decoration for a kindergarten group, crafts for an exhibition, gift. Goal: to develop in children the ability to convey the characteristic features of objects and natural phenomena of a winter landscape Objectives: Educational.
Teach children to create a monochrome landscape composition.
Show the possibilities of silhouette applique to convey the expressiveness of the created image. Improve techniques for working with scissors. Developmental.
Form compositional skills.
Educational.
Encourage children to embody their ideas about nature, aesthetic experiences and feelings in artistic form.
Materials and equipment: A4 sheet of paper tinted with watercolors in black (purple) color;
rectangles of different sizes (12 x 14 cm and 9 x 14 cm were used) from white office paper; a simple pencil; scissors; glue; gouache; brush; jar of water. Progress
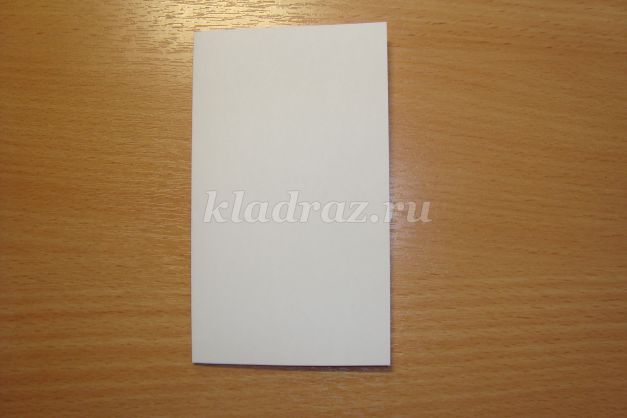
1. Take a black tinted sheet of paper. The background of the work may be dark purple. 2. At the bottom of the sheet we depict snow in white gouache. 3. Set aside the work to dry. Meanwhile, let’s start cutting out trees and bushes using the symmetrical and monochrome cutting method. Take a rectangular sheet of white paper and fold it in half.
4. Draw half of a tree with a crown with a simple pencil. 5. At the fold of the sheet, draw the trunk and branches of the tree.
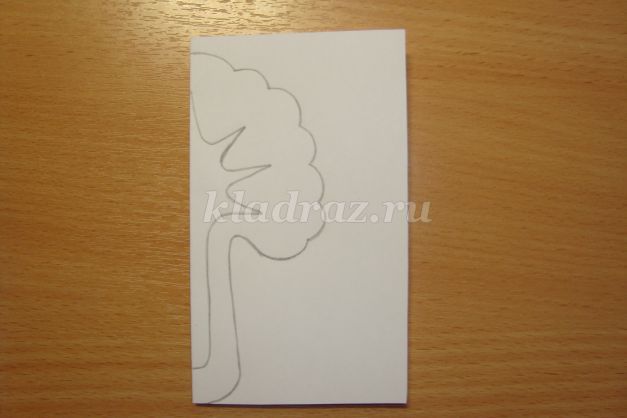
6. Cut along the drawn outline, and then cut out the middle.
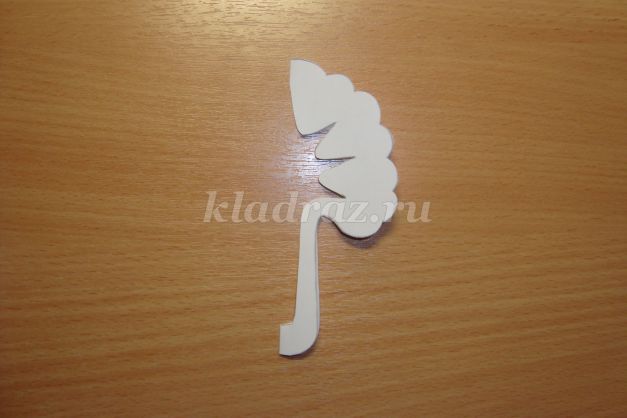
7. Unfold it – it turns out to be a tree with a slot. 8. In the same way we draw and cut out the bush.
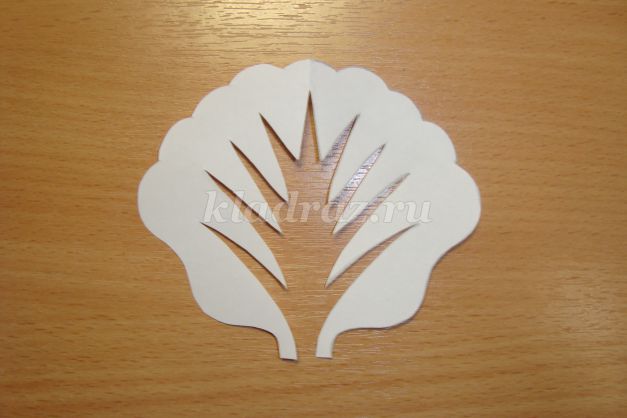
9. We use the remaining cut out parts in the applique
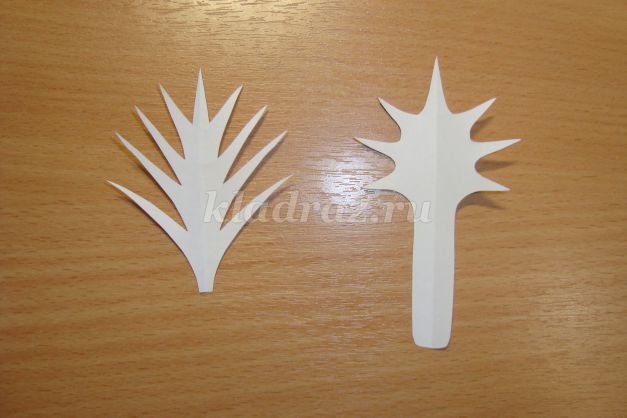
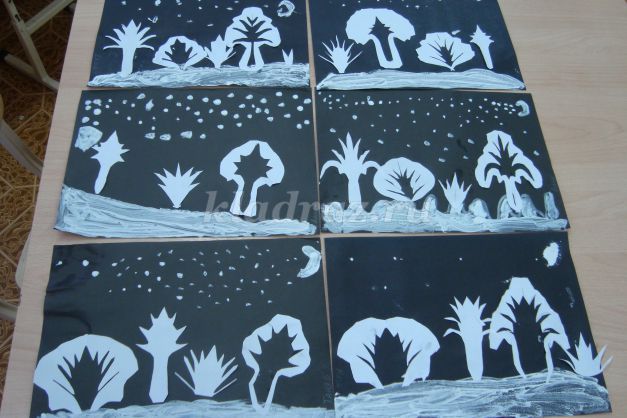
10. Lay out the cut out parts on tinted paper and glue them. 11. We supplement our work with characteristic details. We depict the stars, the month in the night sky. If desired, the work can also be decorated with a frame. These are the wonderful winter landscapes we got.
F. Tyutchev
We recommend watching:
Application from napkins for children 5-7 years old on the topic: Winter Application from plasticine for children of the preparatory group on the topic: Winter Do-it-yourself winter paper crafts for children 5-7 years old Plasticineography “Tree in the Snow” for children 5-7 years old. Master class with step-by-step photos
Similar articles:
DIY winter crafts for kindergarten
Applications based on ready-made templates
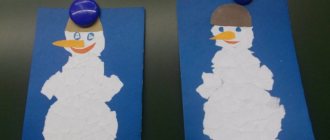
A wonderful template for a winter applique in the form of a penguin or snowman can be downloaded on the Internet. An interesting effect is obtained if you use foam tape rather than glue to glue parts. This way the parts do not fit tightly together, and the image becomes more voluminous. The main thing is to think in advance about the sequence of gluing the parts.

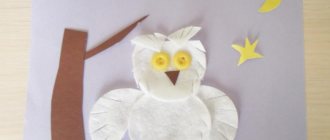
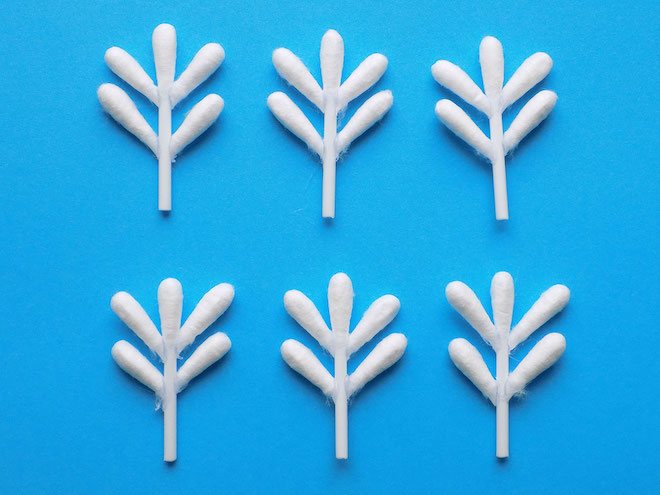
Crafts from cotton swabs
Cotton swabs are a simple budget material. It can be easily cut, painted, glued. It is not surprising that it began to be actively used in art classes.
Snowflakes
The light weight of cotton swabs allows them to be glued even with ordinary PVA. Older children can come up with patterns for snowflakes themselves. You can offer kids ready-made templates - printed diagrams on which they will lay out the parts before gluing.
Snowman
It’s even more interesting to collect three-dimensional figures from cotton swabs.
Elementary technique:
- You can use polystyrene foam as a base into which the sticks will be stuck. Due to its high density, plasticine can crumble.
- One edge of the stick needs to be cleaned so that it sticks in easily.
- The tiers can be secured together with a toothpick or pastry skewer.
For the eyes and buttons, the sticks need to be painted first, otherwise the work may get dirty.
Applications
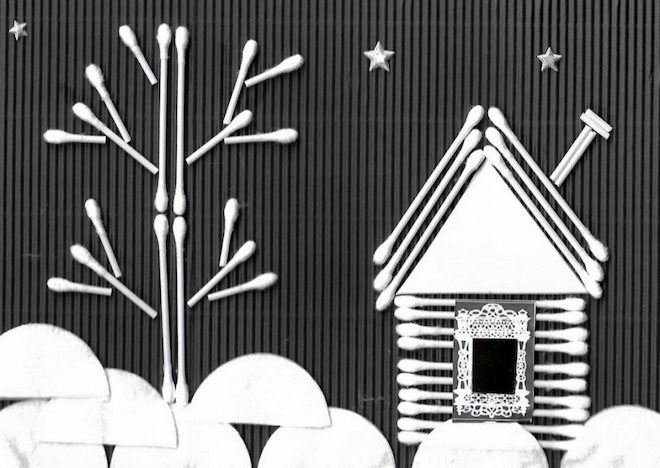
For applications you will need not only cotton swabs, but also a background. If the material is not painted, you should choose a dark base. This will make the drawing look more contrasting.
On the panel, sticks can turn into logs of a house, spruce paws and branches of snow-covered trees. Some examples of use should be shown to children in advance, inviting them to further show their imagination.
Applications from “palms”
Children's favorite hand appliques are also popular in winter themes. Green “palms” make a wonderful Christmas tree, which children can decorate to their taste with ready-made stars, bows (such shaped hole punches also exist), sparkles, buttons, sequins, and anything else.
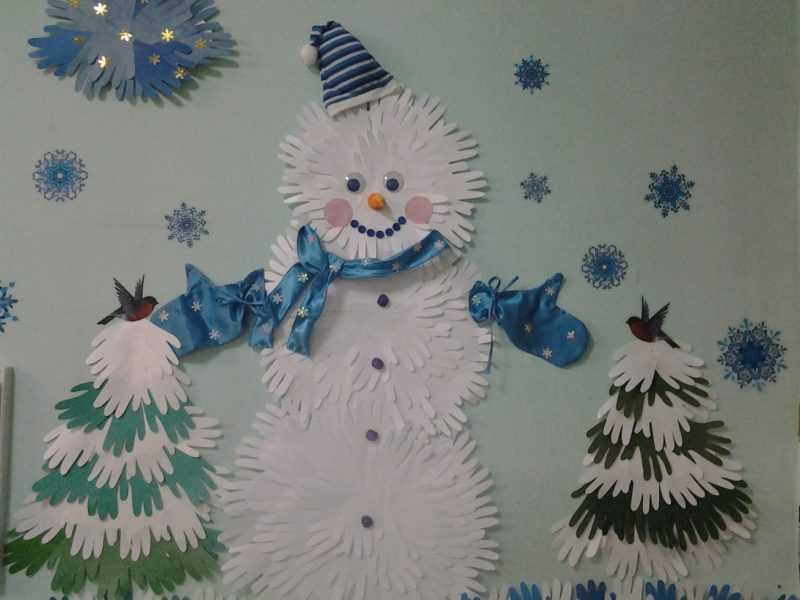
Do you remember the poem “It was in January.”? Tell it to your child while you glue on ten bunny faces peeking out from under the Christmas tree paws.
Velvet applications
Among the various photos of winter appliqué, there are many interesting options using multi-colored velvet and woolen threads. You can cut a mitten or a hat from velvet. The top of the hat can be decorated with a real pom-pom made of thread or a cotton ball; the bottom of the mitten can be covered with scraps of cotton wool, which will depict a fur edge.
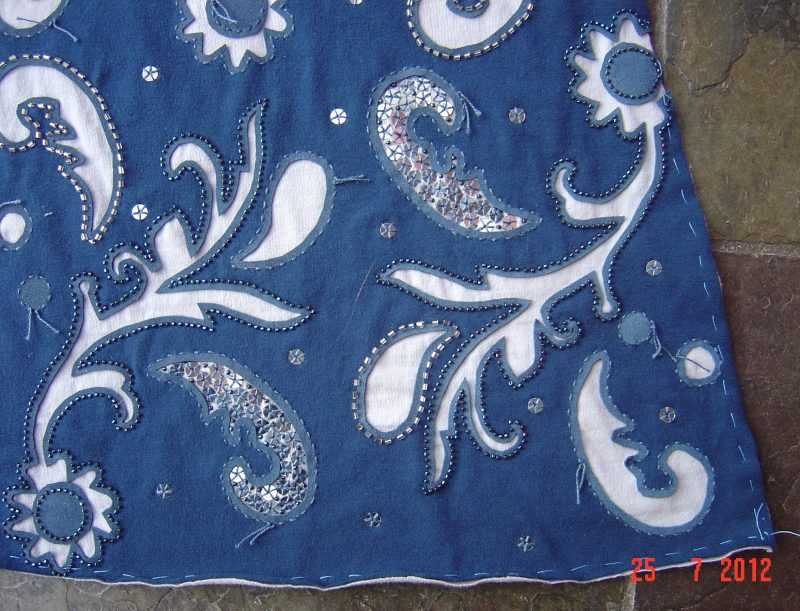
You can embroider a snowflake on a mitten with woolen thread or depict a knitted pattern with pieces of multi-colored velvet. And the hat can be striped from different colors of velvet.
Large story collage
Older children can create a “Winter Fun” applique.
If a large group of children has gathered, you can make a large collage. To begin, draw a pencil sketch depicting hills from which skiers will roll, ice slides for sledding, a skating rink for figure skaters or hockey players. Mark places for fir trees and birches. It is good to imitate the crown of birch trees with crumpled pieces of a white napkin. For Christmas trees, use triangles of green paper or quarters of cotton pads.
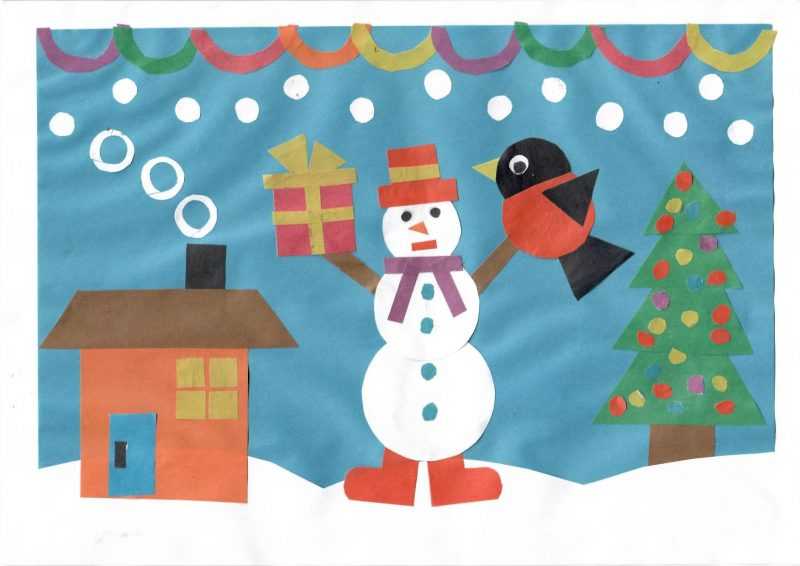
Figures of people can be drawn with pencils and felt-tip pens and cut out. We cut out skis and ski poles from strips of colored paper, and ice cubes or “cheesecakes” from bright circles. The blades of the skates can be completed.
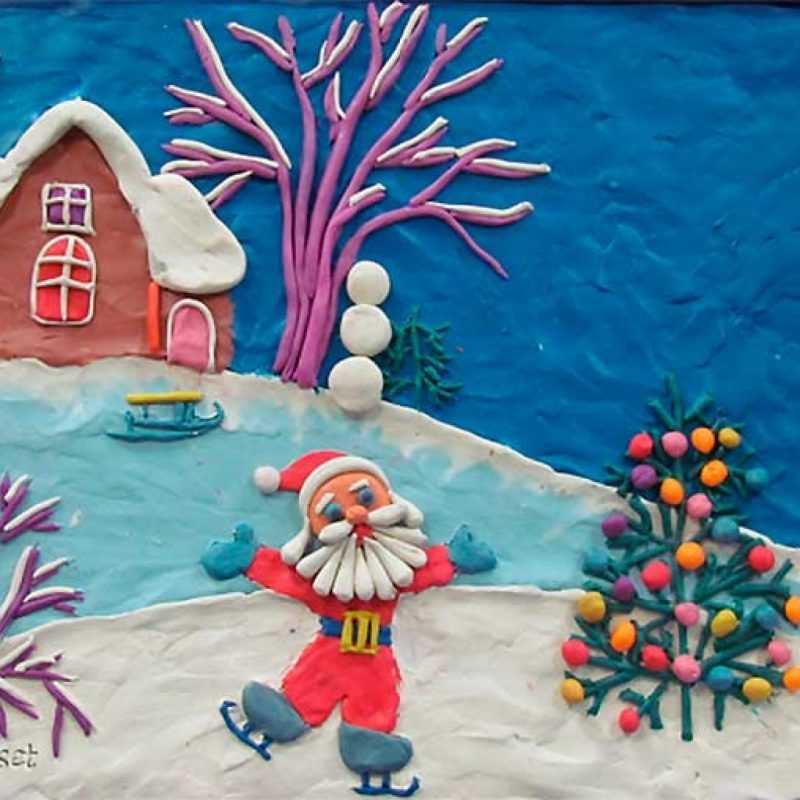
When working with children, the main thing is not to dictate any rules to them, but only to introduce them to the possibilities of using different materials, to offer some idea, and then the uncontrollable children’s imagination will do everything itself.
Tissue paper polar bear
The original craft was made from tissue paper. It is thin, folds well and is very easy to use (doesn't cut your fingers). However, if you don’t find one in the house (which is very likely), you can use a similar packaging option. When buying new equipment, you can find white thin paper inside the box; you don’t have to throw it away right away. Also for work you will need a 0.5 liter plastic bottle, white paint, and a skein of black thread. Instructions:
- Take a disposable paper plate, which is then painted white.
- Next, the bottom of the bottle is cut off, about 5-6 cm.
- The cut bottom is glued in the middle of the plate. It also needs to be painted white.
- The bottom is the nose of the composition; by measuring out a little space, eyes are made from black skeins of thread, and they are also glued to the plate.
- Next, the plate is completely covered with glue until it sets - sprinkled with scraps of tissue paper.
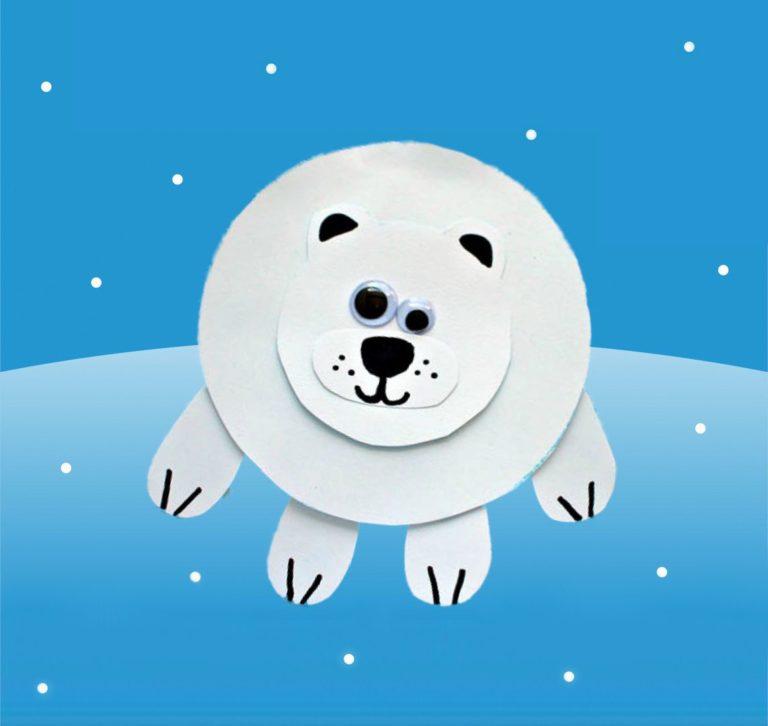
What paint to use is up to everyone to decide for themselves; the standard is gouache. The main thing is not to leave the composition near the battery to dry. Due to the high moisture content, the work will appear crumpled. A black bear nose can be made from a pompom.
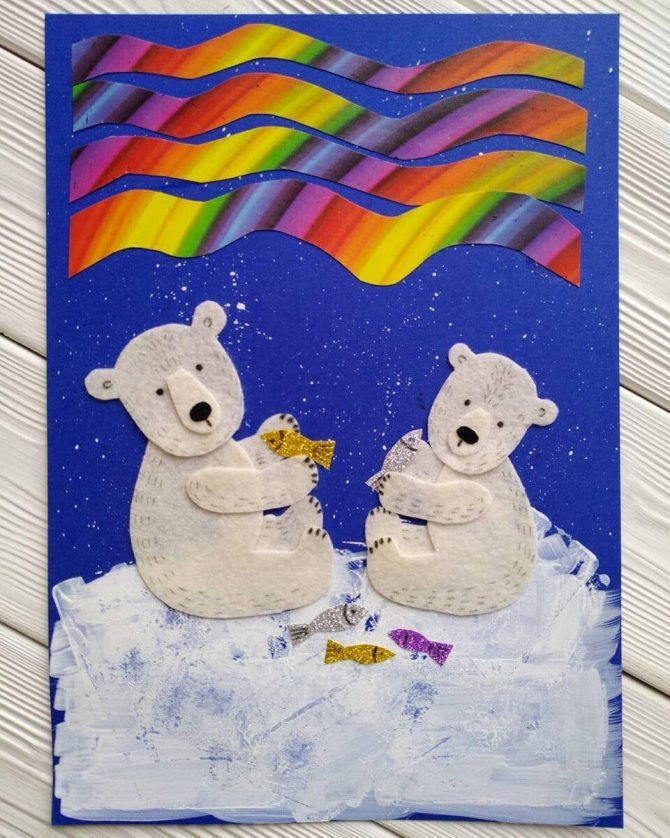
Photo of winter applique
0
