How to achieve information content when creating a stand?
It is better to make do-it-yourself stands for a kindergarten according to a strictly defined plan:
- At the top is a heading, written or printed large, in a straight line or with a curved base;
- Below the title are images. They should be placed across the entire width of the poster or a space should be made for words (depending on the volume of text);
- Below the pictures are direct congratulations and wishes, in prose or poetic form;
- Below is the signature (“kindergarten administration”, “Your teachers”, “Your parents”, etc.).
What to tell children about summer
The main “summer” topics that can be used for conversations with children are:
- vegetables fruits;
- berries, mushrooms;
- insects, birds, animals;
- people's activities in the garden, in the forest;
- types of outdoor recreation (travel to the sea, summer sports);
- safety of children in summer.
The first of these sections are suitable for toddlers, and the rest for older preschoolers. They allow you to select pictures about summer for both very young children and future first-graders. You can use both subject images (berries, flowers, sandbox toys) and subject compositions:
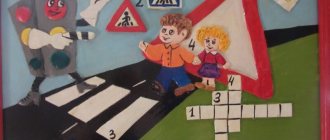
- “The first day of summer has arrived!”;
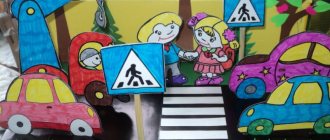
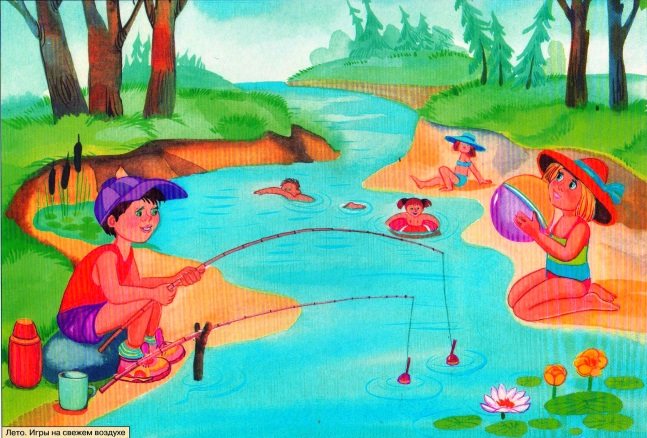
- “What do children play outdoors in the summer?”;
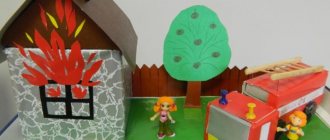
- “What are the rules of behavior on the water and why are they needed?”
Properly selected illustrations help increase the effectiveness of speech development exercises and make them more interesting. Various pictures about summer are excellent visual material that makes it possible to conduct useful activities, as well as exciting games with preschoolers of different ages.
Work in the garden Animal world Russia Day
Outdoor games Walk in the forest

Children care about nature
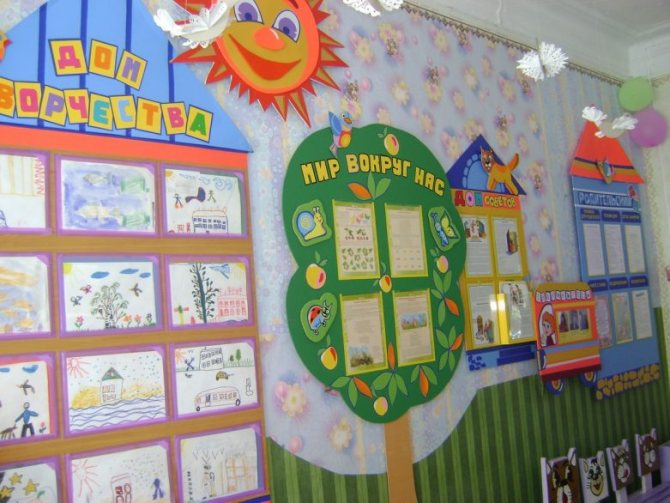
Visibility and its implementation
For a stand to be perceived as an interior decoration, it must be in harmony with it. You should not focus only on the informative part. Pictures, images, photographs are required next to the inscriptions on the stand.
If the stand is dedicated to the New Year celebration, it must have a decorated Christmas tree. If March 8 - mimosa or a bouquet of other flowers. If it's Mother's Day - an image of a woman's face with a smile.
A bright background created by completely covering the surface with colored paper or painting it with paints will help provide clarity.
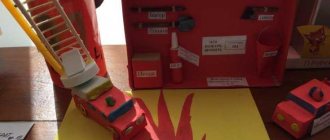
Generator testing stand
A stand designed for troubleshooting generators. To assemble such a stand you will need to connect in the given order:
- Voltmeter
- Switch off
- Ammeter
- Battery
- Rheostat
- Generator
Principle of operation
The electric motor is connected, the voltage is adjusted to 14V (at the generator output). The rotor operates at a frequency of up to 5000 rpm. The generator runs for 2 minutes, after which the current output is measured. The generator requires repair if its recoil force is less than 44A.
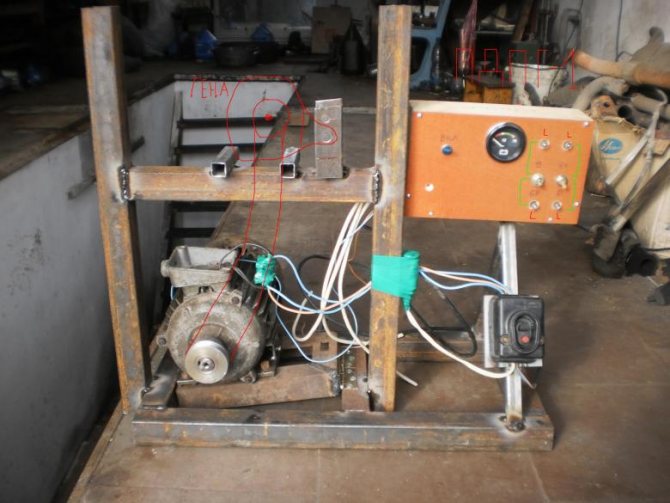
This stand is more suitable for training, as it has errors in operation. Modern professional options do this job much better.
Clarity and its personification
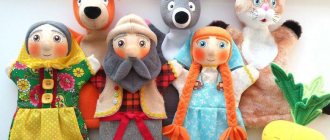
Do not forget that the stand is made, first of all, for the audience. Both adults and small children can act as them. They understand vivid images - Father Frost, Snow Maiden, a fireman in uniform, etc., numbers that carry meaning (31, 23, 8). Symbols and branding are best left for other purposes.
The title should be as accurate and succinct as possible. There is no need to make it poetic or burden it with epithets: it is more important for children what kind of holiday they are preparing to celebrate.
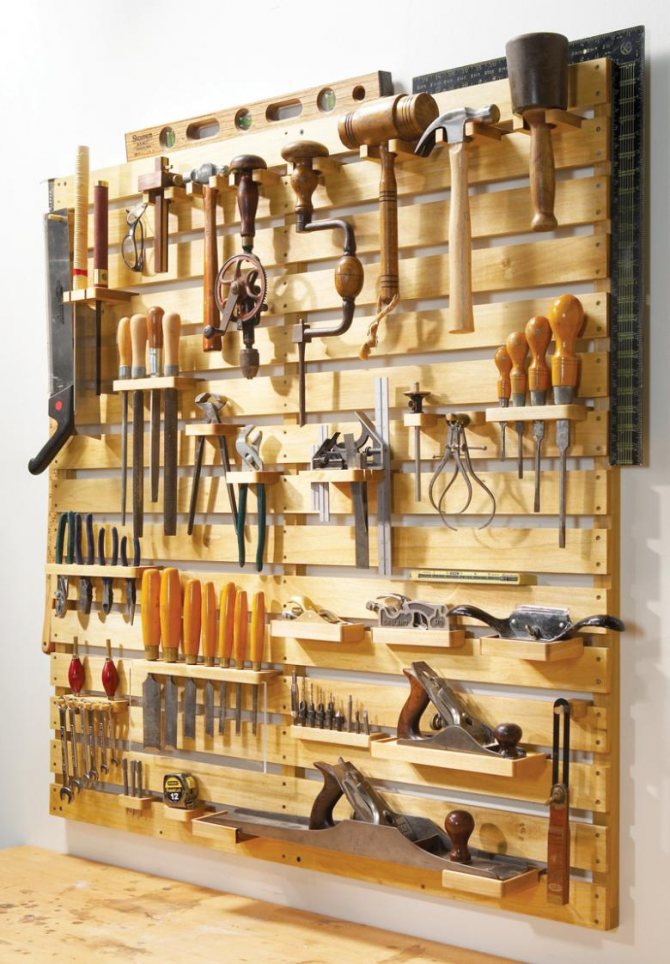
Wall-mounted tool stand
This practical and multifunctional tool stand is perfect for the garage. With it, the search for the necessary devices will not take a lot of time and effort, and its appearance will be a source of pride for the owner.

Stand - rack
The rack is a simple and effective means of storing the most frequently used tools. There are the following types of stands:
- Stationary
- Collapsible
- Mobile
- Retractable
- Hanging
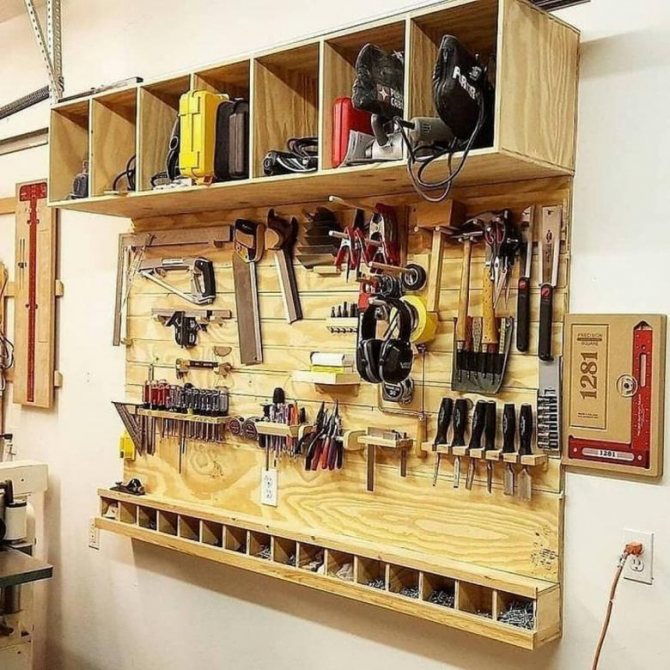
The material most often used is wood or plywood. To store screwdrivers and open-end wrenches, holes are created with a drill at the same height, receding at equal intervals to accommodate all the equipment. Hooks are suitable for storing larger tools (hammer, pliers, hacksaw).
After applying the markings, a blank for the stand is cut out with a hacksaw. It is processed to remove roughness using a grinding machine or sandpaper. Then fasteners are installed on the back side of the workpiece, and the workpiece is coated with paint.
It is very important to follow safety precautions, work with gloves, safety glasses, and a mask. This will prevent dust from getting into your eyes and lungs, and will protect your hands from wounds.
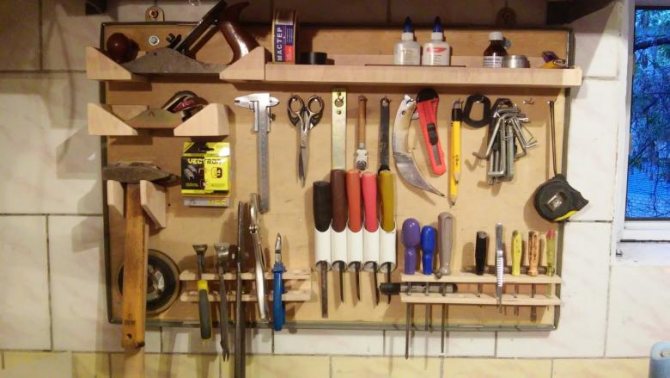
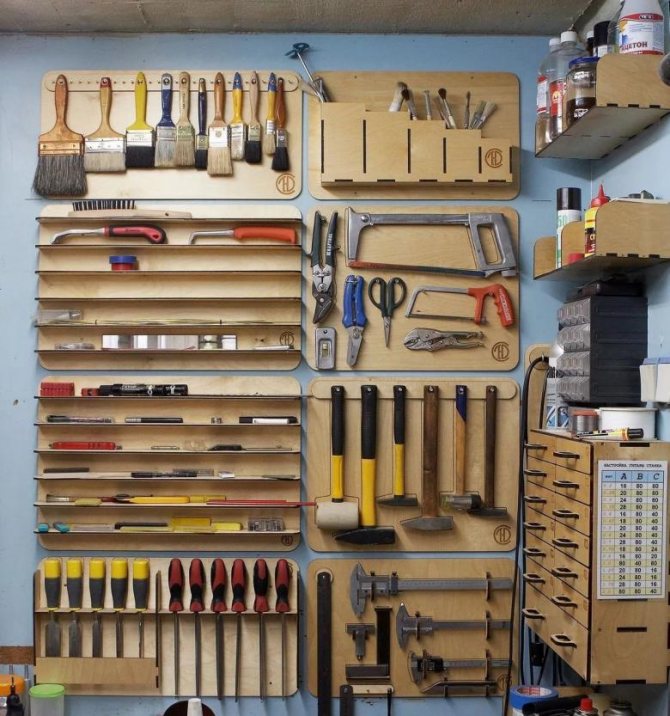
The shelves serve well for storing jars of nails and screws, not large power tools. Magnetic tapes and perforated sheets also do a good job of storing tools and have a pleasant appearance.
Magnetic tape is attached with glue and screws and is used for storing both small equipment and relatively large items (wrenches, screwdrivers)
Perforated sheets with hooks are suitable for home and professional workshop. You can place a large number of tools on them in a completely random order, which makes such sheets universal in use. An additional advantage is the ease of installation (using screws, brackets).
Plastic containers are used to place both the smallest items (washers, screws, nuts, buttons) and to store keys, screwdrivers, drills. Such containers can be purchased at the store, or you can use improvised means.
Plastic bottles and oil cans (after preliminary cleaning) are suitable as containers. To do this, they need to cut off the top part and secure it to the stand using nails, screws, and wire.
Glass containers are less applicable in this case, since they are more difficult to secure and there is a risk of breaking them. Containers can be numbered or labeled with a marker.
Stands are used for various purposes and have their own functionality. It all depends on the purpose of the stand, the availability of materials, time and imagination of the master.
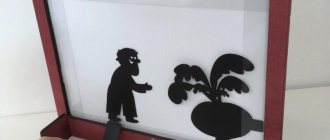
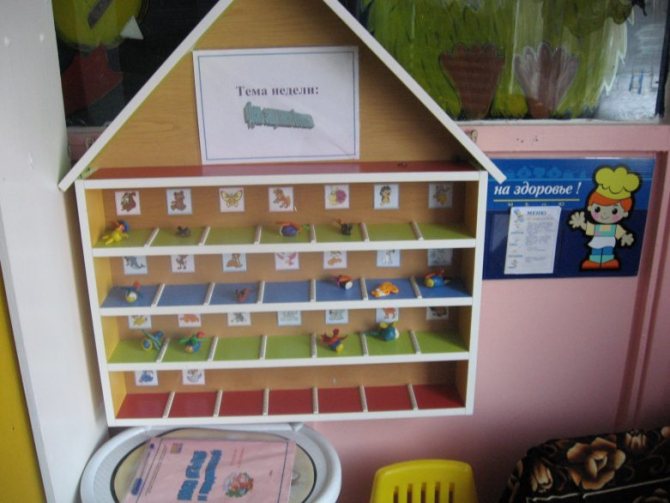
The principle of accessibility: “let me touch it!”
If the stand is placed in a kindergarten or school classroom, children will inevitably become overly curious. Some people will want to take a closer look, and some will want to touch it. So that the result of creativity does not go to waste in the very first minutes of public viewing, you need to make it tangible.
For example:
- Attach felt leaves in yellow and orange tones to the stand for Autumn Day,
- For a stand in honor of Easter, attach a wicker surface that imitates a basket, or an eggshell, painted in different shades,
- Decorate the stand dedicated to May 9 with real St. George ribbons and carnations cut out of red corrugated paper.
A DIY children's educational stand is a prime example of accessibility. Its design depends on the age of the children for whom it is intended.
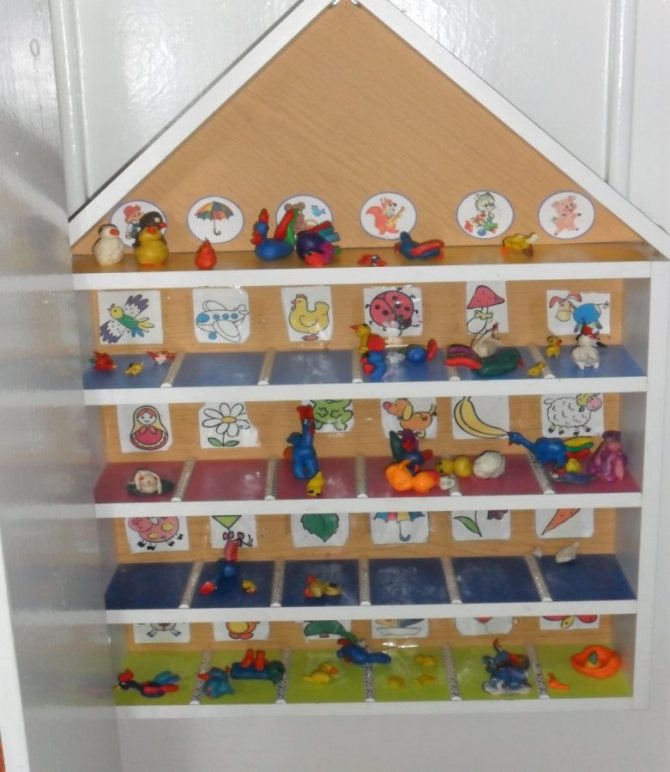
Such a busy board will help develop curiosity and promote exploration of the world around us.
For children 2-3 years old, felt flowers and trees of different shades and shapes will do.
The middle group can enjoy the following attached to the stand:
- Cubes,
- Pyramids,
- For an hour.
For members of the preparatory group - letters and road signs, tiny tools or any other gizmos from everyday life:
- Landline phone dial,
- Mixer valve,
- Door knob,
- Espagnolette,
- Chain,
- Old calculator,
- Wheel,
- Compass,
- Klaxon, etc.
Information stand for parents “Children’s Summer Holidays”
summer holiday for children
Summer is not only a time for travel, but also the most favorable time for children to relax, harden and improve their health.
Therefore, it is very important that parents make the most of this precious time. At the same time, many questions arise about how best to do this.
The sun is good, but in moderation
In summer, children should spend maximum time outdoors. However, if older preschoolers are allowed to sunbathe a little, then direct sunlight can cause harm to children. The biggest danger is overheating of the body, sunburn, sunstroke, since a small child has less perfect thermoregulation and his skin is very delicate.
Light-air baths can be carried out under a canopy or in the shade of trees. In this case, the principle of gradual exposure of the child’s body must be observed. First, the arms and legs are freed from clothing, and then the rest of the body. The time of light-air baths gradually increases to 30-40 minutes.
Such baths are especially recommended for children with weakened bodies. The best time is from 9 to 12 o'clock, in the south - from 8 to 10 o'clock. It is best to end each light-air bath with a water procedure.
After a week-long course of light-air baths, preschool children can begin sunbathing. A child can sunbathe while lying down, or even better while playing and on the move.
Sunbathing in combination with light-air baths, as well as water procedures, has an excellent strengthening effect. Children become more resistant to influenza-like illnesses than those children who sunbathed little.
Caution: heat and sunstroke!
Experts do not make much difference between these conditions. And this is understandable.
The basis of both heatstroke and sunstroke is overheating of the body. The cause of heat stroke is the difficulty of heat transfer from the surface of the body. This is often associated with prolonged exposure to a hot, humid atmosphere. When sunstroke occurs, blood circulation in the brain is impaired. This usually happens when a child walks in the sun with his head uncovered.
The younger the child is, the more sensitive he is to the effects of heat and sunlight. Therefore, overheating of the body in a small child can sometimes already occur while taking light-air baths.
With mild sunstroke or heatstroke, the symptoms are mostly the same. These are dizziness, weakness, headache. In severe cases, convulsions, vomiting, and loss of consciousness may occur. In all such situations, you need to urgently call a doctor, and before he arrives, move the child to the shade, wet his head and chest with cold water, put a cold compress on the bridge of his nose, and raise his head. Give the child something to drink and calm him down.
Bathing is an excellent hardening agent
You can swim in open water starting from the age of two.
The swimming area should be shallow, level, and with a slow current.
Before giving your child the opportunity to independently enter the water, you need to make sure that there are no holes, deep mud, snags, or sharp stones in this place.
An adult must be in the water with the child.
When swimming, you must follow the following rules:
- It is not allowed to swim on an empty stomach or earlier than 1-1.5 hours after eating.
- Children should be in motion in the water.
- If you feel chills, get out of the water immediately.
- You should not plunge into cool water while hot.
Unusual solutions for ordinary stands
A collage is the best option if you have to prepare a stand with your child as an assignment for a group celebration or to participate in a competition.
Unlimited creative freedom:
- You can include any newspaper cutouts in your collage,
- Magazines,
- Advertising pictures,
- Suitable for the topic.
The following can be glued to the stand sheet:
- Natural materials (dried leaves, small pebbles),
- Applications made of paper (snowflakes or flowers) or fabric (felt, knitted fabric),
- Handicraft small items (bugle beads, beads, beads, threads of yarn, pompoms);
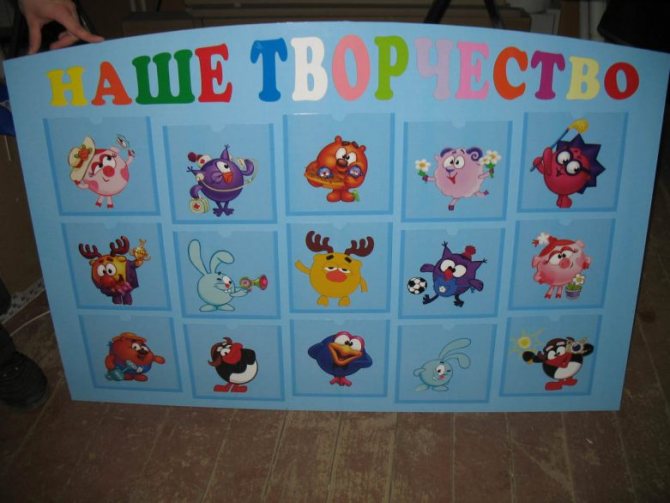
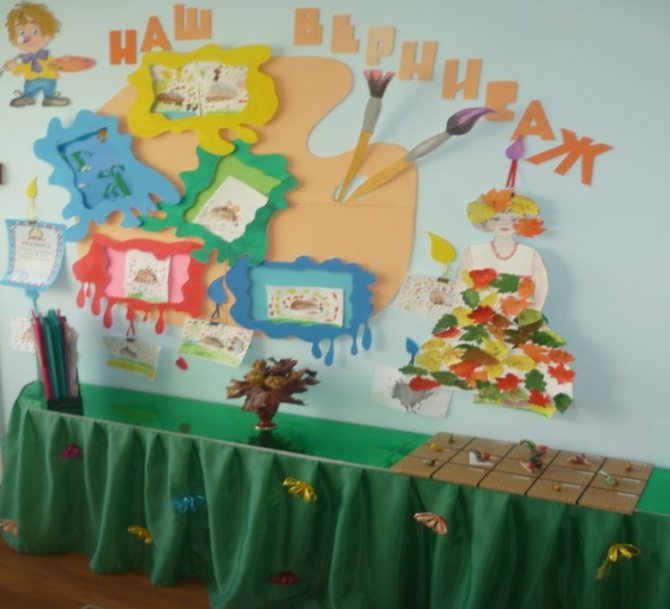
You can also make stands for children's crafts with your own hands. It can be called “Our Vernissage” or “Exhibition of Crafts”.
- To attach drawings to the stand, you can use pins or magnets. To demonstrate three-dimensional crafts (made of plasticine, cardboard, corrugation, etc.) - paper or knitted “pockets”;
- temporary stand, or stand-template. This will be convenient when you need to impromptu prepare for a celebration or when there is absolutely no time to decorate the group.
- For it you will need: self-adhesive letters (the entire alphabet) and numbers, button magnets, double-sided tape, a sponge (to give volume to the inscriptions), universal pictures (flowers, leaves, candles, stars, etc.);
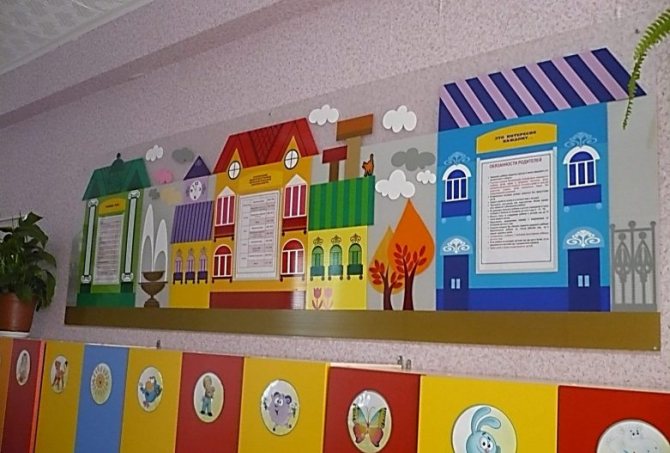
- DIY information stands for kindergarten differ from all others by the presence of plastic frames or “pockets” for placing official information concerning parents.
- In all other respects, they should serve as decoration for a children's group: have a bright design with expressive characters - Leopold the cat, Carlson, a train, a hedgehog, a daisy, etc.
Such boards can be made in an unusual shape - in the form of a cloud or a light, a star or a sun - this way they will quickly attract the attention of parents.
Materials and tools
Materials must be selected taking into account the purpose and location of the structure. Humidity, cleanliness and indoor microclimate play an important role here. Most often, to make an information panel you need:
- plywood sheets;
- cork board or veneer;
- plexiglass or PVC sheets;
- hacksaw for wood or metal;
- PVA glue or its equivalent;
- files for storing documents;
- metal ruler;
- pencil or thin marker;
- compass and square.

In addition, you can use any available materials. Only attentiveness and accuracy will ensure the achievement of the desired result.
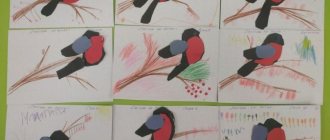
Photo stand for school or kindergarten
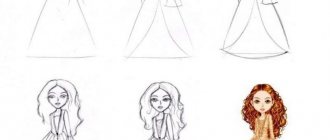
How to learn the names of the months from books
Experts recommend buying children's educational and developmental books about the seasons and months. Such manuals explain to children the features of nature and the signs of the months in an accessible way. Some editions of such books contain tasks for consolidating material that will strengthen the memory of the topic studied.
Poems can help you learn the names of the months. After studying them, your memory will improve. You need to buy special literature with poems, fairy tales and stories about the 12 months. The book “365 Bedtime Stories” has proven itself to be excellent. The pictures in it are sorted by season, and each page corresponds to one calendar day. The book contains poems and stories that fully explore the theme of the 12 months. It's great for teaching with kids. No less useful is the encyclopedia “Seasons” with answers to many questions.
Learn the names of the months by playing
Theatrical scenes will help your child remember the names of the months and seasons. The child can be both a participant and a spectator. You can also pick up riddles or come up with them yourself. For example, draw people wearing clothes according to the seasons and ask the child to name what time of year they wear such clothes. Drawing pictures with your child that correspond to each season will also be useful.
A great way to learn and remember the months is a didactic game. They are developed specifically for preschool children. They also demonstrate relationships with the environment, develop memory and logic.
Information that is interesting to children is remembered quickly. They always want to learn a lot of new things, so they ask adults questions and explore the world. Children are good communicators who know how to listen. Studying the months is a fun topic for a child. He will be happy to study it with mom or dad.