Card index of topics for different groups, including collective compositions
Let's present a sample list of topics for each age group that can be used when teaching preschoolers how to draw with their palms:
Junior group:
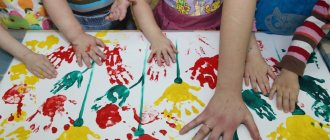
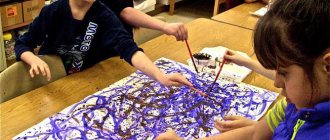
- “Colored palms” (children learn to make handprints on paper).
- "Octopuses"
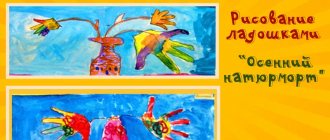
- “Golden Sun” (team work).
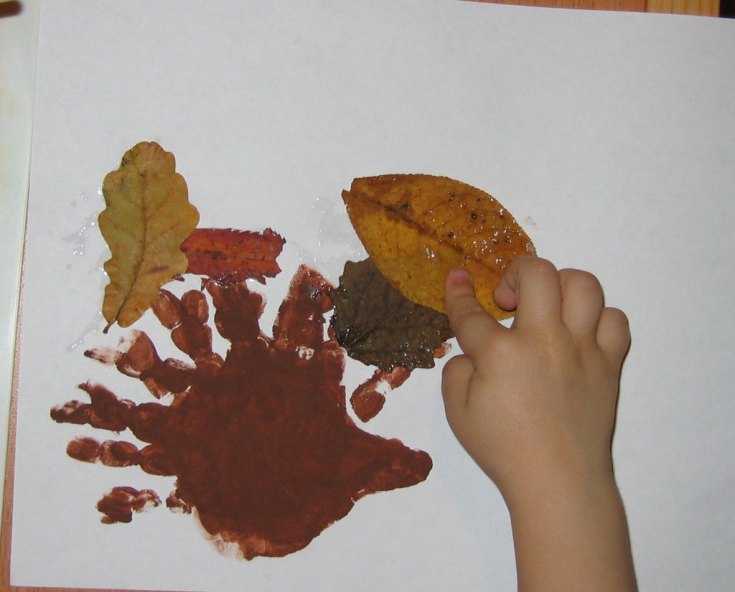
- “Leaf Fall” (team work).
- "Fish"
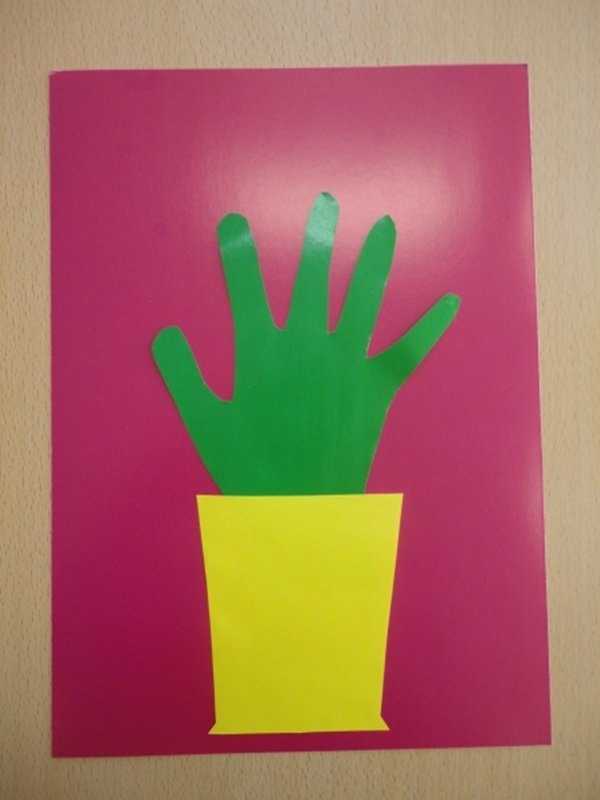
- "A flower for mom."
- "My mittens."
- "Two merry geese lived with granny".
- "Grass".
- "Butterfly".
- "Spider."
Middle group:
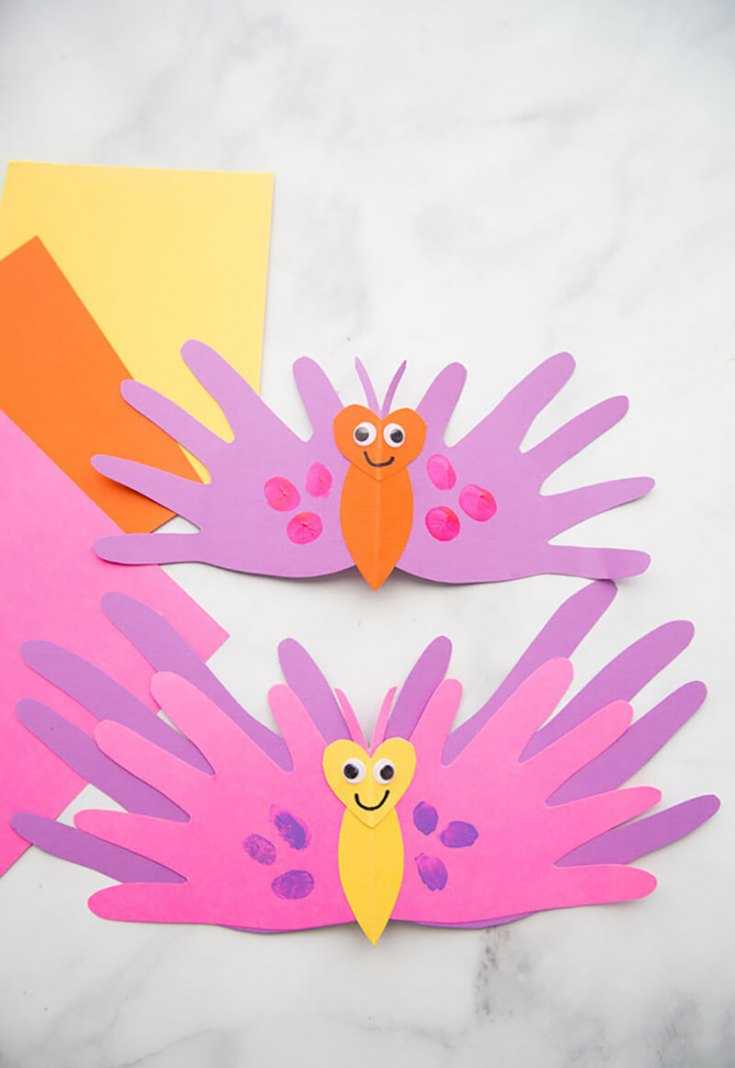
- "Beauty Butterfly"
- “Titmouse” (as an option – “Bullfinch”, “Sparrow”, “Swans”).
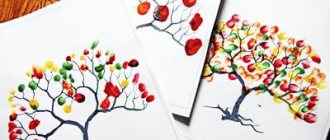
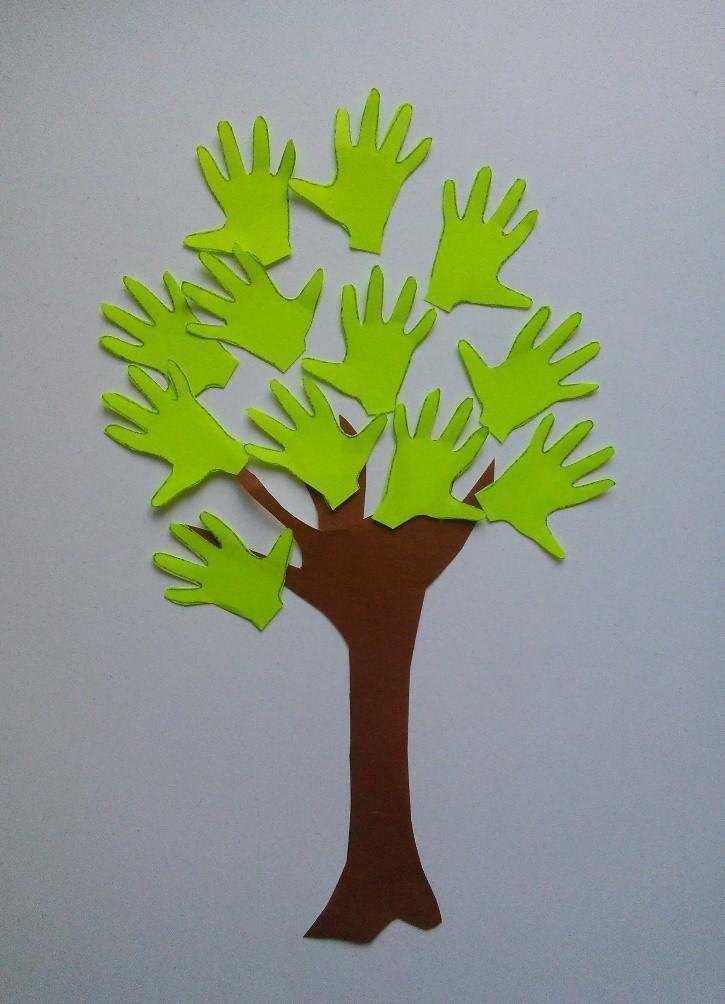
- "Autumn Tree".
- "Giraffe".
- “Snake Gorynych” (as an option – “Dragon”, “Dinosaur”).
- "Magical forest".
- “Spring” (grass with flowers is depicted using palms).
Senior group:
- “Underwater world” (as an option – “Aquarium”).
- "Beautiful bouquet".
- "Butterfly in the Meadow"
- "Fairytale Bird"
- "Multi-colored cockerel."
- "Elephant".
- “Fairytale Forest” (alternatively – “Old Stump in the Forest”).
- “The forest is our wealth” (alternatively – “The Magic Forest”) (team work).
Preparatory group:
- "Crow".
- "Hedgehog".
- "Cactus".
- "Horse in the meadow."
- "Mysterious underwater world."
- "Dog".
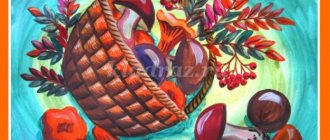
- "Flowers in a vase".
- "Peacock".
- "Crow".
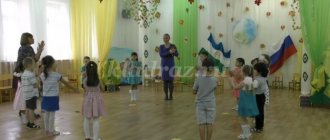
- “May there always be peace” (poster with images of birds against a background of nature) (team work)
Note that many topics are offered to children of different ages, for example, drawing a butterfly, fish, bird, flower. However, each group has its own level of difficulty.
For example, if early preschool children simply add the necessary details to a butterfly (eyes, antennae), then at an older age the image becomes more detailed: the image of an insect printed with the help of their palms is decorated with intricate patterns, interesting contrasting colors are selected. Similarly, the fish in the second younger group will simply be supplemented with eyes, and later the children will draw an entire underwater world based on such an image; sea inhabitants will differ from each other in color and scale pattern.
The benefits of finger painting at a young age
Drawing with paints is a fascinating form of educational activity. Parents, engaging in such developmental activities with their baby, establish psychological contact and trusting friendships with him.
While working on the drawing, the child:
- Develops hand motor skills - which in turn has a beneficial effect on abstract thinking and speech development;
- Learns about the existence of new objects, studies ways to interact with them.
- Gets an idea of the shape and color of the objective world around him;
- Working with small objects, develops coordination of movements;
- Receives a large amount of positive emotions;
- Develops taste.
Based on the drawings of a child over 3-4 years old, one can judge the experiences of the young artist. Through the color and specific arrangement of the characters in his drawings, the baby expresses his fears and anxiety.
Finger painting from 1 to 2 years
Class notes
| Author's full name | Title of the abstract |
| Kokunova S.N. | "Funny Zebra" (second junior group) Educational objectives: teach preschoolers to draw in an unconventional way - with their palms, combine different drawing techniques in a drawing, consolidate knowledge on the topic “Animals”. Developmental tasks: develop color perception, fine motor skills, attention. Educational tasks: cultivate perseverance, accuracy. Integration of educational areas: “Artistic creativity”, “Cognition”, “Communication”, “Socialization”, “Health”. Demo material: toy zebra. Handout: green sheets of colored paper, white and black gouache, brushes, sippy cups, brush holders, napkins. Progress of the lesson: The lesson begins with a riddle:
A toy zebra appears and came to visit the children from distant Africa. The children look at it together with the teacher - it has a beautiful coloring, just like a horse has a mane and tail. A physical education session is held:
Then the teacher tells the kids an amazing story: once upon a time a zebra was born in the African desert. And she became very lonely, there was no one to play with. And so the zebra came a long way to find friends. The teacher invites the children to help the zebra - to draw her many friends who look like her. The teacher invites the children to sit at the tables and explains to them the techniques of drawing using an unusual technique - using their palms. The pens need to be dipped in white paint and left an imprint on green paper. The missing details are painted in with a brush - black stripes, eyes, mane. Independent work of preschoolers. The zebra thanks the kids and leaves happy - now she has someone to play with. |
| Shishova L.V. | "Titmouse" (middle group) The teacher asks the children to show their palms, stroke them, pat them, rub them on their cheeks. It turns out that palms can do a lot of things, including drawing birds. The teacher finds out from the kids that the birds flew to warmer climes because they had nothing to eat. However, some birds remained to spend the winter - riddles are offered on this topic:
The teacher tells the children that today they will draw a titmouse. Finger gymnastics is performed:
The teacher shows the preschoolers his palm and asks if it reminds them of a bird. Use your finger to indicate an imaginary beak, neck, body, fluffy tail. But this bird is not bright at all, so you need to color it (applies paint to the palm of your hand, children repeat the actions after the teacher). The bird needs to be planted in the middle of the sheet - to do this, open your fingers wide and press your palm against the paper. Using a brush, the bird's legs and eyes are painted on. At the end of the lesson, all the birds are hung on the board - a fairy-tale clearing. |
| Alekseenko G. | «Elephant» (senior group) The teacher asks the children to stand in a circle, a short warm-up is carried out:
Children join hands. The teacher tells them that they have turned into one big and kind animal. The game is played:
The guys are given a riddle about an elephant:
Examination of the image of an elephant, discussing its body parts, the shape and size of the head, ears, trunk, tusks, torso, legs, tail. Particularly notable are the huge ears that partially cover the head, the long flexible trunk and small eyes. The teacher informs the children that the ears protect the animal from overheating, as well as from annoying insects. And the movable trunk easily lifts various objects, plucks leaves from trees and draws water from a reservoir. The elephant's sharp tusks serve as protection from predators and also dig up the ground in search of water during droughts. The tusks and trunk are the elephant's survival tools. In addition, the teacher reports other interesting facts from the life of these animals. For example, that all elephants are gray. They are very polite - they know how to greet and hug each other. Elephants live for about 60 years. Preschoolers are invited to depict an elephant in non-standard ways - using their palm. The teacher demonstrates the depiction process: the palm is painted with gray paint, but only up to the first phalanx, since the elephant’s legs are thick and short. In addition, when making a print, the thumb must be moved to the side - this will be the trunk. Finger gymnastics is performed:
Independent activity of preschoolers. Analysis of drawings: the teacher invites several children to tell about their elephant (what its character is, what it likes to do). |
| Patrikeeva I.N. | "Golden Time" (preparatory group) An audio recording of birds singing accompanied by the sound of autumn leaves sounds. Pictures depicting an autumn landscape hang on the board. The teacher asks a riddle about autumn:
The teacher suggests looking at reproductions of famous Russian landscape painters on an autumn theme - I. Levitan “In the Forest in Autumn”, “Oak Grove. Autumn”, “Golden Autumn”, I. Shishkina “Golden Autumn”, “Forest Backwater. Autumn", Kuindzhi "Autumn". Discussion of what was seen: how nature is depicted, what color the sky, trees, clouds, grass, the mood that the artists wanted to express. Then photographs are offered for viewing: children highlight the signs of a golden autumn. Preschoolers are offered the didactic game “Guess the tree from its leaves.” Reading the poem “Autumn Grandmother” by L. Fadeeva:
The teacher informs the children that today they will turn into landscape artists and depict autumn in all its beauty, and then organize an exhibition of their paintings. Children are invited to draw a landscape using their palms. The teacher shows the sequence of doing the work: you need to smear your palms with red, yellow and orange paint and use a print to depict the crown of a tree at the top of a vertical sheet of paper. The rest of the work is done with a brush - the brown trunk and multi-colored leaves are painted on. The image of a tree is complemented by grass, flowers, sun, clouds. A physical education session on an autumn theme is being held:
Independent activity of children. Design of the “Golden Exhibition” stand. |
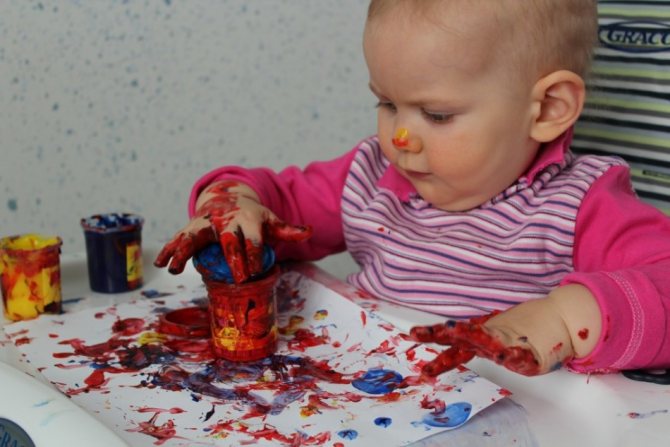
About tasty and tasteless colors
The first thing your six-month-old aspiring artist will try to do is put paint in his mouth. This is completely natural for a child at this age. The most common reaction of parents is to limit the movement of their hands and tell the child constant “no”. Unfortunately, such actions exclude the free activity of the baby. In this case, the whole point of the drawing process is lost.
Of course, any paint is an absolutely inedible thing, and you need to remember this! You can stop your child from eating paints in this way: add a solution of Epsom salts or mustard to the paints. The child will understand: if it is “bitter”, it means “impossible”!
It is worth noting that both gouache and finger paints themselves also taste quite unpleasant, and it is unlikely that the child will want to try them again. So don't worry too much if he licks his painted finger or drawing.
Finger paints for kids
Finger paints are great for little ones.
- They can be given to a baby from about six months of age.
- Such paints are specially made for little ones and they do not contain harmful and toxic ingredients, they are made using food coloring, because little children put everything in their mouth and taste it.
- To prevent children from doing this, they usually add salt or another ingredient to the paints, after trying which the child will no longer want to repeat it.
- Finger paints can be easily washed off any surface, washed off from a child’s skin, and washed off from clothes.
Characteristics of finger paints
Child psychologists are sure that the sooner a child starts drawing, the smarter he will grow up. Until the baby has learned to hold brushes and pencils in his hands, finger paints are the best option. In addition, felt-tip pens, colored pencils, watercolors and gouache contain unsafe substances, and it is very difficult to remove traces of them from clothes and furniture.
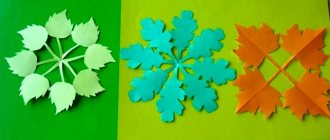
Making drawing templates
Engage your little one. First, draw his hands on colored paper. It's easy to do. Place your palm on the surface and trace with a pencil. Repeat the same with the second handle.
If the child liked the procedure, then it can be done an infinite number of times. Otherwise, once is enough. Then you can cut as many times as needed.
Crafts made from palms with your own hands turn out to be unusual, and on different topics.
Funny hedgehog
First, draw a silhouette of a hedgehog on a white sheet of paper. Then cut out 10-12 palms from brown and orange paper. Glue the bright pattern tightly to each other on the back of the needle.
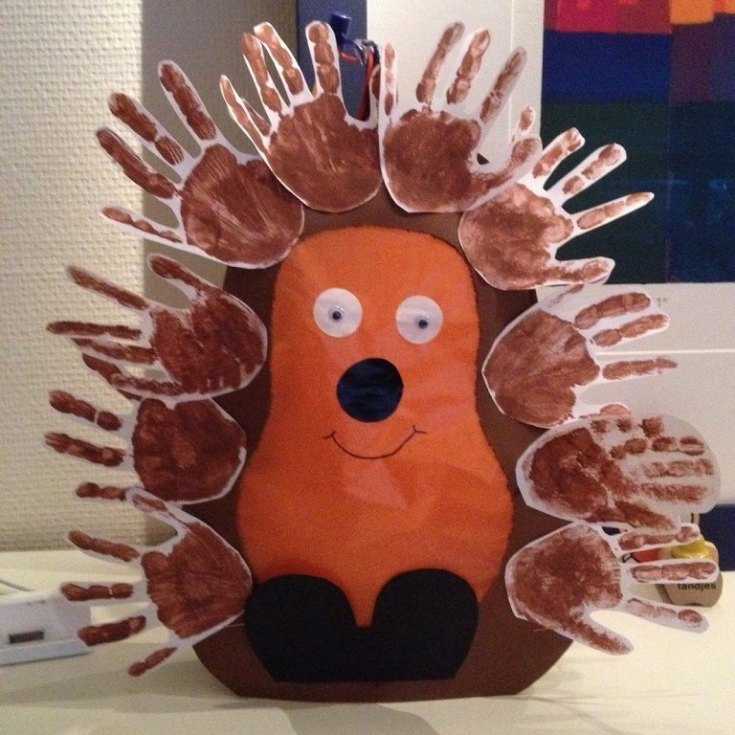
Now you need to cut out 4 ovals from red and white paper (make them mushrooms). They are fixed between the “needles”. Cut out a green stripe with a fringe, add it from below, you will get a wonderful grass-ant.
As you can see, handcrafts made from palms for children are simple to make, but look very impressive. Children often ask to decorate their room with similar appliqués.
Rainbow shards
Colorful stained glass windows with intricate leaves leaving bright reflections on the floor have always been considered a luxury. Their production has always been labor-intensive, and craftsmen were worth their weight in gold. Of course, it’s not easy to accurately recreate the technology, but templates and stained glass paints will help you achieve the effect of antiquity, or use painted angels to decorate window glass for Easter.
If you have an old lampshade lying around in the attic, don’t rush to throw it in the trash. Better give him a second life! Cast a spell and it is guaranteed to refresh the interior.
And a pickle jar can easily be transformed into an original vase or candlestick - painted or pasted over with figured decor. Place a candle inside, and the flame illuminates the silhouettes of trees, grass, houses where tiny fairies live.
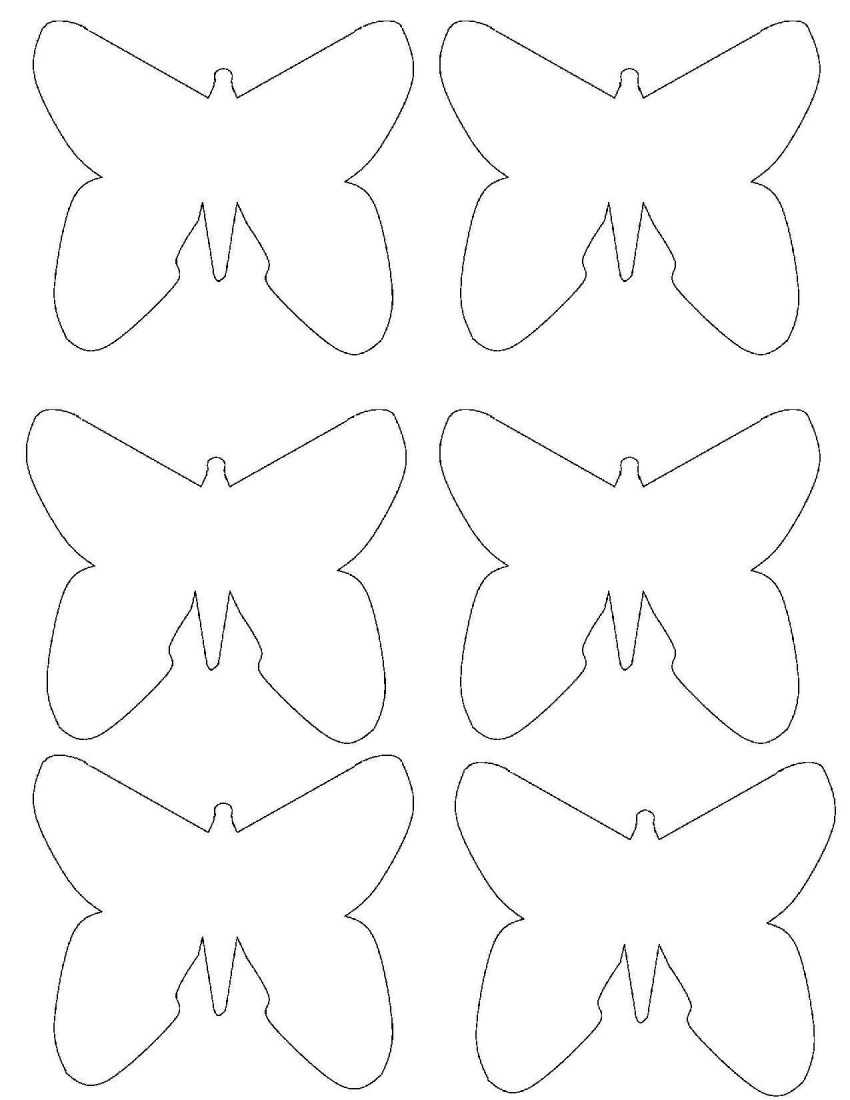
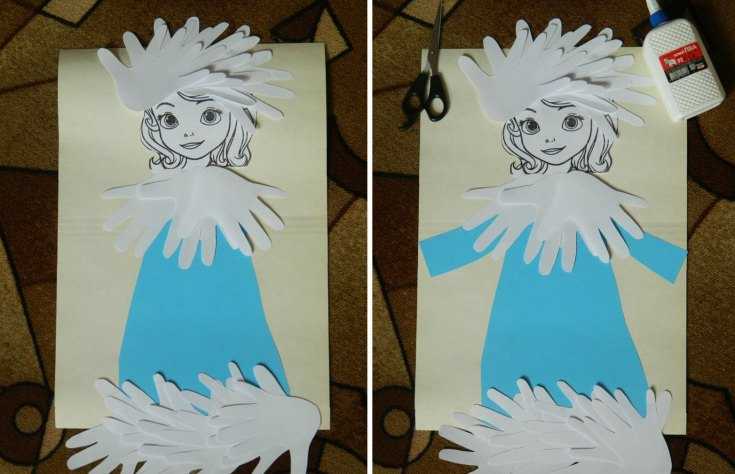
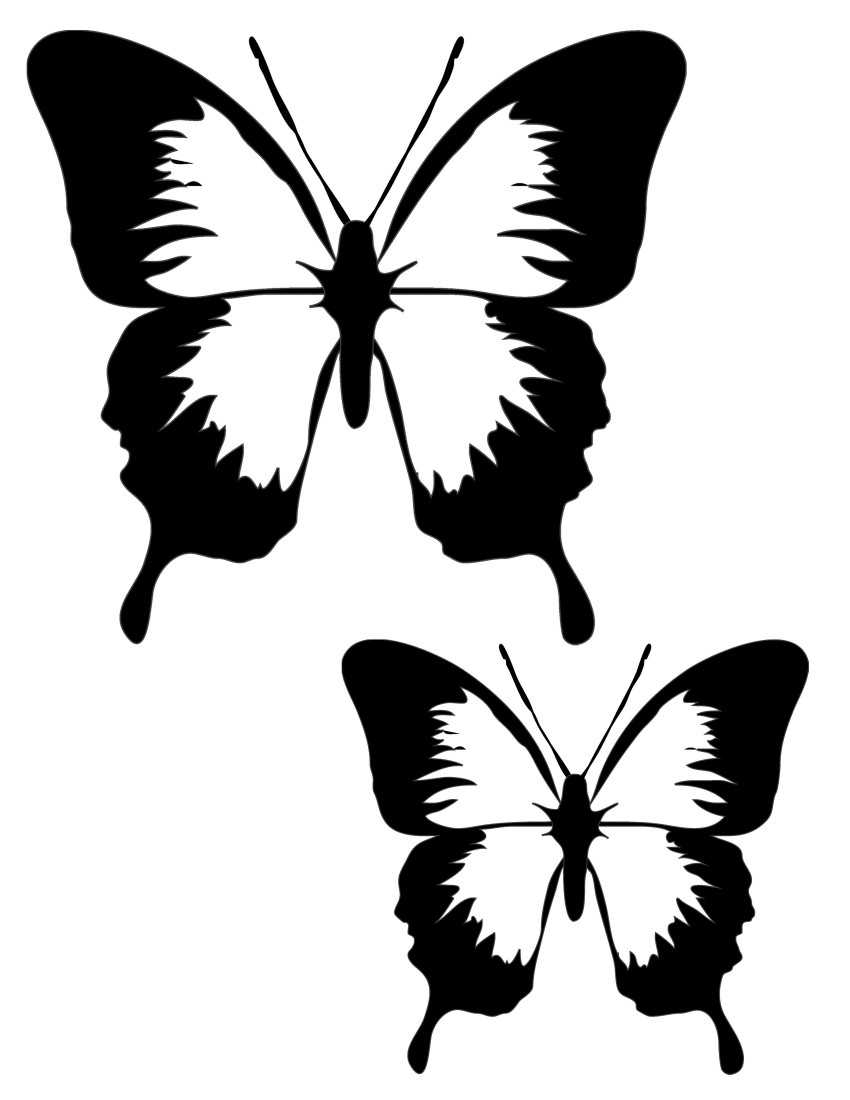
Beautiful butterfly
By making this beauty, you will not just captivate your child with an interesting activity. The main thing is that by working with small elements, the baby will develop fine motor skills. The variety of colors will allow you to quickly learn the palette and shades. As you can see, the benefits are undeniable.

Cut out two palms in different colors. Colored elongated oval. Different sized circles. Two stripes (very thin). Fold the colored paper in half. We place our hand on it so that the wrist is in the fold, circle it.
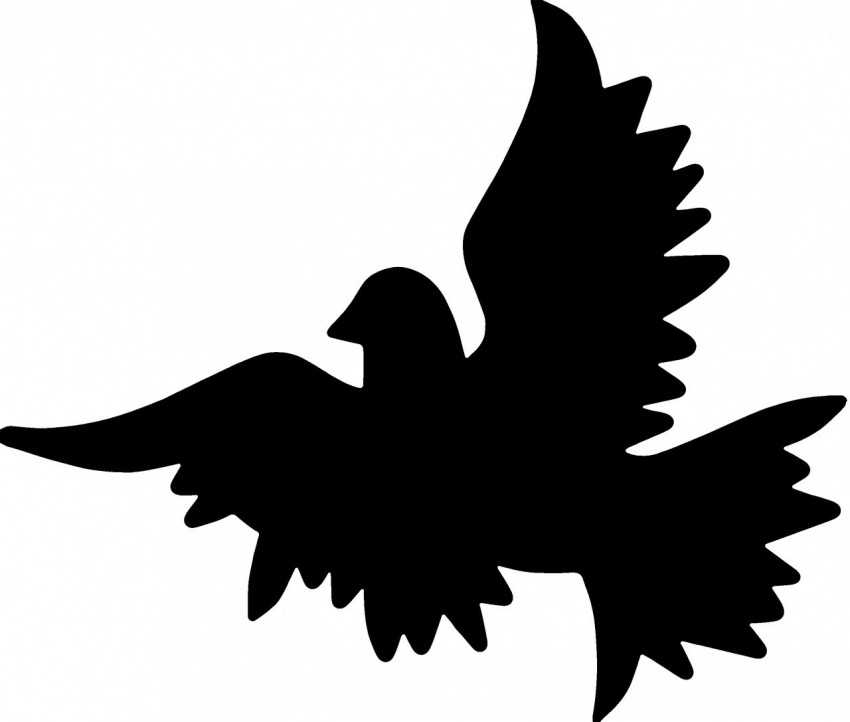
Pigeon
An easy craft in the form of a Dove of Peace is made using the following technology:
- Take a thick sheet of white paper and trace your palm with your fingers outstretched.
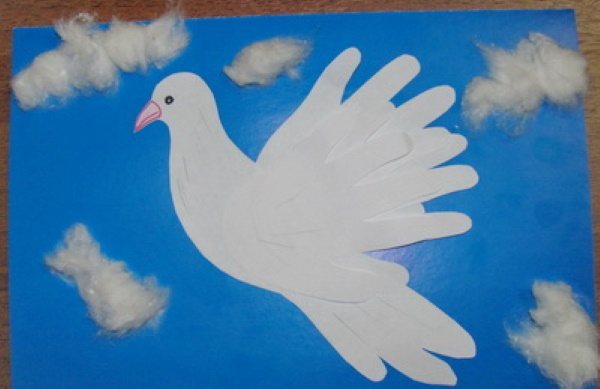
- Draw a red beak on the thumb and cut out the detail.
- Using a figured hole punch, shape a light green twig and attach it to the beak.
- Attach a long wooden skewer to the back.
- If desired, make several of these birds and place them in a vase, tying them with ribbon at the base.
Clown
Step-by-step technology for creating a bright clown:
- Lay out your palms on colored sheets, trace along the outline, then cut out. You should get about 15 blanks.

- From loose cardboard, prepare parts in the form of hair, boots, a hat and a butterfly. Color in appropriate colors.
- Coat the parts with glue and fix them in the right places.
- The next step involves shaping the colored palms into a suit and arms, then attaching them to the base with adhesive.
- Finally, use felt-tip pens to draw facial features and glue on a butterfly.
- If desired, decorate the clown costume with sparkles and ribbons.
Octopus
This simple octopus craft is fun and cute.
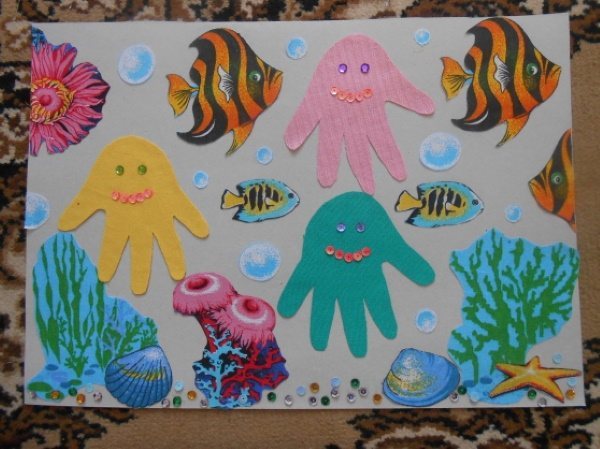
Step-by-step production:
- To make a picture from several mollusks, you will need a cardboard blank of A5 or A4 format.
- Place a child's brush on a colored paper sheet, trace it and cut out the resulting shape.
- Glue your palm onto the cardboard blank so that your fingers point down; these will be the tentacles of an octopus.
- Create eyes from a white sheet, and pupils from a black sheet.
- A pinkish or red paper strip will serve as a smile.
- If desired, decorate the animal with a bow, beads or hat.
World of plants
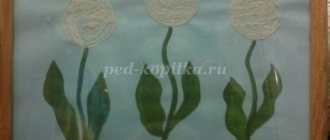
You can endlessly make handicrafts on the theme of palms. Let's build a vase with daisies together.
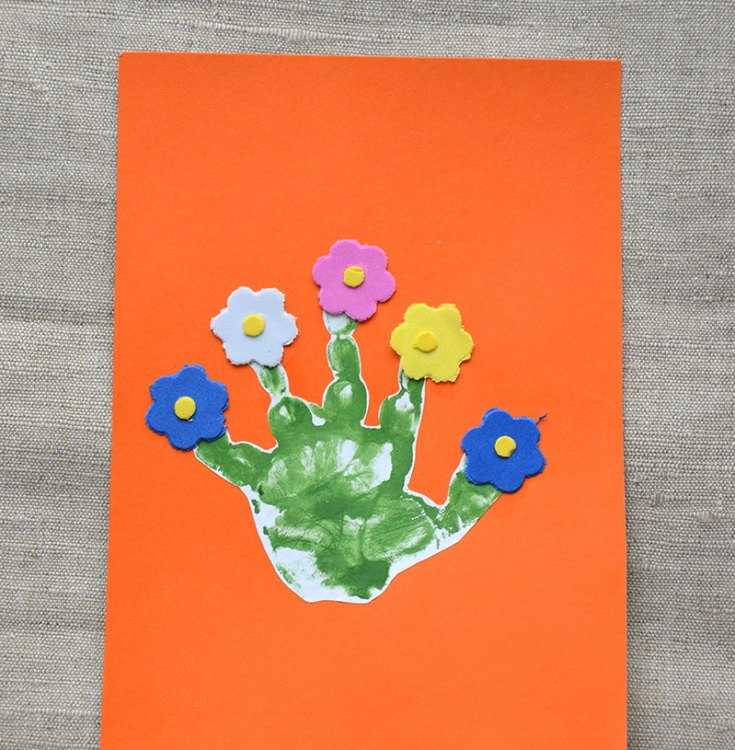
Prepare: corrugated white paper, yellow paper napkins, a set of colored paper and for scrapbooking with a pattern, colored cardboard, stapler, glue, paper clips.
Roll white paper into several layers (10 cm wide). Outline the hand and cut it out. One flower requires 6 templates.
The middle is made of a napkin folded into a square. Staple, trim the corners. Unchrome it. Make leaves and stems from green paper (spread out fingers are outlined). The vase is made from a scrapbooking sheet.