Drawing with salt and glue
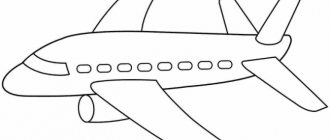
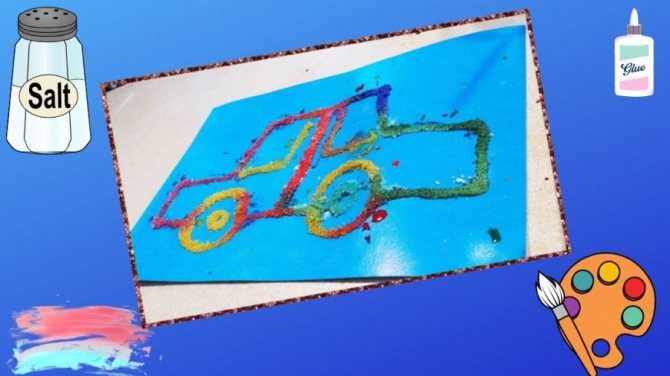
This is a classic technique. For the lesson you need to prepare templates. Draw or print out outline images. The outlines must be clear so that children can see them clearly. Try to maintain the composition so that the sheet of paper is evenly filled with the image and there are no empty areas.
Below is a step-by-step master class on how to paint with salt:
- Take PVA and draw the tip of the bottle neck along the contours of the design. Squeeze out the glue, but not too much. Along the contour there should be an even and narrow adhesive strip.
- Cover the leaf with salt. Don’t skimp, the salt grains should completely cover the lines coated with glue.
- When the glue has set a little with the salt, shake off what didn't stick.
- Leave the painting to dry. It will take at least an hour to dry, sometimes even longer if the salt lines are quite thick.
- When the template is dry, start drawing. Take a brush, dip it in water, pick up paint, then carefully apply it to the salt line. The paint will flow beautifully over it.
It is preferable to paint with salt and watercolors. Gouache can also be used, but it is thicker and forms a more saturated color of the drawing. If you want more airiness, characteristic of watercolor, you will have to greatly dilute the gouache with water.
Watercolor should be diluted thinly. Firstly, it will make the drawing lighter, more pastel. Secondly, thickly diluted paint is poorly absorbed into the salt circuit.
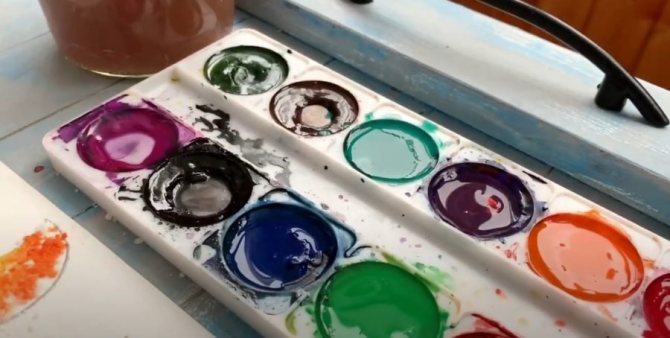
Instead of a brush, you can use a pipette and fill it with paint diluted with water of the desired concentration. But this type of work is more suitable for older preschoolers, while it will be difficult for children to learn how to work accurately with a pipette.
You can draw with one color or several. In a multi-color drawing, the colors will softly and intricately flow into each other. The salt drawing in itself is interesting and voluminous, but if desired, it can be supplemented with elements made in another visual technique, for example, in the form of appliqué or splashes.
GCD summary. Story drawing “Our group”
Tyutyunova Daria
GCD summary. Story drawing “Our group”
Abstract of GCD . Story drawing " OUR GROUP "
Create conditions for reflecting in the drawing impressions of the life of children in kindergarten, in your group . Learn to draw simple plots , conveying the movements, interactions and relationships of children to each other. Involve children in collective discussion of a common plan. Develop a sense of color and composition. Cultivate friendliness, maintain interest in cooperation and co-creation with peers and adults; accuracy. Arouse interest in the work and the desire to create a homemade album!
Materials and tools:
White sheets of paper of the same size for compiling a common album “ OUR GROUP ”; colored pencils and markers; simple pencils and erasers for each child. The teacher has prepared the first page of the album “ OUR GROUP .
Goals and objectives
The purpose of salt painting is to develop artistic skills.
Tasks:
- acquaintance with one of the original techniques of fine art, training in its practical application;
- education of aesthetic taste, the ability to see beauty;
- development of artistic abilities, imagination, imaginative thinking;
- improvement of finger motor skills;
- formation of independence, perseverance, diligence, hard work, accuracy.
On the topic: methodological developments, presentations and notes
The presented summary solves the problems of familiarizing children with non-traditional drawing techniques, consolidating already mastered drawing techniques, and developing the ability to conceive a color scheme and develop them.
Summary of a drawing lesson in the middle group of kindergarten “Yellow dandelions on the lawn” (Drawing with cotton swabs).
Pedagogical intent. Introducing children to the days of the week. Cognitive development: Introduce children to the days of the week; consolidate knowledge of numbers from 1 to 7, the names of the seasons and months; improve skills.
To promote the formation of children's ideas about the benefits of physical activity.
Goal: continue to introduce the Dymkovo toy.
Priority educational area: Cognitive development, speech development, artistic and aesthetic development. Objectives: Educational: - introduce the names of toys; - learn to compare them by size.
Source
On the topic: methodological developments, presentations and notes
collective work of children of group No. 91 of senior preschool age “Our favorite snowman Tosha.”
Summary of an open physical education lesson for the senior preschool group of a kindergarten on the topic: “Birds.”
Goal: to introduce children to the rules for pedestrians and passengers. Objectives: 1. Reinforce with children the concepts of “driver” and “pedestrian.”2. Develop children's horizons and logical thinking.
The work program “Interaction between kindergarten and family in promoting a healthy lifestyle for older children” was developed on the basis of the “Basic educational program of the city.
Formation of moral and patriotic feelings in children through systematization of knowledge about the Constitution of the Russian Federation.
Goal: to attract children to a healthy lifestyle through sports entertainment.
Source
Preparing for work
Before the start of the lesson, the teacher should familiarize students with examples of salt work: show illustrative material, talk about the technique. Next, you need to choose a topic for your work. The teacher must talk with the children about the chosen topic and carry out educational and educational work. For example, if the topic is “Autumn Leaves,” you can talk about the beauty of nature in autumn, the change of seasons, and the importance of fallen leaves for the soil.
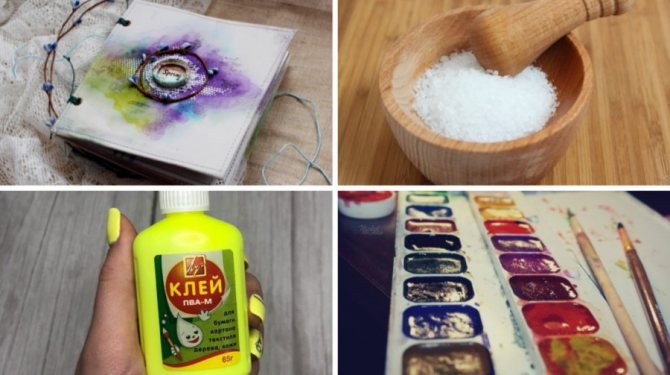
Next, you need to prepare materials and workspaces. To paint with salt you need:
- white cardboard or album for drawing with watercolors;
- a bowl of table salt;
- PVA glue in a tube with a narrow neck;
- watercolor paints;
- soft brush;
- glass of water.
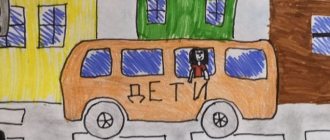
Drawing children
Many children attend the kindergarten, among them there are both boys and girls. We draw a lot of different children, thin and plump, small and big, cheerful and not very cheerful. This will help the child quickly make friends with other children, find common interests and joint activities.
Don’t forget to also draw your own child among the children. This will be a kind of rehearsal, preparing the child for being in a children's group.
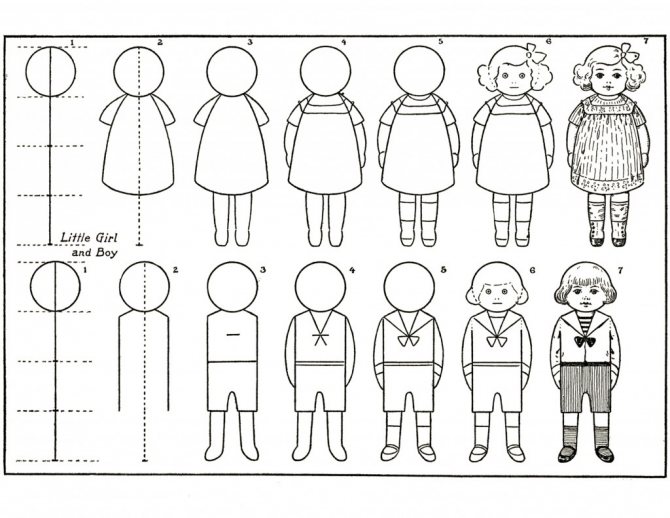
In the picture above you can see how to draw children step by step. When drawing a girl, we dress her in a beautiful dress, bright tights, and put on shoes. Don't forget about bows and hairstyle. We dress the boy in shorts and a T-shirt, with socks and shoes on his feet. Drawing children of different sexes contributes to the development of the child; he learns to look for differences between girls and boys, men and women.
