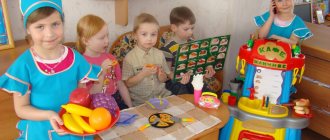
Applications made of paper and cardboard are a popular type of activity for children in kindergartens and schools. No wonder.
This type of creative activity awakens the child’s imagination, forces him to think and act outside the box. Children increase their intelligence and hone their skills in synchronized work with their hands. Paper art provides a visual representation of the color, shape and texture of materials. The child feels like a creator. It's a wonderful feeling.
Child psychologists recommend appliqué classes from the age of two. The simplest tasks are suitable for kids. As the lesson progresses, the teacher provides useful information on the topic of the craft. The benefits of appliqué training are doubled.
We make beautiful paper applications: simple crafts for the little ones
Before starting to work with paper, we will explain the appliqué technique to the child:
- Glue - hold the pencil perpendicular to the sheet of paper. Let's put glue in the child's hand and show how to use it.
- The piece of paper must be held with your free hand. Let's practice together with the baby.
We will prepare templates for work in advance.
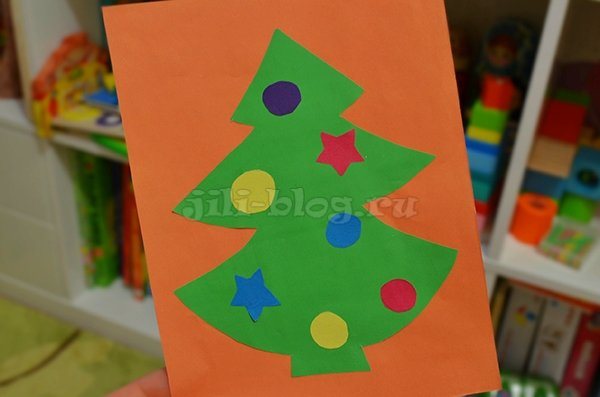
Application “Decorating the Christmas tree”.
Operating procedure:
We glue the pre-cut tree and the child onto colored cardboard. We give him paper balls and stars. Let him decorate the tree himself.
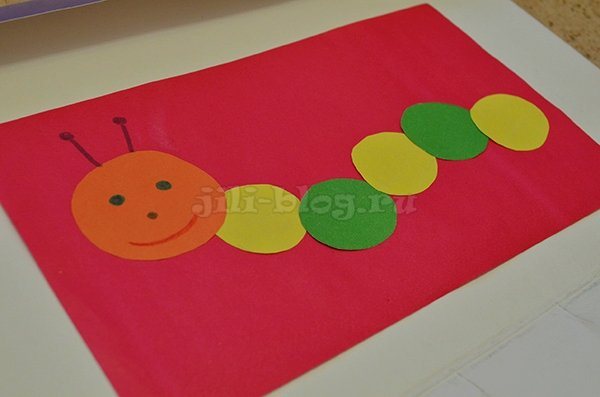
Examples of paper crafts for little ones with the exact location of the elements.
Let's complicate the task. The child glues the elements of the composition to the places specially designated for them.
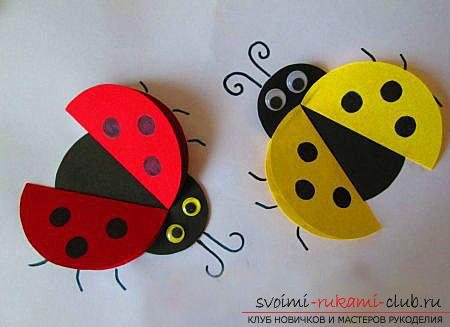
Application "Fun Caterpillar".
Children's art stores sell ready-made sets of paper appliques for children. The child cuts out the blank parts and glues them in the right place, checking the instructions provided. Ask your child to complete the task independently. Let him develop logic and attention.
We introduce older children to various techniques of paper and cardboard appliqué.
Application techniques are:
- Traditional;
- Non-traditional.
Traditional technique of teaching children appliqué.
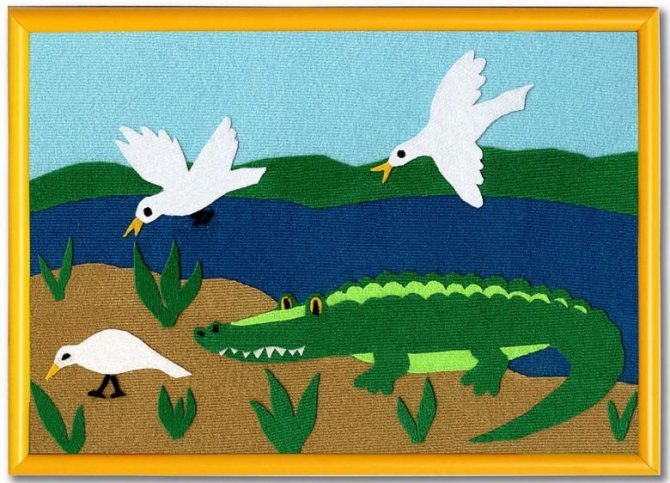
Children make a decorative composition from paper geometric shapes.
They place parts on a cardboard base in a certain sequence or come up with a plot from individual objects and pieces of colored paper. Non-traditional technique for teaching children appliqué.
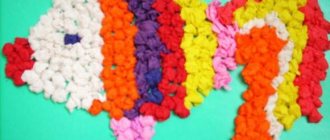
Broken appliqué teaches children to distinguish and convey the texture of an image. The cloud really turns out curly, and the chicken is fluffy. Develops spatial thinking and fine motor skills.
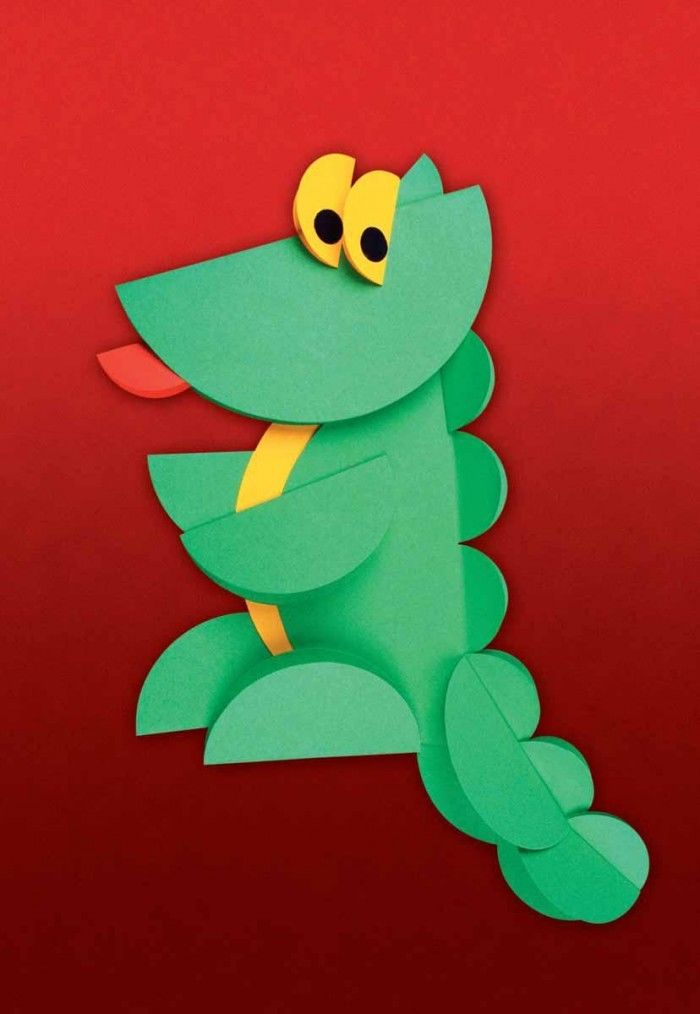
The applied applique realizes the possibilities of a multi-colored image. The parts are glued in layers, each previous shape being larger than the next.
Mosaic (modular) applique creates a holistic image by superimposing many identical shapes on top of each other. Geometric shapes are usually taken as a basis: circles, squares, triangles.
A symmetrical applique is cut from a blank folded in half. The result is symmetrical objects from which the applique is made.
Ribbon application produces several identical images connected to each other. Take a sheet of paper, fold it like an accordion, cut out the shapes.
Silhouette applique requires excellent use of scissors. An outline is drawn on paper, and intricate silhouettes are cut out along it.
Quilling or paper rolling is a complex paper appliqué technique. Compositions are born from twisted strips of paper. Skilled craftswomen produce real masterpieces.
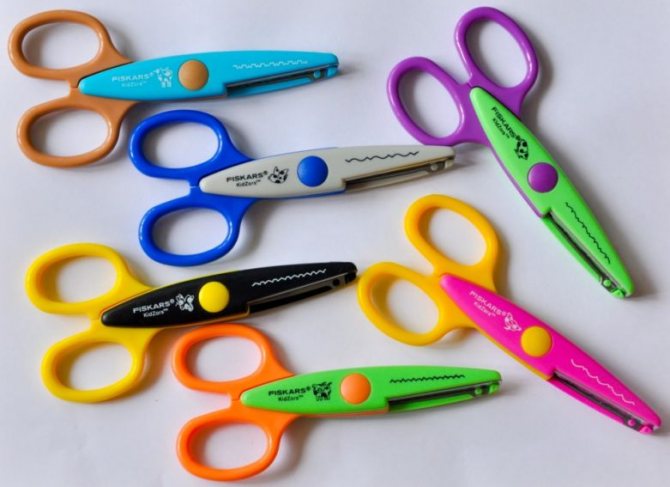
Compliance with safety regulations
Children's creativity is a fascinating process. But it is important to remember that in the hands of a child, scissors, glue, needle and thread, buttons and small craft items can be potentially dangerous.
Parents must show how to use all this correctly so that trouble does not happen.
Making applications is an important part of the pedagogical and educational process. By working with simple images, fine motor skills of the hands develop, spherical imagination and abstract thinking are formed.
However, when working with preschool children, it is important to ensure that the child uses scissors correctly, does not put buttons in his mouth, or tastes the glue.

Safety rules for preschoolers are taught in kindergarten. Children whose mothers and grandmothers sit at home often do not know basic things. Therefore, in the absence of adults, potentially dangerous items should be kept out of reach.

Children, wanting to repeat the creative process, may take something without permission and use familiar objects in some other way.

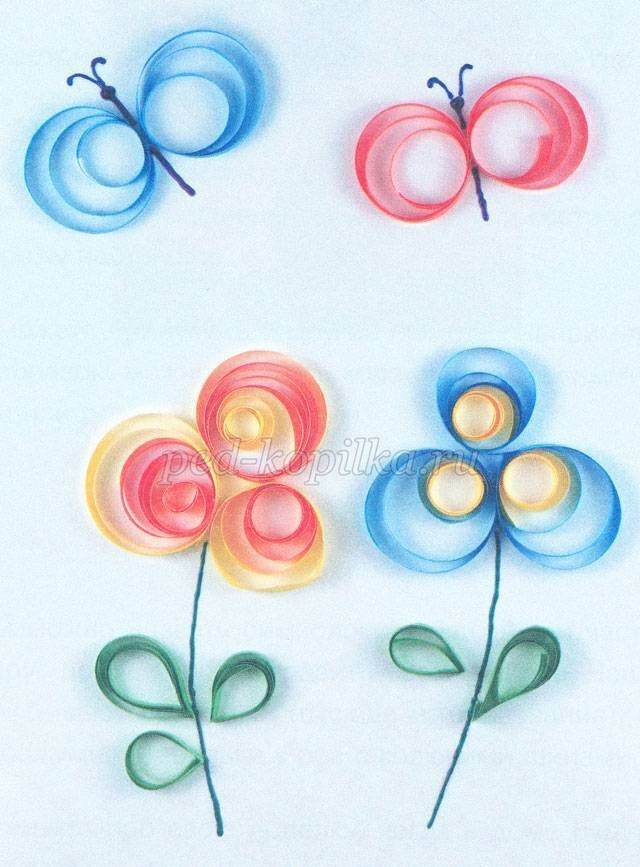
Master class on crafts for kids using quilling technique “Flower Meadow”
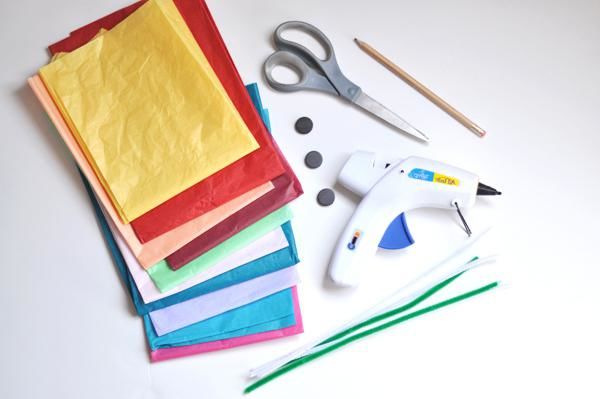
Materials for work:
- Colored cardboard;
- Colored paper;
- Felt pens or colored pencils;
- Scissors.
Procedure:
We prepare strips for quilling from colored paper in advance.
We wind the strip onto a pencil, remove it, straighten it, and glue it to the spiral.
We make all the spirals as shown in the photo.
For flowers you will need:
- Three pink spirals;
- Three yellow spirals (slightly larger);
- Three yellow spirals made of thick paper;
- Two blue spirals (straightened).
For the petals you will need:
- Five green spirals (straightened and flattened on one side);
- Draw the stem with a green felt-tip pen.
For butterflies you will need:
- Two blue spirals;
- Two pink spirals;
- We decorate the body of the butterflies with felt-tip pens.
Trimming is an interesting type of paper craft. Includes elements of applique and quilling. An easy-to-use and very beautiful method of paper applique. Wonderful paintings and panels made using the cutting technique are suitable as gifts and will decorate the interior.
Master class on applique on the theme of space “Rocket” for preschoolers using the cutting technique.
Materials for work:
- Corrugated colored paper;
- Cardboard;
- PVA glue;
- Scissors;
- Wooden sticks for rolling paper.
Procedure:
We sketch a sketch of the intended composition on a cardboard base.
We cut out small squares from corrugated colored paper and trim (roll) them with wooden sticks.
Lubricate a small area of cardboard with glue and glue the prepared paper.
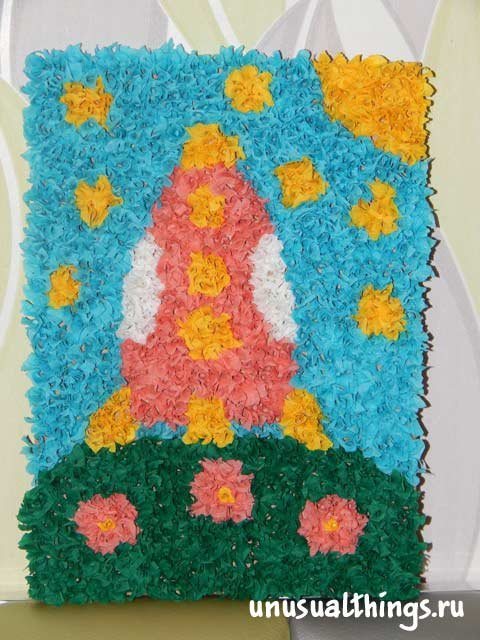
It turned out to be a beautiful card!
Using trimming, you can make crafts on any theme: greeting cards for the holidays, images of plants or animals, landscapes.
There are many techniques for paper appliqués. Don't limit children's imagination, give it space. You will be amazed at the masterpieces created by skillful children's hands.
Fabric applique
Girls love to work with flap, from which many colored fragments can be cut according to a template. Over time, this hobby can become a useful hobby.
Fabric applique is a very practical type of needlework. Having learned how to properly process pieces of fabric and sew them onto the base, children will be able to decorate clothes:
- “hearts” on the knees of the trousers;
- decorative patches on elbows;
- applique on pockets and hood;
- decoration for a bag or school backpack;
- design of sofa pillows, children's blankets, and other accessories for the interior of a teenage girl's room.
Coming up with a design and finding a suitable flap is the easiest step in making fabric appliqué. Proper processing of crumbling edges and careful placement of parts of the image on children's clothing requires attention and accuracy.
Adults should teach all the nuances of this type of needlework. It would be nice to teach a girl how to glue, baste, sew on a machine and sew pieces of fabric by hand.
Sometimes boys show interest in fabric appliqué. Perhaps the diligent child will grow into a famous couturier in the future.
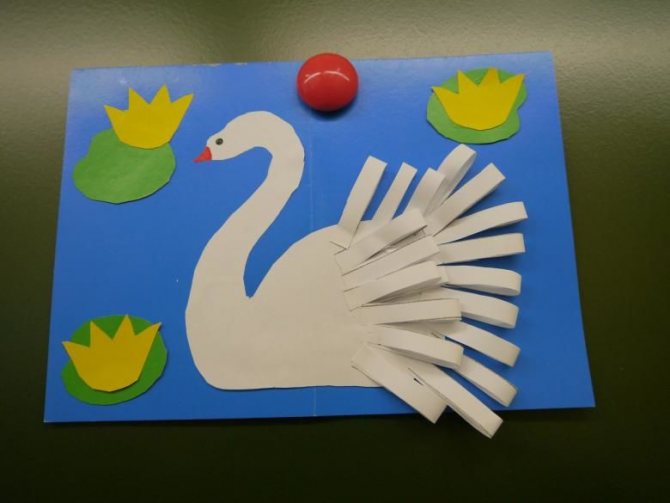
Volumetric origami applications
Paper is the simplest material that can be worked with using different techniques, using only scissors and glue. There is a special technique where you can do without glue at all - this is modular origami.

Three-dimensional figures using the origami technique are made from identical or similar fragments, assembling any objects from them:
- Peacock.
- Flamingo.
- Swan.
In most cases, when talking about appliqué, we mean flat images. But the volumetric variety remains the most impressive. Talented children make something unimaginable from the modules, including cakes and buildings of Orthodox churches.

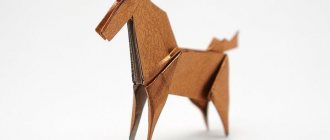
Traditional Japanese applique
It was once invented to work with rice paper in Asia; the pliable material holds its shape well when curved. Traditional origami cranes have become “classics of the genre.” Having a scan diagram and a brief explanation of the stages of work, it is easy to repeat any sample:
- Origami "Cat".
- Jumping frog using origami technique.
- Origami fish.
Volumetric paper kusudama balls
Amazing crafts assembled from identical modules also came to Europe from Japan. These are kusudama balls, which were once made as amulets.
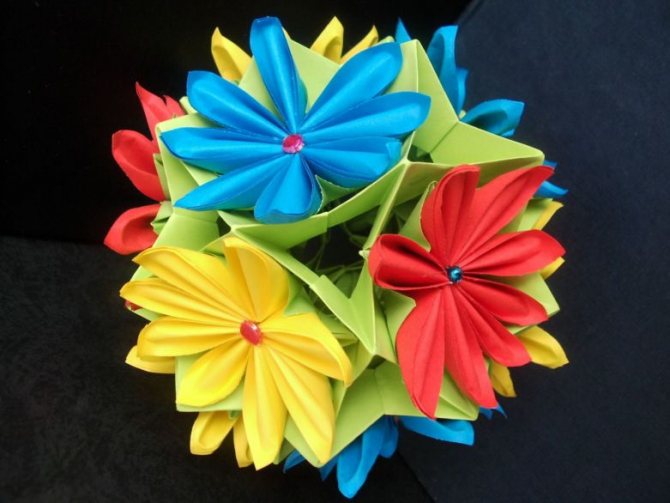
Today, this technique is taught in the school curriculum on labor and in handicraft clubs. They can be used as a gift filled with candy or to decorate a child's room.

The photo shows a voluminous do-it-yourself kusudama appliqué in the form of a wreath.

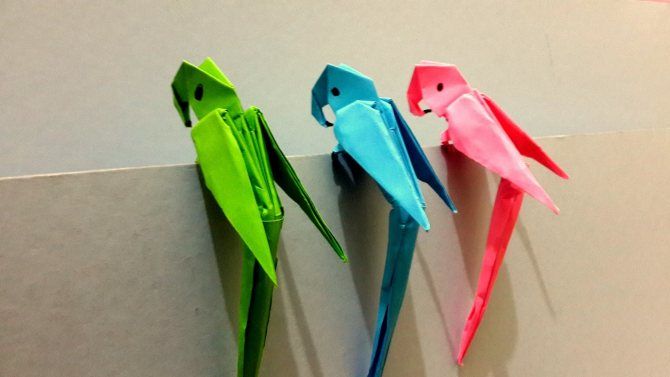
Origami unwrapping and “wet technique”
Amazing techniques for three-dimensional figures are within the reach of those who have well-developed spherical thinking. Masters transform solid pieces of whatman paper, obtaining something similar to a sculpture of strict geometric shapes:
- A whole museum of forest trophies made of paper. In Japan today it is not customary to boast about one’s hunting achievements, so a paper alternative has appeared.
- Parrots are one of the best examples of Japanese technology.
Working with wet paper purposefully gave rise to a new type of origami, where curves and smooth outlines are held in high esteem. Wet folding is more reminiscent of working with fabric or thin leather.
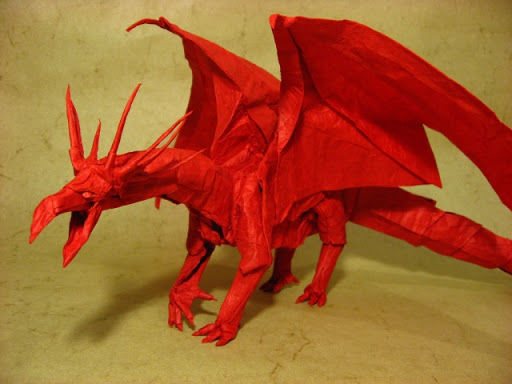
Here is an example - a Lion and a Fox with a Fox Cub.

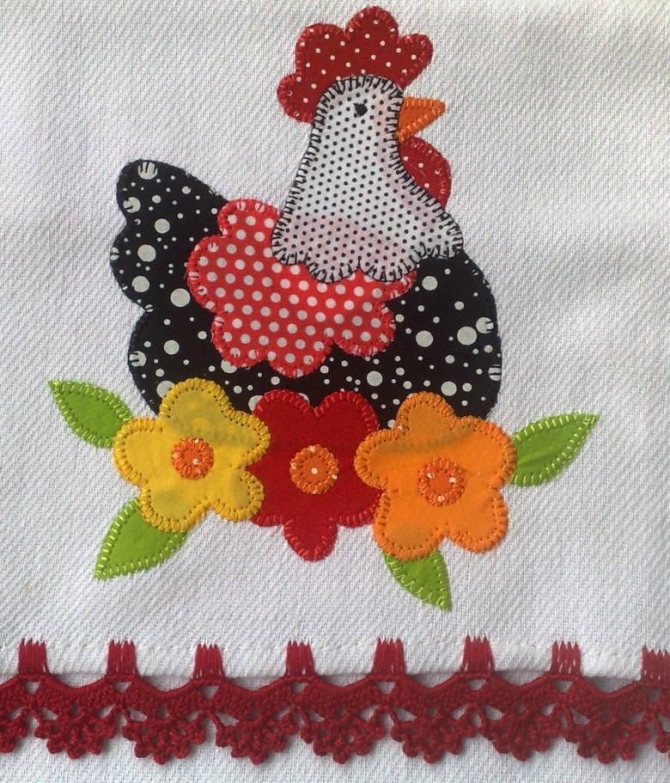
Creativity on fabric
Applique on fabric is an interesting way to decorate clothes. This way you can decorate both adult and children's things. Many couturiers, from classics to modern ones, deservedly pay great attention to this type of decoration.
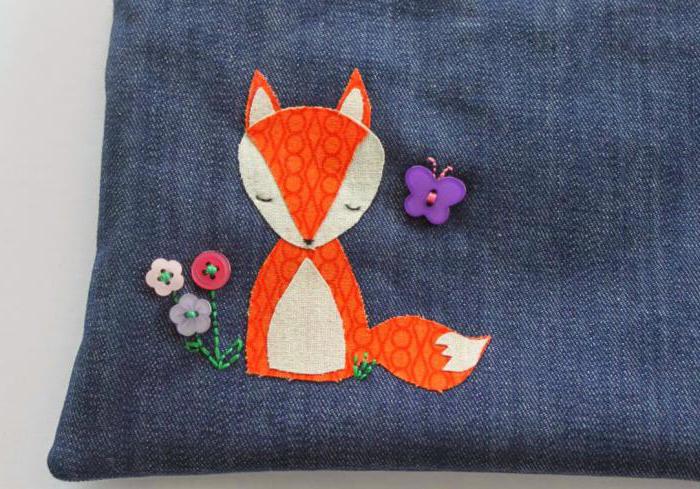
To decorate clothes or bags like a fox, you need several pieces of fabric - 10 by 10 cm orange, 5 by 5 cm white. You also need black thread and an embroidery needle.
First, a blank is drawn on paper - the fox's head, body and tail. Then draw two triangles - for the muzzle and for the chest. The resulting designs are transferred to fabric and cut out.
The blanks are sewn to the base from the front side. You can do this with a sewing machine or sew on by hand.
To create a plot, flowers and butterflies are sewn near the chanterelle. You can cut them out of fabric and use curly buttons.
The edges of the fabrics can be processed or left free - any option has a right to exist. A fox does not have to be red - even a purple animal will look interesting.
Applique on fabric is a universal way to decorate things, simple and affordable. Since the work requires scraps of material, this gives a lot of scope for imagination.
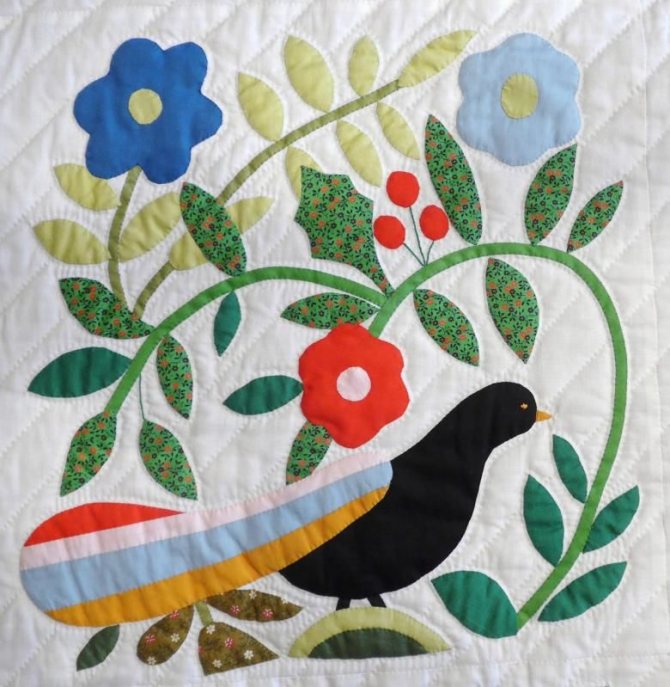
Bullfinches made of threads
Thread applique is not just a children's craft. It provides the widest scope for creativity. Experienced craftswomen turn non-traditional types of appliqué into real masterpieces. Working with threads is very painstaking and requires great precision and perseverance. When starting to master this direction, it is worth practicing making small plots, mastering the creation of individual elements, experimenting with the shape of objects and the quality of the thread. Then you just need to start implementing the big plot.
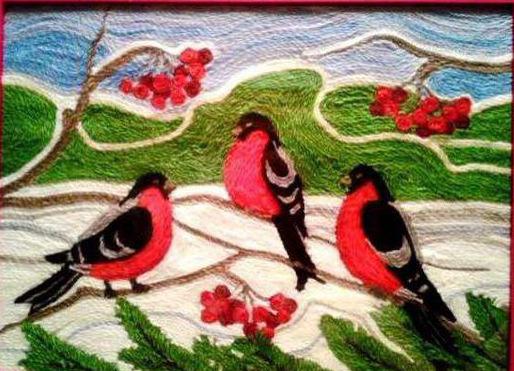
To make bullfinches you will need:
- green melange threads for grass;
- white threads for the background;
- blue melange threads - sky and clouds;
- brown, black, red, gray - for berries and bird bodies;
- glue;
- thick cardboard;
- pencil.
First, a sketch of the plot is made on cardboard, which will be the basis. Bullfinches arrive in winter, most often we see them against a background of snow, sitting on the branches of trees - ordinary garden or spruce. This is exactly what needs to be drawn.
It is important for yourself to decide which block will be made in which color. This way, there will be no confusion in the location of the threads.
The background elements are done first. The base is carefully painted over with PVA glue, and then the threads are glued. The first strand can be laid in any order, but all subsequent strands will definitely follow the contour. It is more convenient to start from the bottom, first bypassing all the difficult places, and then completing a large field. After the sky and branches are ready, they begin to make the bodies of the birds. It is necessary to work carefully; the beak and paws require special precision in laying the threads. The last to be done are the berries. To make them look like real rowan, the red threads are twisted in a spiral. This makes the berry more textured and voluminous.
If desired, the base can be fabric. In this case, the threads are laid out on the base or glued as described above. Then, several stitches are made by hand or on a sewing machine, which additionally secure the threads. This applique can be beautifully decorated with a pillow or bedspread; it can also be used as an element of clothing decoration.
This thread painting will decorate any interior and will attract the admiring glances of guests.
Simple application for beginners
Looking at real works of art, some are overcome by involuntary fear, which can be expressed as “I won’t be able to do this.” This is not true, in any technique everything starts simple and moves towards more complex mastery skills.
Images laid out from individual fragments are proposed to be mounted on cardboard, plywood or in a photo stretcher. Good ideas:
- Geometric applique. Assign your child the task of putting together any object from identical geometric shapes. From ovals, for example, you can make a hare, from circles - a bear cub or a goldfish.
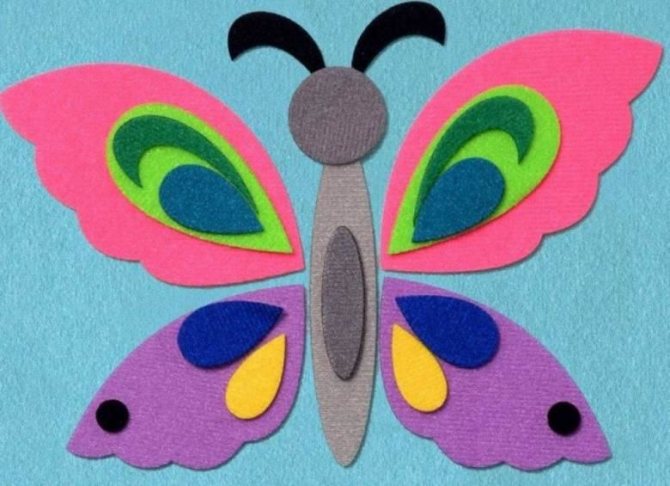
- Invite the child to fold symmetrical elements from whatman paper or thin colored cardboard, cut out according to a template, in the center. You will get leaves, butterflies or dragonflies that will decorate the interior.
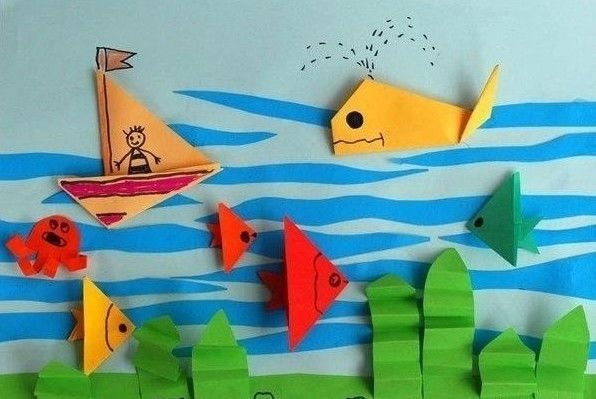
- Mosaic applique is a fun way to lay out entire pictures from cut candy wrappers, torn napkins and pieces of colored paper. It is reminiscent of paintings with large strokes.
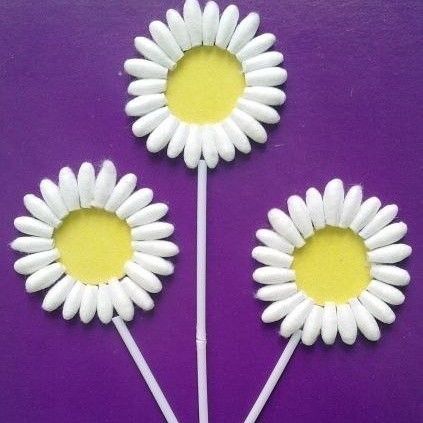
- Application made from combined materials is a good way to develop a child’s imagination. Cotton pads and ear swabs can be used to depict light clouds or flower petals in the picture.
An example is daisies made from cotton swabs. A primary school child can handle laying out the picture himself, but help him (for safety reasons) cut off the plastic base. Ask the dandelion leaves to be made according to the template.
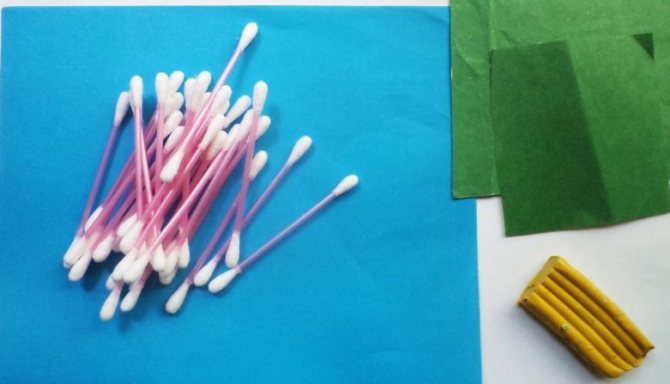
Children can handle the stems on their own. Suggest replacing the yellow plasticine centers with something else.