For different ages
It is advisable to choose which craft should be made, taking into account the age of the child. Of course, moms and dads will still have to help their child, but this should be his victory. Achievements are difficult to share among everyone, just like success, praise, and good grades.
Preschoolers can create figurines, paintings, and soft toys. It is worth paying attention to photo frames, greeting cards, stained glass, and Christmas tree decorations. But decorating covers for books and notebooks will not be interesting for children at this age, since reading and writing skills have not yet been developed or honed. Primary school students will like this idea more.

Crafts made from wood, wire, matches - “aerobatics”, an interesting task for children studying in the 5th, 6th, 7th or 8th grade.
Crafts from waste material
Here's a robot made from bottles . It looks very complicated, as if everything was created somewhere out there, by designers at a large factory. And no one will guess that it is homemade!
Now let's take a closer look at the robot:
- The frame consists of a durable bottle. Its bottom is at the bottom, and its neck is at the top.
- Several rows of corks are attached to the sides of the bottle.
- The head and legs are also made of corks of different sizes. To make the legs and arms movable, we thread a wire through the plugs. Holes can be made with a drill or a hot screwdriver. Dad will help.
And again! It is not important to adhere to the same order of cork combinations. Your robot has the right to be different and unique. The important point is the combination of one or two colors. Then the installation will look like a single structure.
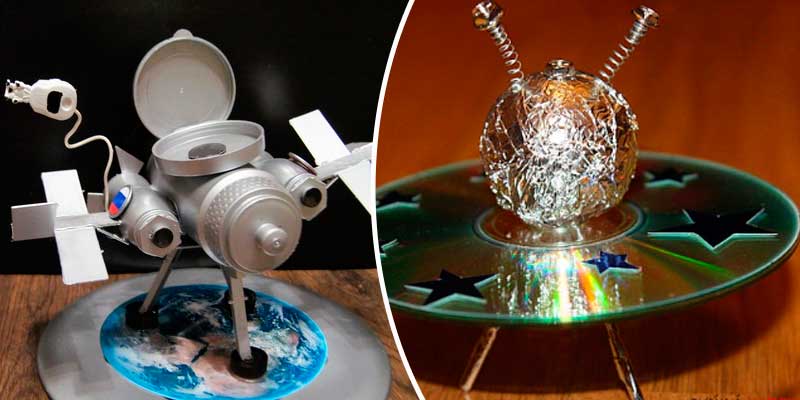
And from disks you can make windows in a spaceship or flying saucers themselves, if you glue a ball of foil and a couple of antennas. And if you add covers, bolts, and paint everything with silver spray, you get a space station or satellite.
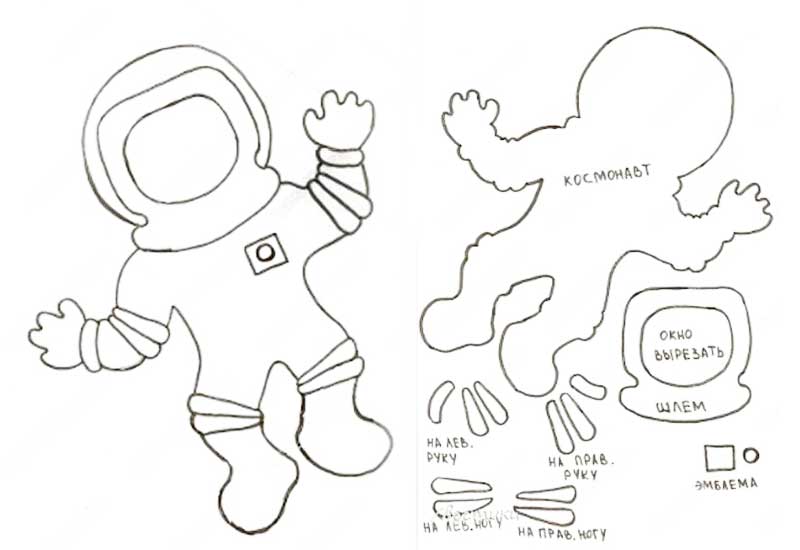
Templates on the theme of space for children in kindergarten and school
And in conclusion, I offer different templates for any type of crafts, and for applique, for postcards, for sewing and drawing, or plasticine creativity.
I won’t describe it, since everything is obvious. Your task is to save and print.
Our exciting space journey has come to an end!! Make your choice, participate in competitions and win, and just create for your own pleasure!!
What can be made from Lego
Lego sets contain a surprising number of tips for the creative development of little ones. You can also use individual characters from the set. For example, let's send Lego heroes to a distant planet.
Author of the idea
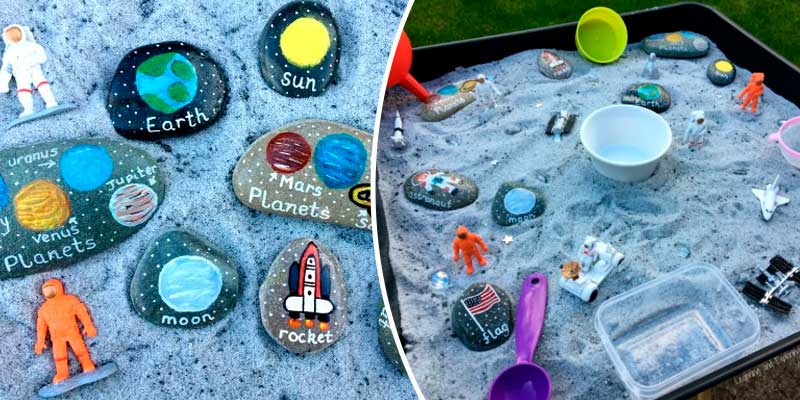
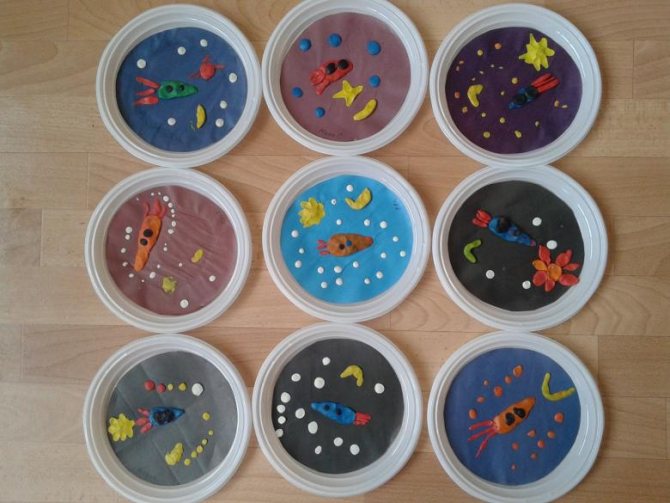
A space tray or a sensory box or an anti-stress sandbox that all children will immediately want to play with, your craft will definitely become the most popular and win the competition!
- We color the sand or sugar using simple paint or chalk ground into flour. You can add sparkles, crumble activated carbon (for black inclusions), because this is space! It would be cool to take kinetic sand with glitter or plain sand.
We color with liquid food coloring. This is the easiest way - just drip and mix. You can get different colors quickly and easily. By the way, the sand on our planet can be made colored.
- Let's take any box and fill it with this sand. This is an alien planet or just space in which planets and the sun will be located.
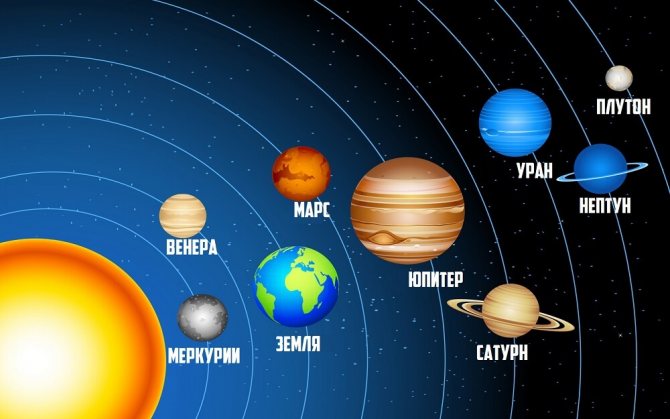
You can make black or blue sand. Place stones with planets, lego astronauts, ships. The circles in which the planets move can be indicated by sand of a contrasting color. Then it will also be a training box. So the solar system is ready.
- You can build mountains or scatter stones, or build any three-dimensional structures. Draw or stick paper planets on the stones and cover the top with PVA glue or clear varnish so that the paper does not lose its appearance. And here are the templates:
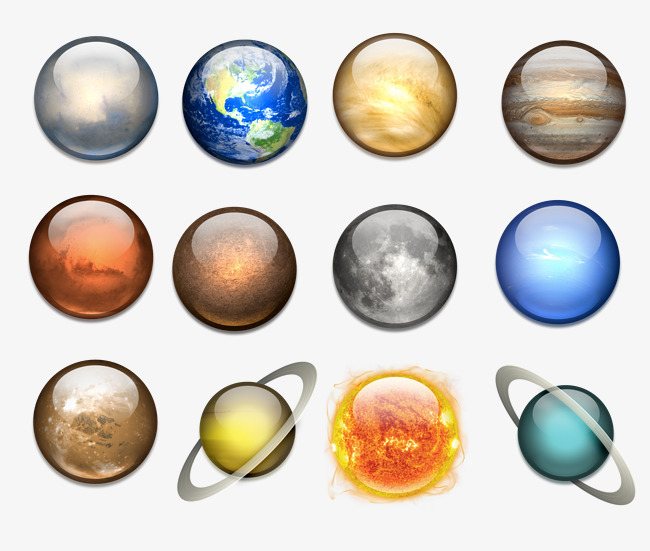
planets for coloring
solar system for stone placement idea

planets for cutting
planets for cutting planets for cutting
- And now we send our space travelers to explore this planet. You can take small spaceships, minirobots and more.
For example, here are the mini-robots that Olezhka gave me for my birthday; a little later I’ll post a video on our channel of how I made Valli and Eva:
Interestingly, such a tray can easily be supplemented or even changed if desired.
Kirigami postcard
One of the directions of origami is kirigami. This technique is needed to create very beautiful cards. Scissors are permitted.
Multidimensionality is easier to convey than it seems. There is no need to learn the rules for the placement of light and shadow on the canvas. If a child loves to draw and has artistic abilities, he himself will be able to develop them in the future, and kirigami will be an ideal start to work, a springboard for further improvement.
For production you will need:
- templates;
- paper;
- scissors.
The template indicates where the pattern will fold. They are arranged in such a way that the craft ends up being voluminous when the postcard is opened. When closed, the sheets fold neatly on their own. Ready-made templates can be downloaded online or purchased. You can draw them yourself. Video, master class will help you master the basic rules.
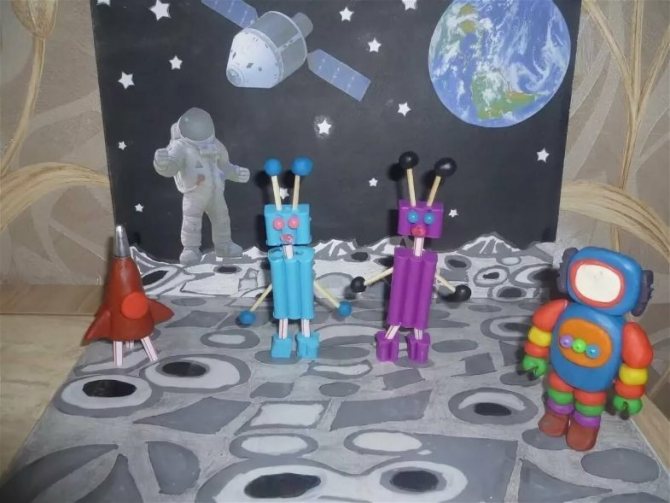
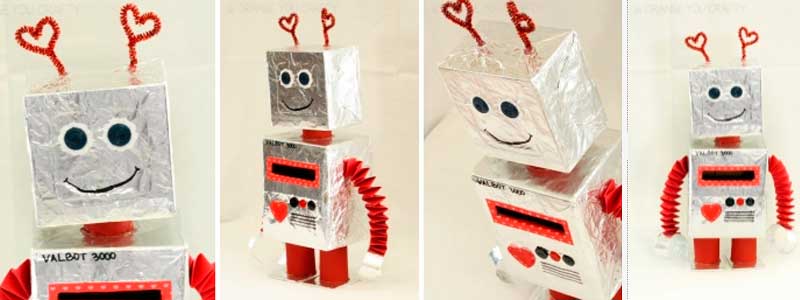
Robot alien
Do-it-yourself space-themed crafts don’t necessarily mean rockets or planets. You can build a real alien robot. For this you will need:
- Two small boxes, one larger, the other smaller;
- Foil;
- Three rolls of toilet paper or towels;
- Colored paper and cardboard;
- Decor for decoration.
Progress:
- Both boxes should be wrapped in foil so that there are no bare parts left;
- Toilet paper rolls need to be painted in a suitable color or covered with paper. Two of them remain the same size, a part needs to be cut off from the third to make a neck;
- For the arms you need to cut out two strips and fold them with a spring. Colored paper or cardboard is suitable for this;
- Attach foil palms to the tips of your hands;
- Make eyes and a mouth on a small box, stick buttons on a large box, you can design a display, in general, create a robot’s body;
- Now all that remains is to assemble the robot. The head should be crowned with horns-antennas. To do this, you can take a spring or make them from foil.
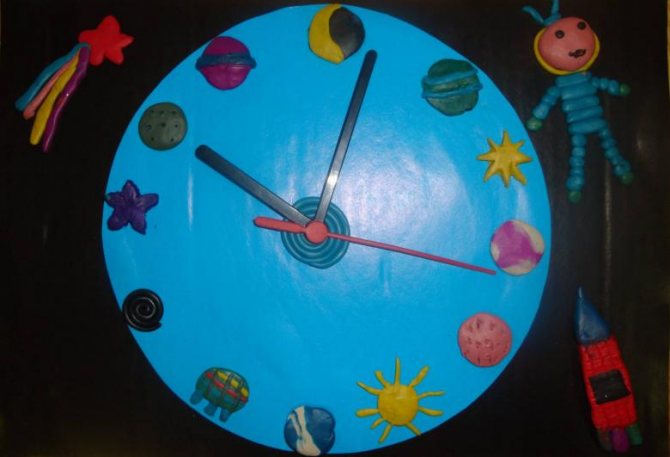
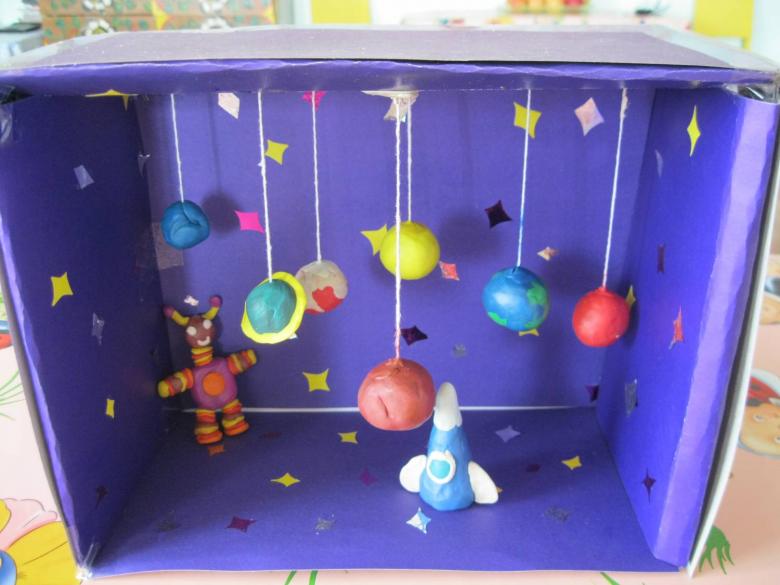
Space structures made of plasticine
See what original shaker jars you can make, the so-called snow globe (follow the link for our detailed master class). Remember in American movies they give one like this on holidays. You shake it and snow slowly swirls in it, in our case sparkling stars.
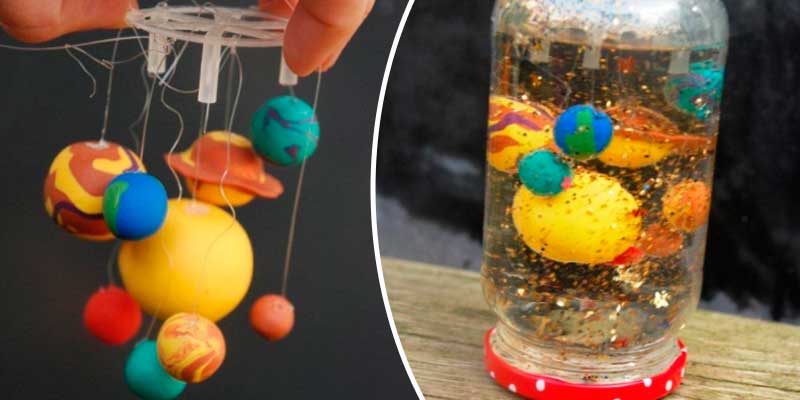
- From plasticine or polymer clay (this option is more reliable) we make planets of different colors and sizes.
- Using a glue gun and wire or fishing line (but then they will dangle when you shake the ball), we attach the planets to the lid of the jar.
- Fill the jar with a mixture of glycerin and water in equal proportions. Glycerin can be purchased at a pharmacy. The more glycerin, the slower the glitter settles and the longer it swirls and sparkles.
- Add sparkles - “star dust”.
- Screw on the lid and turn the jar over.
With this jar it's easy to make a meteor shower!
Paper crafts for Cosmonautics Day
Although paper crafts are simple , working on them is no less fun. Let me introduce you to this option.
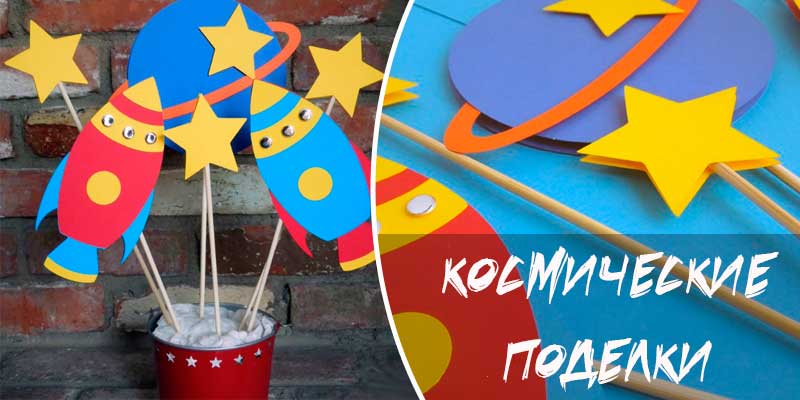
How to do it:
- Cut out stars, a round planet and 2 rockets from paper. There are 2 pieces for each model to give the structure strength and small volume.
- Please note that the rockets and planet have their own decoration. You don't have to stick to exactly the same design. You can decorate your rockets in your own way.
- 2 parts of the mini-structure are fixed to the bamboo stick on its two sides.
- Now we need a bucket (can be from popcorn or ice cream.
- Using polyurethane foam we will fix our cosmic “landscape”.
I give you the templates. You can print the templates for coloring or circle them on the screen, or you can print ready-made, colored ones. Don't forget that you need to print in 2 copies.
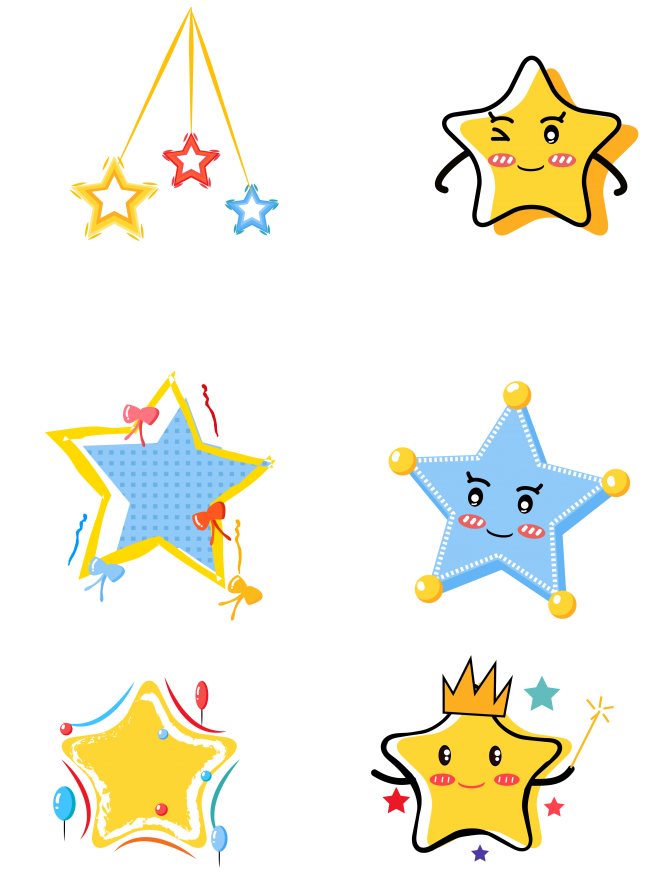
star template with face simple star with rim

yellow sparkling star five-pointed star

stars for coloring

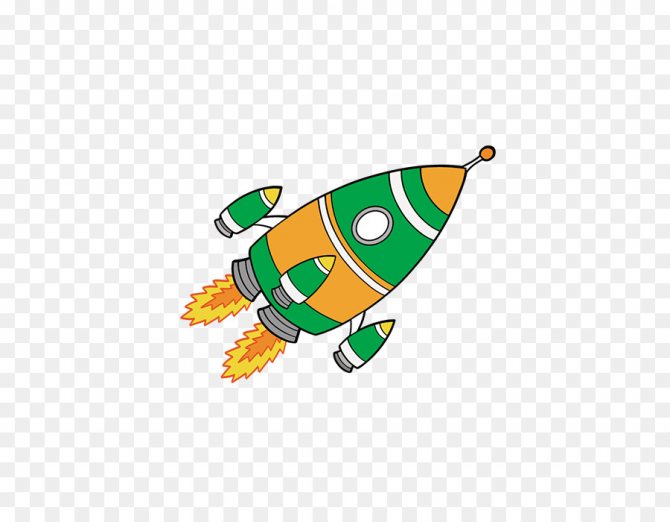
rocket and stars for coloring rocket with astronauts, stars, planets rocket ready red rocket ready for printing

rocket template blue

rocket template green
rocket template 3 rockets

bright rocket
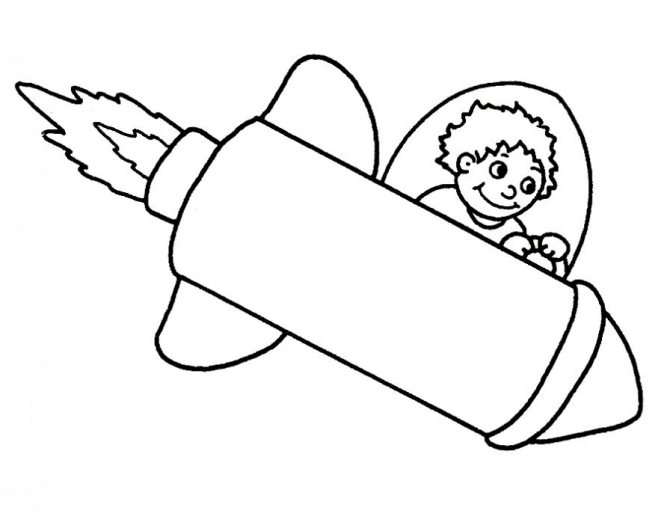
boy on a rocket - coloring page rocket template - coloring page
astronaut - rocket applique - finished rocket applique
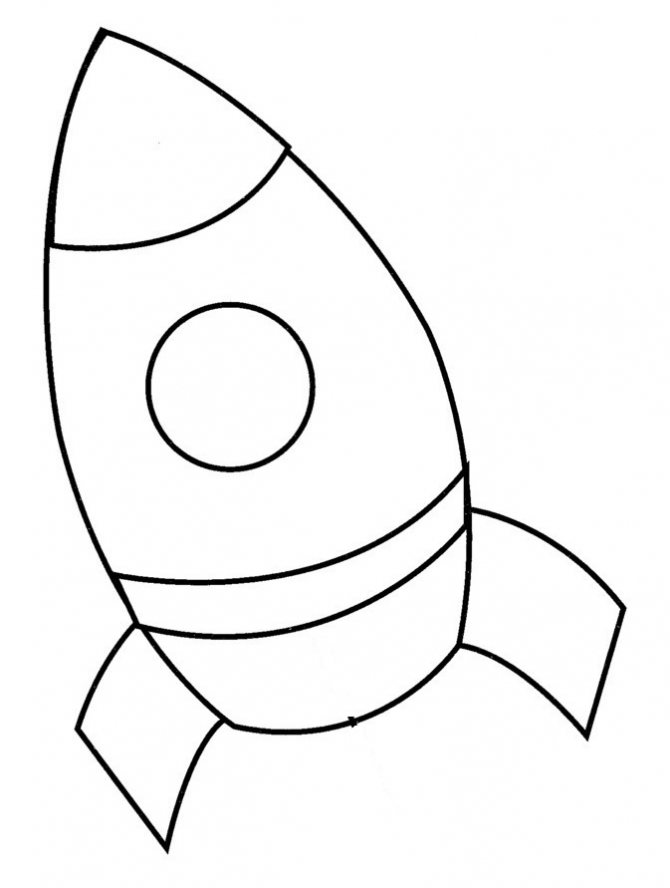
rocket template - coloring book
You can use colored or white paper so that the child himself can draw portholes and stick his photo in them, as if he is now rushing to the stars!
By the way, the stars can be made voluminous, as we did earlier in the link.
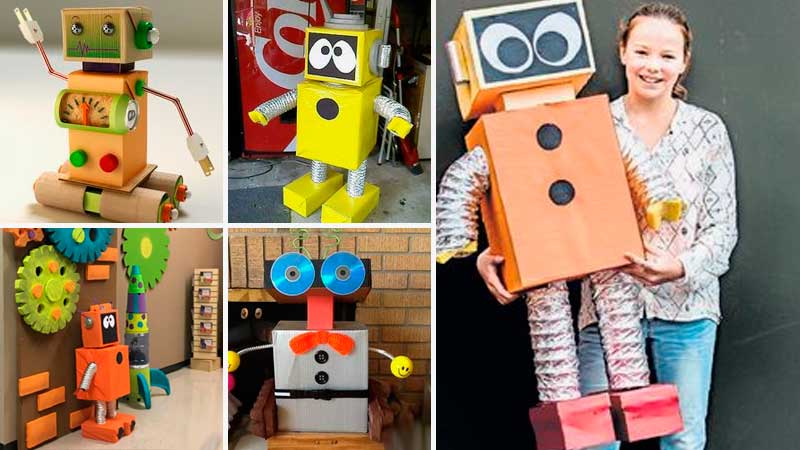
Making from cardboard
Have you ever been given gifts in very cute little boxes? These could be cakes, cups, books. And now the time has come to pack these gifts. We will make a robot out of cardboard boxes.

How we will make:
- Our robot is made of metal. We will show this now: we wrap the boxes with foil.
- We cut toilet paper rolls to size: one piece for the neck, two pieces for the legs.
- We glue or paint the blanks.
- We fold the paper with a spring; see how to do this in the video. You need 2 of these parts. These are hands.
- We cover the edges of the “hand” with foil.
- We paste over a larger box with small parts - circles, rectangles, as if these were buttons on the robot’s body. We make holes.
- Draw a smile on the head and glue button eyes.
- We assemble the structure.
The final touch will be the wire antennas. Here they are made with a heart. You can twist small loops or glue stars. More options:
Rocket
If you are looking for how to make a space-themed craft, but don’t want to spend a lot of time and materials, then this option is for you. This craft will not take much time, and it is also quite easy to assemble.
And you need a minimum of materials for it:
- Cardboard base tube,
- Glue,
- Scissors,
- Paints
- Colored paper.
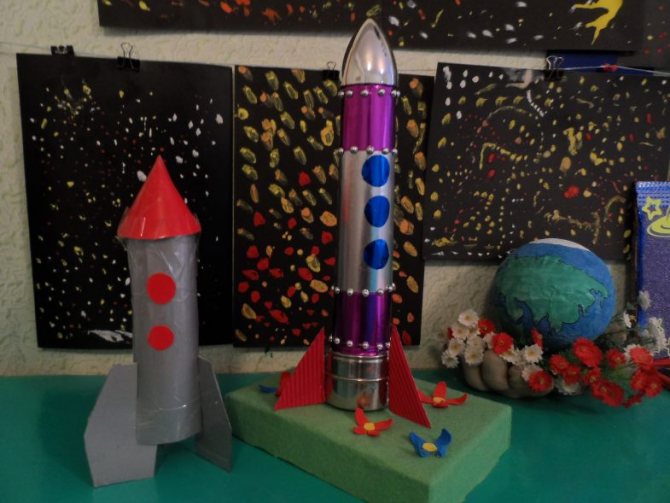
You can use several rolls of toilet paper or paper towels as a base. You need to focus on the size of the rocket.
- You can take one small bushing, then the craft will turn out to be small.
- At one end the sleeve is cut lengthwise into four parts. The cuts should be small, just to form a tapered end.
- After they are assembled together to form a cone, you need to secure them with glue.
- Now we need to do the base. You can skip this step, which will make your task easier, because the bushing is already quite stable.
- But with a base the craft will be more interesting. So, you need to make four cuts in exactly the same way at an equal distance from each other at the other end.
- From cardboard or paper, build a part in the form of a cross about three centimeters high. Then insert this part into the slots of the rocket.
The craft is almost finished. All that remains is to paint it or paste it with colored paper.