Interactive coloring book. Master class with photos. Presentation
Master class “Technological technique “Interactive coloring” when creating an interactive game”
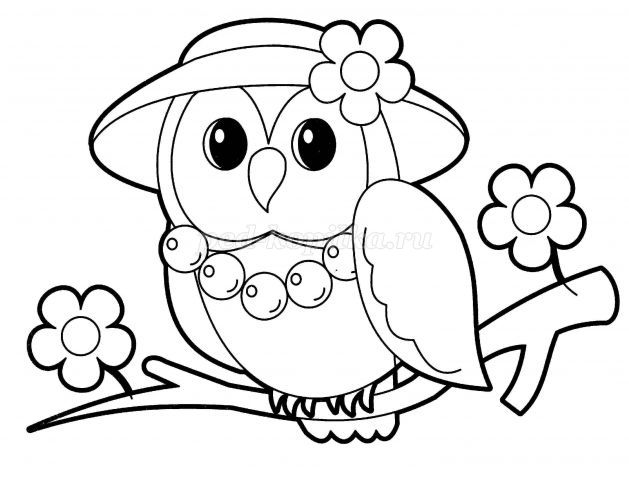
Author Natalya Sergeevna Rostova, teacher of the first category, MBDOU “Kindergarten No. 155”, Nizhny Novgorod. The master class is intended for educators, teachers and parents. Goal: to use the features of technological techniques when creating interactive games. Objectives: - reflect the specifics of the technological method; — teach how to use the features of interactive coloring when creating an interactive game; — improve pedagogical competence; — expand the possibilities of using ICT technologies when working with children. To create an interactive game you need: - a PC; — pictures for assignments; — tasks selected in advance for children, appropriate for their age; - Computer and PowerPoint skills. It’s easy to create interactive games for preschoolers yourself if you master a few technological techniques. One of these is interactive coloring - an outline image (coloring) is given and after the child completes the task, part of this image is colored. After completing all the tasks we receive a color drawing. The technology for creating interactive coloring books is easy to master using the capabilities of Microsoft Office Power Point. Progress of creating the game: Stage 1. Preparing images for interactive coloring On the Internet we find a coloring image or draw a contour coloring ourselves and save it on the computer. When saving the file, give it a name, for example, 1.jpg. It is best to create a folder in advance in which we will save all the images for coloring. For example, I have an owl.
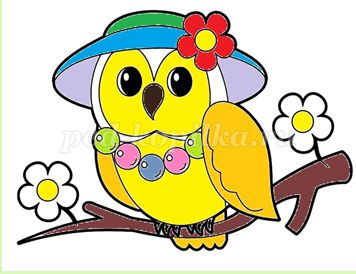
This is what it will look like after filling in all the elements.
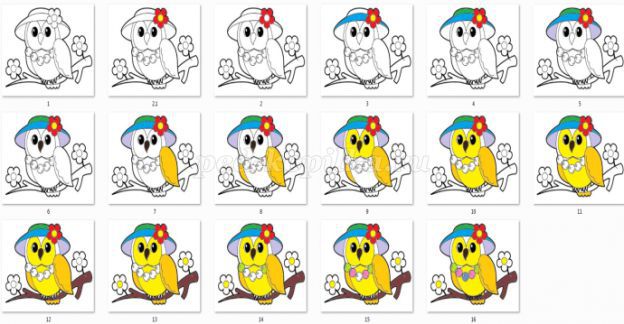
To fill parts of the coloring book and save images with filling, you will need a graphics editor. You can use the Paint.net program. Launch the Paint.net program, select File - Open, specify the path to the coloring image that we saved. To fill parts of the image, use the Fill tool and select the fill color in the Palette panel. After selecting the Fill tool, fill part of the coloring with the desired color. Select File - Save As. In the Save As dialog box, enter the file name 2.jpg and click Save. We continue to sequentially fill in the coloring elements and save images with the names 3,4, 5, 6, etc. We will get the following images.
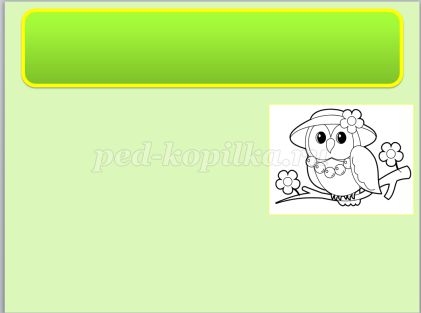
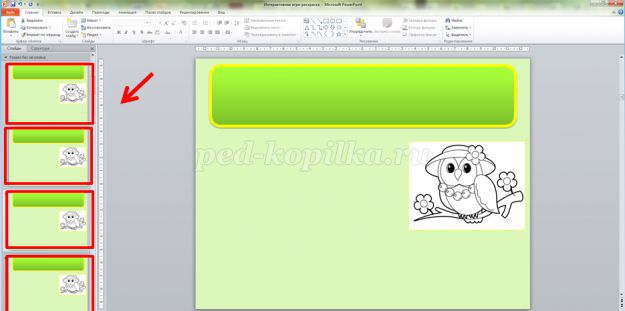
Stage 2. Creating a game. Let's launch PowerPoint. Let's create a slide, select Insert - Picture. Open the folder in which the coloring files are located and select image 1.jpg. Select Insert – Shapes – Rectangles.
After designing the slide, we will create copies of it. To do this, right-click on the slide and select Duplicate Slide. Duplicate the slide until we have as many slides as the number of coloring images that were saved (not counting the title slide).
In the Insert Picture dialog box, select the following image 2.jpg.
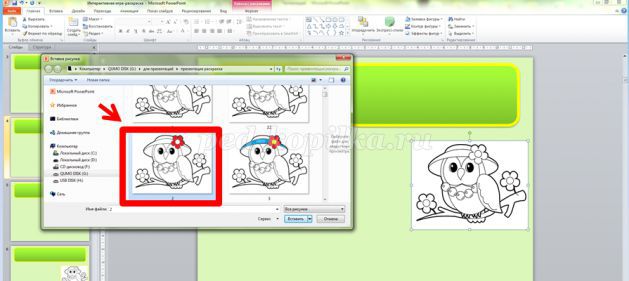
The picture will be placed in the place where the first one was. On the remaining slides we change the images in the same way. To do this, right-click on the image and select Edit Picture. The pictures cannot be moved to create the feeling of one picture that is gradually being colored. You should get the following slides. We select tasks and answers to them - correct and incorrect.
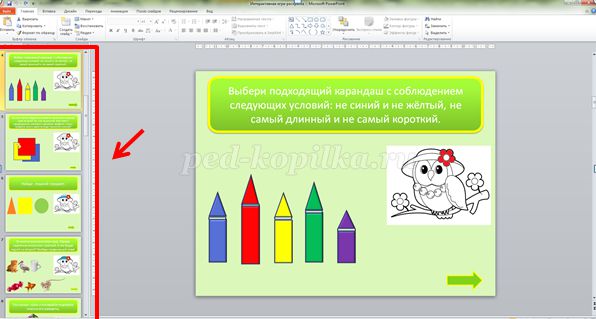
Adding animation to objects: Adding animation to correct and incorrect answers, hyperlinks and triggers, control buttons.
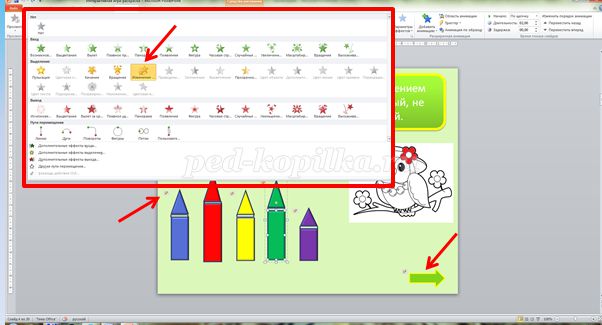
Select the object, set the animation (Tab “Animation” “Animation Settings”). Add effect (in/highlight/out). Trigger/switch setup. Accompany with sound effects. For the correct answer, let's create a hyperlink. Select the correct answer and select Hyperlink on the Insert tab. In the Insert Hyperlink dialog box, select Place in Document - Next Slide - OK. Thus, when demonstrating a presentation, when you click on the correct answer, a hyperlink will work and the next slide will open, on which one of the coloring areas will be filled (at the same time, transition effects should not be set for the slides so that the slides change imperceptibly).
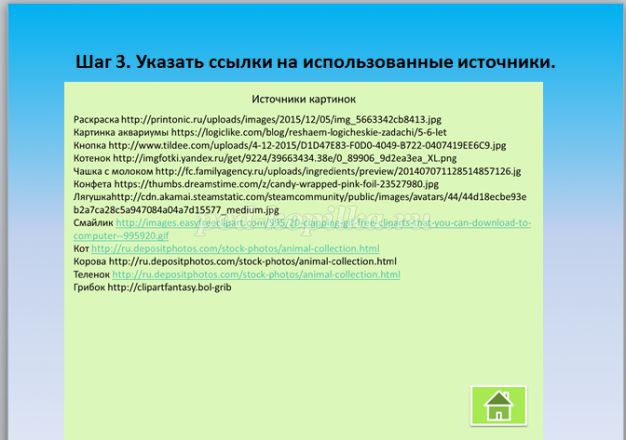
On the last slide, do not forget to praise the child for his work and insert a picture, for example, a fireworks or an emoticon clapping his hands. Stage 3. Final Design a title slide, a slide with the rules of the game, a slide with links to the sources used.
Testing the game - check the animation of all objects several times. Save the game. Select File - Save As. Specify the file name and file type. I wish you success in creating interesting interactive games.
In the modern world, they are the path to children’s successful acquisition of knowledge, and for teachers and parents they are a tool for monitoring the child’s level of assimilation of this knowledge. For a teacher or parent, this is also a kind of test that will allow you to find out gaps in children’s knowledge and allow you to work on them in a timely manner and fill them. Presentation on the topic: Specifics of the technological technique interactive coloring
We recommend watching:
Interactive games for literature lessons in grades 5-11 Interactive game for primary school students “Wild Africa” with presentation Quiz with answers and presentation for schoolchildren in grades 7-8. Artists of Udmurtia Development of communication skills of children 5-7 years old in theatrical activities
Similar articles:
Interactive game “Me and my children’s organization” for students in grades 5-9
Legal game for grades 8-11 “Our choice is our future!”
Methods of conducting physical education classes in kindergarten
Morning exercises in the preparatory group in a playful way
Teasing games for children 5-6 years old
Presentation of children's drawings of the senior group
Lyubov Krasko
Presentation of children's drawings of the senior group
Consultation for educators
TOPIC: Difficulties faced by teachers in working with children in visual arts
January 1, 2016 The Federal State Educational Standard for Preschool Education was adopted.
The artistic and aesthetic development of a child presupposes the development of prerequisites for the value-semantic perception and understanding of works of art and the natural world; formation of elementary ideas about types of art; music perception; fiction; implementation of independent creative activities of children.
Drawing, modeling, applique are types of visual activities whose main purpose is a figurative reflection of reality.
It is necessary to draw children's attention to the fact that art surrounds us everywhere, it gives people pleasure and joy, and it should be treated with care.
A preschooler in his aesthetic development goes from an elementary visual-sensory impression to the creation of an original image (composition)
.
Based on this, the teacher sets himself the following tasks:
— Introduce children to different types of art (painting, graphics, folk and decorative arts)
.
— Draw children’s attention to the figurative expressiveness of various objects in art, nature, and in everyday life.
— Encourage children to embody their ideas, experiences, feelings, thoughts in artistic form.
— Enrich the content of visual activities in accordance with the tasks of cognitive and social development of children.
— Teach children to select the content of a drawing , modeling, appliqué: ( “inhabit”
forest, pond, desert - with corresponding inhabitants; depict daisies and cornflowers in the meadow, and roses and asters in the garden).
— Support the desire to independently combine familiar techniques.
— To form an understanding of artistic crafts.
Older children must learn to mix paints to create new colors; use the brush easily and confidently; skillfully draw lines in different directions, in decorative drawing, create pattern elements with the entire bristle of the brush or tip.
Introduce children to drawing techniques with a simple pencil, colored crayons, and charcoal.
In sculpting, children learn to analyze the shape of an object, explain the connection between the plastic form and the method of sculpting, and master the sculptural method of sculpting and sculpting from a whole piece by pulling out parts.
In the application, children get acquainted with new ways of creating images; symmetrical cutting from folded paper; silhouette cutting along the drawn contour; overlay applique for multi-color looks; in collective work, create ornamental applications (panels, collages)
.
Drawing: “Winter Landscape”
.
Goal: To arouse interest in creating an expressive image. Improve technical skills (use a brush skillfully; draw wide lines with the entire bristle of the brush and thin lines with the end). Develop a sense of color. Reinforce what a landscape is (these are paintings that depict nature in all its beauty)
.

Drawing: “Mom’s portrait”
.
Goal: Learn to draw a female portrait, trying to convey the character and mood of a particular person. Continue acquaintance with the types and genres of fine art (portrait)
.
Application: “Still Life”
.
Goal: Improve the technique of cutting round shapes of different sizes from paper folded in half. Develop a sense of form. Learn to put cut out silhouettes on top of each other and place them higher or lower.
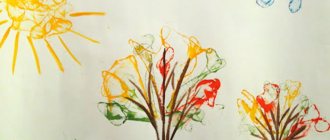
Application: “Flowers for Mom”
.
Lepka: “We will go, we will race on reindeer early in the morning...”
Purpose: To introduce new sculpting techniques, to show the possibility of complementing the image with different materials (horns made of wire, twigs)
.
Continue to teach how to stabilize the craft (use straws or toothpicks as a frame for the legs)
.
The difficulties I encountered were the insufficient development of fine motor skills in children. Therefore, in my work I use various exercises and finger games aimed at developing fine motor skills of the hands: “Flower”
,
“Finger Boy”
,
“Hello”
,
“Guess by Touch”
,
“Magic Bag”
, etc. I take exercises to develop visual control over hand movements, for example:
“Continue the pattern”
.
"Trace the outline
.
“Connect the dots”
, etc.
Another problem is that children are afraid to draw because they feel like they won’t succeed. To do this, it is necessary to create conditions for the artistic and aesthetic development of children. The group has a “Creativity Center”
. Together with parents, we create conditions to satisfy the child’s natural desire for creativity. There is a subject-development environment:
Colored chalk, plasticine, a set of paints, markers, pencils;
Sets with stencils for applique and drawing;
Colored and white paper, cardboard, wallpaper, paper of different tones and textures;
Stickers, fabrics, self-adhesive film;
Glue stick, cups for water, napkins for brushes. Board, easel, magnetic board;
Educational games, coloring books, illustration material.
All this helps to interest the child and set him up for creative activity.
Prepared
Senior group teacher
Krasko L.V.