A preparatory group for preschoolers is a great opportunity to instill in your child a love of creativity and the skills of basic techniques that will definitely be useful to him in labor lessons at school. Handicraft classes develop not only children's imagination, fantasy, but also fine motor skills, and also help the child to form a correct picture of the world around him. Let's look at several master classes and ideas for paper crafts on the theme of ships, which are perfect for craftsmen starting their creative path.
Making a boat using a template
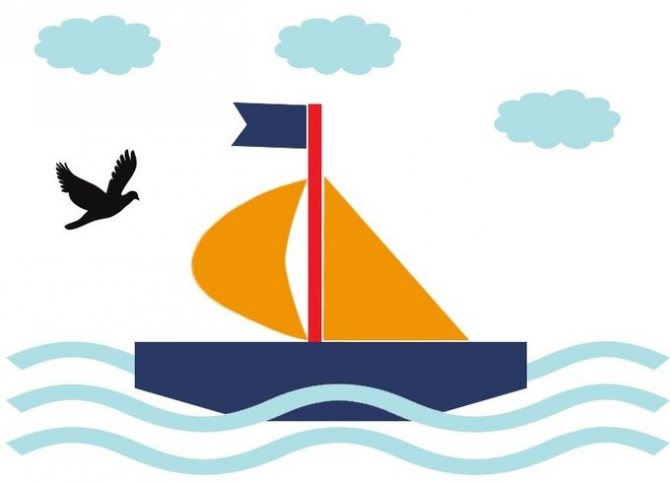
This is one of the simplest options for making a panel applique, which a child can handle even in kindergarten. The essence of this craft is to cut out the details of the ship according to a pre-printed template, and then paste them onto the prepared background.
Needed for work
- Cardboard for background;
- Colored paper in the shades you want to see on the boat;
- Paper glue;
- Scissors.
To make this application yourself, just follow a simple diagram:
- We print out the details of the boat on a piece of paper (this can be done immediately on the back of sheets of colored paper) or transfer their outline from the computer screen onto the sheets and cut them out.
- Glue two waves onto the background.
- Now the main part of the boat and its mast.
- To give the picture a sense of volume, glue another wave on top of the base of the ship.
- We attach the sails and flag to the mast.
- The last step is to complement the composition with clouds and a flying bird.
You can also make three-dimensional versions of appliqués from simple geometric details. For example, creating a sail fluttering in the wind is very easy.
Simple applications of geometric shapes for little ones
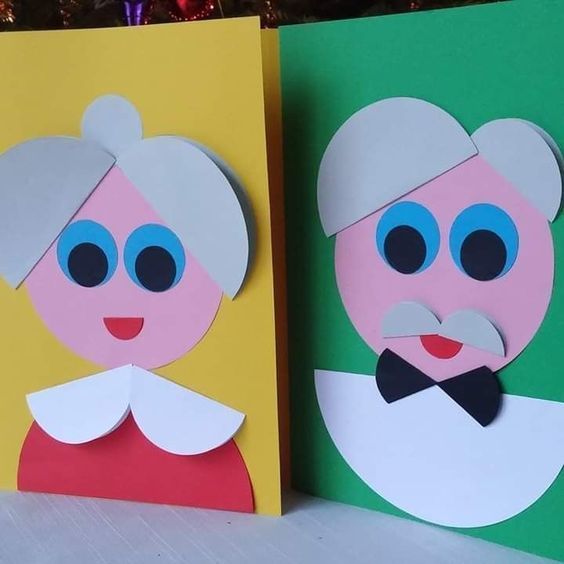
Crafts, souvenirs and mosaic applications of geometric shapes are ways to engage your child in useful practice. Participation in joint activities is a guarantee of high aesthetics of work, where children perform the feasible part of the task. This develops imagination and imaginative thinking.
Important! When teaching small children to work, pay special attention to the safety of the tool.
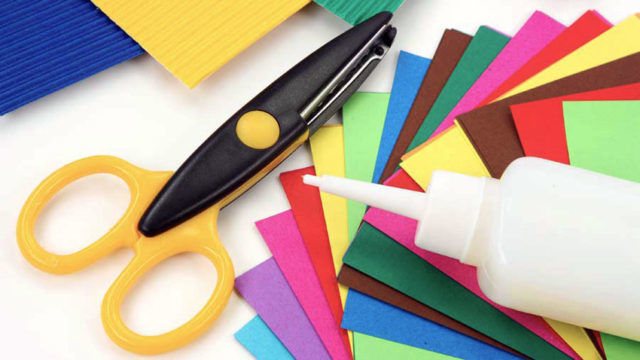
- Scissors don't have to be dangerous. There are special children's scissors for working with paper. They are distinguished by rounded ends and plastic tips that cover the outer part of the instrument. In any office supply store, the seller will show you what you need. Before work, you need to make sure that the blade is sharp enough to work with paper, the screw provides freedom, and the format is convenient for children's hands.
- Colored paper is the basis of geometric appliqué. It is sold in A-4 format packages. Additionally, white office paper, napkins, a “reaper” and foil on a paper backing are used. Colored cardboard is suitable as a background. Occasionally, scraps of wrapping paper and other pliable materials can be used for the work of children 6–7 years old.
- Glue is the main way to connect applique fragments into a single image. The composition and packaging are selected according to the age characteristics of the children. A glue stick is more suitable for kids; older children need to learn to work with a brush or the narrow spout of a PVA bottle.
Note! Any adhesive quickly dries or polymerizes. Before use, check the adhesiveness. At home, if you don’t have silicate glue or PVA, you can make a paste from flour or dilute a little dry mixture for wallpaper.
A carefully executed “fox” or “cat” appliqué made from geometric shapes requires patience from adults, and perseverance and consistency from children.
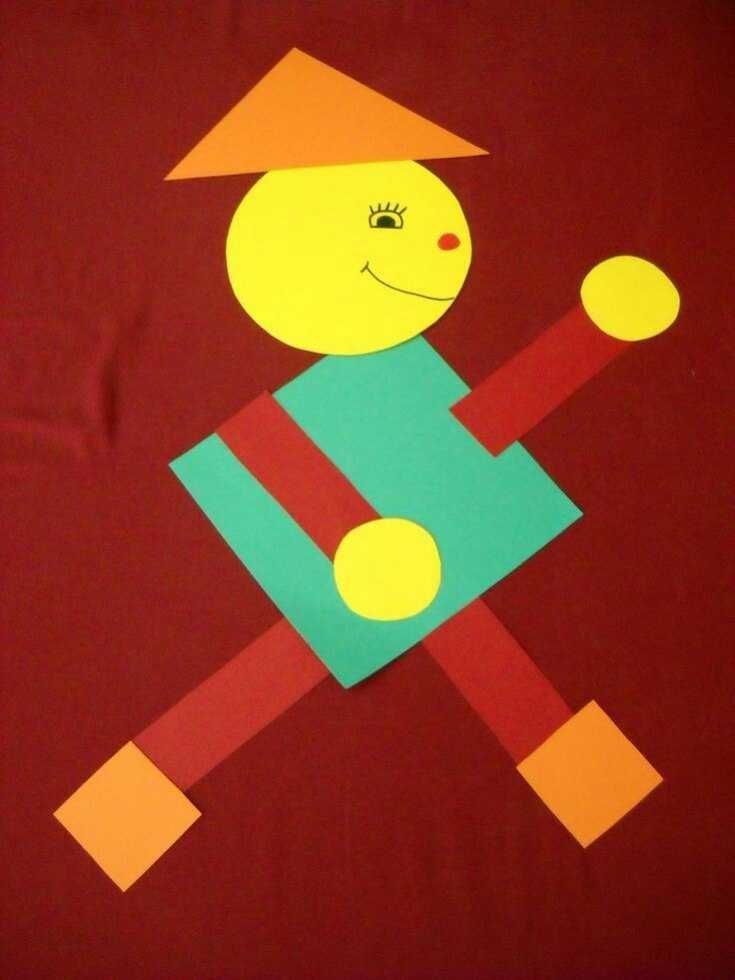
If children are interested and provided with everything they need, including safe tools, completing the task will be a lot of fun.
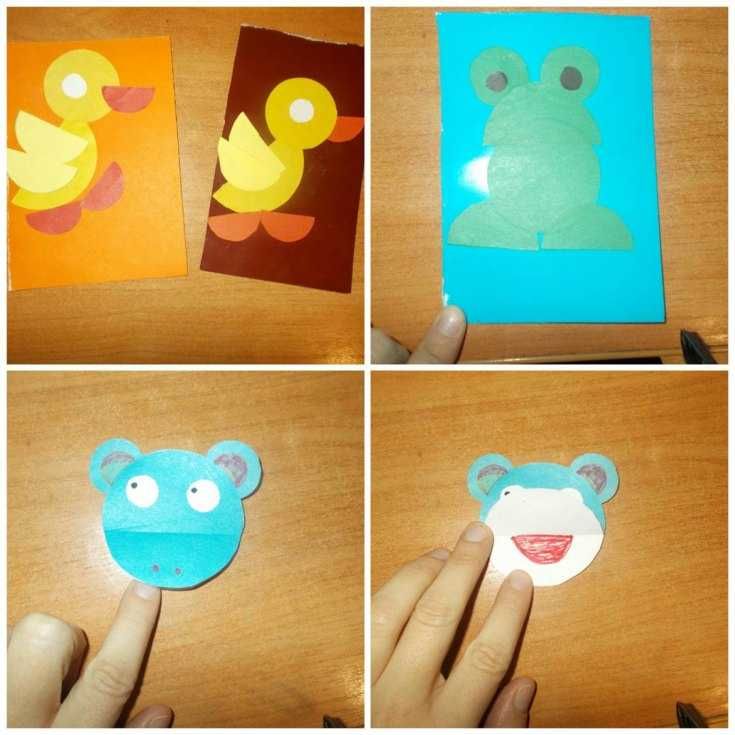
Making the applique “Boat and Steamship”
Schemes for creating an applique with a steamboat
Applications consisting of a large number of parts are suitable for making by children in the older group.
Step-by-step instructions on how to make a steamer applique with your own hands:
- First, we prepare the applique pieces by cutting them out from colored cardboard or paper. To do this, you can use stencils with different geometric shapes.
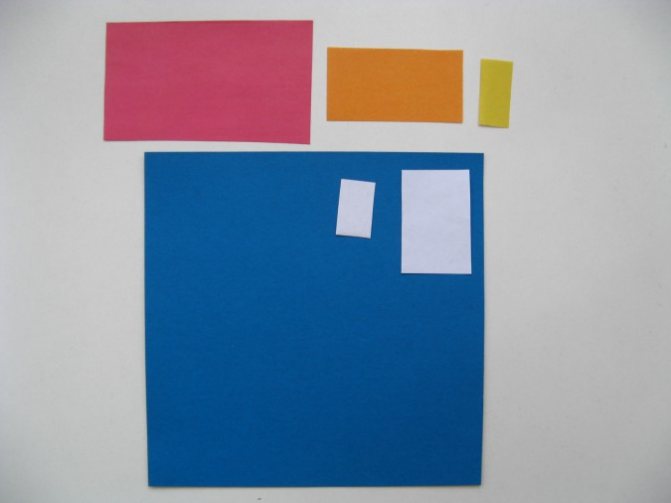
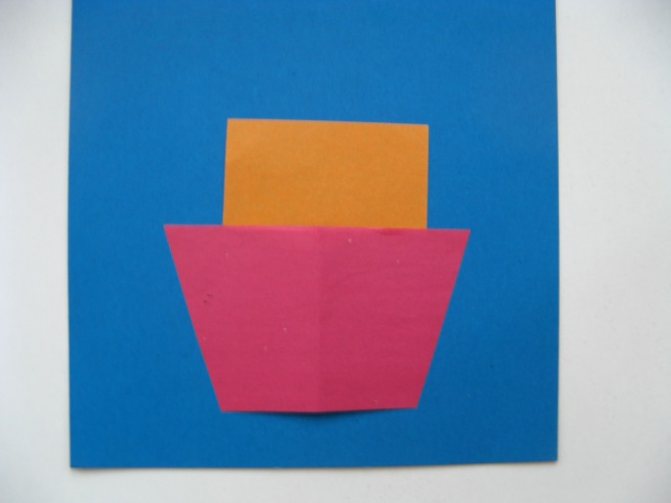
- For the base of the steamer, you need to cut a trapezoid. We fold the red blank in half and cut off a part from the edge at an angle. We unfold it - we get this figure.
- Next, glue a trapezoid onto the background and an orange rectangle above it.
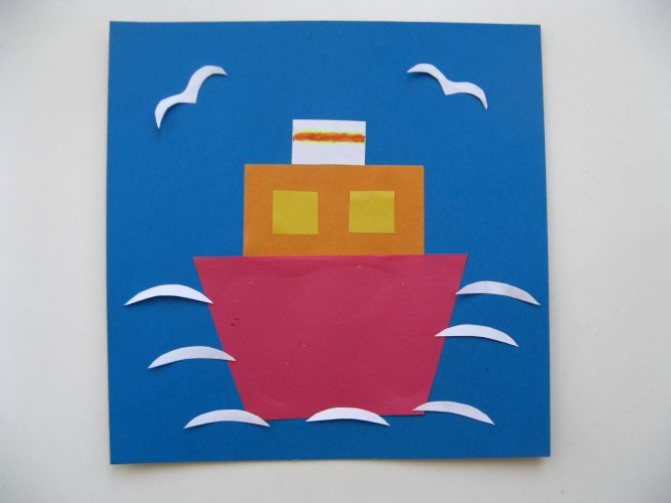
- We cut the yellow rectangle into two parts and get two identical squares - these are the windows of the ship.
- The yellow rectangle at the very top is the steamer's chimney. We draw a bright stripe on it. At this stage you can add waves and seagulls.
- The last thing the ship lacks is portholes. We cut them out of light paper.
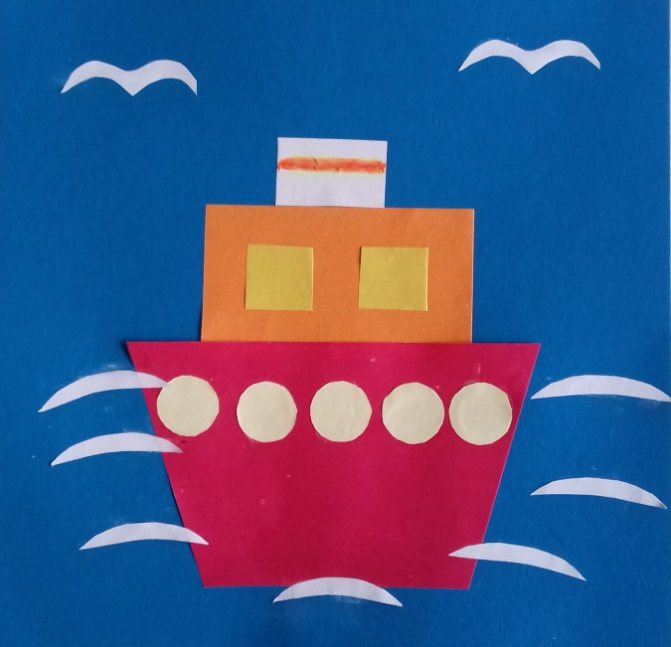
Children in the middle group can be asked to make an applique using a ready-made template. You don’t need detailed instructions for this, children just need to cut out the parts of the steamer, and then glue them step by step onto the background
Class notes
| Author's full name | Title of the abstract |
| Yanova O. | "Steamboat" Educational objectives: learn to compose an image of a steamship from parts, consolidate the ability to cut off the corners of a rectangle, cut out other parts of a steamship of different shapes, practice cutting out identical parts from paper folded like an accordion, improve the ability to harmoniously arrange an image on a sheet. Developmental tasks: enrich preschoolers’ knowledge on the topic “Water transport”, develop imagination, fine motor skills, and attention. Educational tasks: cultivate accuracy, patience, perseverance. Integration of educational areas: “Artistic creativity”, “Cognition”, “Communication”, “Socialization”, “Health”. Demo material: pictures depicting a steamship, a ship's captain. Handout: sheets of blue paper according to the number of children, white and brown paper rectangles, small pictures with the image of the captain, glue, scissors, oilcloths, glue brushes, rags. Progress of the lesson: The lesson begins with a riddle about the postman. The teacher reports that the postman brought two envelopes to the group. The first contains a riddle about the captain:
There are also paper parts for appliqué: white and brown stripes, one long and wide, the other narrower and shorter. The captain wants to teach the children how to make a steamboat out of two rectangles. Physical school is carried out:
The teacher repeats the rules for handling scissors with the children. The teacher explains the sequence of making the steamer. First, you need to cut a trapezoid from a large rectangle by bending it in half and cutting off the corners. Then a pipe consisting of a square and a rectangle is cut out. Round portholes are cut out of a square folded in four. Independent activity of children. Analysis of works. |
| Gurina O.A. | "Ship" The teacher informs the preschoolers that the country will soon celebrate a holiday - Defender of the Fatherland Day. There is a conversation about dads who were once soldiers because they served in the Army. It is discussed what qualities a soldier should have. Physical school is carried out:
The teacher talks with the children about what they can give to dad and leads them to the conclusion that the best gift is the one made with their own hands. The teacher offers to make dads a postcard with a picture of a boat and reads a poem to the children:
Children share their impressions after listening to the poem. The finger game “Brave Captain” is being played:
The teacher explains the stages of making the craft. Moreover, the sun and waves are cut out with curly scissors. The ship has a sail, which is located at an acute angle upwards. The sailboat is accompanied by faithful friends - white gulls. Independent activity of preschoolers. At the end of the lesson, the children dance to the song “Blue Water.” |
| Kazunina Yu.P. | "Submarine at Sea" The lesson begins with a riddle about a submarine:
The teacher shows the children a presentation about this type of water transport. The children learn that all submarines are dark in color and have a distinctive shape. The teacher shows the children a sample of the applique that she made in advance. A sheet of paper is tinted with wax crayons, and the sky is multi-colored. This happens when the sun drops below the horizon. The submarine is glued in the middle of the sheet because it is the main element of the composition. The sun is a yellow circle, and the clouds are designed in a broken way from a white rectangle. Seagulls complement the seascape. Physical education is conducted to the music:
Independent work of children. Exhibition of finished compositions, discussion of the features of the works, highlighting the most spectacular and neat ones. |
| Ushmaeva M. | "The boat is sailing, sailing..." (application with drawing elements) The teacher reads the English song “The boat is sailing, sailing”:
The teacher informs the children that they have arrived on a fabulous uninhabited island and invites them to play the game “The Sea Is Worried Once.” Next, preschoolers are invited to a magnetic board, where reproductions and pictures of ships are presented. The children discuss what they saw. The teacher reads an excerpt from “The Tale of Tsar Saltan...” by A.S. Pushkin:
Children are invited to conduct an experiment - blow on a paper napkin and show how “the wind blows across the sea.” Then the teacher informs the children that they will make an applique of a sailboat today. The structure of a sailing ship is clarified, and methods for depicting volumetric sails are discussed. For preschoolers who can quickly complete the task, the teacher suggests creating relief waves using napkins. Physical education “Seagulls are circling above the waves” is being held:
Independent activity of preschoolers. Summing up the lesson. |
We create an applique with a boat from cereals
Another fascinating tutorial is creating appliqués from cereals. You can use buckwheat, rice, millet and even semolina.
A step-by-step description of the process of creating a panel with a boat from cereals:
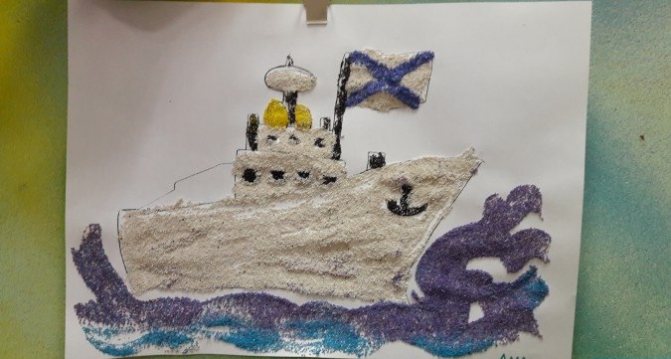
- We prepare the necessary materials: cardboard for the base, PVA glue, various cereals, as well as a drawing of a ship.
- Then the boat is transferred to the base with a simple pencil, and work begins on filling its contours with cereal.
- To begin with, a contour is laid out. The base is smeared with glue, grains are glued to it.
- Then the inside.
- The remains of semolina and other cereals are shaken into a bowl or carefully blown away.
Using the same principle, you can make a warship out of sand:
Applications for primary schoolchildren
The theme of applications from geometric shapes for schoolchildren is animals and birds, insects and natural objects. Teachers can simplify any task by showing ready-made samples of work and handing out prepared stencils (templates).
Depending on the child’s age, they are asked to assemble a picture from ready-made circles and squares or cut them out themselves.
Further, the task can be complicated - lay out the fragments symmetrically or change the shape, but so that the image becomes recognizable.
We offer a gallery of the best works of preschoolers and applications made from geometric shapes by children in grades 1-2.
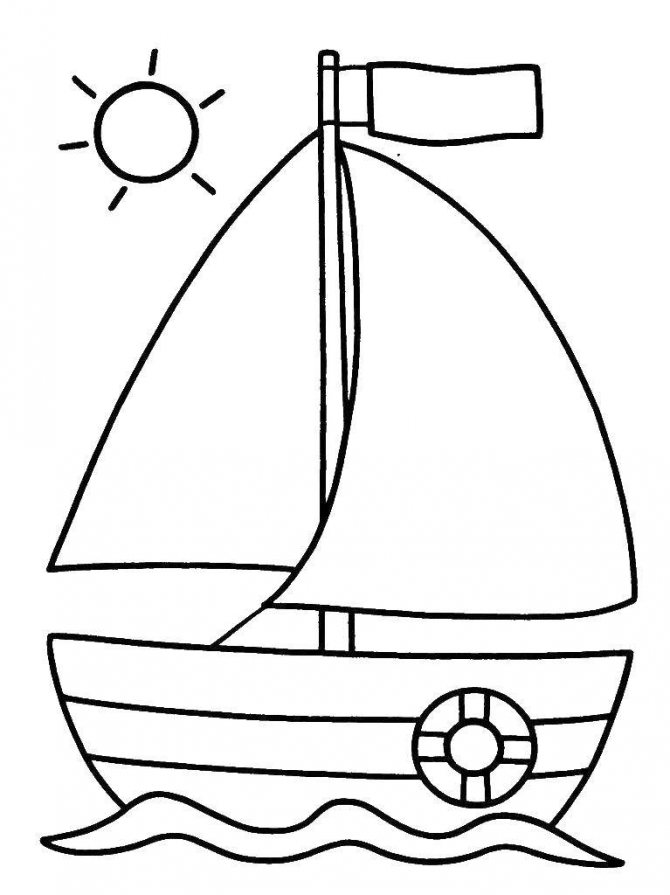
Stencils for applications with boats
A two-part summary of the NOOD for children of the senior group on drawing and appliqué “Steamboat”
— learning how to create a “sea” background using watercolor filling and adding relief using table salt;
We continue to learn how to cut out and paste an object, using the skills learned in previous classes:
cutting off the corners of rectangles, getting a trapezoid;
We practice cutting out identical parts from paper folded like an accordion:
we practice cutting out other parts of the ship and parts of various shapes (round, rectangular)
strengthen the ability to beautifully arrange an image on a sheet of paper; We develop independence and creative initiative in the process of work.
sheets of paper for watercolors, A4 size,
wide brushes, water, napkins, coarse table salt;
oilcloths, glue stick, scissors,
sets of markers for each child.
- examining illustrations depicting the sea, ships, highlighting color features, highlighting the smooth flow of color into color,
- structural features of ships, shape of parts, proportions,
- reading poetry, stories,
- building ships from small and large floor builders, the story game “Voyage on a Ship” with the game space marker “Ship”.
A captain doll (in a naval uniform) is brought into the group and invites the children to go with their friends to the land of good deeds. But for a lot of friends you need a lot of ships. The children find a solution to the problem: make each a steamboat, after which everyone can travel.
Part 1 – drawing – creating a “sea” background using watercolor filling.
A watercolor sheet is moistened with water and spots are applied in random order with watercolor paints of blue, green, and purple shades. The sheet can then be rotated in different directions to allow the colors to flow and mix. Afterwards, grains of salt are poured in random order onto the still wet paint. The background is set aside to dry.
Part 2 – applique – ship.
The captain doll invites children to remember what kind of ships there are, looks at illustrations with them, children highlight structural features, shape of parts, proportions. Small details are highlighted (anchor, lifebuoy, flag, etc.) and the purpose of these items is discussed.
Children do the work, using felt-tip pens to add small details.
During the work, the teacher provides individual assistance in determining the size, color, shape of the parts, advises how to correctly and beautifully arrange the parts on the body, and pays attention to the correctness of cutting and neatness.
At the end of the work, the finished ship is pasted onto the background - the sea.
Analysis work is hung on the board.
The captain praises the children, notes that everyone did their best, made ships for themselves and their friends, and now they will have the opportunity to go to the land of good deeds.
Children help the captain determine the number of ships and answer questions:
- Which ships can you take a lot of friends on, why?
- Find ships that will not be afraid of any storm, how did you guess?
- Why did this happen?
- Which ship will be fun for friends to sail on? Why?
— What do friends need to complete on this ship to make it interesting to look at the shores during the trip?
—Which steamship would you send to sea first? Why?
In the evening, an exhibition of children's works for parents is organized in the reception area.
Author: Maeva Elena Evgenievna Position: teacher of the first qualification category Place of work: MBDOU kindergarten No. 31 Location: Sarov, Nizhny Novgorod region
Source
Several ideas for boat applique
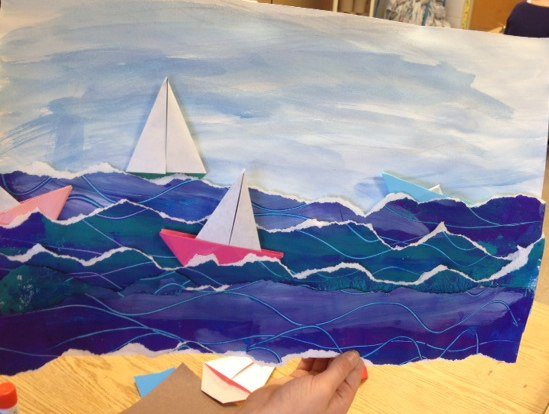
In this work, the triangular sail received a curved shape by twisting it with an ordinary pencil: And here the triangle was bent in half, and one half seemed to float freely in the sea wind: In this boat, a rectangular sail was used, glued in such a way as to create a bulge in the center: In addition This means that in the preparatory group, children can create boats using other techniques, for example, origami, and then create from them compositions with chaotic “ragged” waves:
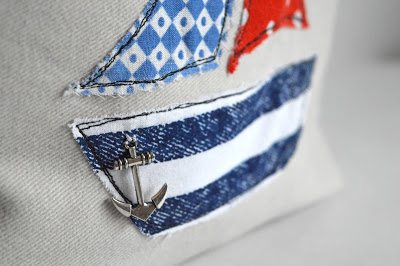
And instead of colored paper or cardboard, you can use bright fabrics with unusual patterns, cutting out the same geometric details from them. Fabric appliques can be used not only to create panels, but also postcards, decorate clothes, pillows:
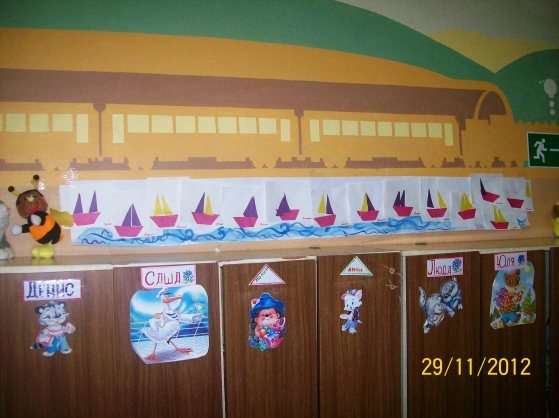
It is easy to interest children in the younger group with such an unusual game: each of the children independently makes an appliqué boat, and then all the works are combined together into one large panel.
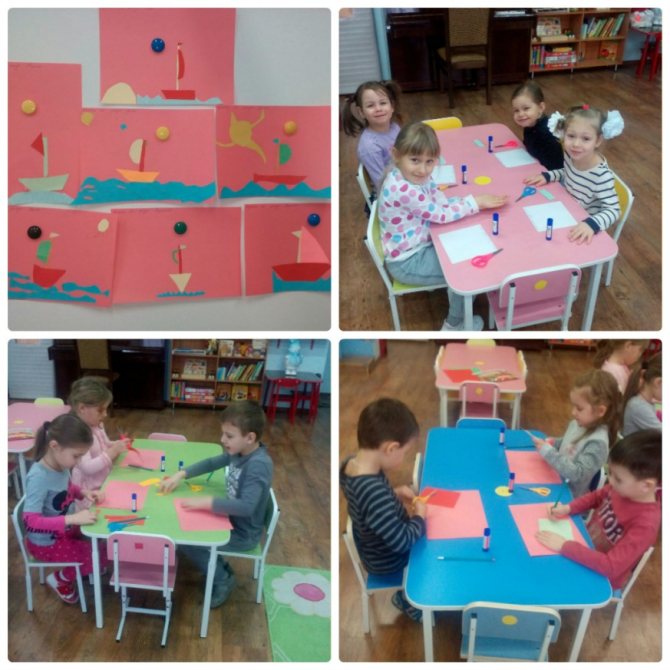
Such a lesson will teach children to work in a team, and each of them will understand that they are responsible for the overall final result.
Applications from geometric shapes for the younger group of kindergarten
Young children are taught to engage in creative activities from the age of 2–3 years. This is a simple geometric applique in the form of recognizable objects.
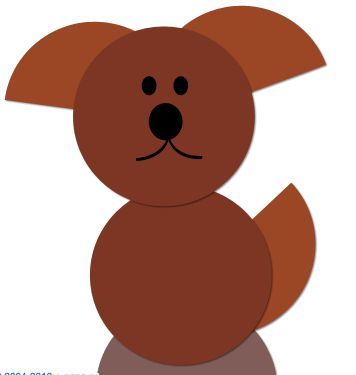
The main work is done by adults - preparing templates and samples. A drawing with clear geometric contours made of colored paper should correspond to the image that the children liked. Then they willingly join in the creative process.
Simple geometric figures should be recognizable to children:
- circle;
- square;
- triangle;
- rectangle.
Not all children in the younger group of kindergarten can pronounce the names of geometric shapes. But they are able to find and highlight objects that have a common shape or color. The teacher just has to show the child where and in what order to stick the figures.
For example, the face and eyes of a cat are circles, the ears and nose are triangles. The mustache and pupils of the eyes can be completed upon completion of the work. Children over 3 years old should learn to work with templates, which they themselves apply to colored paper, trace and cut out along the contours.
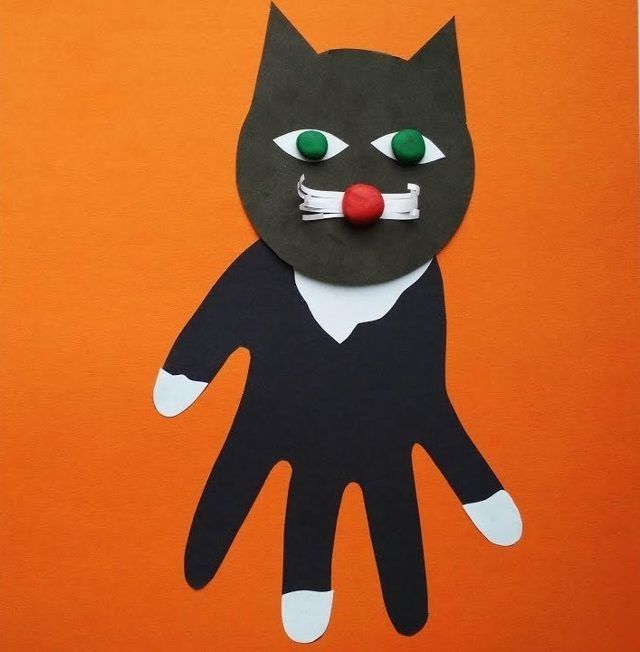
Creative activities on making appliqué for preschoolers develop creative thinking, attentiveness, perseverance and fine motor skills of the fingers.
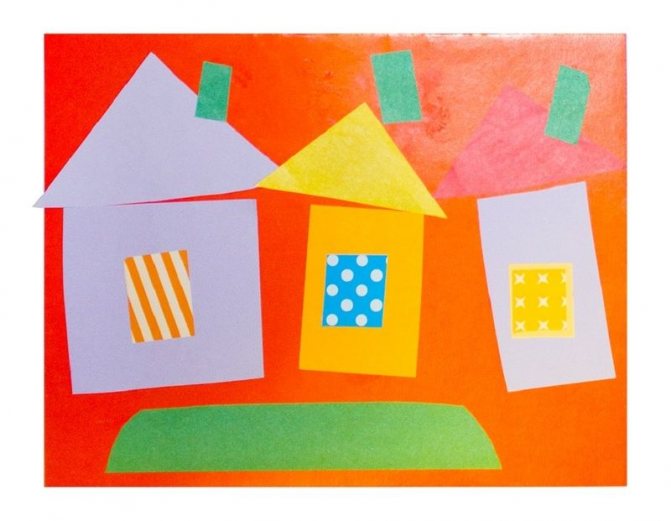
Christmas tree
Children love preparing for the holidays. Anticipation of matinees, themed entertainment and special events for preschoolers begins from an early age. Children are taught to make simple applications based on the seasons and upcoming holidays.
It is proposed to make a Christmas tree from triangles of the same color. You can show children several options on how to make triangles:
- cut corners from a rectangular sheet of paper, marking with a ruler along the perimeter the distance from each right angle at 2 cm, 2.5 cm, 3 cm and 3.5 cm (the values can vary);
- make 4-5 triangular templates and invite the child to trace them himself;
- offer one large triangle and show how to fold it in half and make markings on it for cutting to make a Christmas tree.
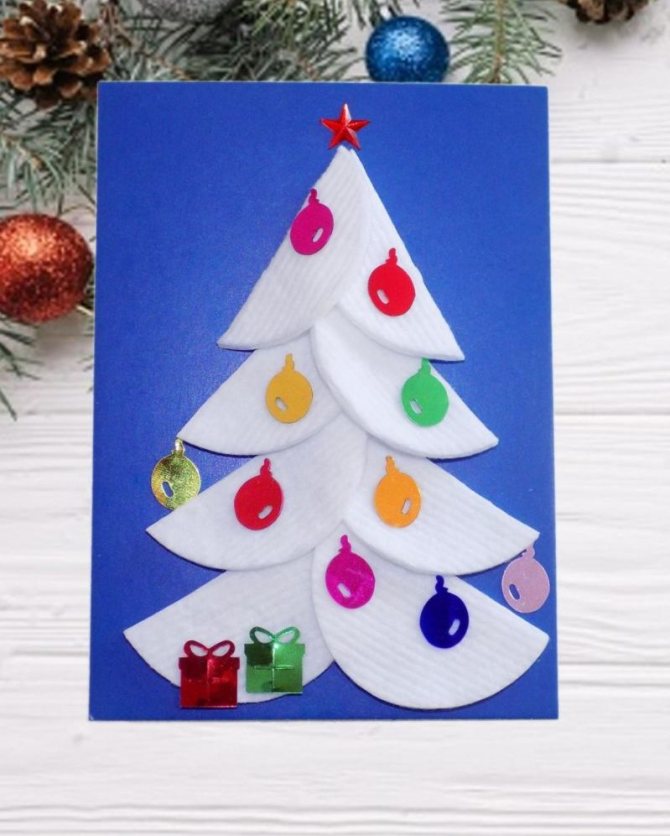
Note! The difficulty of performing a geometric composition depends on age perception. In any case, teach children to economically lay out templates on colored paper.
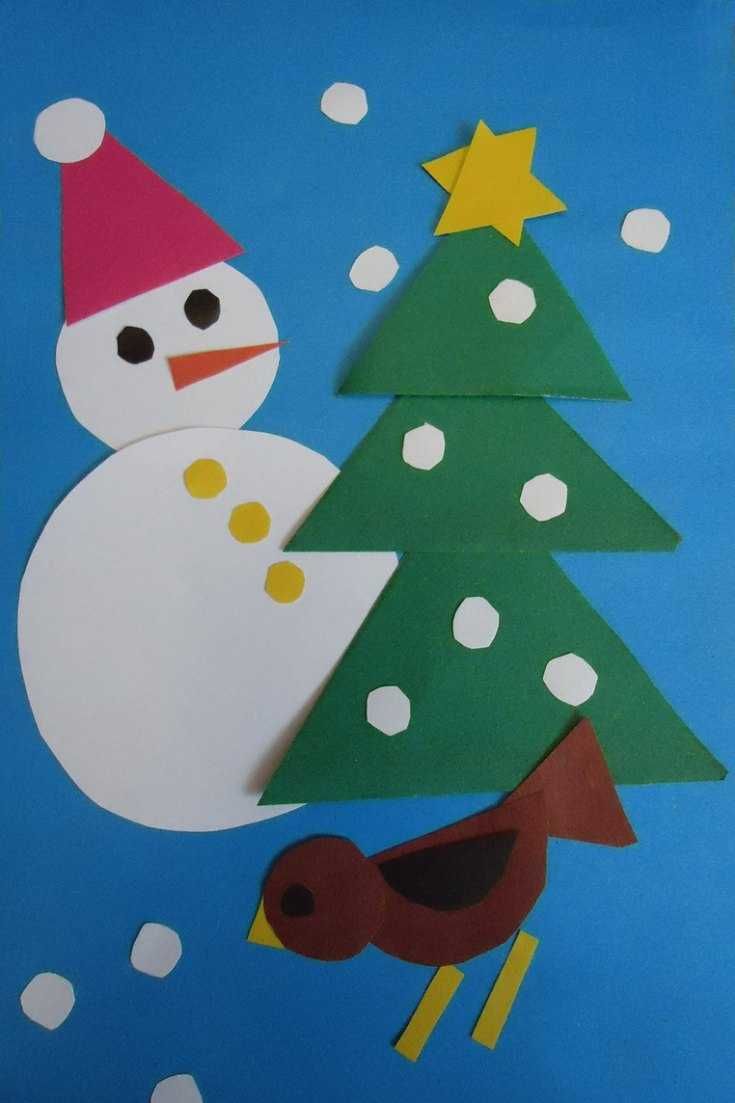
It’s not easy for the little ones to cope even with carefully gluing together the forest beauty. Older children will willingly take on the task of decorating the New Year's tree. Suggest using a hole punch to make colored balls from scraps of colored paper left over from earlier projects to decorate it.
Along the way, consolidate your knowledge of the color, shape and size of triangles. Remind them of safety precautions to avoid getting hurt with scissors, and show them how to use glue economically.
At preschool age, pupils are able to master all these skills, creating beautiful geometric applications on any topic.
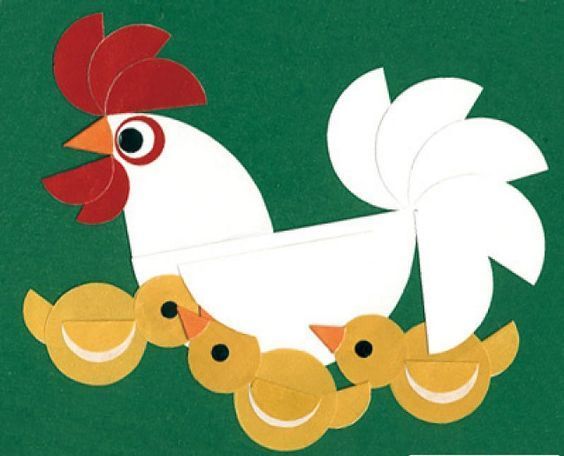
Chick
Preschoolers aged 3-5 years willingly perform work using geometric elements. A hen, cockerel or chick that has just hatched from an egg is made according to a general pattern.
The remaining elements will determine who should turn out in the picture. The combined elements will create a more specific image.
The background for the application is a sheet of blue cardboard so that the overall picture can be decorated with sun and clouds.
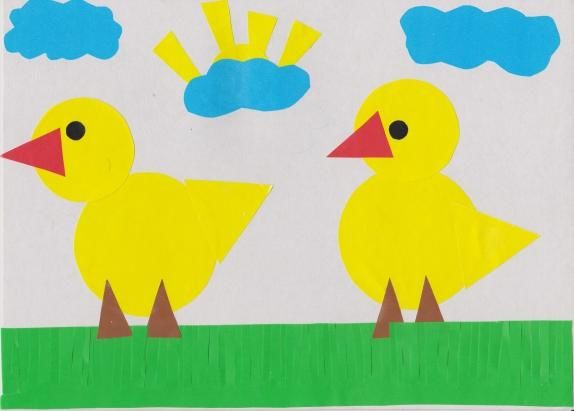
Completing of the work:
- invite the child to cut out 2 circles of different sizes (torso and tail) from yellow paper;
- 2 brown triangles – chicken feet;
- a triangular beak and a scallop (3 small circles) are made from red paper;
- black color is the eye of a small chicken.
Children will assemble an image from ready-made fragments. If everything is satisfactory, the geometric figures are glued to the base. The drawing can be supplemented with grains, clouds, the sun and trees in the background, which one of the adults will do.
Fish
Show your children a few sample works, and they will eagerly join in the application of geometric shapes for kindergarten. Children 3.5 - 4 years old will love making colored fish from different figures. To do this you will need to cut:
- large green oval (torso);
- 3 semicircles (bottom pebbles);
- 2 small circles of different sizes for the fish’s eye;
- 2-3 blue circles (air bubbles);
- 3 orange triangles (fins, tail).
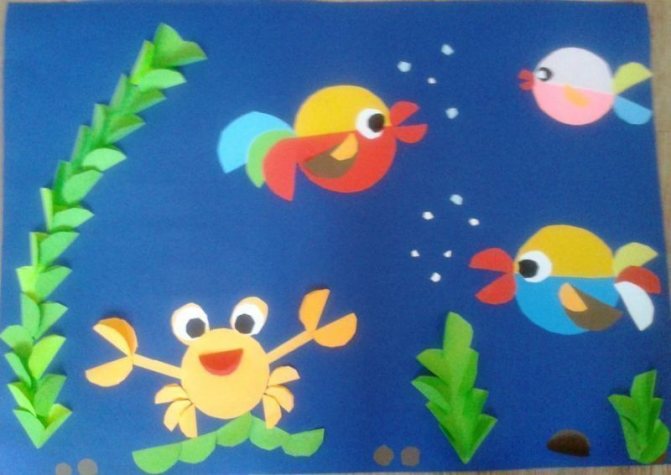
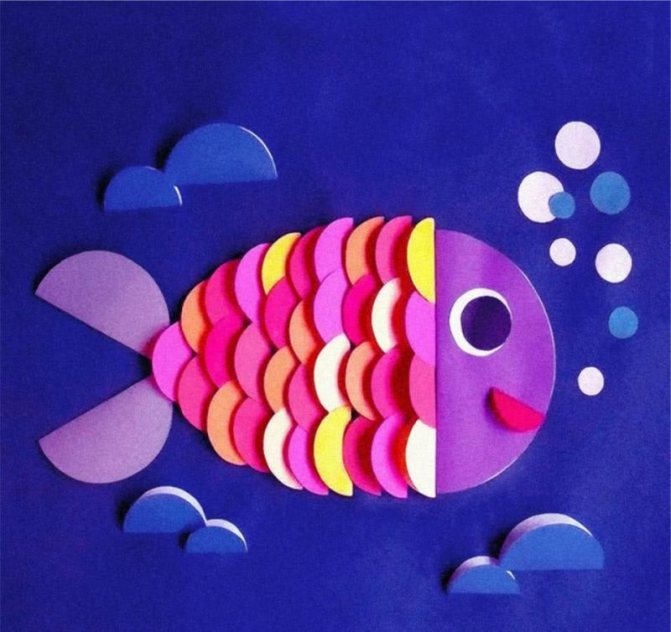
As you can see, there is nothing difficult for a preschooler - the child can handle it himself if he is given suitable templates. For those who find the work too simple, try making the task more difficult.
Offer to make semicircular scales, vary the shape of the fish tail, and fill the aquarium yourself.
Ladybug
The sunbug or ladybug is one of the first insects that children are introduced to. Simple compositions are easy for children to understand. Several geometric shapes - the application is ready.
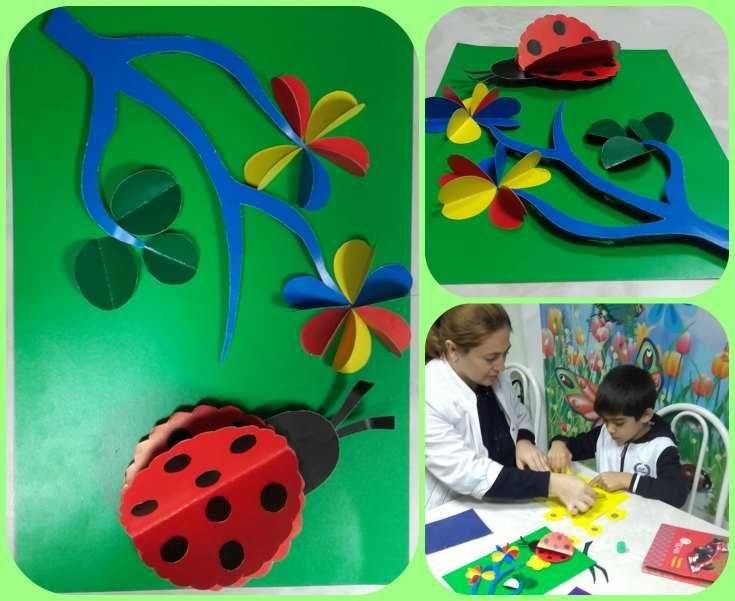
To make a simple applique of geometric shapes you will need several green and yellow stripes - this is grass. A red circle cut in half is the back of a bug.
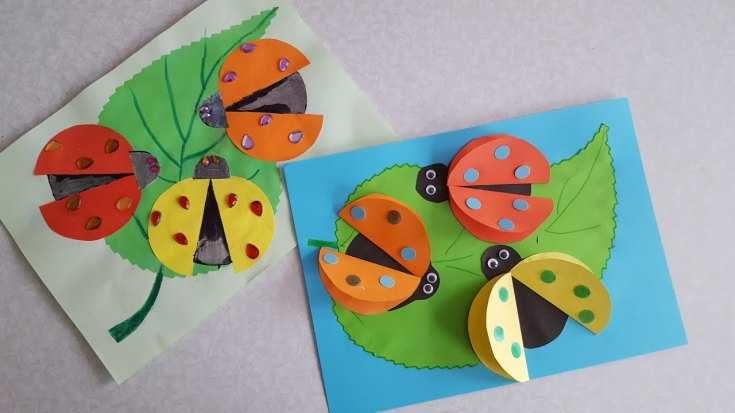
You will need a brown semicircle to represent the head and several small circles. These are the eyes and spots for the opening wings.
When the children's panel is ready, remind them that the antennae still need to be finished, and the work will be completed. Don't forget to praise your child for his efforts. Creating such a picture will captivate the child and delight parents with the charm of simplicity.
Piglet
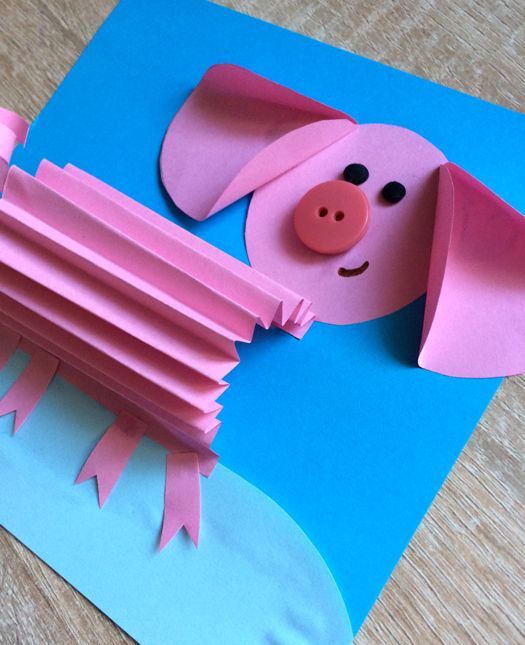
Creating a funny pig is a fun creative task for any child. It will help consolidate knowledge about color and geometric shape.
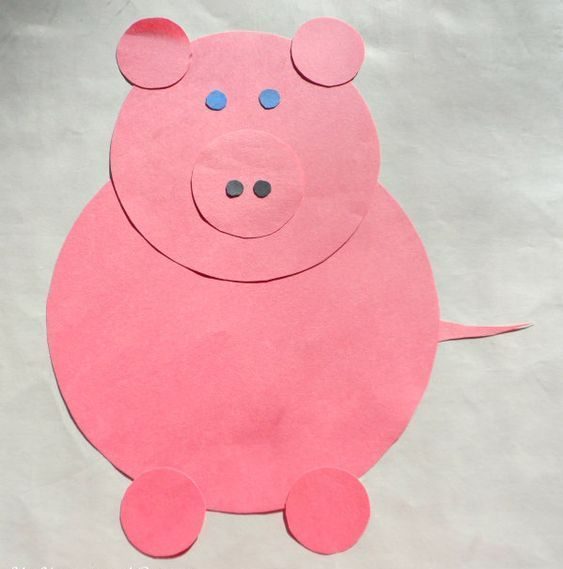
To complete this you will need 2 pink circles – a head and a torso. The top element is shaped like a head - stick on the patch and eyes.
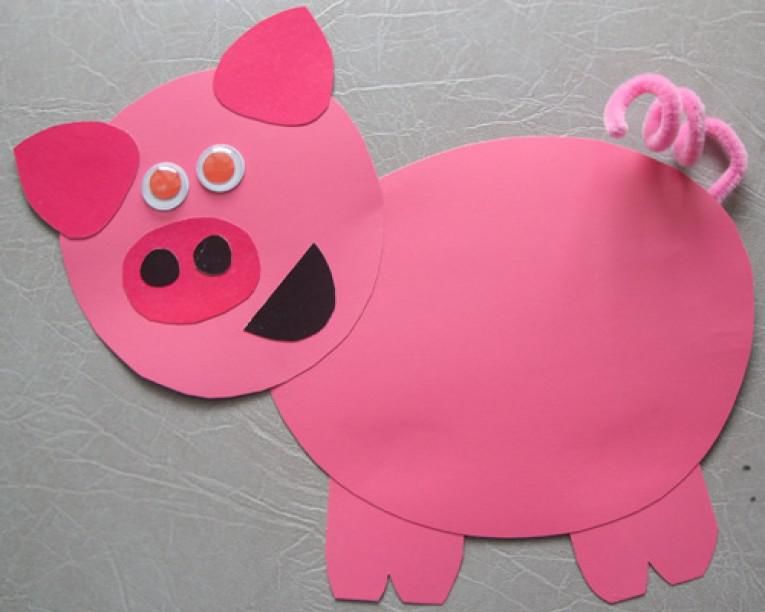
It is better to take the other two circles of a darker color and cut them in half. These will make the ears, front and back legs of the piglet. The remainder of the dark semicircle is a dashingly curled ponytail. You can cut it out of paper or draw it in with a felt-tip pen, and at the same time mark holes on the patch.
Helpful advice! Don’t forget to remind your child in what order to stick the shapes so that you don’t have to redo the finished craft. When all the elements are ready, all that remains is to connect all the fragments together and glue them to the base.
