Cardboard ship: how to make it yourself
Children and parents are often asked to bring joint crafts to school on a given topic. It’s not difficult to come up with a cardboard craft on a marine theme. The ship can be made in one evening, taking an old equipment box.
Materials:
- Thick cardboard - old box
- Scissors
- Pencil
- Glue
- Scotch
- Colored paper
- Decor
Print or draw a template. Transfer it to cardboard
Cutting out parts from cardboard
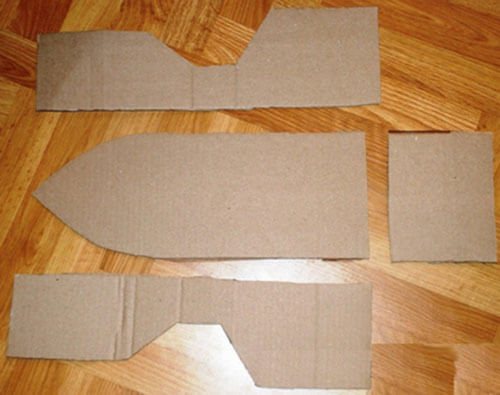
Assembling the ship using glue and tape
Dilute the PVA glue with water, tear the paper into pieces and soak it in the glue. Glue the pieces to the ship blank
You can paint the ship and cover it with colored paper.
Also make a mast from a plastic tube or wooden skewer. Don't forget that every ship must have a flag. Make sails out of cardboard.
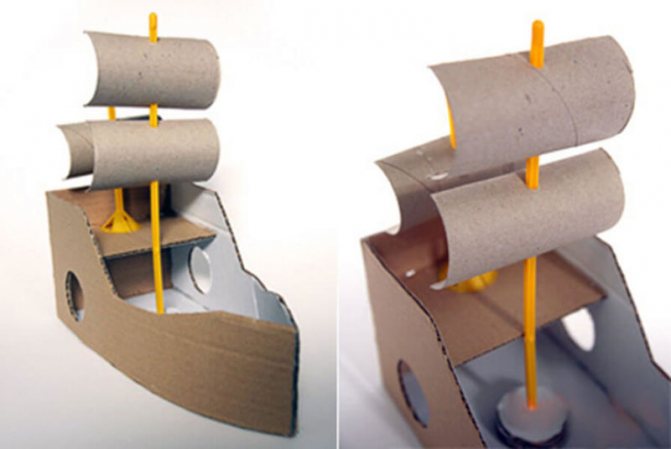
And if you recently bought a refrigerator or other large household appliance, then you can make a large ship out of cardboard to the delight of any boy.

Ship made of cardboard and paper
Cardboard is a very convenient material for crafts, and colored paper will help make the craft bright and attractive. In order for the work to turn out beautiful and neat, use good scissors that will not tear the cardboard, but will make a beautiful and even cut. If it is too early for a child to use sharp scissors, then parents can do it for them.

Toilet paper rolls are also actively used in crafts due to their shape.
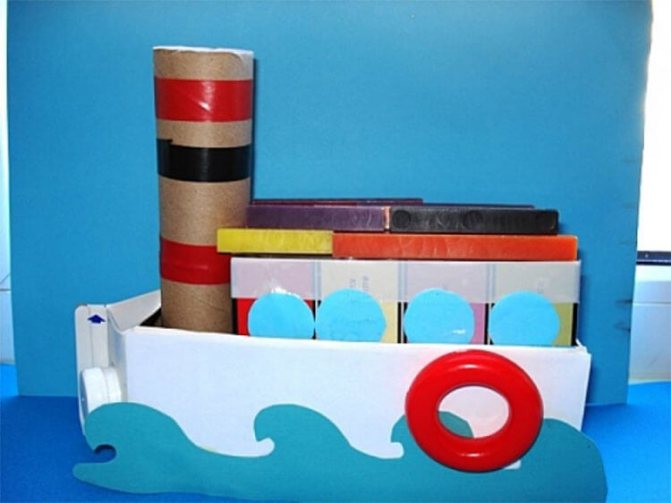
Launching
Initially, work on the ship involves using it in water. What is a ship without the ability to swim?
- Water, to the great regret of craftsmen, greatly destroys paper. Ships become unsuitable for games.
- The possibility of such a problem can be minimized with additional protection.
- Create a water-repellent layer. Thus, an ordinary small boat can make stylish jewelry as a gift for relatives;
Sailboats, boats and steamships
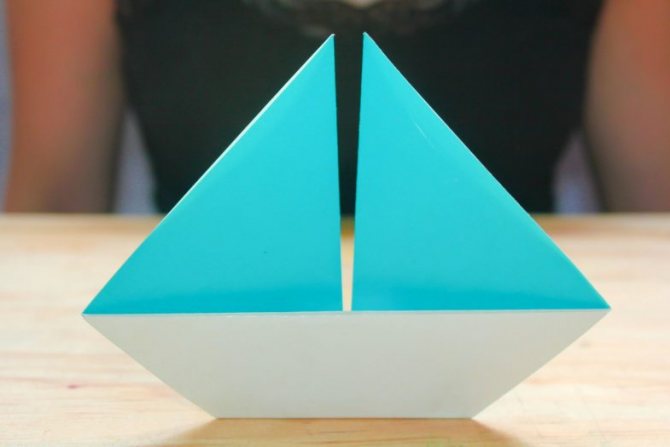
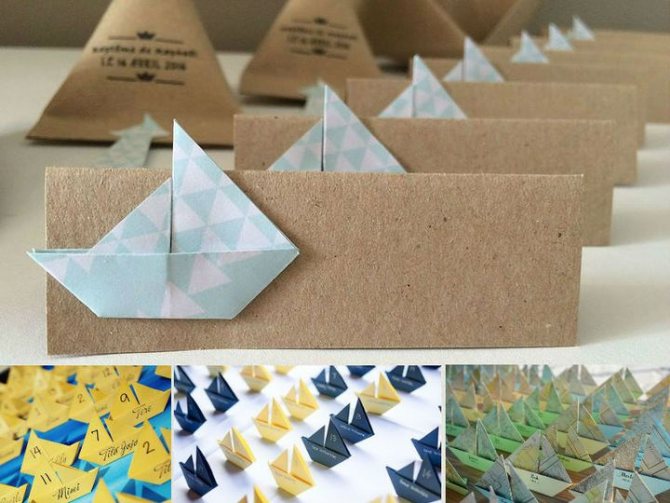
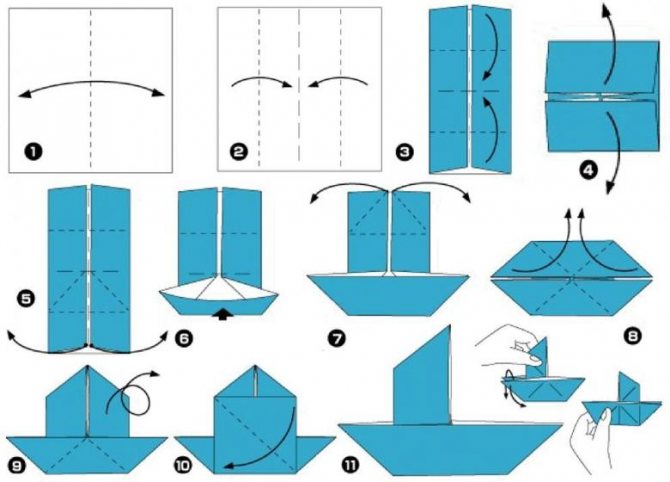
In addition to the classic origami boat, there are many alternative designs. Western designers are in demand for a sailboat, which is used in wedding table decor. Despite its two-dimensionality, the model can stand on its own thanks to the folded lower part. This significantly expands the range of its application. But you can’t send such a sailboat on a voyage.
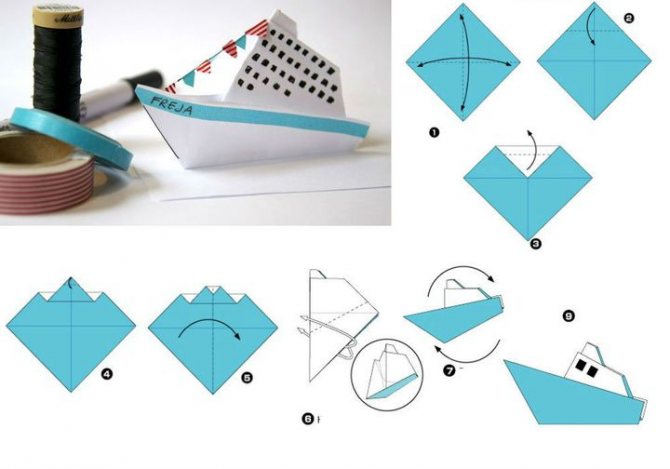
A two-pipe steamer, on the contrary, floats quite well on the water. And it folds very easily based on the basic “Pancake” shape. This is probably why the steamboat has become a favorite of preschool children and is catching up in popularity with its “classic” brother.
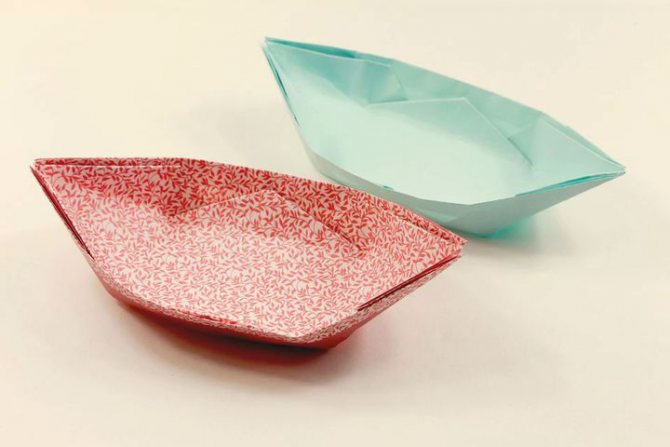
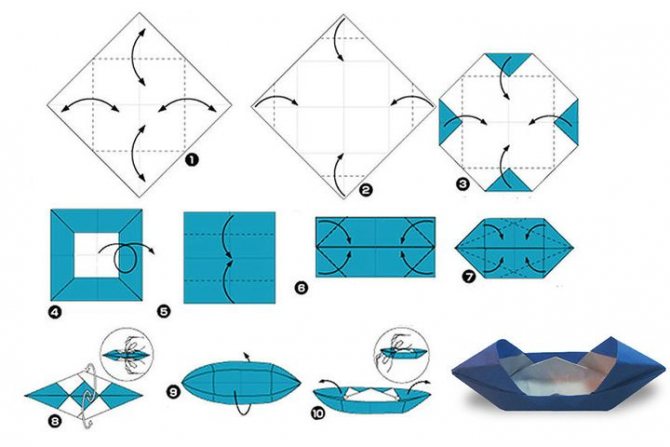
If such a boat is sent sailing, it is only on the table. It will become a decoration for children's parties, acting as a disposable tableware for sweets.
A modified version is a motor boat.
A sailboat based on the basic “Catamaran” shape. It looks a bit like a Chinese junk. Recommended for decorating cards.
Another nice steamer that can be both voluminous and flat. It is better not to put it on the water - it will capsize and quickly sink.
A step-by-step video tutorial will tell you how to make a paper boat with your own hands.
Boat with sail for children
The scheme differs significantly from the classic version, but there is nothing complicated about it.
Detailed instructions:
- A square sheet of paper is suitable for origami.
- It needs to be folded diagonally. Be sure to bend all 4 corners to form a cross on the sheet.
- All 4 corners meet at the central point.
- The structure needs to be expanded.
- Next, the square with folds is turned over to the other side and folded in half.
- Each half that appeared during the instructions is folded again.
- Next, the sheet is unfolded again with the front side.
- Folds in half again.
- Diagonal guides should appear along which you need to fold the sides.
- Once the workpiece is ready, you need to fold the figure in half.
- The free angle is unbent, creating a full-fledged sail.

It is unlikely that this design will withstand water, but it can become a wonderful part of the decor. Additionally, you can color the composition using gouache.
The main thing is not to place the product on a radiator or near a heat source, as after drying it will lose its appearance.
Origami paper: the best choice
The main advantage of this technology is that no additional tools are required to use it.
And it doesn’t matter whether simple folding patterns are used or not.

The only thing you need to purchase in advance is paper. It only takes a few minutes of free time and a great desire to create a paper figurine.

There is no need to buy any other instruments, so we can say that this hobby cannot harm your financial well-being.
But this does not mean that the choice of the only tool, which is paper, should not be taken seriously. This is a common mistake that people make when just starting to learn the art of origami.
Of course, each person can choose the color of paper that he likes best to create his ideal figurine. However, it is best to use those sheets whose front and back sides are different. This will help greatly simplify the process.
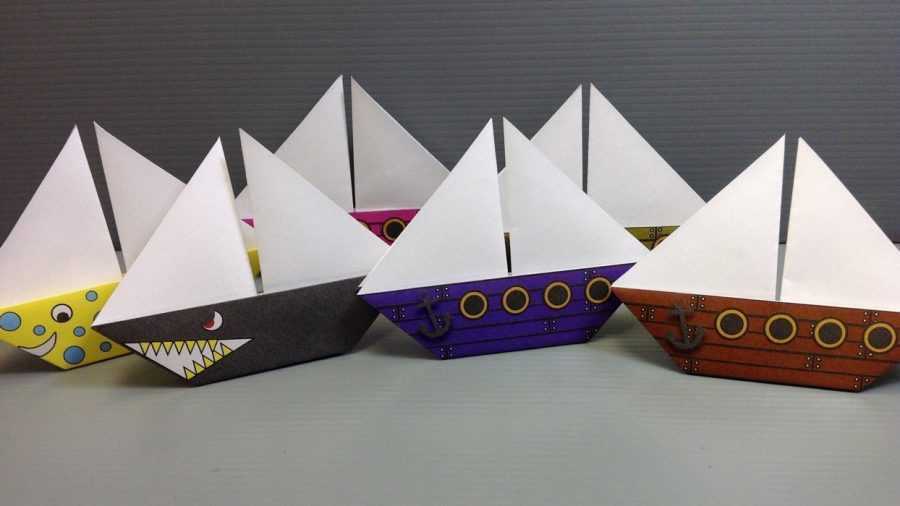
Because while folding the sheets, it will be clear which side the person is currently working on. After all, by mixing up the front and back sides, you can completely ruin the craft.

It is equally important to choose the correct paper thickness. Do not use sheets that are too thin
It is only at first that it seems much easier to work with them.
In reality this is not the case, and this becomes clear already in the process of work. After all, thin paper tears very easily. Only masters who have already managed to get used to it and have acquired enough skills and knowledge can work with it. Beginners will not be able to achieve a positive result.

How to make a ship out of wood with your own hands
A wooden boat is every boy's dream. Together with your dad or grandfather, you can carve the simplest version of a boat.
To preserve the wood longer, you can paint the top or varnish it.
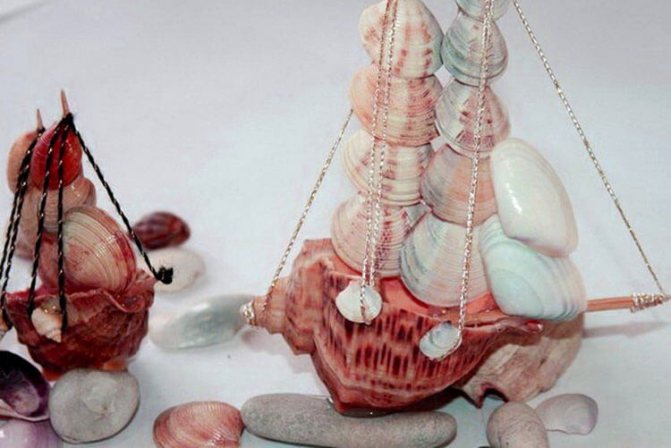
How to make a ship out of shells with your own hands
Did you bring a lot of shells from the sea? They can be used and beautifully decorated by making a boat out of shells. Resorts sell ready-made souvenirs in the form of ships made of shells, but it is much nicer to put on a shelf a craft made by your child.
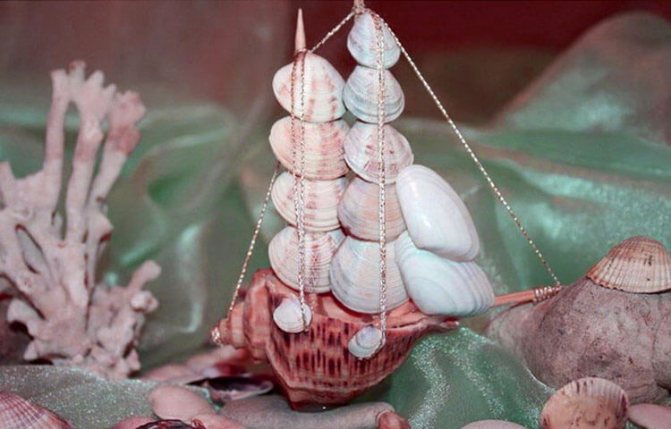
Materials:
- Big shell
- Small shells
- Super glue
- Braid
Come up with a diagram of your ship.
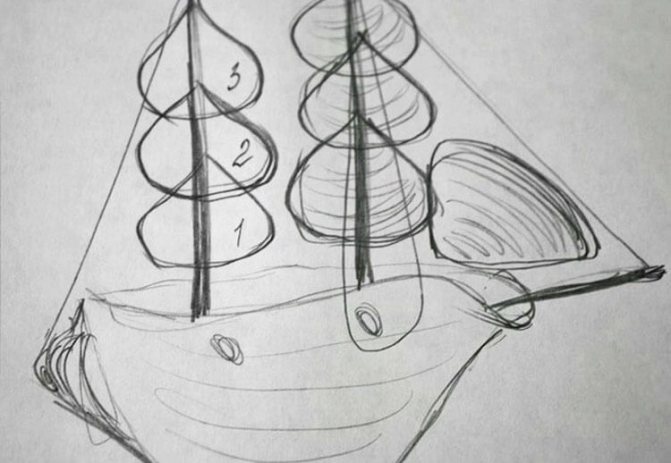
Place several shells in a row with a toothpick. It will look more beautiful if you arrange the shells according to size - wider at the bottom and smaller at the top.
Lubricate a toothpick with glue and attach the shells. Let's leave it to dry.
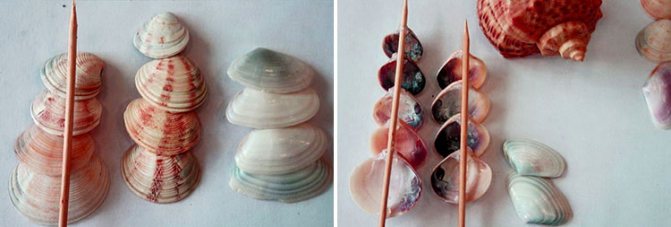
Let's attach these sails to a large shell. The base of the toothpick should be generously coated with glue.
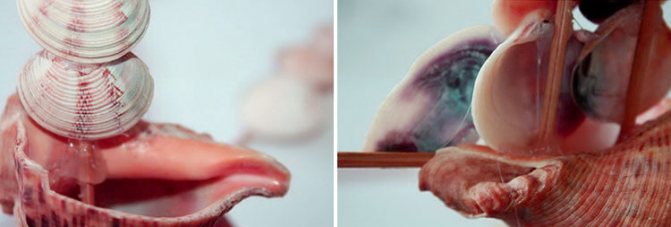
We use a chain or gold braid. We wrap it around the mast. To ensure that the boat stands level, you can glue a large shell onto a piece of wood or a flat stone.
