Technological map for drawing on the topic: “Spring sun”
Technological map for drawing
Organized educational activities in the senior group.
Subject:
"Spring Sun"
Integration of educational areas:
cognitive development, speech development, artistic and aesthetic development.
Target:
Formation of skills to create an expressive image of the sun in a drawing, using available artistic means.
Tasks:
Educational: Learn to apply a color on top of another only on dried paint, learn to draw with a two-color stroke;
Developmental: Develop figurative ideas and imagination of children.
Educational: Foster independence.
Targets:
has a positive attitude towards the world, fairly well developed memory, coherent speech, attention, can listen, answer questions in complete sentences, developed large and fine motor skills.
Means of implementation:
Multimedia: musical works
Verbal: fairy tales “ Visiting the Sun ”
Visual: illustrations of pictures “ Radiant Sun ”
;
Equipment and materials:
album sheet A4; paints - gouache; brush, glass of water, napkin.
Vocabulary work:
Activation of children's vocabulary with concepts: sun, bright, red, yellow, light yellow, orange.
Methodology
I. Introductory part
Motivational and incentive stage of activity
The teacher reads the nursery rhyme " Sunny "
.
Bucket sun
,
Look out the window!
Sun
, dress up
Red, show yourself!
-What is the nursery rhyme about? (About the sun .)
- What sunshine in spring
?
(Shines longer and brighter, warms the earth better, smiling)
- Why do people need the sun?
?
( The sun brings warmth and light to people.)
- Guys, what shape is the sun?
?
(Round.)
- What color is it? (Yellow.)
-But the sun
may not only be yellow.
Remember, when you go to kindergarten
, what color is it?
(White, light yellow.)
And when do we go for a walk during the day?
(Yellow.)
When do they pick you up from
kindergarten
?
(Orange.)
This means that, depending on the time of day,
the sun
can be light yellow, almost white, yellow, or orange.
I put a lot of white and a little yellow paint on the brush. I put a dot in the center of my leaf and start drawing in a circle
.
When the paint runs out on the brush, I add a lot of yellow and a little red paint. I continue to draw the sun
.
- How can you draw sun rays
?
— Rays of the sun
There are also different ones - straight and wavy, curls, spots, circles, stripes.
I’ll take my brush, pick up some paint and paint the sun’s rays using the “dipping” technique
.
Guys, where does the sun
?
(in the sky)
That’s right, I’ll paint
the sky between the rays of my sun
.
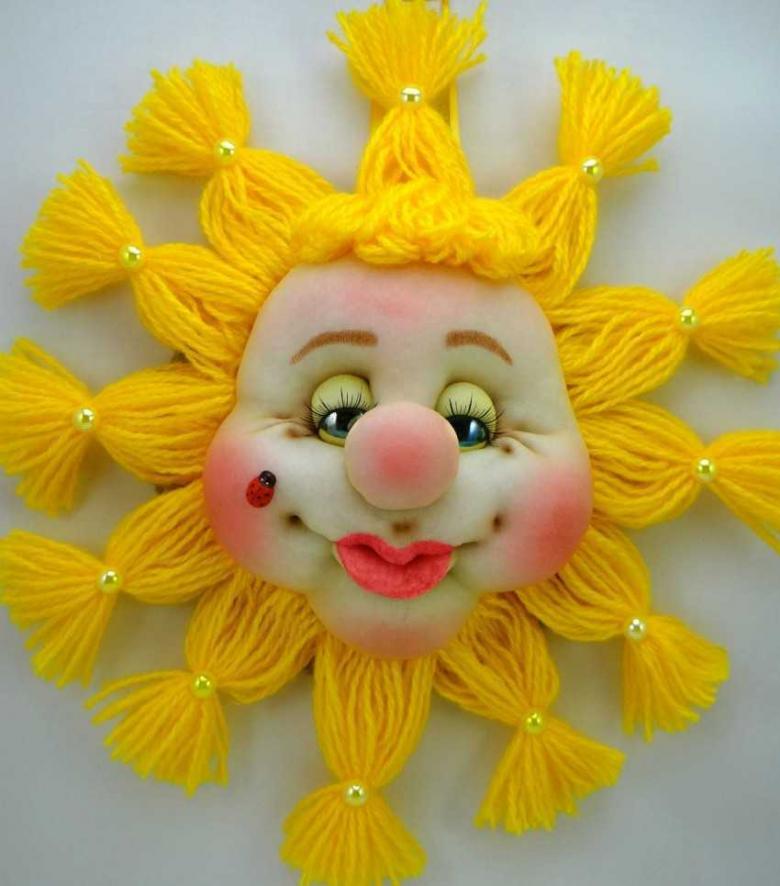
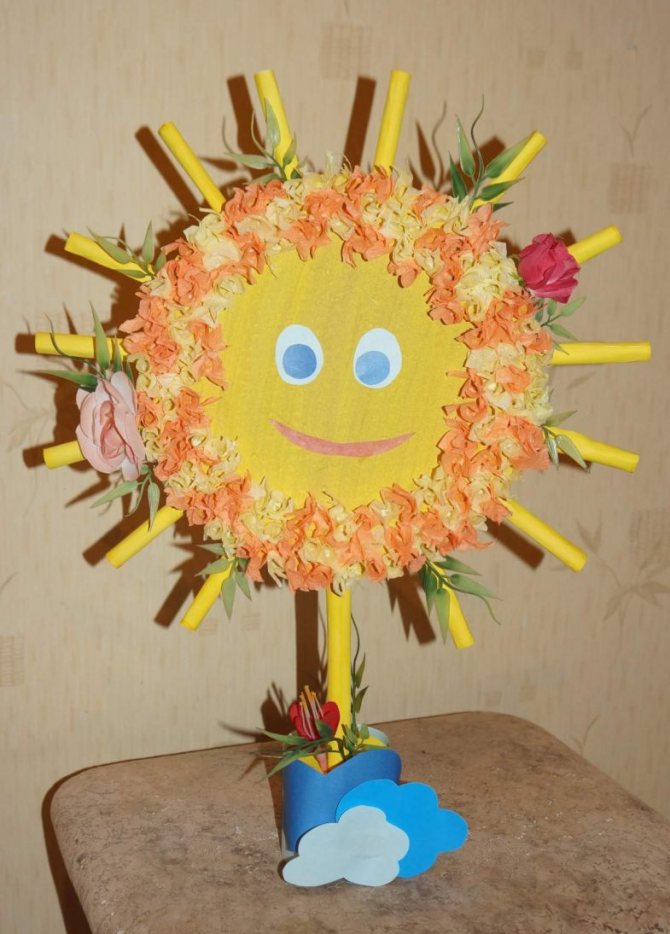
Various craft options
In children's creativity there cannot be two identical works, but making a sun still requires a certain set of elements that can be made from any materials. The main detail of the craft is always the central disk of the celestial body.
Then you need to make and attach to it many stylized rays diverging in different directions from the center of the circle. At the same time, it is important to decide how the product will be attached - glued to paper or cardboard, hung on a string or placed on a stick for festive events.
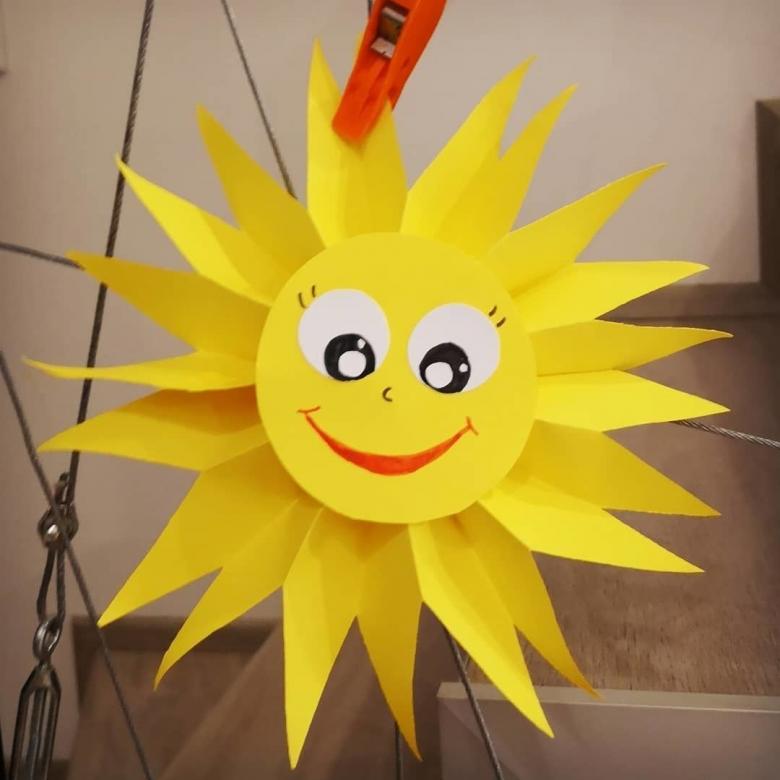
If desired, on the disc itself you can depict a human face with a playful smile and freckles.
Crafts for a country house
An image of the sun made from plastic bottles, wheels from an old children's bicycle, or a picture of the sun cut out of plywood can be used to decorate your home area. A sun craft for a dacha looks original, woven from wicker and installed in the middle of a flower bed or decorating the wall of a veranda.

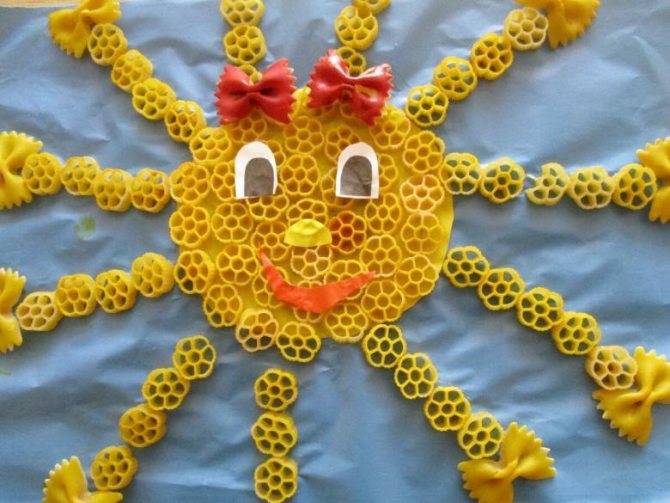
You can knit an original rug in the shape of a smiling sun to decorate your home or bathhouse. In the kitchen you can place a panel in the form of a stylized celestial body made from salted dough or pasta of various shapes.
In this case, the spaghetti will perfectly represent the rays, and the middle will be round pasta. Natural products are treated with a primer and coated with paint. You can finally seal the work with water-based varnish.
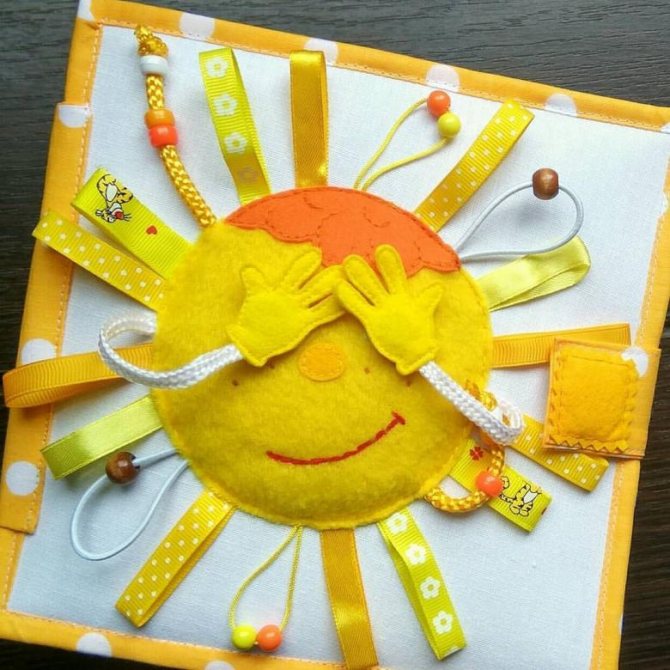
Soft toy “sun”
From multi-colored felt or other soft and thick material, you can cut out two circles of different diameters, the edges of which can be beautifully decorated in the form of stylized rays so that they are not too thin and long.
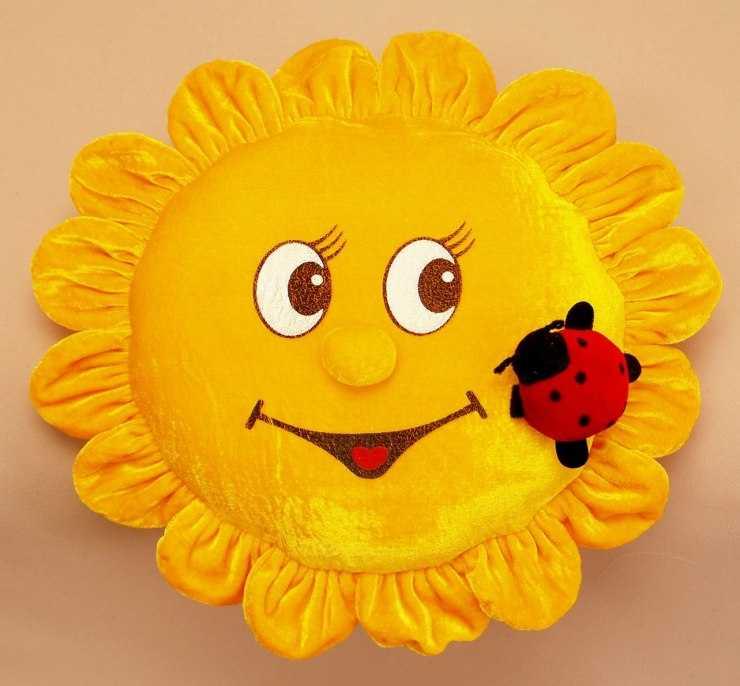
You can place a round piece of foam rubber or synthetic padding in the middle, which will provide volume to the product. The smaller part can be glued to the larger one along the edge of the filler. From material of other colors, eyes and smiling lips are sewn or glued onto it.
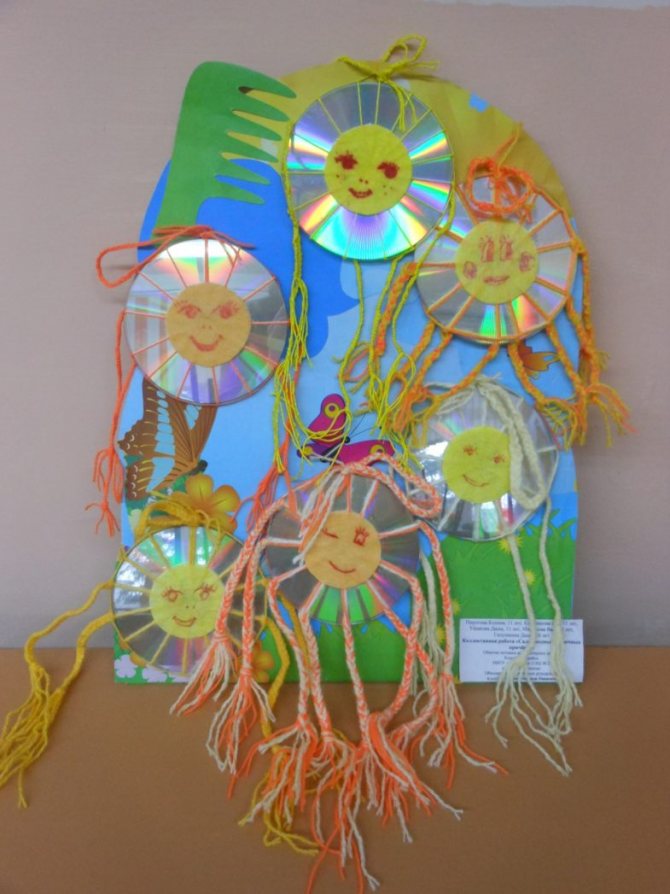
Sunshine from CDs
In order to make such a craft, old CDs, preferably with a yellowish tint, are suitable. In addition to them, you need to prepare:
- Beads.
- Glue.
- Lace or a piece of beautiful material.
- Yellow cardboard or foil of any color.
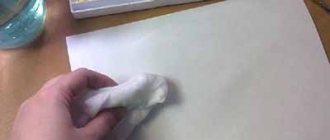
Progress:
- The disc is thoroughly wiped with a cotton pad pre-moistened in water.
- A circle is cut out of cardboard or foil, having a diameter smaller than that of the disk, but suitable to cover its central hole and glued to it.
- Around the glued circle there is decor made of beads and lace or fabric.
- It is better to choose transparent glue for fixing the decor, so it will be less noticeable on the finished craft. After completing the pasting of the perimeter of the circle, it is necessary to similarly paste over the outer perimeter of the disk.
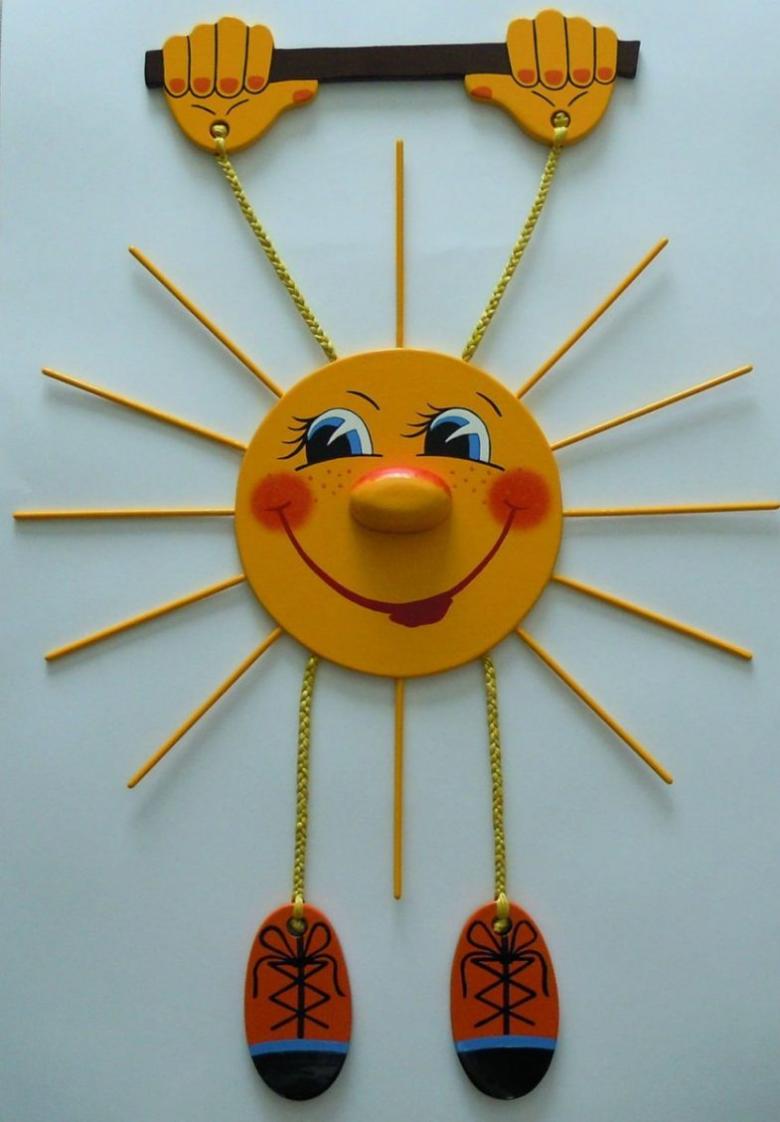
Handy household items for crafts
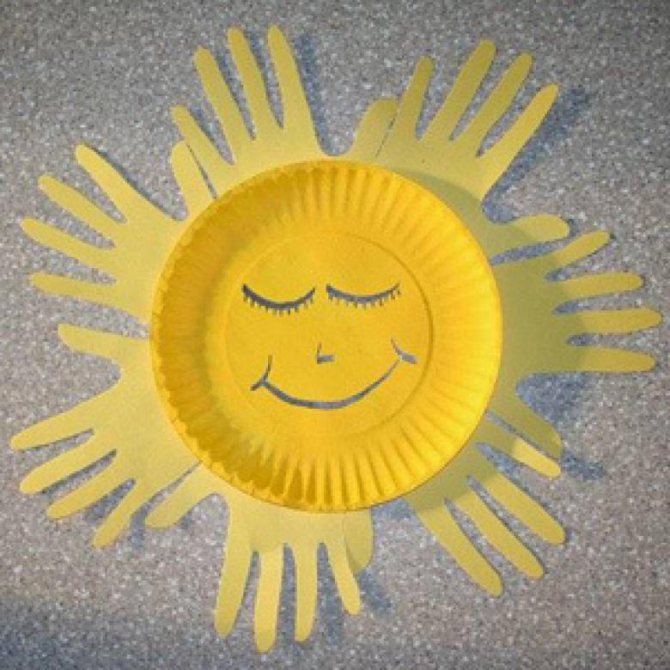
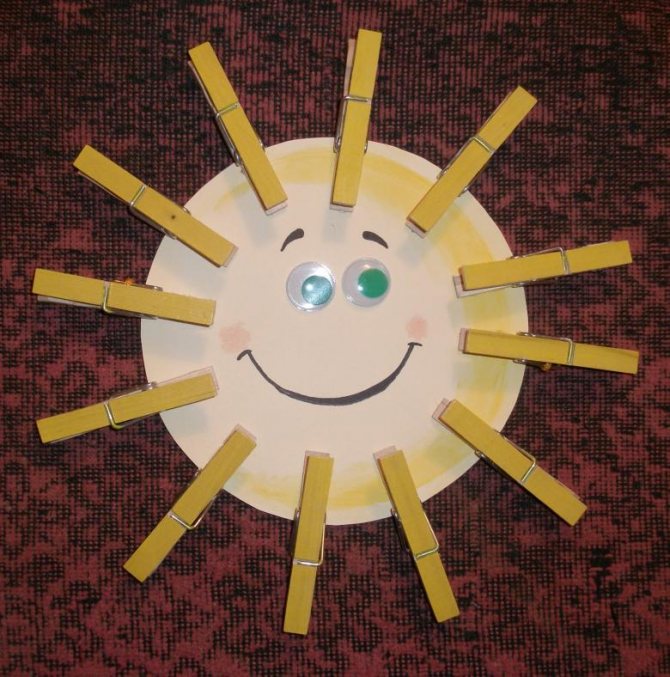
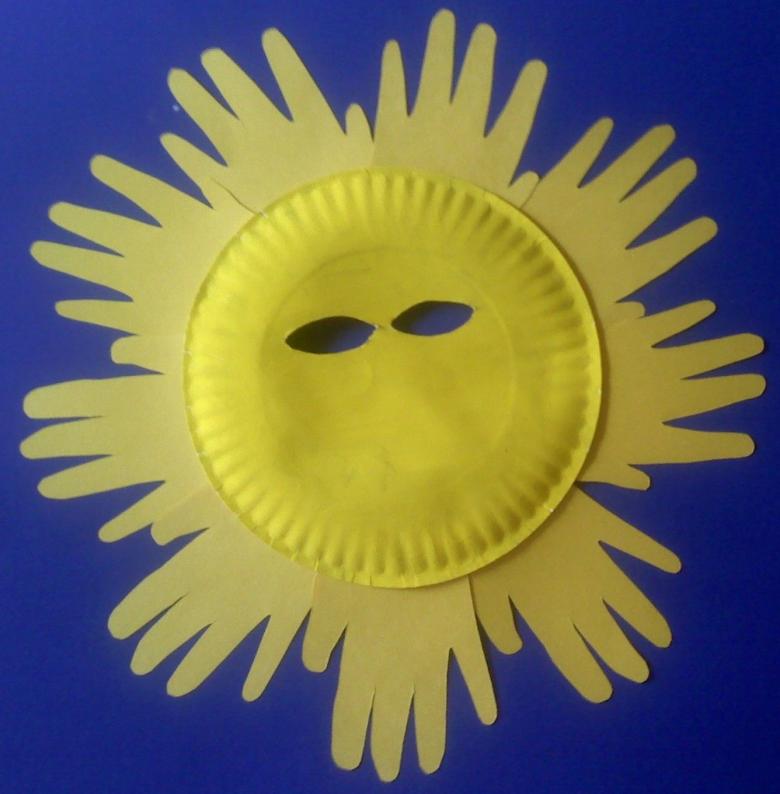
As a basis for making sun crafts, you can use ready-made round plastic products, such as lids from various containers or disposable plates. To paint such products in the desired colors, you can use acrylic paints and a type of glue suitable for plastic, one of which is silicone.
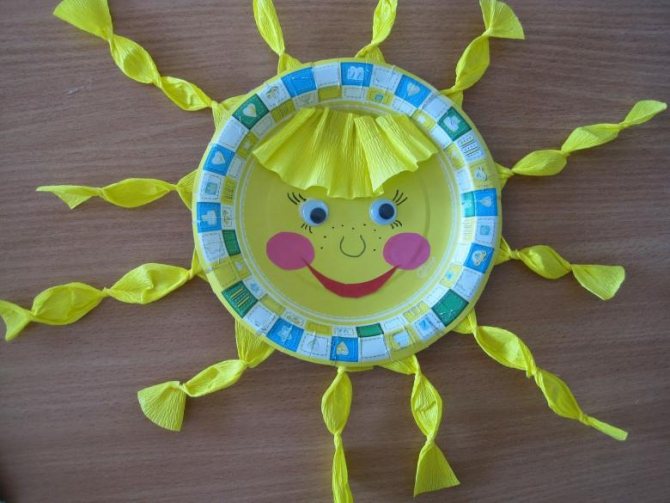
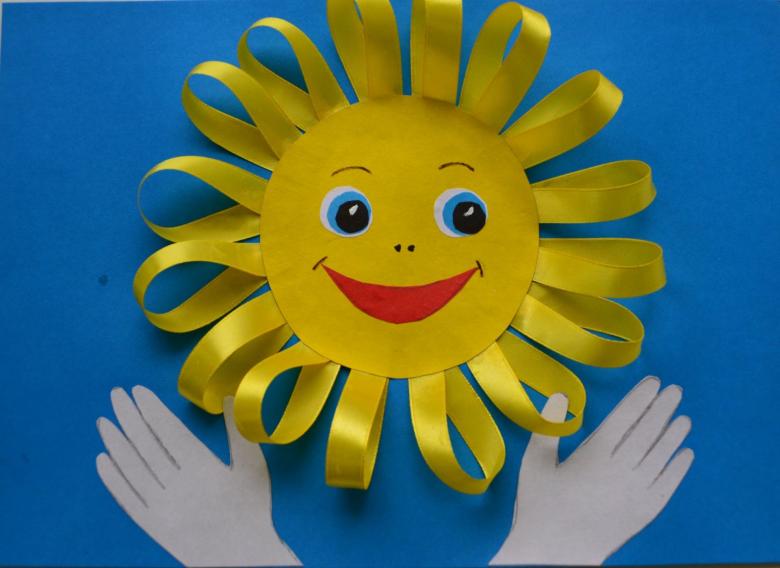
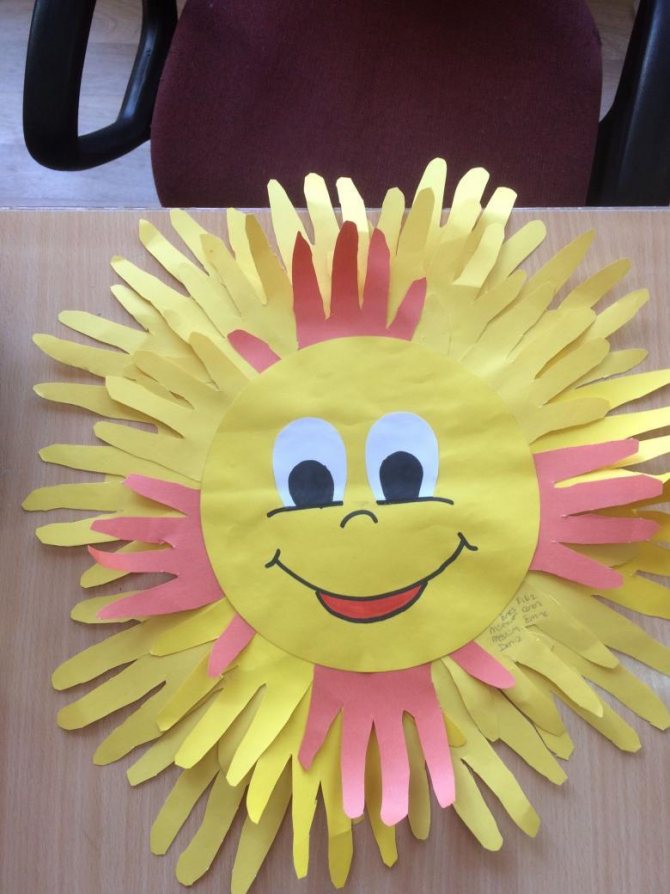
The face of the luminary can be drawn using paints and markers, both on the inside of the plate and on the outside. Rays in the form of palms drawn and cut out of cardboard are attached along the edge of the plate with a strip of glue.
When gluing the application to a wall or cardboard, you can use rubber gloves of appropriate bright colors instead of cardboard palms. It can be interesting to work with the use of multi-colored cocktail tubes.
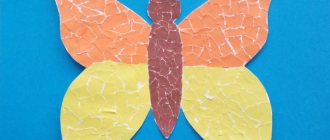
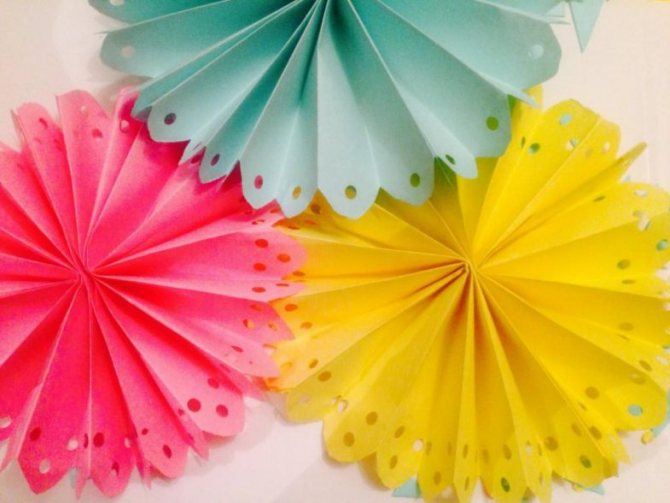
Sun with rays made of accordion-folded paper.
A child of 4-5 years of age can easily cope with such a craft - the sun he makes will be an excellent gift for March 8th or a birthday for a mother, grandmother or sister. To work you will need:
- Colored paper in two bright colors (yellow, pink, orange, red are suitable);
- Sheets of cardboard of different colors;
- Glue;
- Scissors;
- Marker.
Progress:
- The rays of the future sun are collected from colored paper by folding its sheets like an accordion and cutting their edges at a forty-five degree angle.
- The resulting parts are glued together, alternating colors, resulting in a multi-colored circle.
- Make 2 circles of different colors from cardboard and glue them together. At the same time, one of them should be slightly larger than the other.
- On the resulting blank, draw eyes, a nose and a smile and glue the resulting face into the center of the circle of the previously assembled multi-colored circle.
- Additionally, you can also glue a skewer to the craft so that the finished sun can be installed, for example, in a flower pot.

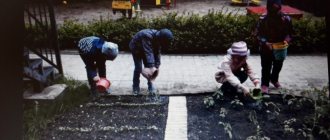
Application made from natural materials
On a sheet of sky-colored office paper you can make an applique from ready-made elements collected during an autumn walk in the park.
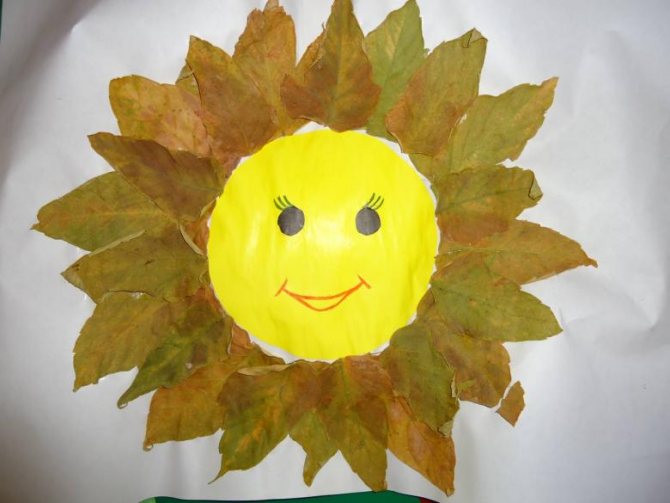
Beautiful, bright dried yellow leaves from maples, birches or reddish ones from park shrubs and fruit trees can be successfully used for an applique in the form of a sun, where the center is made of rounded crimson leaves, and the rays are made of yellow and even greenish leaves with carved edges.
Craft for the little ones
The simplest and most understandable craft for preschool children may be a paper sun craft.
To work you will need the most common set of materials:
- colored or corrugated paper in yellow, orange or red;
- glue in convenient packaging so that it is safe for the child to use it;
- special scissors for child labor;
- cardboard or a piece of thick paper to give a rigid shape to a craft or a base for applique.
To create a solar disk, you need to draw it on colored paper using any round object of the required size, which can be a saucer or plate. To draw the border of the rays, you will need to draw a circle of larger diameter.
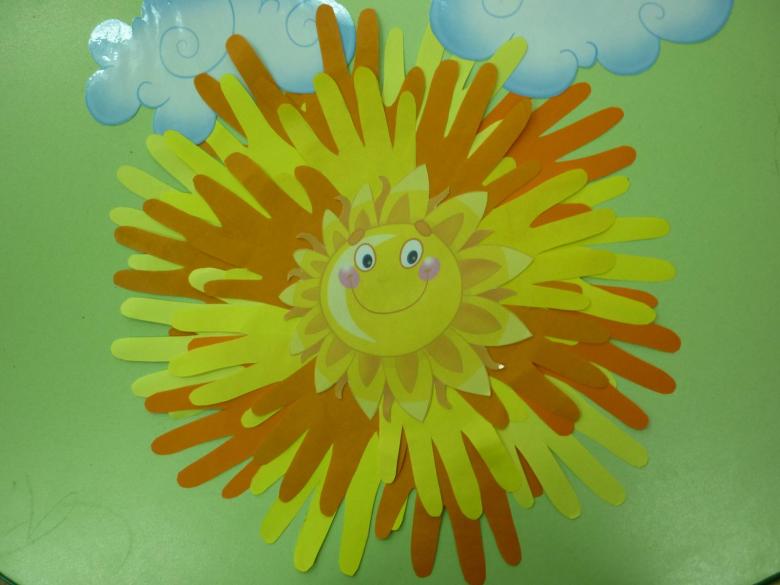
The rays can be made from bent strips of paper, braid, fingers circled on paper of a different color and pasted in a circle, or bright corrugated paper.
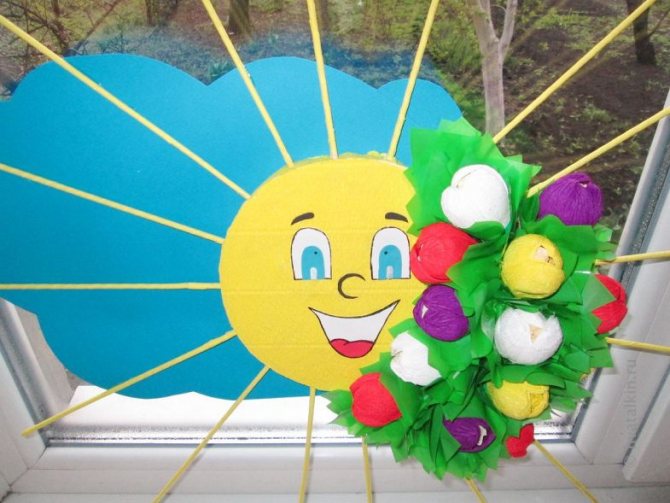
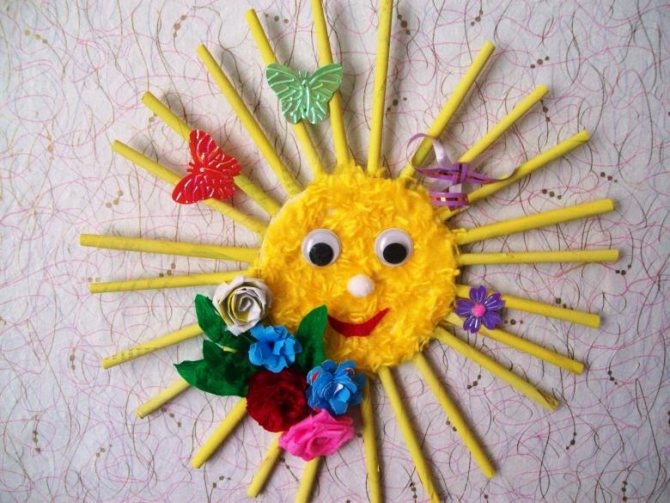
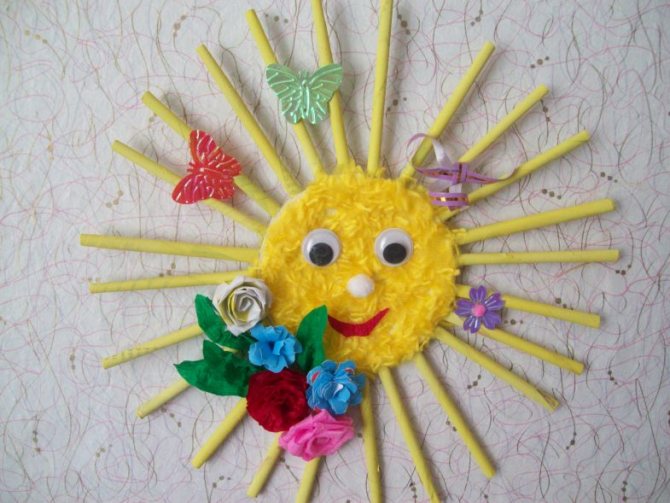
Sun made of corrugated paper or organza
Making this craft requires perseverance and attention from the child. The craft is suitable for pre-kindergarten and primary school students.
To work you will need:
- Yellow cardboard;
- White corrugated paper (or organza);
- Glue;
- Scissors;
- Threads;
- Marker;
- Compass.
Progress:
- Using a compass, mark two circles of the same diameter on cardboard and cut them out.
- Rectangles measuring approximately 3 x 8 centimeters are cut out of corrugated paper (or organza), which are subsequently collected from one edge with an accordion, and fixed using a thread - these will be rays.
- The finished beam blanks are placed on one of the cardboard circles, after which they are glued, carefully flattening the assembled part.
- The second circle is glued on top. After the glue has dried, you can draw eyes, a nose and a smile on the sun.