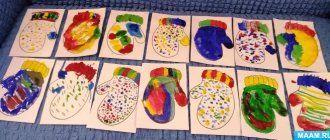
Skills Required for Drawing Animals in Intermediate Group
Before starting a drawing lesson, you need to take into account the skills that, according to the Federal State Educational Standard, are practiced by children 4–5 years old in this type of creativity:
- precision of brush strokes when painting, in particular, children learn to make thin strokes with the tip of a brush to draw the face, paws, tail - and intensive ones with the application of the entire pile to fill the color of the animal’s body;
Children of the middle group practice the skill of uniformly painting elements of a composition
- uniform hatching directions - from left to right, from bottom to top - with adjustment of the stroke span depending on the area of the surface being painted;
- varying the size of the strokes by changing the position of the pencil or brush, so if you tilt it closer to the paper, you will get wider lines, but placing the pencil almost vertically will help make small elements.
Technological maps for the execution of drawings
When depicting animals, it is very important to clearly formulate for children the order in which the contours of the drawing should be completed.
Table: description of the procedure for working on animalistic topics for the middle group
| Subject | Operating procedure |
| "Bunny" |
|
| "Hedgehog" |
|
| "Little Bear" |
|
| "Giraffe" |
|
| "Squirrel" |
|
| "Wolf" |
|
| "Kid" |
|
Photo gallery: animal drawing schemes
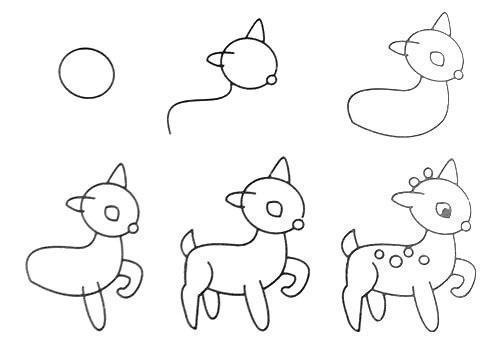
The drawing of a kid can be supplemented with applicative elements: a sun made of plasticine, grass made of colored paper

When drawing hedgehog needles, it is important to draw children’s attention to the unidirectionality of the “layers” of needles
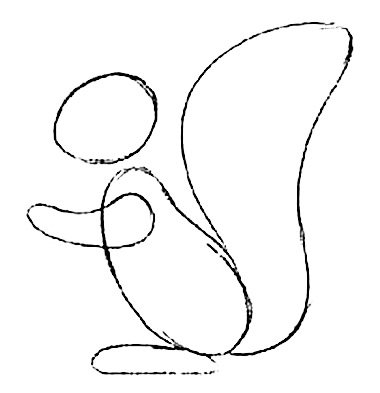
In the drawing of a squirrel, children complete some elements from memory, for example, the shape of the ears, claws

To make the color of a giraffe richer, you can use wax crayons of suitable colors. To color a polar bear, you can use semolina, and a brown bear, buckwheat.

The hare drawing is based on three geometric shapes: two ovals and a circle
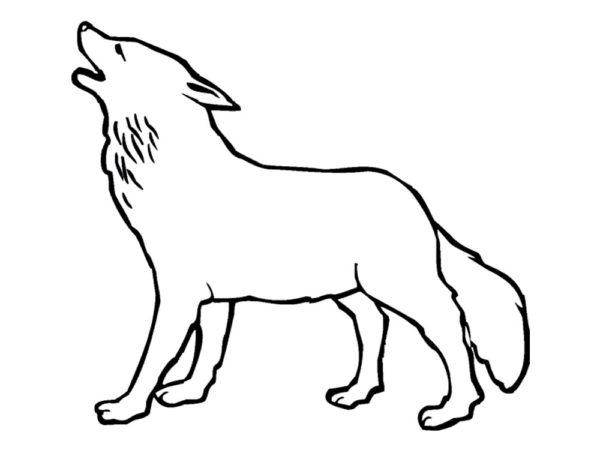
To learn how to convey the elegance of the curves of a wolf’s body, children need to repeat the contours of a finished drawing several times, that is, trace a stencil with a pencil
Video: master class on drawing a cat
Video: master class on drawing a hedgehog
Drawing techniques in the middle group
At 4–5 years old, children practice both traditional and non-traditional drawing techniques.
Traditional painting techniques
As for classical techniques, in the middle group they are presented:
- drawing with a simple pencil - most often to indicate the contours of the image;
- drawing with colored pencils - children color the elements of the composition, trying to act exactly within the boundaries of the contours, while the direction of the strokes in the image of individual details does not change;
- drawing with wax crayons to obtain a rich color scheme of the picture;
- drawing with felt-tip pens - to practice coloring without going beyond the boundaries of the outline;
- drawing with gouache - not only for coloring pencil templates, but also for drawing the contours of animal images with paints;
- painting with watercolors - in particular, children practice multi-layered images, that is, they draw an element, let it dry, and then detail it with a different color (for example, they paint the body of a squirrel orange, and then draw the abdomen with yellow).
Photo gallery: examples of finished works in traditional techniques
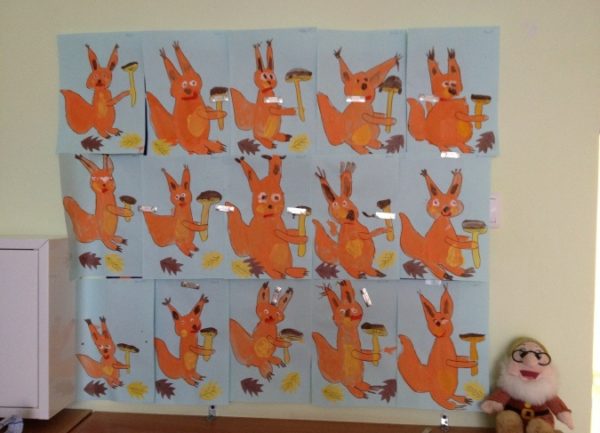
In the drawing of a squirrel, children detail the face without first drawing contours

The drawing of the kids is done without a pencil outline; children show the boundaries of the image with lines made with a thin brush. In the middle group, drawings of animals in various poses are made from life
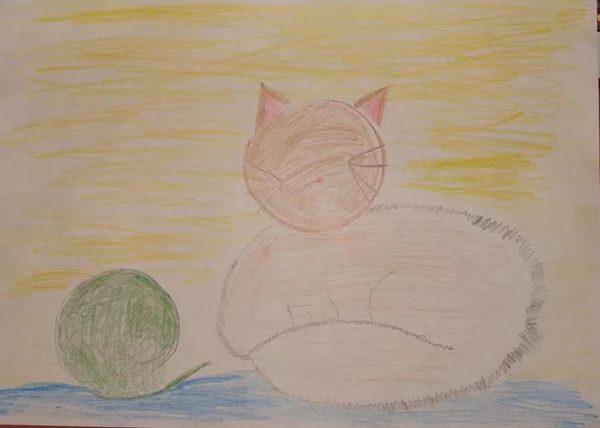
To depict the texture of a cat's fur, children sketch with small zigzag lines.

Felt-tip pens can be used to create drawings using non-traditional techniques, but they are rarely used in classical techniques, since they do not provide an opportunity for children to practice pressure force, as when working with pencils
Non-traditional drawing techniques in the middle group
In the middle group, drawings are practiced to depict wild and domestic animals using non-traditional techniques:
- with their palms, for example, when introducing the topic “Exotic Animals”, children draw a giraffe;
- poking with a semi-dry brush to depict animal fur;
- a fork for detailing needles or conveying the hard texture of an animal’s skin;
- an imprint with a crumpled piece of paper, for example, to show the volume of a bear cub’s fur.
Photo gallery: examples of drawings in non-traditional techniques

The texture of a hedgehog's spines can be shown by the imprint of a fork.
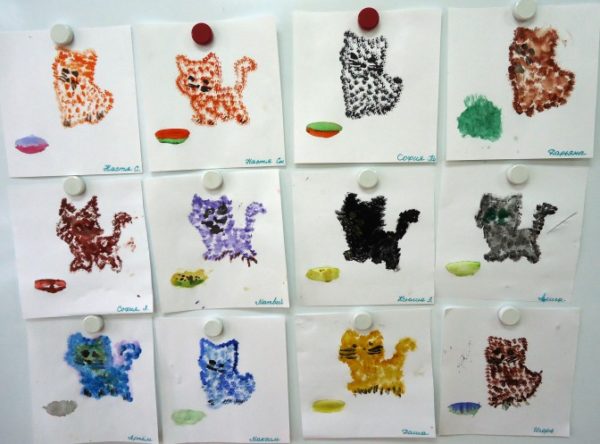
The stiffer and thinner the brush, the fluffier the kitten will be.
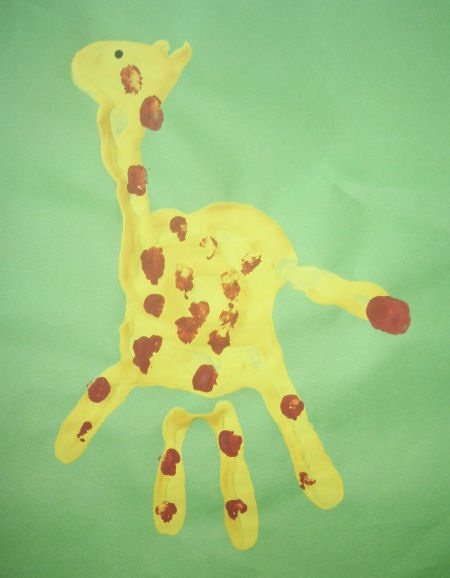
Children use a handprint to make the body, legs and tail of a giraffe, and paint the head with a brush.
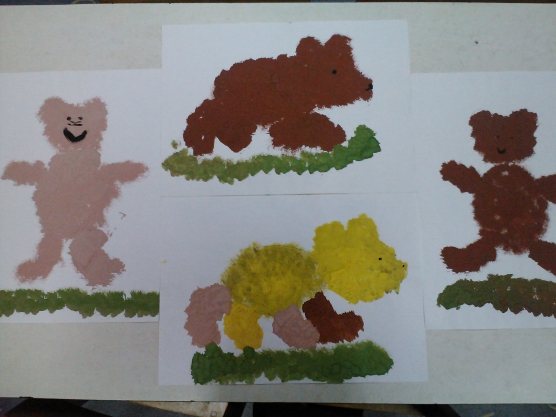
The bear's face is detailed after the body is drawn with a poke of a brush.

In the middle group, the repetition of the drawing technique mastered last year by poking with a cotton swab is carried out by painting the goat template
How to motivate middle school students to work
For middle preschool age, drawing is a rather complex activity that requires concentration and attention - you need to tune in to it. Therefore, the teacher’s task is to choose the best option for motivating children, which would be suitable for the topic and would be accessible and interesting to children.
| Reception of motivation | The essence | Examples |
| Pictures, videos | They are used in life drawing classes - children see what the animal looks like and have the opportunity to look at it from different angles. | |
| Fairy tales | Children listen to a fairy tale or remember an already familiar plot, look at the pictures, and then draw their own illustrations based on them. |
|
| Cartoons | The creation of a drawing can be based on the plots of animated films. | To depict a polar bear, children review excerpts from the cartoon “Umka” |
| Surprise moment | A character comes to visit the group and presents a task. |
|
| Poems | Rhyming lines attract the children's attention and focus them on one type of activity. |
|
| Puzzles |
| |
| Music | Helps create the right atmosphere. | Paul Mauriat “In the World of Animals”, C. Saint-Saens “Carnival of the Animals”, etc. |
| Physical education minute | Used to change activities, carried out in the middle of a lesson, usually before drawing. |
|
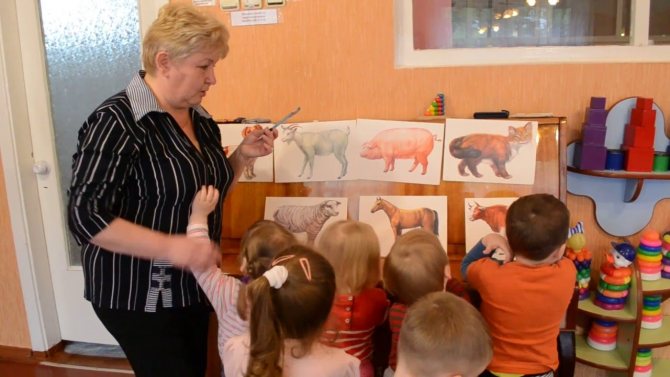
One of the motivation techniques is the mandatory presence of pictures of animals.
Forms of organizing drawing on an animalistic theme in the middle group
In long-term planning for visual activities for the middle group, the animalistic theme is presented in close connection with modeling. So, in the second semester, children sculpt a baby goat and then draw it. The same procedure applies to the “Homeless Hare” theme.
In addition, the work plan includes drawing on the following topics:
- “Bear” - can be in the form of a drawing of a character from your favorite cartoon “Masha and the Bear”;
- “Teddy Bear” - drawing from life (using a toy as a model);
- “Three Bears” - creating illustrations for a fairy tale;
- “Hedgehog” - based on the fairy tale by V. Suteev “The Magic Wand”;
- “Squirrel”, “Fox” - drawing according to plan (children remember the characteristic features of the animal’s appearance and depict it from memory);
- “Squirrel with a mushroom” - plot composition;
- “Cheerful Puppy” - based on S. Mikhalkov’s poem “My Puppy”;
- “Dog in a booth” - plot drawing;
- “Sister Fox and the Gray Wolf” - based on a Russian fairy tale;
- “The Three Little Pigs” - illustration for a fairy tale;
- “Wolf” - drawing characters from the fairy tale about Little Red Riding Hood;
- “Giraffe”, “Porcupine” - consolidation of material on familiarization with the environment on the topic “Exotic animals”.
In addition to individual work, the teacher can organize group drawing. Children are divided into groups of 4-5 people, each receives the task of depicting one animal, for example, a cow for the composition “Farm” or “Summer in the Country” on a silhouette of an animal cut out by an adult. After the teacher explains the algorithm of work, the children color the template and glue it onto an A3 size substrate. The teacher controls the correct arrangement of the elements. Children who have good drawing skills complete the elements of the environment: a fence, lawn, houses, etc. Alternatively, kids can draw animals as illustrations. For example, to the fairy tale “Wintermovie”.
Photo gallery: examples of collective work
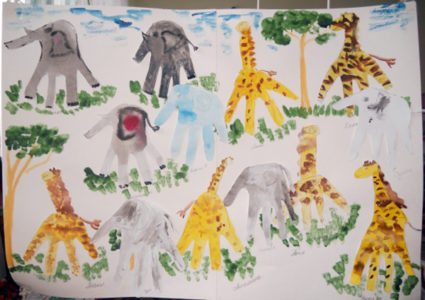
Collective compositions can be created using non-traditional techniques, for example, drawing elephants and giraffes with palms

An option for designing a collective composition with polar bears could be tracing the contours and coloring the templates with semolina

An option for collective drawing could be a composition template with exotic animals, which children color
Materials for drawing in the middle group
The materials that children will work with play a decisive role in preparing a drawing lesson.
What to draw on
As in the previous year, the optimal basis for the drawing is a sheet of A4 paper. For painting with paints, it is better to take watercolor sheets: they are denser, so even if the child heavily wets the brush, the image will not “float.” To depict an animal the size of the entire sheet, you can use thin cardboard.
Unlike the second younger group, even for small pencil pictures you should not use a smaller sheet format: firstly, children practice harmoniously arranging the composition on the base, and secondly, the kids’ muscles are already developed enough so as not to get tired when performing monotonous pencil movements for drawing large elements.

If the drawing involves individual work, then the sheet should not be larger than A4 format, otherwise it will be inconvenient for the child to work
How to draw
To make images of animals more expressive, children use gouache. In the middle group, the guys try to mix colors themselves (!) to obtain shades, for example, red and yellow, to get the orange of the required intensity to depict a squirrel or fox. The number of basic colors for drawing one composition expands to 6.

Gouache still remains the most favorite material for fine art.
Squirrel brushes Nos. 10–14 are used, including those with medium-length handles for making thin strokes to show the texture of the animal’s fur.
In the middle group, children switch to drawing with pencils of standard thickness. The number of colors increases to 12. At 4–5 years old, children combine pencils and wax crayons in their drawings.
What materials to supplement a drawing on the theme of animals?
Animalistic themes open up wide opportunities for including elements of other types of artistic activities into the composition. For example, when depicting cows in a meadow, children make an applique of grass: a strip of green paper is folded several times, cuts are made, unfolded and glued, leaving the “fringe” free - the composition acquires volume.
Applique motifs can be used to decorate designs: a paper bow for a cat, apples for a hedgehog, etc.
In addition to appliqué, plasticineography can be used in animal-themed drawings. For example, make a sun from plasticine twisted into a rope, and also add plasticine eyes and a nose to the image of the animal. Drawings in which parts made of plastic material alternate with drawn ones look original. For example, some of the hedgehog’s needles are drawn with pencils or wax crayons, and some are made with thin plasticine flagella.
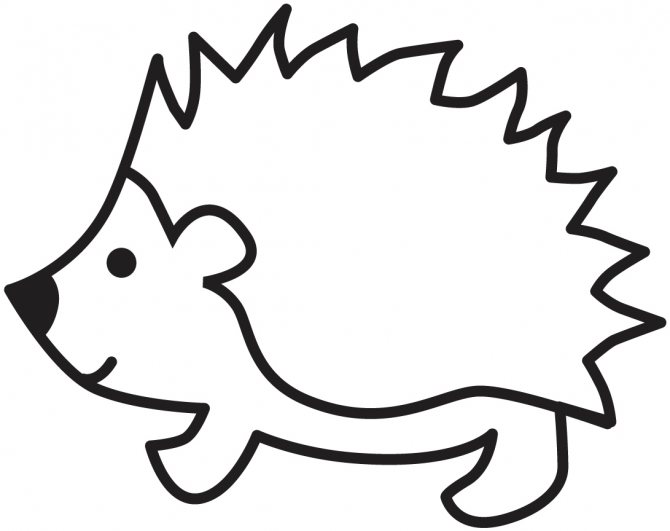
Typically, to combine drawing and plasticine, templates with an image of an animal are used, which children paint and then complete with plasticine parts.
