Traffic light from packages
The option is a little more complicated, but quite interesting.
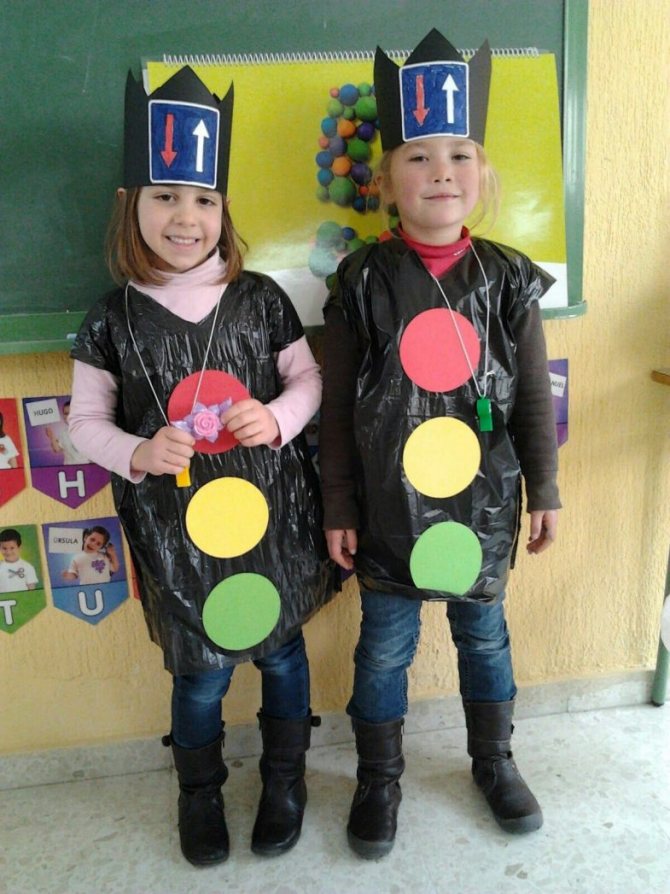
Required:
- Bags (can be trash or cellophane)
- Scissors
- Plastic cover
- A thread
Progress:
- You need to fold the bags into an even stack, carefully cut off the bottom and top from them to get even rectangles. Cut them into even strips.
- Next, take a plastic lid and cut out two rings from it. We put them next to each other and wrap the polo with nets. Then we cut everything along the outer edge, push the rings apart and tie the pom-poms with thread. Trim the edges to make the pompoms even.
- We should end up with three pompoms of different colors. You need to connect them together with a thread. And our traffic light is ready.
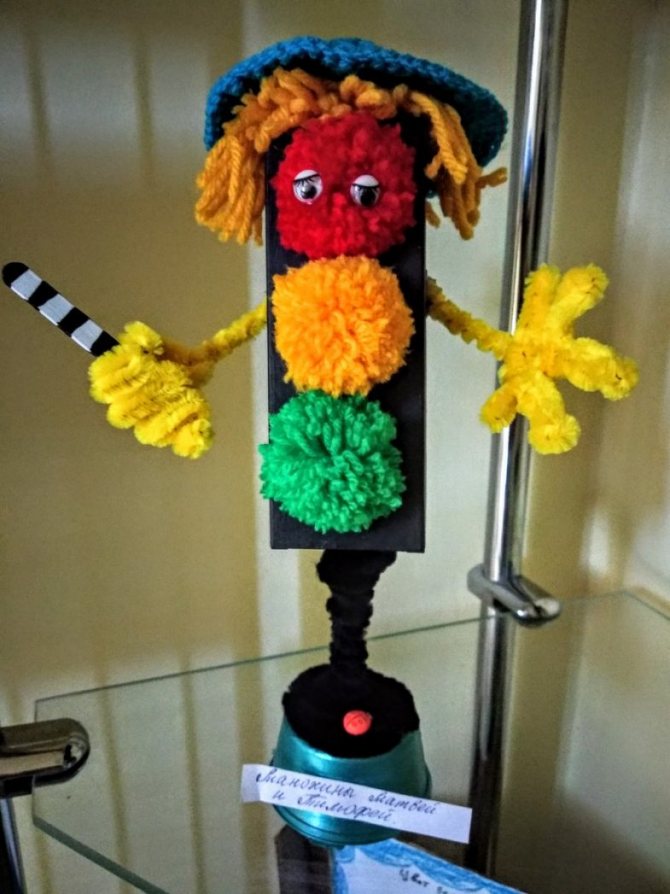
- Very funny crafts can also be made from disks; you can crochet a traffic light, or you can simply make one from balls of thread. Much depends on your imagination, and there will always be enough available means.
Original traffic light ideas
To make an original traffic light, it can be made from threads:
- The threads are wound around a balloon coated with glue.
- When the threads dry on the ball, it is deflated and a ball of threads is obtained.
- Three balls are glued together to make a snowman.
- In place of the buttons, multi-colored circles made of paper or bottle caps are glued. The top ball is the head of a snowman, acting as a traffic light. You can put a cap made of paper on it and glue on eyes, a nose and a mouth.
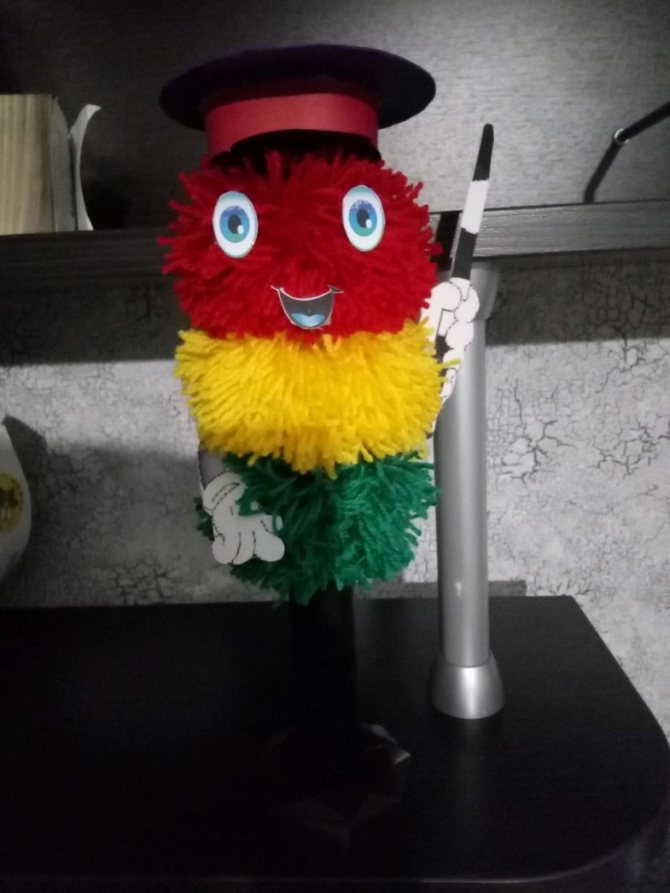
- Ping-pong balls can also be turned into traffic lights if you paint them in different colors and glue them together. A cap is put on the top ball.
- Glue eyes and a mouth on each ball.
- The expression on the face changes depending on the color of the ball.
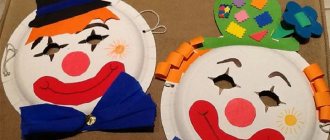
Colors in the shape of a dog or cat's face
- Cut out the base for the traffic light from black cardboard.
- We cut out circles from white paper in order to stick the faces of a cat or dog on them.
- We glue the circles onto a black blank.
- We make animal faces from a square sheet of colored paper. To do this, bend the sheet in the middle twice to get a triangle. The edges are folded to form ears.
- We bend the bottom of the workpiece into the middle to form a muzzle. Glue eyes from white paper and draw pupils. Using a marker, draw a mouth and nose, mustache and eyebrows. But you need to draw different facial expressions in animals. If the dog or cat is red, then they must be angry. The yellow animal has a neutral facial expression. And green is fun.
- Glue the faces onto the white circles.
Important! For the dog, the front side obtained by bending the triangle is used, and for the cat, the wrong side is used.

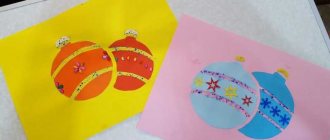
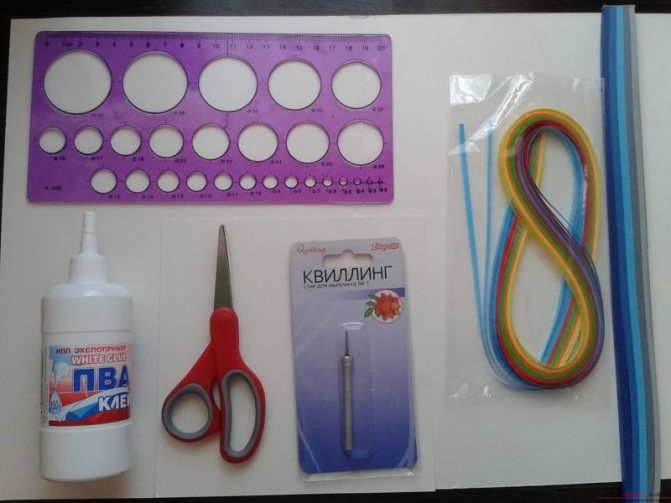
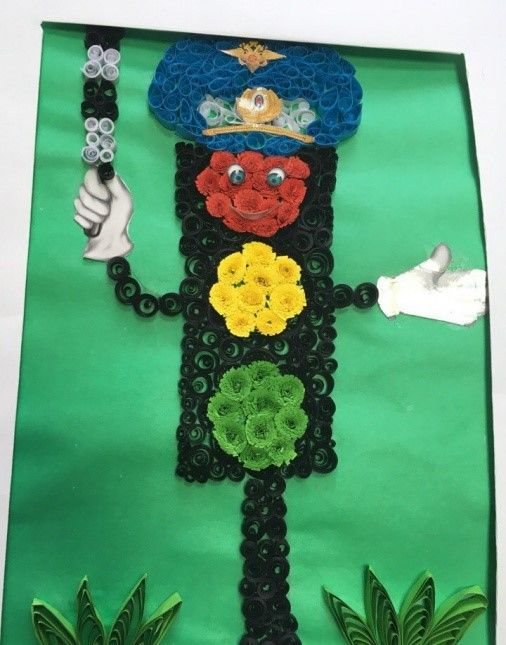
Using quilling technique
The quilling technique itself is simple, but you need to tell and show children how curls are made.
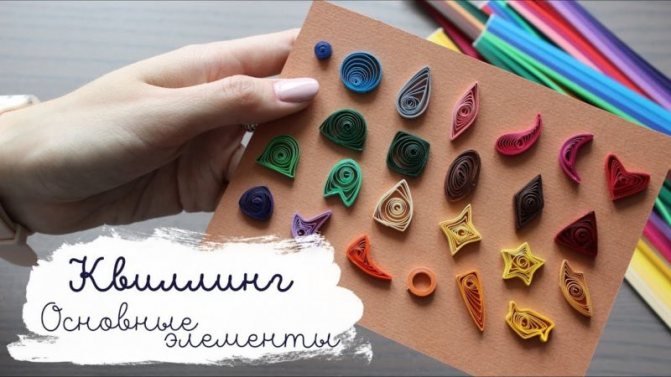
To do this, you need to cut colored paper into strips 1 cm wide and wrap them as tightly as possible around a pencil, and glue the edge to the spiral.
When the required number of curls is ready, you can glue them to the created template.
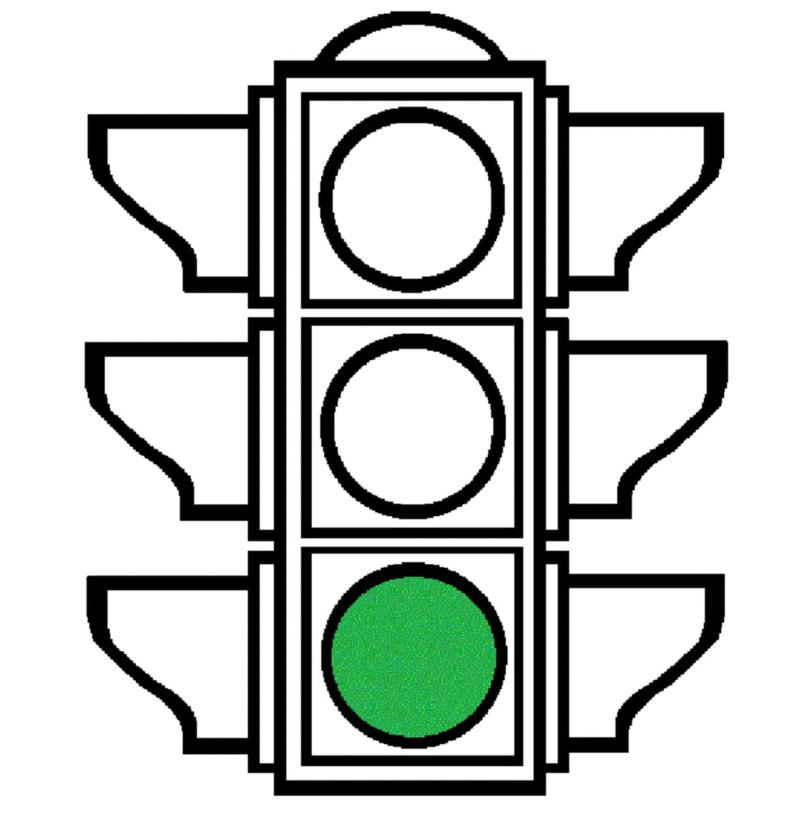
The shape of the windows for light in traffic lights can be different. But it needs to be completely filled with glued parts.
Important! The main criterion in creating a traffic light craft is that the colors on it should be in the same order as on a real traffic light. While the children are doing the craft, they must remember the exact location of the colors of the traffic lights and know which color they can cross the road with.
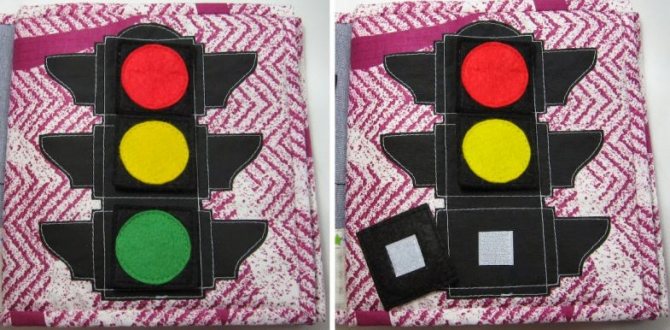
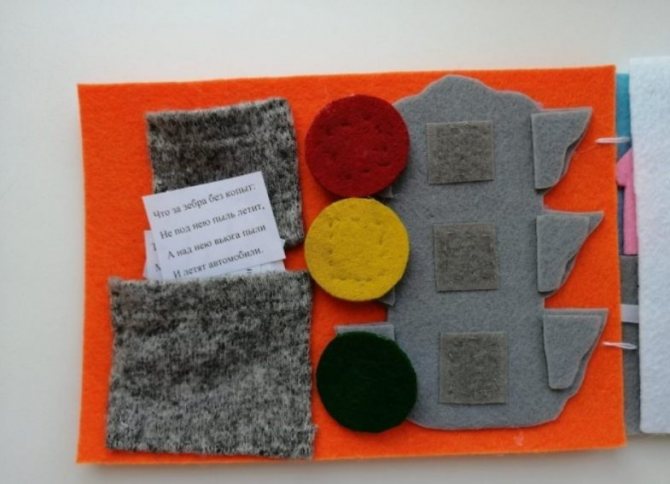
Fabric craft
This version of the traffic light is more suitable for girls and real needlewomen. A sewn fake can also serve as an educational toy if the circles are made with Velcro.
So, let's begin:
- You need to take rectangular pieces of black fabric and lay a small layer of foam rubber between them. Sew it together.
- Next, cut out circles from felt (red, yellow, green). We sew them along the edges. You need to sew one part of the Velcro to the traffic light body itself, and the second part directly to the circles.
- For a more interesting design, you can make a fabric lid on top. Having previously divided it into three parts. Thus, each color will be opened separately, or all at once. The fabric craft is ready.