On the topic: methodological developments, presentations and notes
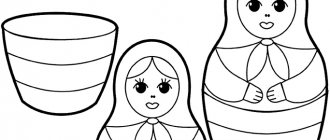
Collective work of older children. made using origami technique. Designed using waste material.
The problem of children's lack of interest in milk, lactic acid products and drinks containing milk. Children's reluctance to drink milk for the following reasons: the presence of foam, the absence of milk at home.
Help colleagues.
Today we again met with Dymkovo animals and consolidated our knowledge about them. We looked at different painting options, remembered how a drawing is made, what colors and colors.
Source
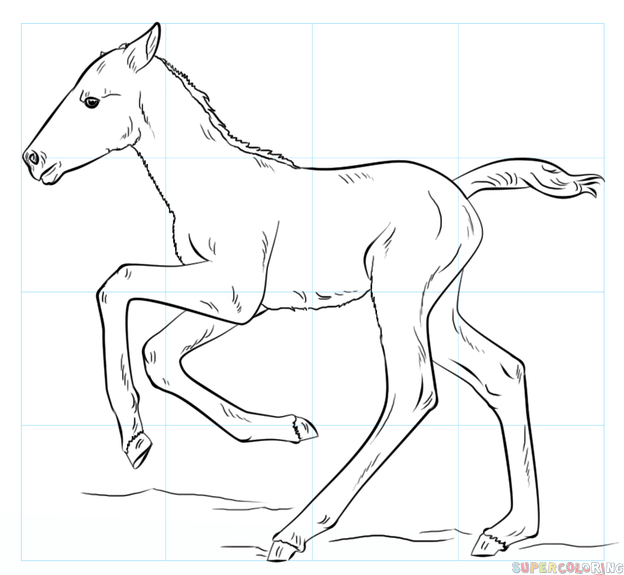
How to draw a foal
These instructions will help you draw a foal step by step.
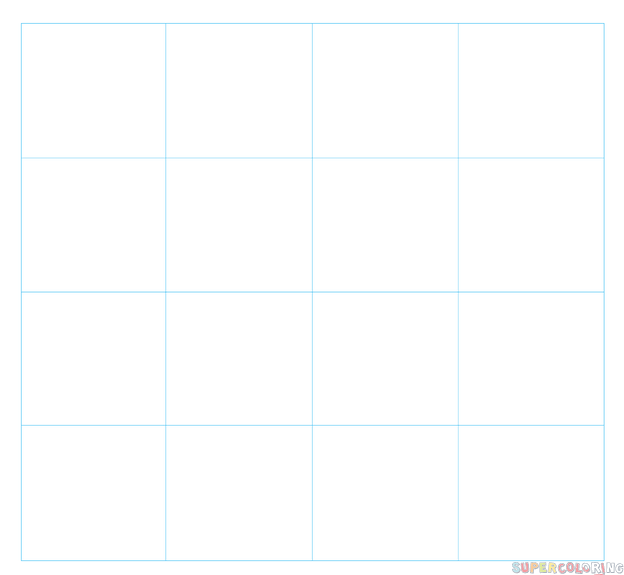
Preparation
Prepare a piece of paper or print out the provided base lines to create a drawing of the foal.
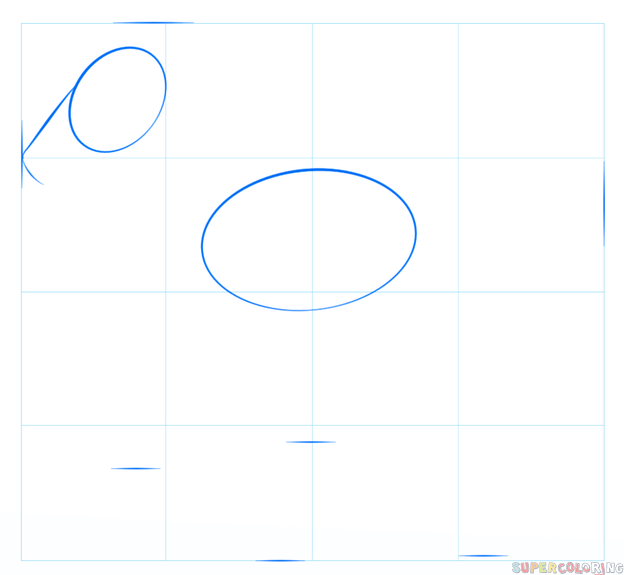
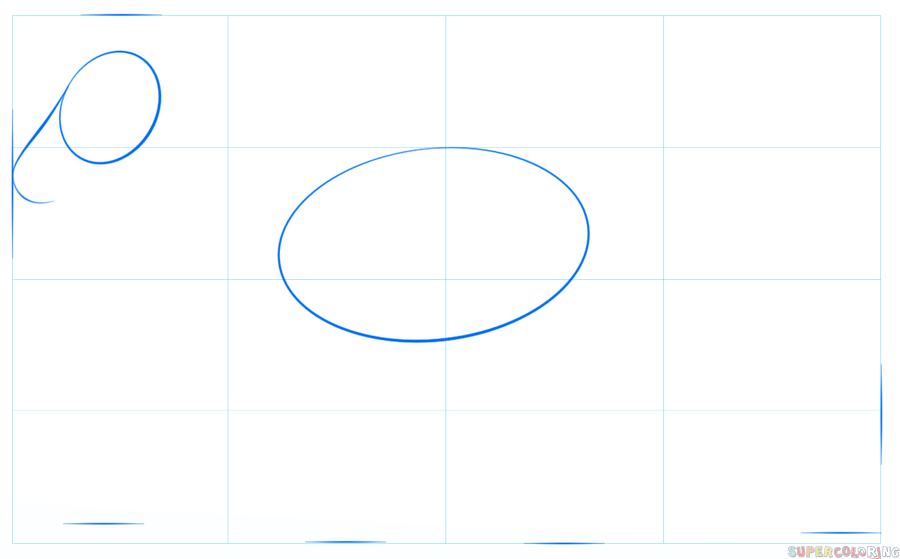
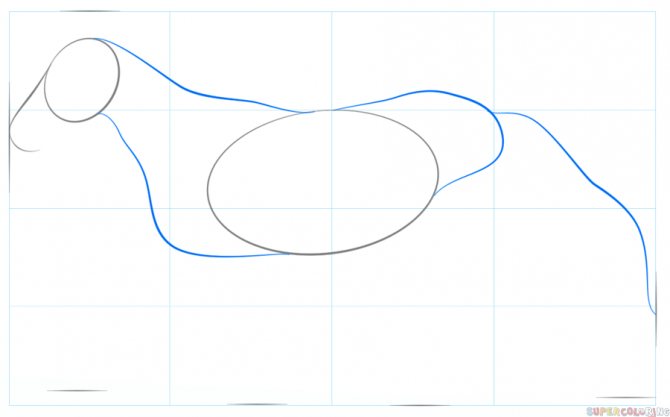
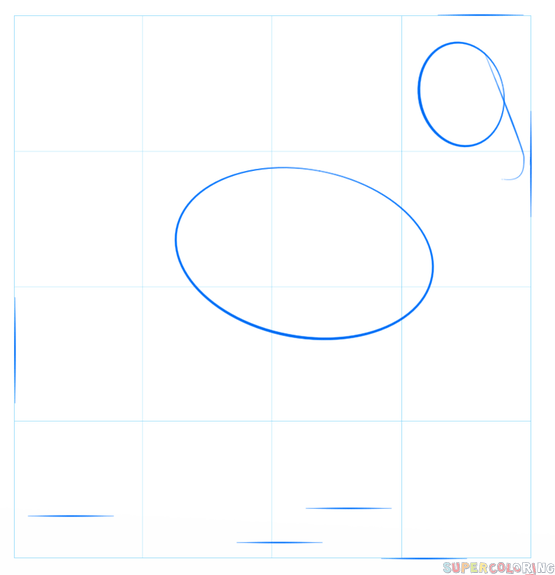
Step 1
Use lines to determine the width and height of the image. Draw two ovals for the foal's head and body. Draw a line that will act as the center of the head.
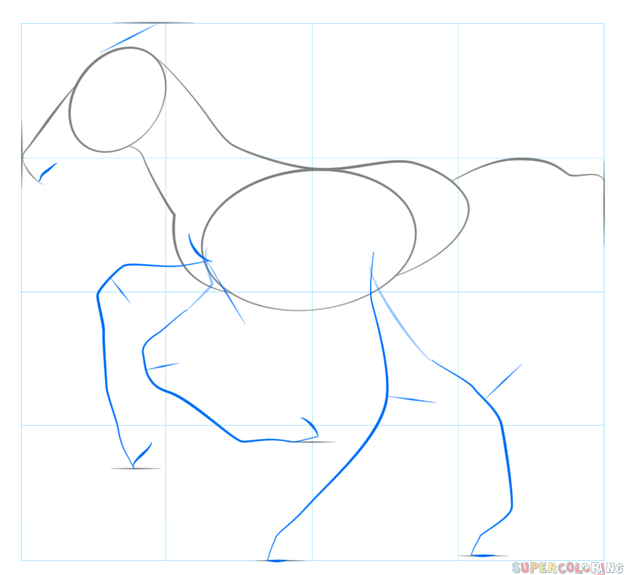
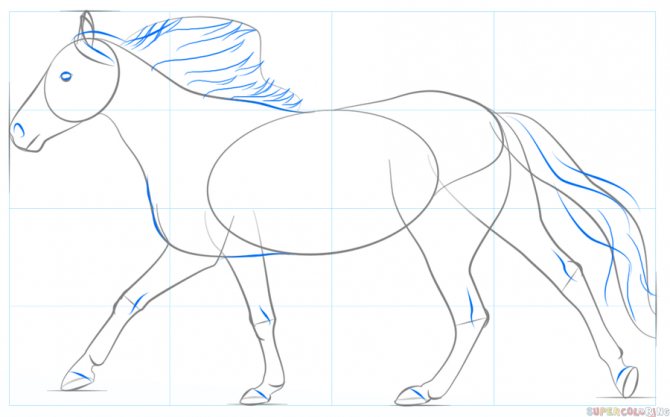
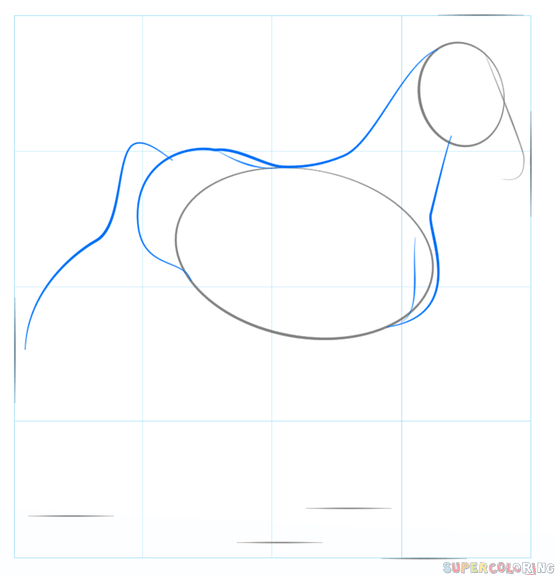
Step 2
Draw shapes for the animal's body and neck. Add a line for the tail.

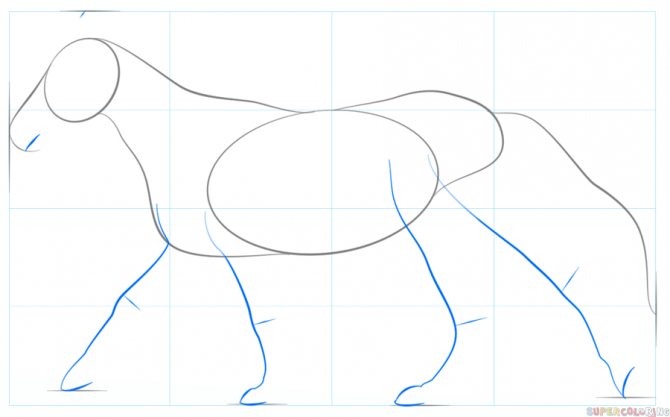
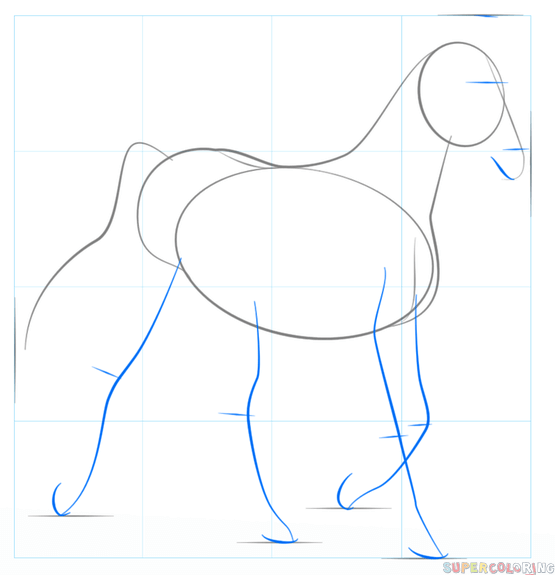
Step 3
Determine with a pencil the places where the foal's paws, muzzle and ears will be located.
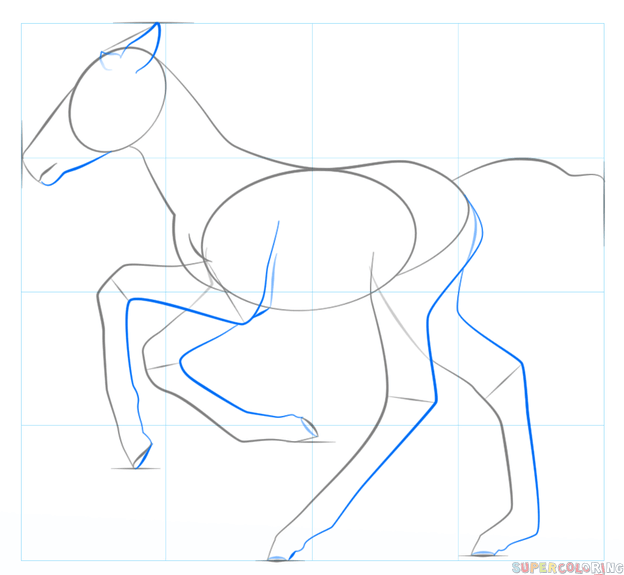
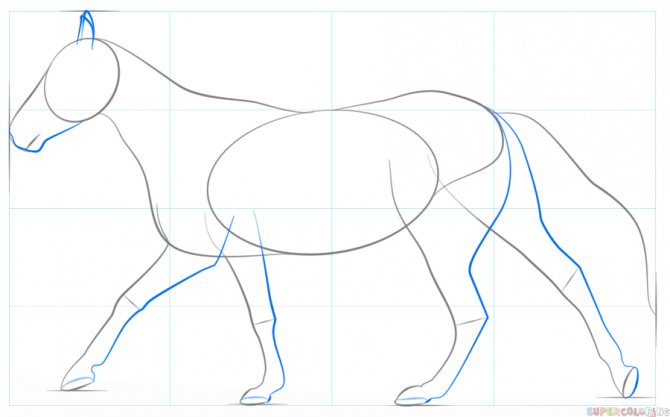
Step 4
Draw the paws, hooves, ears and face of the foal.
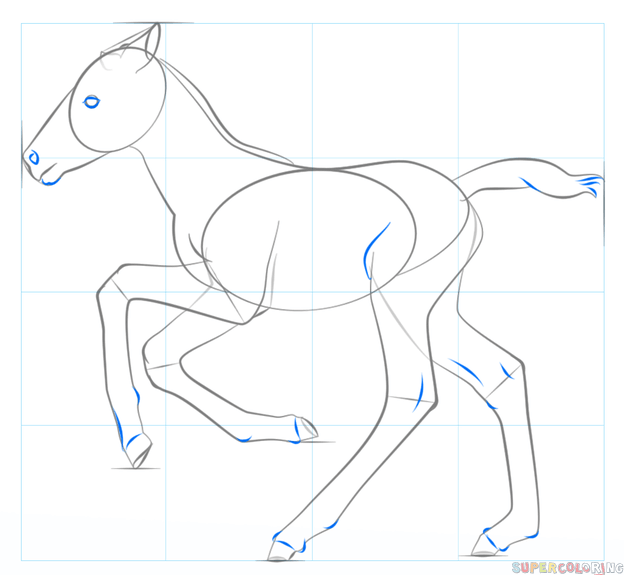
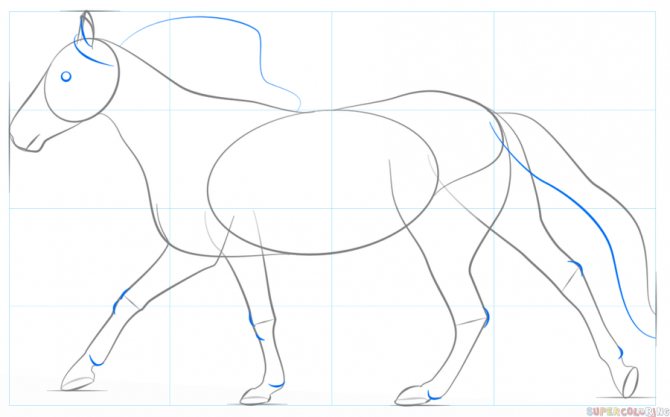
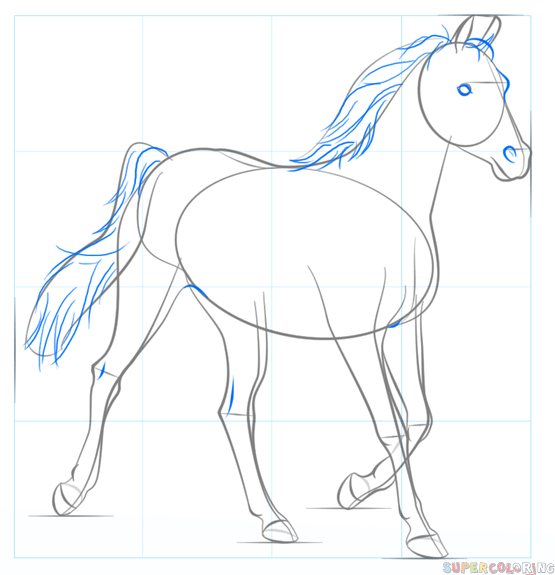
Step 5
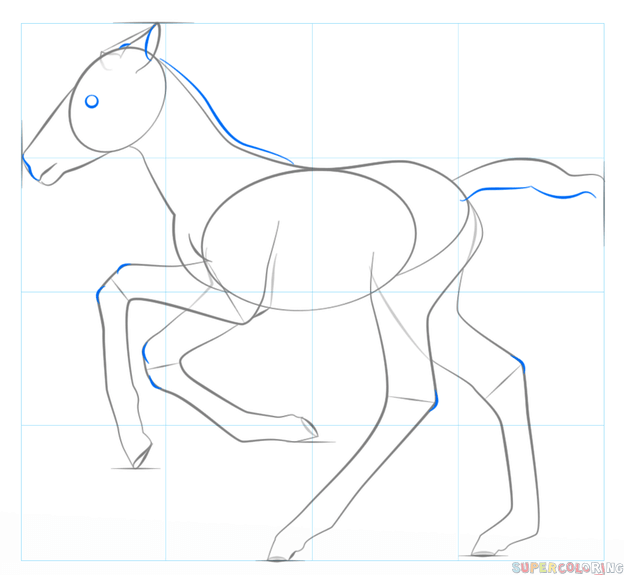
Draw the eyes, tail and nose of the foal. Detail the shapes of the ears and paws. Draw a line where the mane should be.
Step 6
Complete the image, paying great attention to details.
Step 7
Add contour lines to your drawing, trying to vary the thickness and intensity of the line. Add more details and remove unnecessary lines using the eraser.
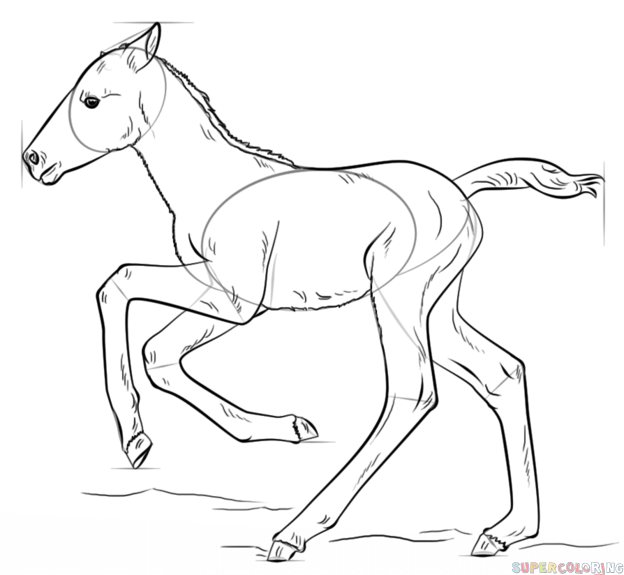
Drawing a horse is easy with this step-by-step instruction. May everything work out easily for you!
On the topic: methodological developments, presentations and notes
This is an artistic activity - decorative drawing based on Dymkovo painting in the middle group.
Outline of a drawing lesson in the middle group “Dymkovo Horse”.
The summary may be of interest to teachers of preschool institutions. Contains original poems written in folk style. “Decorating a horse for a hazy carousel.
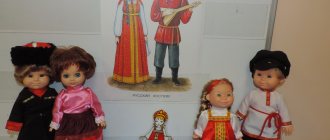
laquo;Dymkovo horse"Program objectives: Educational: to introduce children to one of the types of folk applied art - the Dymkovo clay toy; to teach children to identify elements of painting, e.
Today we again met with Dymkovo animals and consolidated our knowledge about them. We looked at different painting options, remembered how a drawing is made, what colors and colors.
Teach children to compose a composition, including familiar images, varying their size and position on the sheet. Develop smooth, easy movements when drawing a contour, visual control of movement. Zach.
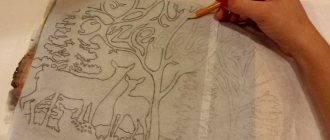
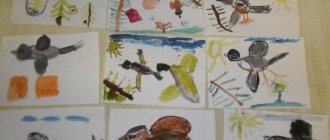
Horses graze, fallow deer walk. We practice the ease of hand movement when drawing the outline of animal figures. Then we cut it out. We learn to look carefully. Conducted by teacher N. F. Khromenkova. Purpose: to teach.
Source
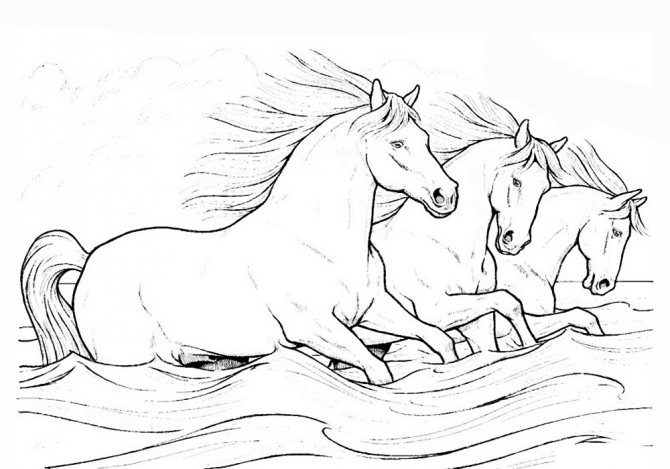
How to draw a running horse
Preparation
Prepare a blank sheet of paper or use the suggested baselines to help you easily draw a running horse step by step.

Step 1
Emphasize the width and height of the image. Draw two ovals for the horse's head and body. Draw a line that will act as the center of the head.
Step 2
Draw shapes for the animal's body and neck. Add a thin line for the future horse's tail.
Step 3
Determine the locations for the horse's paws, ears and mouth as shown in this Step.
Step 4
Sketch the horse's paws, ears and nose.
Step 5
Draw the horse's eyes, tail and mane. Details the shapes of the ears and joints.
Step 6
Add a nostril. Work through the entire drawing, paying great attention to detail.
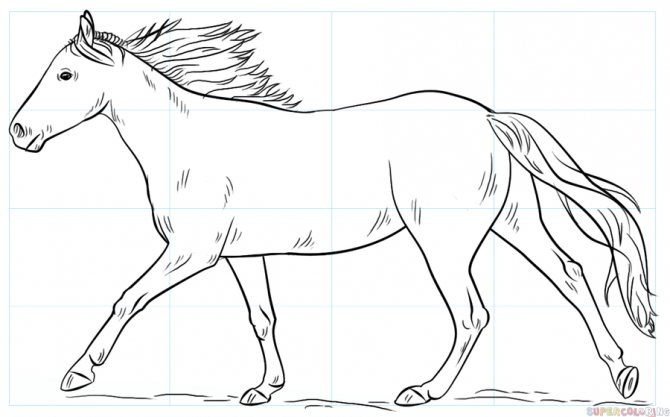
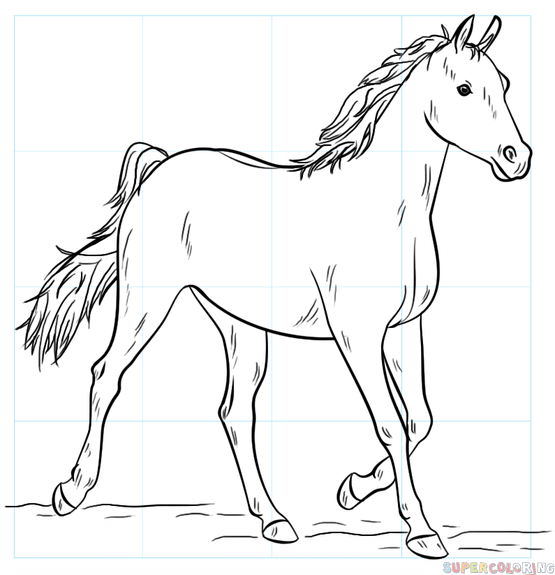
Step 7
Create the outline of the horse as it runs, trying to vary the thickness and intensity of the line. Add more detail and remove any unnecessary lines if necessary.

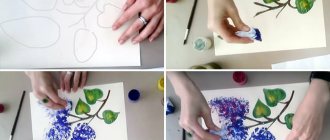
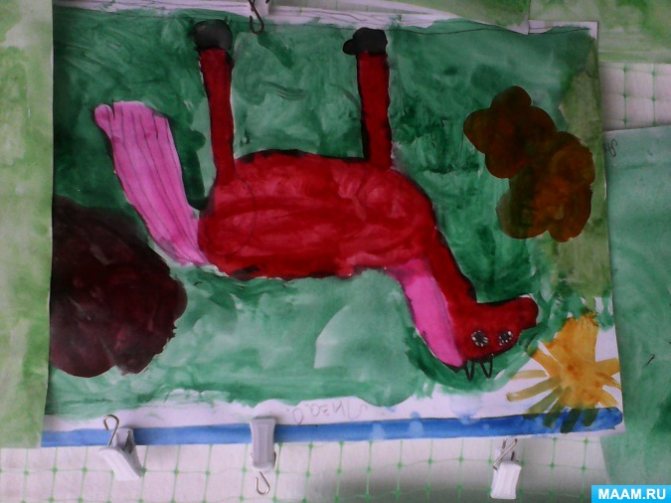
Watercolor painting lesson “Horses in the meadow”
Olga Shapovalova
Watercolor painting lesson “Horses in the meadow”
Shapovalova Olga Vasilievna
educational area: “Artistic creativity”
drawing
Topic: “ Horses in the meadow ”
Educational objectives: learn to convey the image of a horse using watercolors ; draw characteristic features: mane, tail, hooves; learn to color an image in accordance with the color of the animal, as well as design the background of the sheet (meadow), develop creative activity, imaginative and spatial thinking.
Educational objectives: to evoke a desire to convey the expressiveness of the image in the drawing; cultivate accuracy, independence, and an emotionally positive attitude towards work.
Materials: white paper, watercolor , brushes, illustration by artist N. E. Sverchkov.
Integration of educational areas: “communication”
,
"cognition"
.
Methods and techniques: explanation, demonstration, individual assistance.
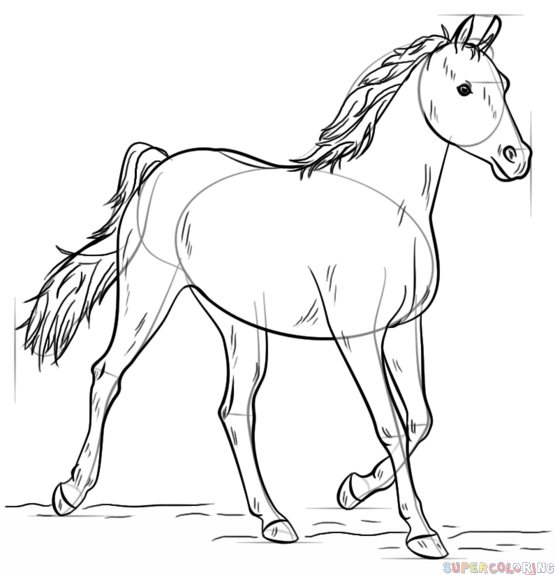
How to draw a horse step by step
This instruction shows how to draw a horse with a pencil. To create an image you will need: a sheet of paper, a pencil and an eraser.
Preparatory stage
For the horse drawing, you will need a blank sheet of paper or a printed base line, which is provided for ease of creating the image.
Step 1
Determine and draw with lines the width and height of the image. Draw two ovals for the horse's head and body. Draw a line that will act as the center of the head.
Step 2
Draw shapes for the animal's body and neck. Add a light pencil line to draw the tail.
Step 3
Draw guide lines to determine where the horse's legs, eyes, and muzzle will be.
Step 4
Create sketches of the horse's legs, hooves, ears and face.
Step 6
Work through the entire drawing, paying great attention to detail. Draw the nostrils.
Step 7
Draw the outline of the horse, trying to vary the thickness and intensity of the line. Add more detail to your drawing. If necessary, remove any unnecessary lines. The horse drawing is ready!
How to draw a horse step by step using a pencil: video lesson
Sketches
Do you ever find yourself sitting with a pencil in your hands, but just can’t start drawing? Such stupor occurs due to lack of inspiration. When you don’t draw for a long time or, on the contrary, draw too much, you become overtired from drawing.
To facilitate the process, you need to make quick sketches - sketches. Don't try to complete several completed jobs in a row. You will most likely be disappointed. First, warm up and do the necessary exercise.
Draw the horse in different positions. Allow 5-10 minutes for each drawing.
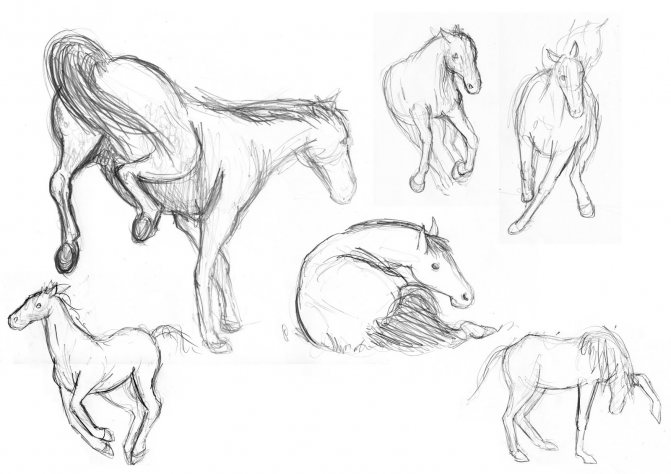
The drawing path will be airy and not very detailed. The main task is to convey movement and plasticity, as well as the correct proportions.
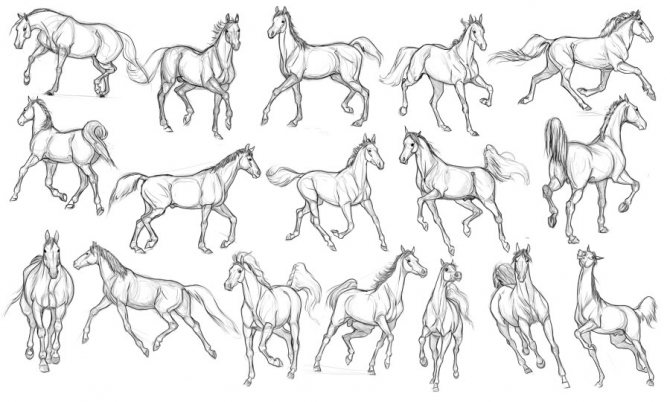
Try to capture a running horse, lying down and standing. The more poses you capture, the better.
Different images
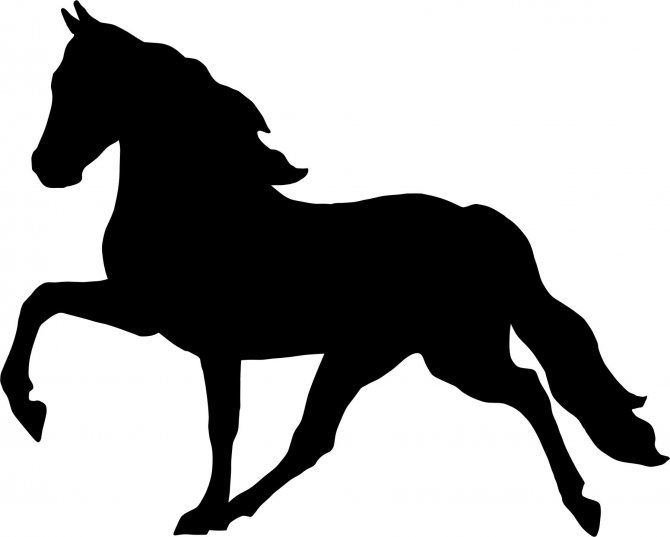
If you want to quickly draw a horse, then do a silhouette drawing without excessive detail.
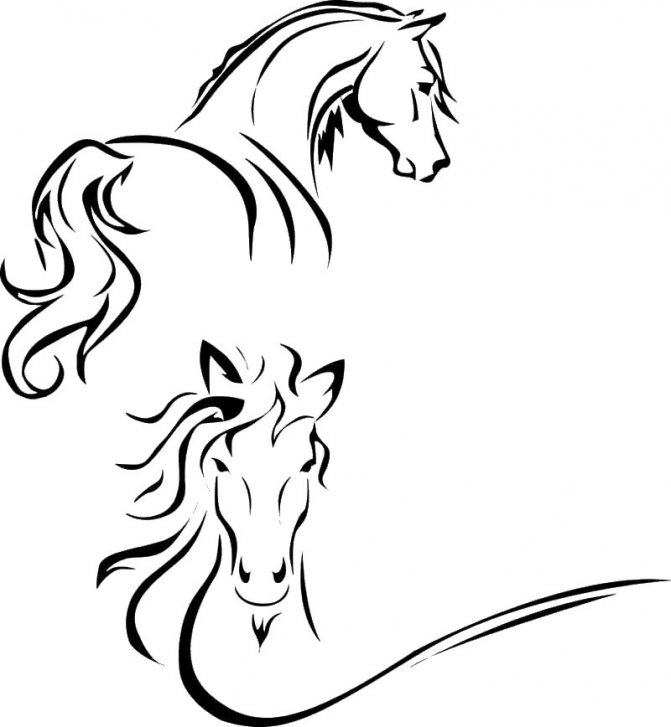
You can also create a dark silhouette, which will also be read no worse than a regular image.
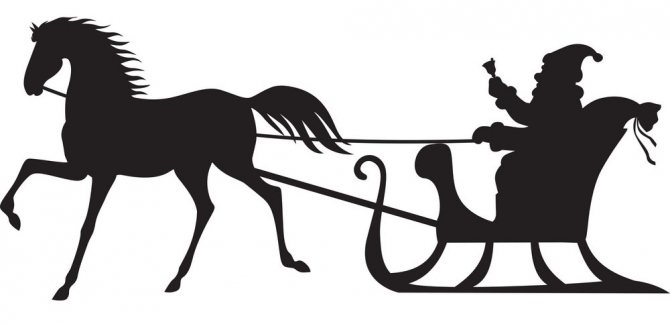
Are you making a greeting card and need to draw a sleigh with a horse? Use a stylized drawing, this will add solemnity and make your work unusual.
Do you want to draw three horses? Choose an interesting angle and story, and then get to work.