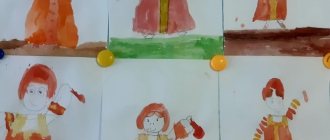
From an early age, children begin to draw and pick up pencils. It is known that visual activities develop a child’s brain and fine motor skills well. This article tells you how to teach drawing simple flowers with petals in a vase to older children.
A fine arts lesson in kindergarten “Drawing a vase with flowers in the preparatory group” can be timed to coincide with the holiday of March 8, Mother’s Day or Teacher’s Day.
Pictures with flowers
GCD tasks
Goal: developing skills in depicting flowers on paper, teaching the basics of composition.
Tasks.
- Educational: learn to correctly place and depict flowers on paper, build a composition.
- Educational: to cultivate love for loved ones, accuracy in work, patience and perseverance.
- Developmental: develop imagination, imaginative thinking, develop a sense of beauty, train fine motor skills.
Equipment and materials: landscape sheet, simple pencil, eraser, brushes, paints (watercolors are recommended, but gouache can also be used), a jar for water, napkins. Images of large flowers (gerbera, chamomile, poppy, peony, cosmos, zinnia).
Handouts: album sheets, vase templates cut out of cardboard.
Audio recording: A. Vivaldi “Spring”.
Drawing in the senior group indoor flowers, bouquet in a vase
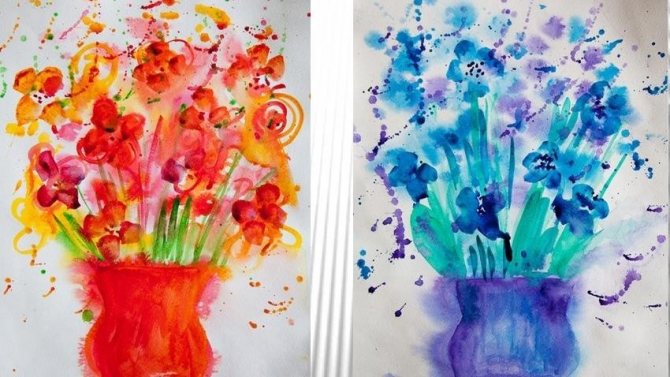
Drawing in the senior group indoor flowers, bouquet in a vase
Goal: Learn to draw flowers in a vase using gouache. Objectives: 1. Learn to draw objects from observation, convey their features, arouse interest in drawing flowers. 2. Develop a sense of color, composition, creative imagination, perseverance, and the ability to select paints according to color scheme. 3. Cultivate interest in plants, a desire to admire them, independence, and a love of drawing. Materials required for work: A sheet of white paper, gouache, brushes, a simple pencil, a glass of water, a palette.
Guys, do you know how flowers appeared on Earth? There is a fairy tale story about this. Do you want to listen to her?
Ivan Tsarevich was returning from Baba Yaga, he reached a large river, but there was no bridge. He waved his handkerchief three times to the right - a wondrous rainbow hung over the river, and he moved along it to the other side.
He waved twice to the left - the rainbow became a thin, thin bridge. Baba Yaga rushed after Ivan Tsarevich along this bridge, got to the middle, and he just broke off! The rainbow on both sides of the river crumbled into small fragments like flowers. Some flowers were good - from the footprints of Ivan Tsarevich, while others were poisonous - this is where Baba Yaga walked. What's the story, interesting?
Introductory conversation. Discussion of the topic
The teacher conducts a conversation with the children. Asks questions about what time of year it is? What holiday will be soon? Children remember that on this day it is customary to give gifts to all women in our country; they will love the flower painting they made with their own hands. The children's drawing can include tulips in a vase, roses, or other simple options for depiction in the preparatory group.
Important! The teacher invites the children to draw beautiful spring flowers for all the mothers and arrange an exhibition of drawings so that adults can look at the wonderful drawings.
First you need to look at the plants; children cannot draw them from life, so the teacher shows pictures with close-up photographs of flowers. You need to pay attention to the shape, it looks like a circle that consists of petals, ask the children what parts any flower consists of, in the middle they have a center in the form of a circle, specify the color, green leaves are attached to the stem. There are many beautiful plants around, but flowers are the most festive and brightest of them all; they will help create a joyful mood.
Important! If children draw tulips in a vase in the preparatory group or roses, then you need to select pictures with them, consider what shape the tulip has.
Drawings on the topic of traffic rules in kindergartens - safety through the eyes of children
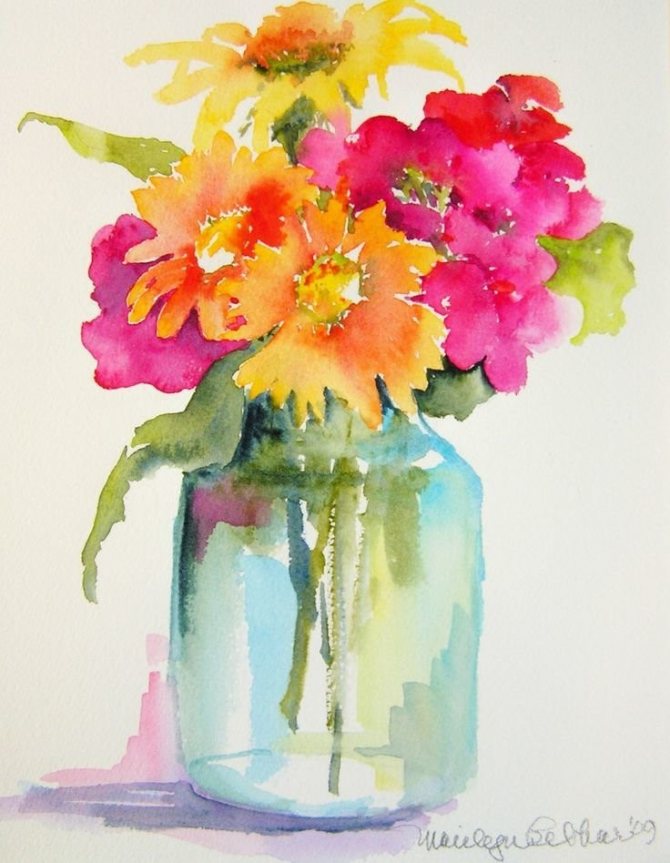
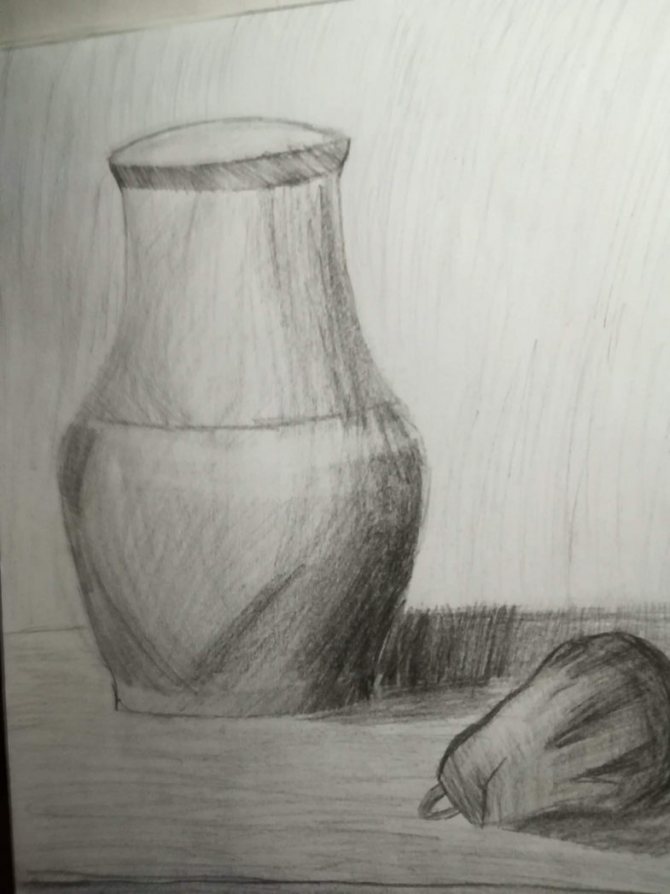
Finished still life
The completed still life should work on two levels:
- As a realistic representation of a group of objects and as a dynamic composition of visual elements,
- Harmonizing and contrasting using line, shape and tone.
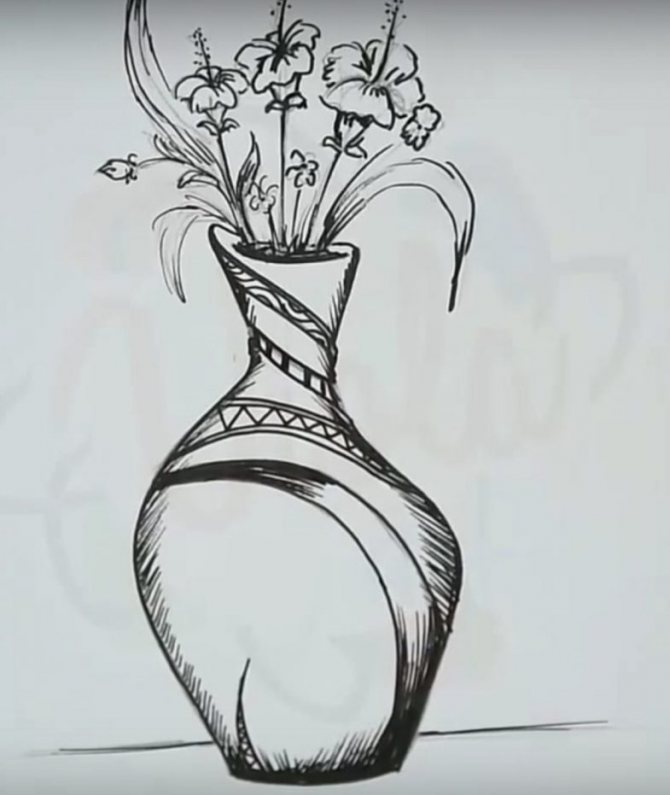
You shouldn't make mistakes. To learn how to draw well, you must learn to draw straight lines and round circles. I read it in my head and read it in an educational article. My lines are still crooked and my circles are not round. Well, it's a matter of time.
Learning without a plan and purpose is quite stupid and unproductive. Not everyone can draw portraits; it is quite difficult because there are a lot of details. But it’s worth trying to draw a still life.
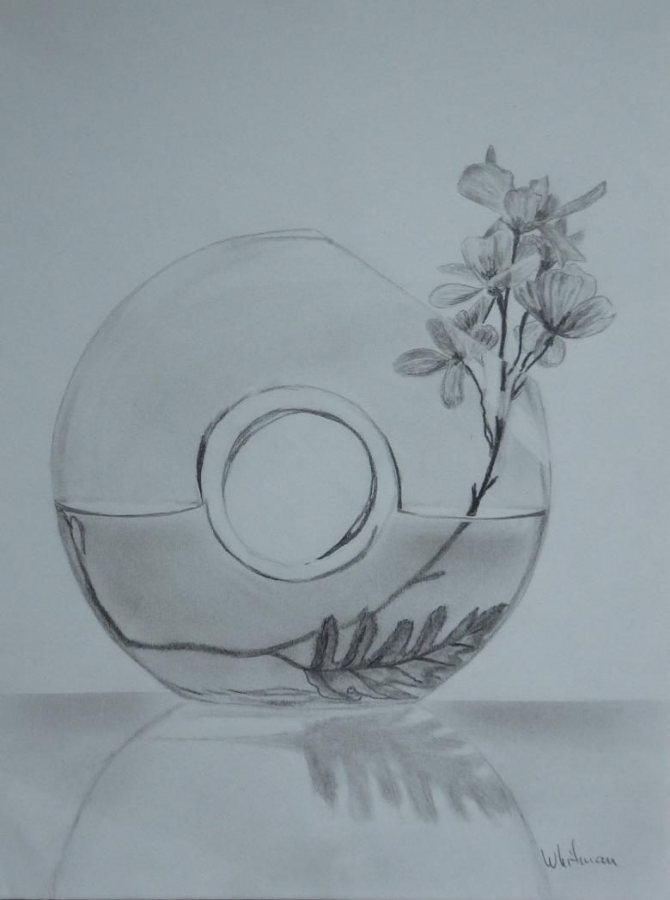
Even if you haven’t discovered a talent for drawing until now, you should try it.
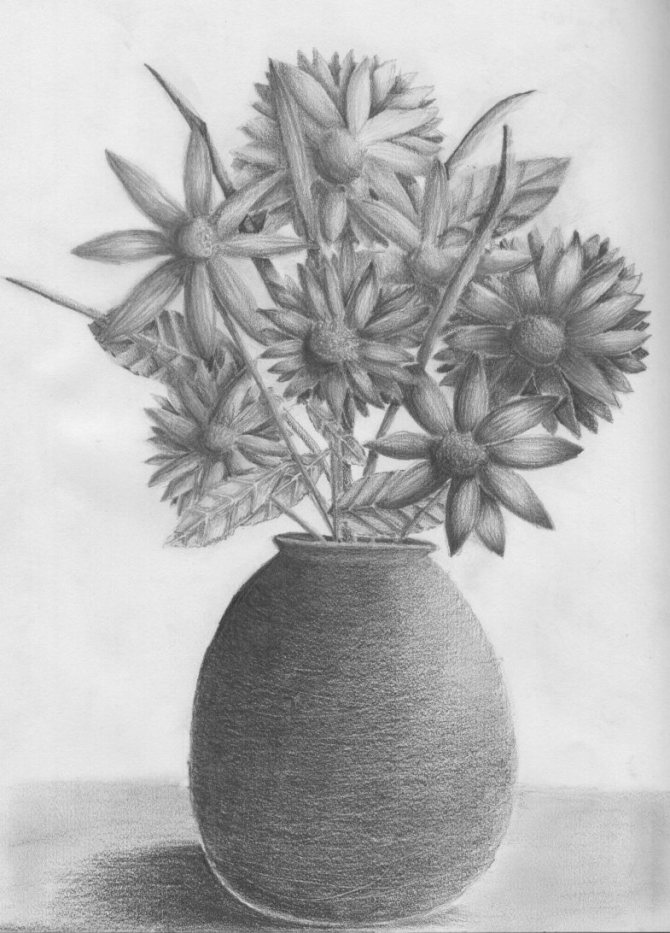
For a beginner in adulthood, the question “How to learn to draw?” It turns into the question “how to learn to redraw?” And then - “what should I redraw?” You need a step-by-step description of all stages.
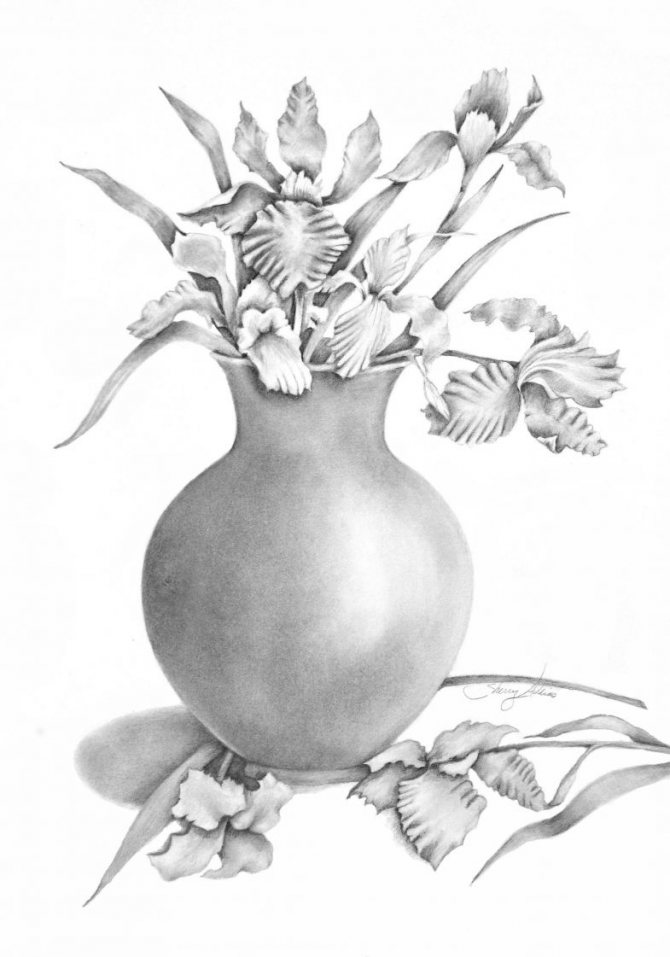
If you are going to study as an adult, know what you will draw, this is necessary so that you do not get hung up on choosing the right image.
Practical part of the lesson
Stage 1. Pencil sketch
Children take a landscape sheet and place it vertically in front of them. Select a vase template, prepared in advance, and trace it with a simple pencil. The teacher shows in advance on the sheet where the template needs to be attached; before the child traces it, you need to make sure that the template is correctly positioned on the sheet.
Important! The teacher draws the children's attention to the fact that the template needs to be placed at the bottom of the sheet in the middle, so that there is plenty of space left at the top.
Using a simple pencil, mark the center of the flowers at the top and draw three small circles; you may need the help of an adult to mark the circles on the sheet. If your child fails to draw it correctly, you can erase it with an eraser and draw it again.
With the help of the teacher, children draw lines from the circles to the vase with a simple pencil; these will be flower stems; the line can be curved. The vase will be opaque, so the stems are drawn only to the top edge of the vessel.
Note! Children should be told not to put too much pressure on the pencil, draw the lines lightly, barely touching, otherwise the sheet of paper can be damaged and the pencil will be visible through the layer of paint.
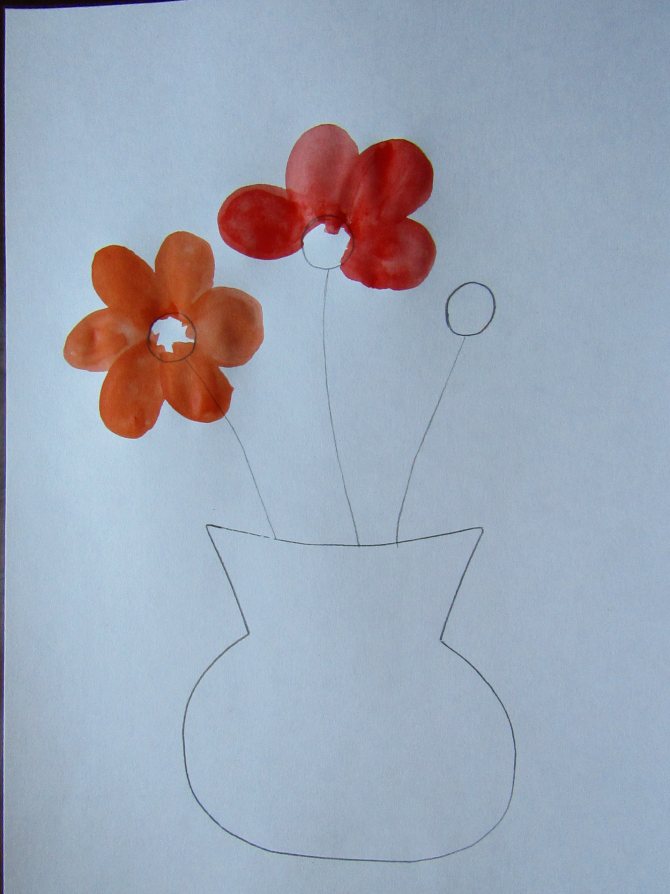
Stage 1. Pencil sketch
Stage 2. Picture of flowers
Children take brushes. Both watercolors and gouache are suitable for this type of work; you should definitely repeat the rules of working with brushes with your children.
The teacher helps the children choose a bright color that mothers will be pleased to see; it can be orange, yellow, blue, red. The teacher selects orange and shows on a sample how to draw petals. You need to dip the brush in a jar of water, wet it slightly, and dip the tip in the chosen paint.
Important! Children need to be reminded that there is no need to wet the brush too much in water; excess water should be wiped off on the edge of the jar. Do not shake the brush; you must carefully apply the liquid with the tip of the bristles.
The teacher shows how to find the center of a flower, draw a loop around it, then paint it orange. Draw another loop nearby and also paint over it until they finish drawing all the petals around the center. The circle in the center is not painted over, left white. For the remaining gerberas, you can take a different color and draw the same petals around the center.
Kinesiological gymnastics for preschool children
Now you need to paint over the middle, to do this you need to dip your brush in blue pigment and paint over all the flower cores.
Wash the brush again in water, pick up a grassy green color, draw it along the line outlined earlier, this is how you get a stem.
Note. The teacher reminds that you need to add plant leaves, ordinary semicircular leaves, to the stem.
Stems without leaves look unsightly and the flowers appear lonely. For each line you need to draw a leaf or two on the side. The teacher helps to draw an arc with a brush with green paint from above and below, and paint over the resulting leaf; you need to draw a line in the middle of the sheet. So we depict one leaf on each stem, or you can make several leaves. You need to look carefully at the stems, if there is empty space left, then you need to draw a leaf there to make the bouquet for mom seem more magnificent.
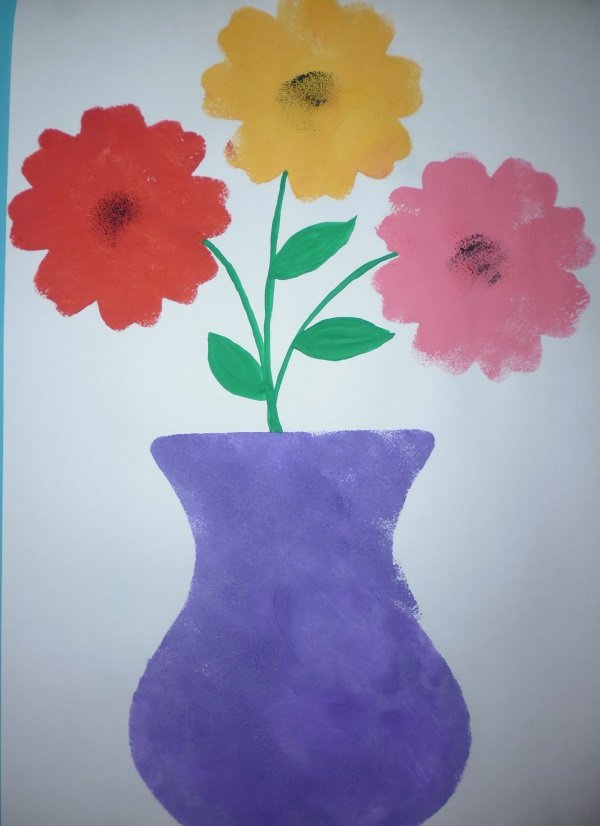
Stage 2. Flower image
Stage 3. Coloring a vase
The teacher reminds you that you need to paint the vase. To finish the drawing, you need to put yellow color on the brush, do not wet the sheet of paper too much. It is important to paint the pot without going beyond the contour line to make it look neat. When the moisture dries, you can decorate the vase with a pattern of your choice. Children take paint of a different color and draw a pattern of lines, dots and circles.
Note. For children who quickly completed the task, you can offer to decorate their vase with a pattern of peas, lines, dots, and sticks. To do this, the teacher needs to draw possible variants of the patterns in advance in order to clearly show the children what such an ornament might look like.
During the lesson, the music of A. Vivaldi “Spring” is played.
As the task progresses, the teacher monitors the correct observance of all stages of the work and provides assistance in the form of recommendations and brush movements. Ensures accuracy in work and correct application of paint, helps children if the paint has spread.
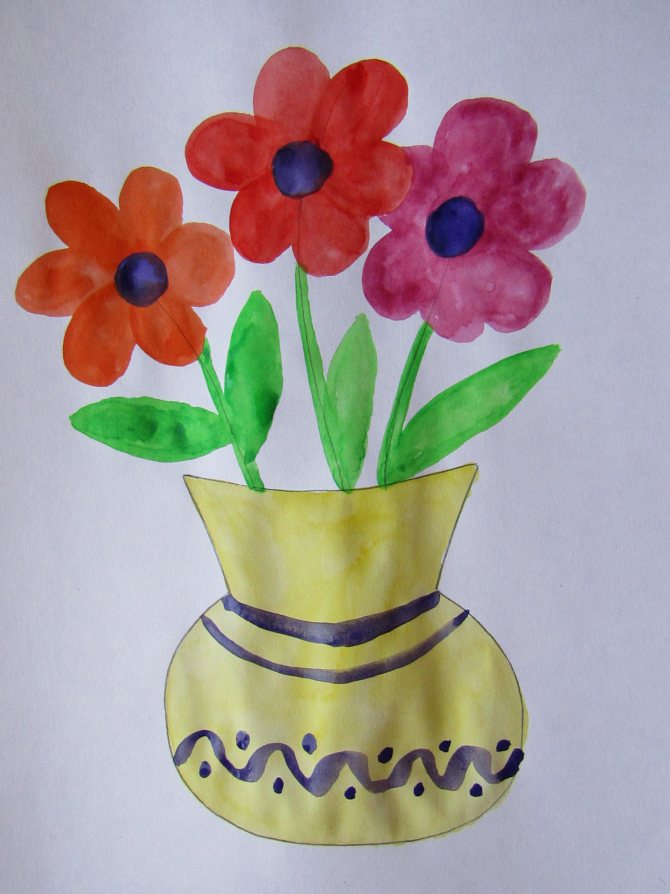
Stage 3. Finished drawing
How to draw a vase
To carefully draw a vase with a simple pencil.
- Let's start by measuring the proportions of the objects being drawn.
- We calculate and draw the basic proportions.
- Draw a rectangular or square frame.
- Add a center line.
- Draw elliptical shapes at the top and bottom of your drawing.
- Make sure all vase proportions are accurate.
- Don't forget about the shadows in the form of tone.
- Let's add additional background elements to our image.
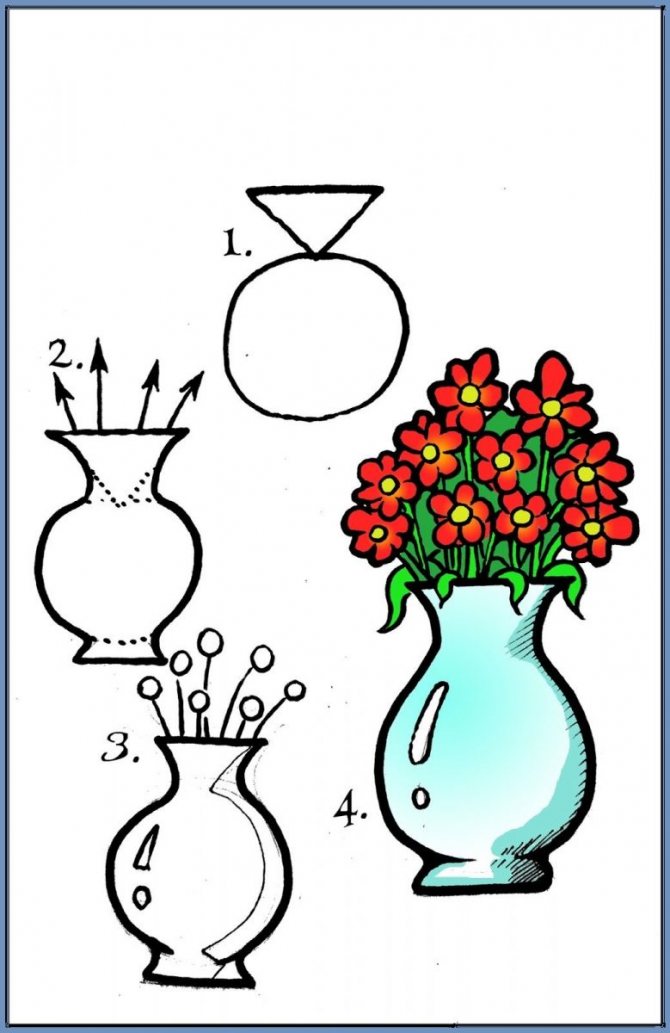
Learning to accurately draw still lifes and vases is a transferable skill that needs to be developed. For example, developing an understanding of proportion is a skill that can be applied in different ways.
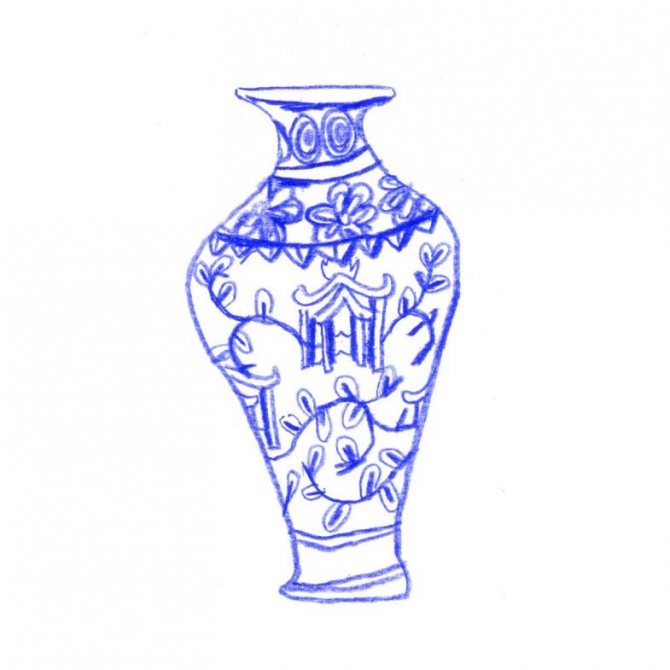
What you will need
In order to draw a vase we may need:
- Paper. It is better to take medium-grain special paper: beginning artists will find it much more pleasant to draw on this kind of paper.
- Sharpened pencils. I advise you to take several degrees of hardness, each should be used for different purposes.
- Eraser.
- Stick for rubbing hatching. You can use plain paper rolled into a cone. It will be easy for her to rub the shading, turning it into a monotonous color.
- A little patience.
- Good mood.
