The purpose of the didactic game “Living and Nonliving”
The game is aimed at the cognitive development of preschoolers on the topic “Ecology”; it fosters interest and respect for natural objects.
The goal is to expand and consolidate ideas about nature, develop the skill to distinguish between living and inanimate objects, and find connections between them.
Tasks:
- developing the ability to identify objects of living and inanimate nature, as well as man-made ones;
- improving speech skills;
- learning the skill of formulating questions and answering them;
- enrichment of individual thematic vocabulary;
- training in the skills of solving emerging problems and formulating conclusions;
- developing an interest in nature and a desire to positively influence the environment;
- fostering curiosity and cognitive interest;
- development of memory, creative and logical thinking, concentration.
Middle group
Before conducting a lexical game, it is necessary to remind students that the answer to the question “Who is this?” indicates a living object, and the question “What is this?” - on an inanimate object. For the game, prepare electronic, if you have a player, or paper images of living and inanimate objects, as well as green round and triangular blue marks.
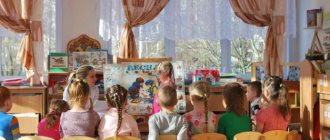
Scroll through the images on the presentation screen, and preschoolers should say which object they see - living or inanimate, and which of the above questions needs to be answered. For example, seeing a cat on the screen, players say: “Who is that? - Cat". Then they discuss the animal and why it belongs to wildlife. Or an image of a stone appears on the screen. This is inanimate nature, for which the question “What is this?” should be asked.
Natural phenomena
Metamorphoses are also called natural phenomena (what is this?). For example, in the spring leaves grow on trees, and in the fall they fall off. After the rain, a rainbow appears in the sky and mushrooms grow. In winter it snows, together with the wind forming a blizzard or blizzard.
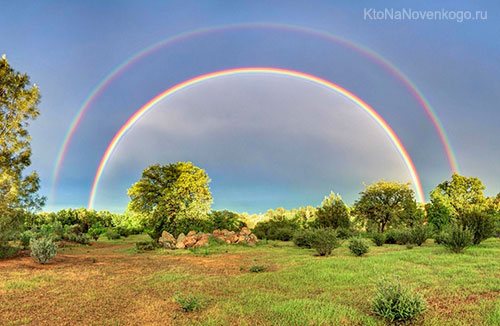
All this and much more are natural phenomena, the totality of which is divided into classes :
- by origin (climatic, cosmic, geological, biogeochemical, geomorphological) - tsunamis, hurricanes, earthquakes, precipitation, lightning, solar and lunar eclipses, etc.;
- by duration (instant, short-term, long-term) - volcanic eruption, icicles, drying out of a river bed, etc.;
- by regularity of action (daily and seasonal) - sunrise, bud opening;
- by scale of distribution;
- by the nature of the impact (favorable, unfavorable). For example, natural disasters can be very destructive - floods, tornadoes, etc.
Senior group
For the game, intended for preschoolers 5–6 years old, you need landscape-size cards and small images of natural objects. The cards should display the questions “Alive?” and “Inanimate?”, “Who?” So what?". The didactic game “Living and Inanimate Nature” teaches you to ask questions in detail and competently, and to give a clear and correct answer. At older preschool age, the child should already be able to talk in sufficient detail about what he saw and describe the images. The game helps you gain the skill of composing a narrative according to a plan.
For one lesson, take as many images as will not tire your preschooler. Show pictures one by one and ask what is shown on them. The player’s task is to answer the above questions, point with a finger at the correct answer, tell about the depicted object, what it looks like, what it does. The game can be made competitive if several children participate, then each player receives a badge for correct answers.
Here are examples of questions from the teacher and the player’s answers:
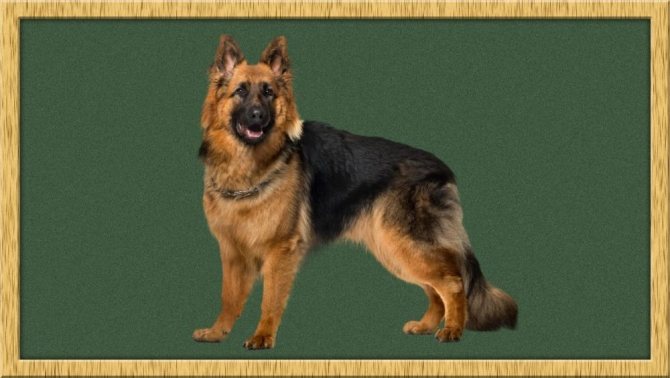
- "Who is this?" - “Dog” - “Is she alive?” - “Live” - “What is the dog doing?” - “Barks, runs, bites, wags its tail, sniffs, plays”;
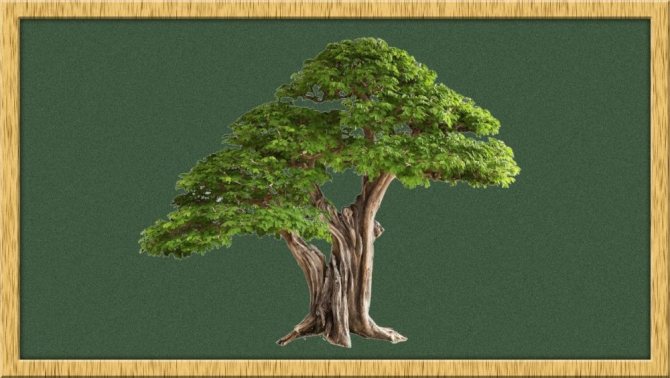
- "What is this?" - “Tree” - “Is it alive?” - “Living” - “What does a tree do?” - “It grows, blooms, rustles its branches, bends in the wind”;
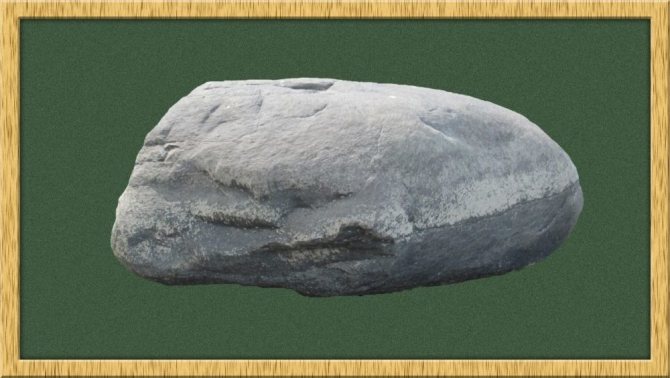
- "What is this?" - “Stone” - “Is he alive?” - “Not alive” - “What does a stone do?” - “Lying.”
October
First week
Teachers of the middle, senior and preparatory school groups invite children to collect a collection of stones, for which they bring any stones (river, sea) to the group. He examines stones with preschoolers of the middle group - they compare them by shape, size, color, roundness, smoothness, heaviness. Together they come up with a fairy tale, for example, “How did a stone from the sea end up in a kindergarten,” or “What did the river stone tell the fish in the aquarium?” (The teacher himself comes up with a simple plot of a fairy tale in advance, includes the children’s suggestions and statements in it.) Offers to come up with a game with stones themselves.
For older preschoolers, a lesson is held on the topic “Simple and valuable stones in nature.”
Program content.
Develop interest in stones, sensory sensations, the ability to examine stones, name their properties and features (strong, hard, uneven, smooth, heavy, shiny, beautiful, etc.).
To give an idea that stones
naturally exist in the earth, in rivers and seas, which is why they are called river and sea. They are easy to recognize: river stones are uneven, of different shapes, sometimes with sharp corners; sea stones are always round and smooth - that’s how the sea waves made them. Stones are heavy, very hard and durable, therefore they are used in the construction of buildings, roads, bridges and other structures.
Give a first idea about valuable stones that are used to decorate buildings, in the manufacture of monuments, souvenirs (granite, marble), show products made from precious stones
(women's jewelry, brooches, bracelets, etc.).
Material.
A set of sea and river stones (handout); pieces of marble and granite (preferably); illustrations depicting buildings, bridges, metro stations, monuments, in which marble and granite details are clearly visible; several souvenirs or women's jewelry made of precious or semi-precious stones; a piece of wood, nails, a hammer, a large jar of water.
Approximate course of the lesson
Part 1.
Each child looks at the stones
compares them. The teacher asks the children to stroke, squeeze, and weigh the stones in their hands, asks questions, and suggests looking for the correct and different words to define properties. Then he demonstrates experiments with stones: he puts them in a jar of water - the children watch them fall to the bottom; tries to hammer a nail into a stone - shows how the nail is bent (stone is harder than wood).
2
.
Children look at a mini-exhibition of postcards and illustrations depicting architectural structures made of marble and granite, the teacher draws attention to their beauty, shows these stones, and talks about the fact that they are necessary for construction.
3rd part.
The teacher shows souvenirs, women's jewelry, talks about the beauty of stones and their special processing. Gives the task to look at her home with her mother at home, her decorations, artistic products made from stones, find out what they are called, admire them, and ask how they were made. (The next day, during a walk, the teacher discusses their impressions with the children.)
Before the weekend, he invites parents to take their children to an exhibition, an art salon, a souvenir shop and show them stone products, name some of them (malachite, jasper, lapis lazuli, etc.); show children on the street granite and marble details of architectural structures, a monument made of granite.
Second week
Teachers of all groups introduce children to ordinary clay
.
Starting from the middle group, they find out from children how clay
differs from sand (it does not crumble, is dense, can be wet and dry; wet clay is sticky, viscous, soft - you can sculpt various objects from it; dry clay is hard, like stone, but not so durable - when hit or dropped, it breaks into pieces).
With older preschoolers, teachers discuss the following property of clay: unlike sand, it does not allow water to pass through, absorbs it and becomes soft. During a walk, the teacher and the children walk around the territory of the kindergarten, find places with a predominance of sand and clay in the soil, ask them to think and say why in the first case there are no puddles from the autumn rains, and in the second, the water stagnates.
In all groups, children practically learn the properties of soft clay
- sculpt various products. With younger preschoolers, the teacher creates a collective work “Vase with apples” or “Dish with tomatoes (potatoes)”: each child crushes clay and rolls a ball out of it, and the teacher sculpts a dish or vase in front of the children. With middle preschoolers, the work may be similar, but everyone sculpts different fruits and vegetables, creating compositions “Vase with Fruits” and “Dish with Vegetables.” The teacher dries the molded objects, allows the children to touch them, hold them, and discover the hardness of the clay. Then he paints fruits and vegetables himself or with their help, paints a vase and a dish, and plays with these objects with the children in simple story games.
With older preschoolers, teachers sculpt more complex figures - animals, for example, “Rabbits in the Meadow.” Children of the preparatory group for school can sculpt according to the models of the Dymkovo toy. If there is a lot of clay, you can do a group work on one tray, for example, according to the fairy tale “Teremok”: the teacher sculpts a tower, and the children make different animals. You can create a “Barnyard”, “Zoo”. In any case, during sculpting, the teacher reminds how clay differs from sand, together with the children, he dries the work and paints it, and then plays with it.
In older groups, the teacher discusses the question of who needs clay for life: he recalls the bank swallows that make burrow nests in the steep clay banks of rivers.
Third week
Teachers monitor weather and atmospheric phenomena with children and keep a daily nature calendar. On sunny days, they pay attention to light and shadow, support any initiative in conducting experiments, games, and conversations.
Particular attention is paid to observations
and discussing with children the signs of a shortening day. During a walk, the teacher has approximately the following conversations with the elders: “Which of you has noticed what is happening now (in the fall) with the light part of the day? Is the day getting longer or shorter? Is the night increasing or decreasing? I don’t understand something, I feel that everything is changing, but how is it changing? Tell us who noticed what.”
The teacher listens carefully to the children’s statements, supports correct messages, and praises them for their observation and ability to tell a good story. Gives each child the task of observing what they do now in the mornings and evenings in the dark, but before (in September, in the summer) they did the same thing in bright daylight. After 1-2 days, the teacher resumes the conversation with the children, who share their observations of changes in day and night. Everyone comes to the same conclusion: there is less light and more darkness, the day is shortening and the night is lengthening. With the children of the school preparatory group, the teacher finds out whether the decrease in daylight hours affects the life of plants and animals, whether the plants on the site, birds and other animals are getting better or worse because the days have become shorter and the nights have become longer.
Preparatory group
The game teaches you to distinguish between natural objects and objects created by human hands. Preschoolers gain the skills of classification, description, reasoning, and drawing conclusions. The game can be individual based on the “teacher and child” principle or group.
It is necessary to prepare images of natural and man-made objects. Place pictures of man-made objects in front of the children. Show images of natural objects one by one, and students must find among man-made objects those that are similar in purpose or appearance. For example, after seeing a picture of a beehive, children can choose a picture of a human house, a chicken coop, or a barn.
Here are more examples of similar natural and man-made objects for play:
- cobweb - mesh, lattice, gauze, napkin with lace;
- flying bird - airplane;
- sun - lamp, lantern, spotlight;
- field mouse - computer mouse;
- den - bedroom, kennel;
- wind - fan, hairdryer;
- insect butterfly - bow tie;
- hedgehog - brush, comb;
- crustacean claws - pliers, pliers;
- bell plant - musical instrument bell;
- giraffe - crane;
- fish - submarine;
- caterpillar - train;
- dragonfly - helicopter.
It is important that the child not only select objects that are similar in certain characteristics, but also explain in detail how they are similar and why he made this particular choice. For example, a hedgehog has densely arranged needles on its back, similar to teeth protruding from a comb.
Microorganisms
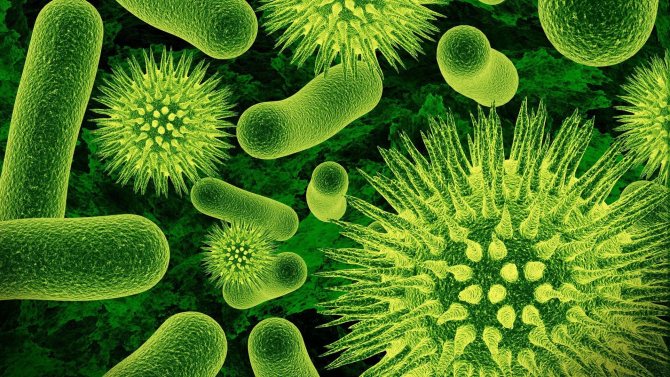
Microorganisms can rightfully be considered the first living beings on the planet. They originated long before the appearance of humanity and even animals. This is the longest living form of life.
Microorganisms originated millions of years BC, however, having come such a long way, they are still the most common forms of life. They can be found in every ecosystem. Microorganisms are microscopic single-celled creatures found absolutely everywhere. They cannot be seen with the naked eye, but a microscope is used to study them. Among the wide variety are bacteria, fungi and viruses.
The survival rate of microorganisms is simply colossal - they do not care about almost all environmental conditions. These creatures can be found in hard rocks. The main feature of microorganisms is intensive reproduction in favorable conditions. Genes are transmitted horizontally - they do not need to pass on genetic data to descendants to spread their influence.
Development occurs thanks to other living beings. This factor is decisive in any habitat. Some types of microorganisms survive even in the vacuum of space.
There are dangerous and beneficial microorganisms. Thanks to the latter, life on the planet develops, but the harmful ones only worsen the situation, destroying everything around. Sometimes harmful microorganisms are beneficial - some viruses can cure serious illnesses in people.
Interesting: Domestic animals - who they are, types, classification, history of domestication, interesting facts, photos and videos
