We make a cartoon ourselves at home
A lesson for those who are closer to the world of cinema: how to create an animated video from plot development to final editing. It's easier than it seems, and the process will definitely captivate all family members. More details >
Year of the Rat: 12 simple master classes > Creating from papier-mâché: New Year's master classes for beginners and experts > How to sew a doll: 15 master classes + BONUS on painting the face of a textile doll >
Subscribe to the Masters Fair on social networks: Yandex.Zen, Instagram, Facebook, VKontakte
Creative workshop for young children
Applique classes with directed guidance and using age-appropriate methods and techniques have a great educational and developmental effect.
Children successfully master the technical skills of appliqué operations: laying out, composing a whole from individual parts, practicing evenly placing elements across the sheet area; successfully master sensory standards; acquire initial search skills; learn basic teamwork skills; actively communicate with each other and the teacher.
The experience children gain at an early age in composing subject or plot images using ready-made forms ensures the development of imaginative vision, as well as the formation of the prerequisites for a plot drawing and the development of coherent speech at later age stages.
Skills and abilities developed at an early age in comparing and contrasting, finding what is the same and what is different, and identifying what is important contribute to the accelerated development of analytical and synthetic processes, the ability to combine and transform, which is one of the components of a child’s successful education at school.
Purpose of the program:
Develop creativity, fantasy, imagination. Help your child demonstrate their artistic abilities in various types of visual activities.
Program objectives:
Educational:
to develop children’s visual skills using appliqué methods
Educational:
develop an aesthetic perception of the world, nature, artistic creativity of adults and children;
develop coordination of both hands
develop the imagination of children, supporting the manifestations of their imagination, courage in presenting their own ideas;
involve children in working with a variety of materials;
Educational:
develop the ability to create teamwork.
Cultivate emotional responsiveness in children
Expected result:
Children will become familiar with various materials and their properties; master skills of working with scissors and glue; learn some techniques for transforming materials; learn to see the unusual in an ordinary object; will develop fine motor skills of the hands.
Forms of joint activities:
Joint activities of children and adults, children in pairs and groups
Working with paper and form
Admiring
Interaction with personnel:
Thematic consultations: “Applique and development of fine motor skills”, “Folk traditions through application”
Master class “Applique from various materials”
Interaction with parents:
Consultation for parents “Application for young children”
Photo booth “We are the artists”
Lesson Topic Information Sheets
Cutting templates
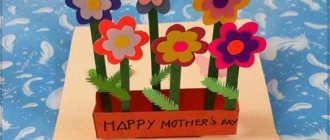
As an additional decoration for the crafts prepared for mom on March 8, you can use coloring books and templates. Print them out and use them to create a huge bouquet of paper flowers.
- Flower patterns.
- Beautiful eights are symbols of International Women's Day.
- Vytynanka on the windows by March 8:
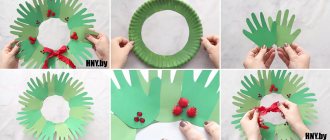
Children of any age make beautiful and original crafts for gifts to beloved grandmothers, mothers, and sisters with great pleasure. Their production does not require large material costs. Usually the simplest materials are used, which are on sale at the nearest stationery store or lying on the shelf at home. And the result is a unique masterpiece, the author of which will be a little genius.
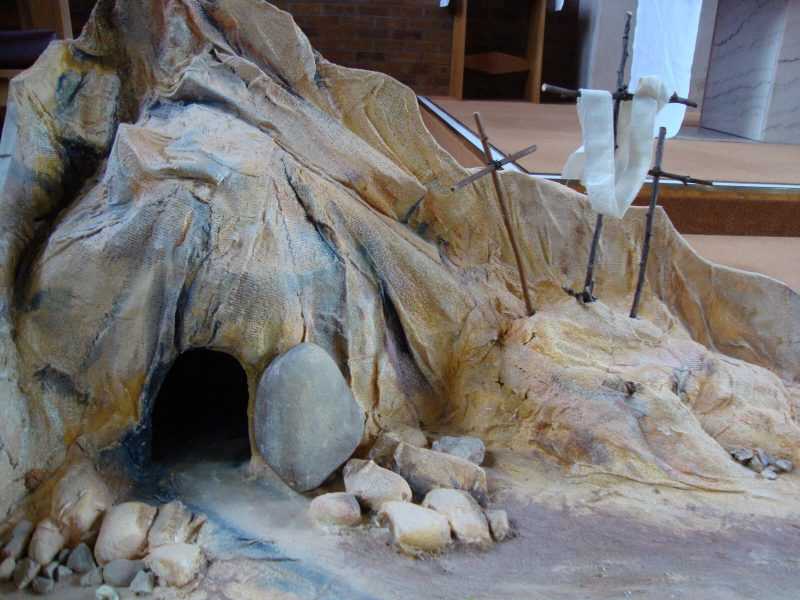
Cave
You will need:
- thick cardboard from a box;
- large sheet of paper;
- glue gun
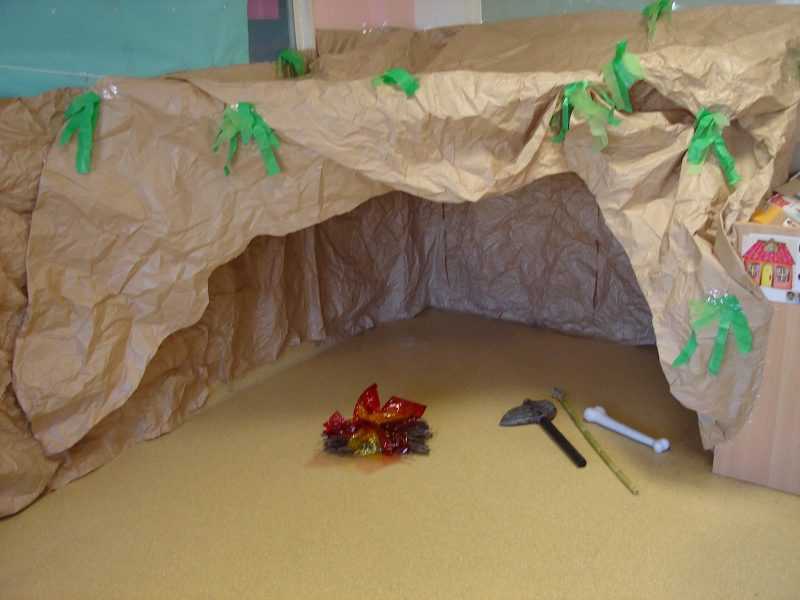
Step-by-step instruction:
- Cut out three elements from cardboard: a free-form base and two curved arcs of different sizes.
- Place the arcs perpendicular to the base and secure with hot glue.
- Crumple the paper and cover the resulting structure with it, leaving an entrance on one side.
- The voluminous, spectacular craft is ready. You can place animal figures inside, placing them on a pile of straw or on pebbles.
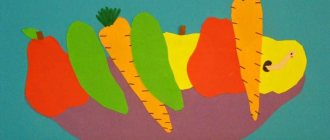
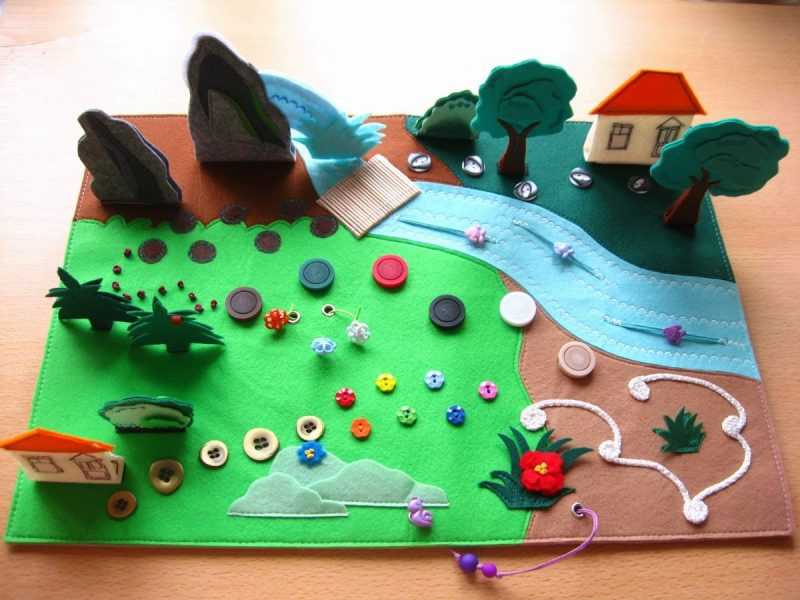
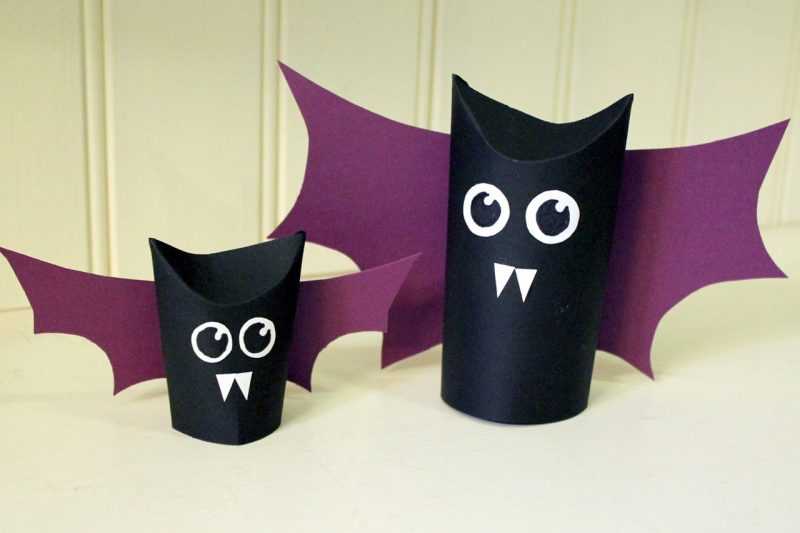
Examples
Below are several options for educational crafts for children of different ages. They can be performed both at home and in a kindergarten group.
Tips for successful work
Before you begin your chosen work, you should listen to the following tips:
- Prepare all required materials in advance.
- Scissors for children should first of all be safe, so they are suitable only with rounded ends.
- Consider protecting your work surface. It is better to cover it with oilcloth, and put special plastic boards for modeling.
- When painting with paints, you should make sure that the water is not very cloudy. After completing the drawing, it is good to cover the paints to prevent them from drying out, and wash your hands well.
- When sculpting, if there is no goal to dry the material, you need to wrap it in a suitable material: clay - in a piece of damp cloth, plasticine - in plain paper.
- Markers should be stored with their caps tightly closed.
- It is good to sharpen pencils with a sharpener.
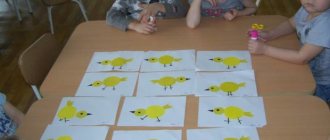
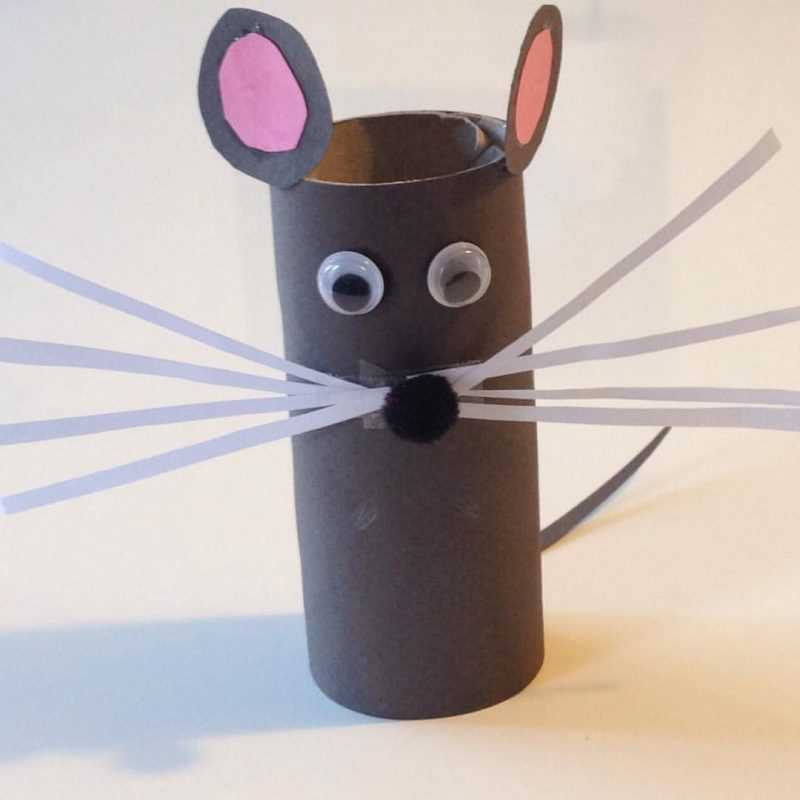
Mouse from a sleeve
Required tools and materials:
- sleeve;
- cardboard;
- colored paper;
- paints;
- glue;
- scissors.
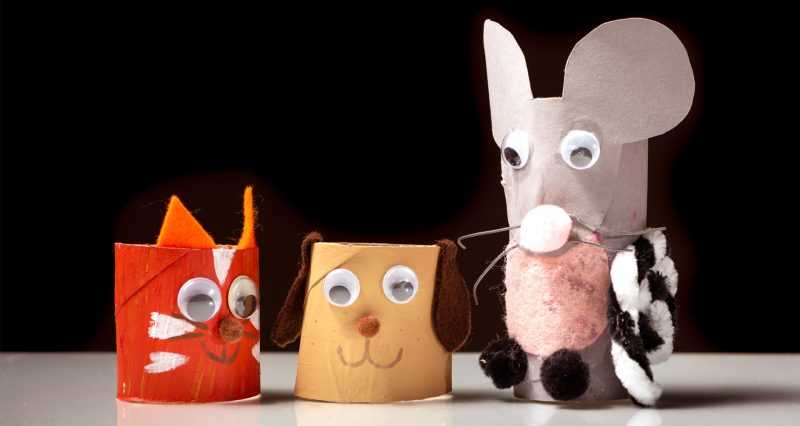
Progress:
- Paint the bushing gray and let dry. This will be the body of the little mouse.
- Cut out ears and paws from gray cardboard.
- Make cuts in the sleeve to fix the cardboard elements in them.
- Cut an oval out of pink paper and glue it to the base. This will be the tummy.
- All that remains is to draw the eyes with eyelashes, a nose and two teeth.
Educational crafts for kids can be good helpers in studying many topics. For example, when studying shapes, you can make a chest of drawers from matchboxes and label each one with a certain meaning: circle, triangle, square. Then cut out these shapes from colored cardboard. This way the child will learn not only to cut out the simplest shapes, but also to sort them correctly.
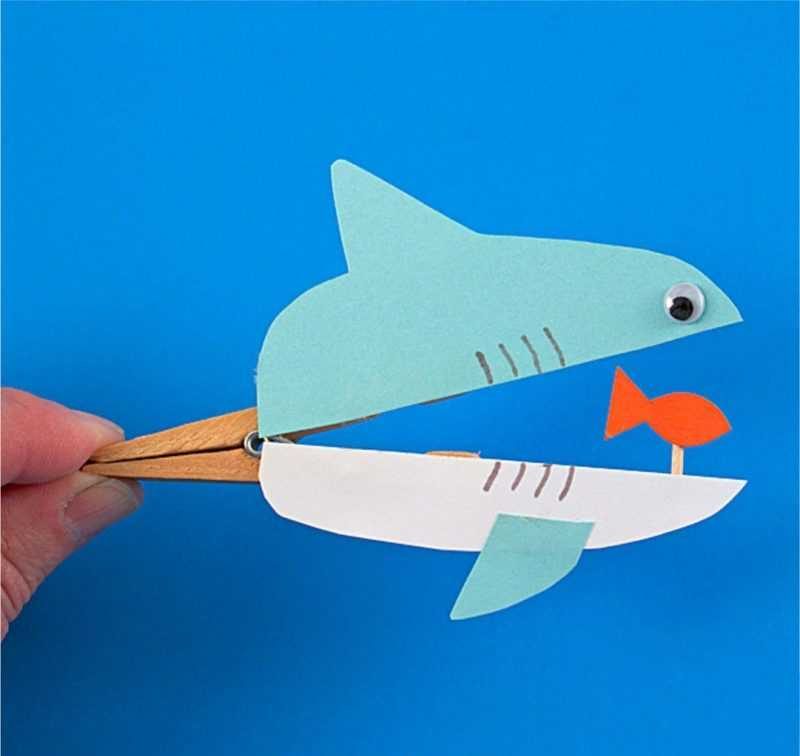
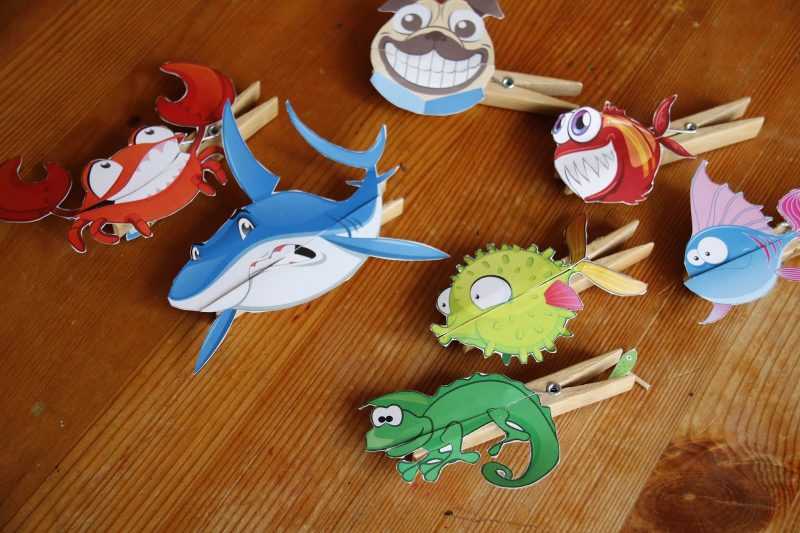
Shark made of clothespins and paper
Necessary materials:
- pin;
- colored paper;
- glue gun;
- toothpick;
- felt-tip pen.
Progress:
- Cut out two parts from blue paper: the upper part of the shark and the lower part. Draw an eye on the top.
- Cut out a small fish from orange paper. One that fits in a shark's mouth.
- Cut a small stick from a toothpick and glue an orange fish to its top. And glue the free part of the stick to the edge of the inside of the lower part of the shark.
- Take a clothespin and glue blue parts to its ends to make a shark. It turns out that when the clothespin is opened, the shark will begin to open its mouth, and the fish will try to escape. But when closed, it will again be eaten by predatory fish.